Easy & Fluffy Homemade Whole Wheat Biscuits: Your Go-To Recipe for Deliciousness
There’s a special kind of comfort that only homemade biscuits can provide, and these whole wheat biscuits are our family’s absolute favorite. They are truly our go-to for almost any meal or occasion. Whether we’re serving a hearty, warming soup and need a substantial, wholesome carb to sop up every last drop, or preparing an elegant bread basket for a dinner party or a cheese course, these biscuits fit the bill perfectly. I adore them not just because they are incredibly delicious, but also because they offer a healthier alternative to many store-bought options, thanks to the whole wheat flour. Plus, let’s be honest, baking them yourself is a heck of a lot more economical than buying overpriced bread from the supermarket. Good quality bread has become surprisingly expensive, so making your own is a fantastic way to enjoy superior taste without breaking the bank.
One of the most remarkable features of this recipe is its incredible speed and simplicity. These yeast-less wonders come together in a flash, making them ideal for even the busiest weeknights or last-minute gatherings. You can literally have the dough prepared in about 5 minutes, they bake to golden perfection in roughly 10 minutes, and the time it takes to “inhale” them (as we often do!) is practically zero. While I’d love to call them “no-knead” biscuits, that wouldn’t be entirely accurate. You do need to knead the dough a minimal 10-20 times. However, this only takes about 30 seconds and requires almost no arm muscle, so for all intents and purposes, they still feel exceptionally easy and convenient. It’s a small effort that yields truly rewarding results.
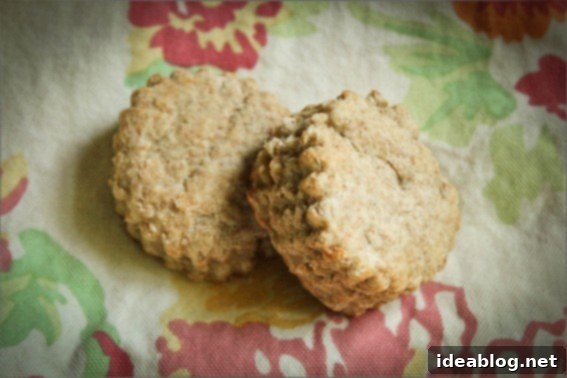
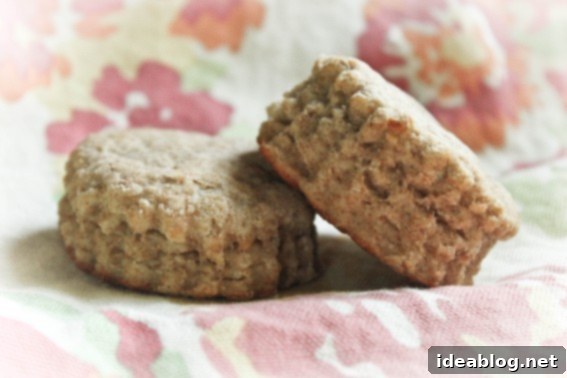
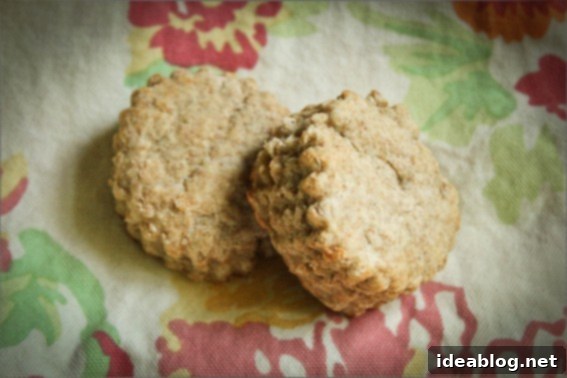
Another truly fabulous aspect of these biscuits is their incredible versatility. This recipe serves as a fantastic foundation for experimentation. For example, the delightful biscuits you see pictured above are actually Quinoa Whole-Wheat Biscuits. Typically, I make these with 100% whole wheat flour, ensuring a robust, wholesome flavor. However, for that particular batch, I opted to substitute half of the whole wheat flour with quinoa flour. The result was equally, if not more, delicious, and yielded a possibly fluffier texture without any noticeable difference in how they baked or tasted. The quinoa added a subtle nuttiness and an extra boost of nutrition. You’re not limited to quinoa; feel free to experiment with other alternative grains like wholesome cornmeal for a slightly grittier texture and sweet undertone, earthy rye for a denser crumb and distinctive flavor, or delicate spelt for a lighter, nuttier profile. Each substitution offers a unique twist, allowing you to tailor the biscuits to your personal preference or dietary needs.
No buttermilk on hand? No problem! These biscuits are truly adaptable. You can easily substitute the buttermilk with an equal amount of low-fat yogurt or even kefir. Both will provide the necessary acidity to react with the baking soda, ensuring those wonderfully tender and fluffy results we all crave in a good biscuit. If you find yourself completely out of these options, you can even make a quick homemade buttermilk substitute: simply add 1 tablespoon of lemon juice or white vinegar to a measuring cup, then fill it up to the 1-cup line with regular milk (any fat percentage will work, though whole milk provides a richer flavor). Let it sit for 5-10 minutes until it curdles slightly before using. See? I told you these were versatile! Now you truly have no excuse not to make a batch. For the absolute best experience, it’s highly recommended to bake these biscuits right before you plan on eating them. Serving them piping hot, fresh out of the oven, not only enhances their flavor and texture but also perfectly melts that generous pat of butter you’ll inevitably want to spread on them.
If you’re aiming for a really genuine Southern biscuit experience, often characterized by an exceptionally light and fluffy texture, I have a secret ingredient for you: White Lily flour. Oh my goodness, it makes an incredible difference! While it’s essentially a soft, low-protein white flour, it’s famous in the South for its ability to produce unbelievably tender and fluffy biscuits. I learned this fantastic trick from my beloved godfather, who hails from Tennessee and grew up on a farm. He is, without a doubt, one of the best chefs I know, and his culinary wisdom has shaped many of my own kitchen adventures. I actually learned how to make these very biscuits when I was just 8 years old, and it became a cherished tradition to bake them with him whenever we visited for dinner. There’s nothing quite like the sensory joy of mixing biscuit dough with your bare hands, getting flour dusted everywhere, and inhaling the comforting, tangy scent of fresh buttermilk as you work. It’s a truly nostalgic and delicious process.

Easy Whole Wheat Biscuits
Pin
Review
SaveSaved!
These versatile biscuits are perfect to serve alongside breakfast, your favorite hearty soups, stews, or any main course that could use a delicious, wholesome bread. For ultimate convenience, the biscuit dough can also be prepped and cut out in advance, allowing you to bake these biscuits directly from frozen at a moment’s notice. Detailed make-ahead and freezing instructions are provided in the recipe note section below, ensuring you can enjoy fresh, warm biscuits anytime.
Equipment
-
Half Sheet Pan
-
Natural Parchment Paper
-
2.5 Inch Biscuit Cutter
Ingredients
- 2 cups (240g) whole wheat pastry flour plus more for dusting
- 1 tablespoon (15g) aluminum-free baking powder see note section
- 1 teaspoon (6g) baking soda
- 1 teaspoon (3g) kosher salt
- 4 tablespoons (2 oz; 56g;) cold unsalted butter cut into ½-inch cubes
- 1 cup (236 mL) cold buttermilk
Instructions
-
Preheat your oven to a blazing 450°F (230°C) with an oven rack positioned in the center. This high heat is crucial for achieving a quick rise and a beautifully golden crust. While the oven preheats, take a moment to prepare your baking sheet: line it with parchment paper or a silicone baking mat to prevent sticking and ensure easy cleanup. Set the prepared pan aside.
-
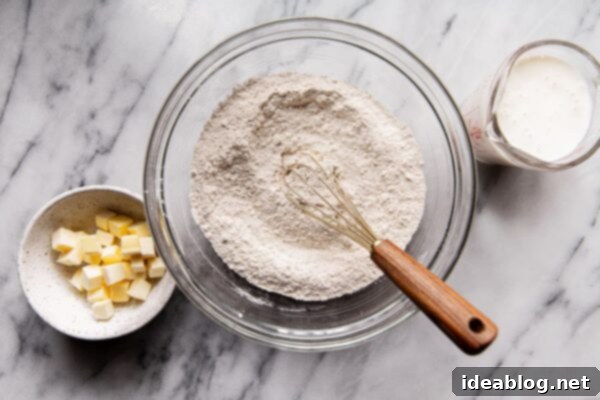
In a spacious medium bowl, combine all your dry ingredients: the whole wheat pastry flour, aluminum-free baking powder, baking soda, and kosher salt. Whisk these together thoroughly to ensure they are well distributed. Next, add the cold unsalted butter, which you should have already cut into ½-inch cubes. Toss the butter cubes into the flour mixture, coating them lightly. Now, using a pastry cutter (or your fingertips, working quickly to keep the butter cold), cut the butter into the flour mixture until it resembles small, pea-sized pieces. This step is vital for flaky biscuits! Once combined, place the entire bowl into the freezer for 5 minutes to ensure the butter remains very cold.

-
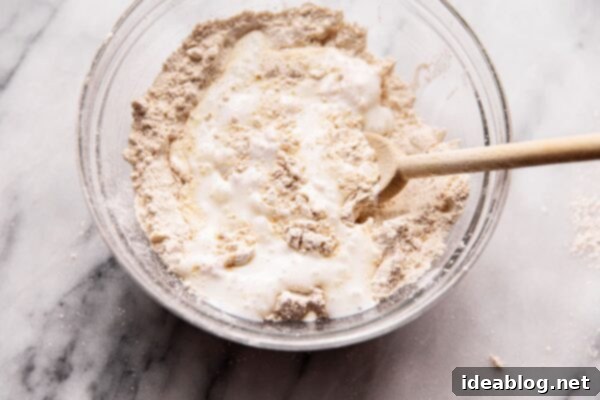
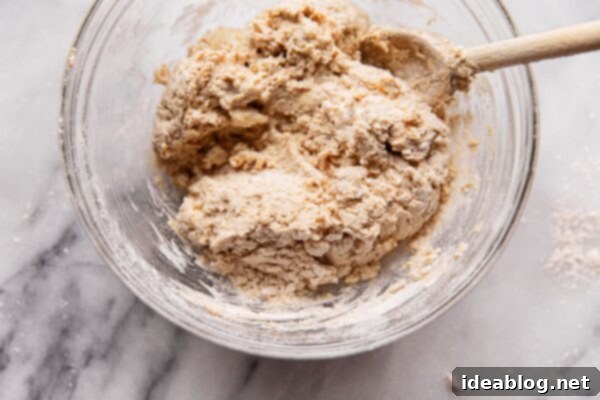
Retrieve the chilled flour and butter mixture from the freezer. Create a small well in the very center of your dry ingredients. Pour in the cold buttermilk. Using a wooden spoon or a spatula, gently stir the buttermilk into the flour mixture until it is *just* absorbed and no dry streaks of flour remain. Be careful not to overmix at this stage! The dough will appear quite wet and shaggy, but do not worry – this is exactly the desired consistency. Overmixing will develop the gluten too much and result in tough biscuits.

-
Lightly flour a clean countertop or a large pastry mat. Transfer the shaggy biscuit dough onto this floured surface. Now, gently knead and fold the dough over itself several times. You’re not looking for a smooth, elastic dough like with bread; rather, you just want to bring it together. Dust the dough lightly with additional flour as needed to prevent it from sticking to the countertop or your hands. Aim for about 10-20 gentle folds and presses, just enough for the dough to come together into a cohesive mass. This minimal kneading helps create layers without overdeveloping gluten.

-
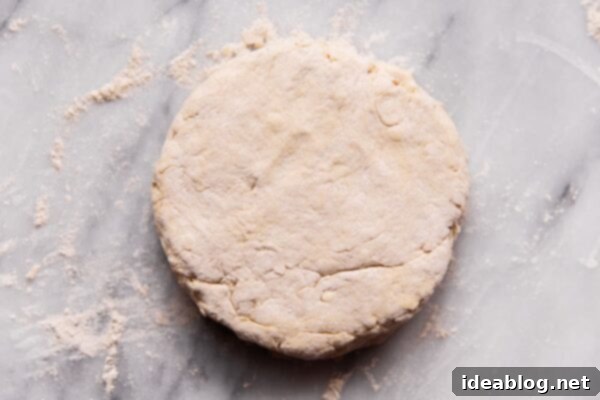
With your hands, gently pat the dough into a disc that is roughly 1-inch thick. The dough should still feel cold, soft, and supple. To cut out your biscuits, dip a 2.5-inch biscuit cutter into flour to prevent sticking, then press it straight down into the dough. It is absolutely crucial to cut out the biscuits without twisting the biscuit cutter. Twisting seals the edges of each biscuit, which prevents them from rising as tall or evenly during baking. Carefully transfer the cut biscuits to your prepared, parchment-lined sheet pan, ensuring they are spaced at least an inch apart. Gather any remaining dough scraps, gently press and knead them together one more time, and repeat the cutting process. This recipe typically yields around 6-7 large, perfectly formed biscuits.

-
Bake your biscuits in the preheated oven for approximately 9 to 11 minutes, or until they are beautifully puffed up and lightly golden brown on top. Once baked, carefully transfer them to a wire rack to cool slightly. For the ultimate enjoyment, these biscuits are truly best served piping hot. Slice them down the center while warm and lavishly top them with a generous pat of butter, allowing it to melt into every crevice. They’re also fantastic with jam, honey, or alongside savory dishes.
Tips for Success:
- For a truly clean and pure biscuit flavor, always opt for aluminum-free baking powder. Given the generous amount used in this recipe, this choice is crucial as it prevents any metallic or bitter aftertaste that can sometimes be associated with baking powders containing aluminum.
- These biscuits are incredibly adaptable to different flour types. Feel free to substitute half of the whole wheat pastry flour with regular all-purpose flour. This slight alteration will result in even taller and often lighter biscuits, while still retaining some of the wholesome whole wheat goodness.
- The temperature of your ingredients is paramount when working with biscuit dough. It is essential to use very cold butter and buttermilk. Cold ingredients help create steam pockets during baking, which results in those coveted flaky layers. Try to avoid over-working the dough at all possible, as excessive handling warms the butter and develops too much gluten, which will negatively affect the rise and produce a tough, dense texture instead of light, tender biscuits.
- When cutting your biscuits, press straight down with the cutter and lift it up without twisting. Twisting seals the edges of the dough, which can prevent the biscuits from rising properly and forming distinct layers.
- For extra golden tops, you can brush the biscuits with a little buttermilk or melted butter just before baking.
Make-Ahead Instructions for Ultimate Convenience
- FREEZING INSTRUCTIONS: To enjoy fresh biscuits anytime, prepare the biscuit dough as instructed through step 4 and cut out the individual biscuits. Place these raw, cut biscuits on a parchment-lined plate or baking pan, ensuring they don’t touch, and freeze them until they are completely solid (this usually takes 1-2 hours). Once frozen solid, transfer the biscuits to a large, freezer-safe Ziplock bag. Squeeze out any excess air from the bag and seal it well. These frozen biscuits can be stored for up to a month, ready for baking whenever a craving strikes!
- HOW TO BAKE FROZEN BISCUITS: When you’re ready to bake, preheat your oven to 450ºF (230°C) as usual. There’s no need to thaw the biscuits! Simply place the frozen biscuits directly onto a parchment-lined sheet pan, ensuring adequate spacing. Bake them until they are beautifully golden brown and puffed, which typically takes about 10 to 12 minutes (a couple of minutes longer than fresh biscuits). Serve them hot straight out of the oven for a quick and satisfying treat.
- WARMING LEFTOVER BISCUITS: If you happen to have any leftover baked biscuits, they can be easily warmed to regain their deliciousness. Place them in a toaster oven for a few minutes until heated through, or for a wonderfully crispy exterior, split them in half and warm them cut-side down in a preheated and lightly buttered cast-iron skillet over medium heat until golden and warm.
There you have it – a truly fantastic recipe for easy, wholesome whole wheat biscuits that are sure to become a staple in your kitchen. Whether you’re a seasoned baker or just starting out, the simplicity and delicious results of this recipe will undoubtedly impress. Don’t be shy to experiment with different flours or add-ins to make these biscuits uniquely yours. We hope you and your family enjoy these fluffy, flavorful treats as much as we do!
