Mastering the Flaky Quiche Crust: Your Ultimate Guide to Perfect Blind Baking
A truly exceptional quiche begins with a flawless foundation: a crust that is not just crispy, but boasts a delicate flakiness and rich buttery flavor. Forget soggy bottoms or shrinking edges; with the right technique, your homemade quiche crust can elevate any filling to new culinary heights.
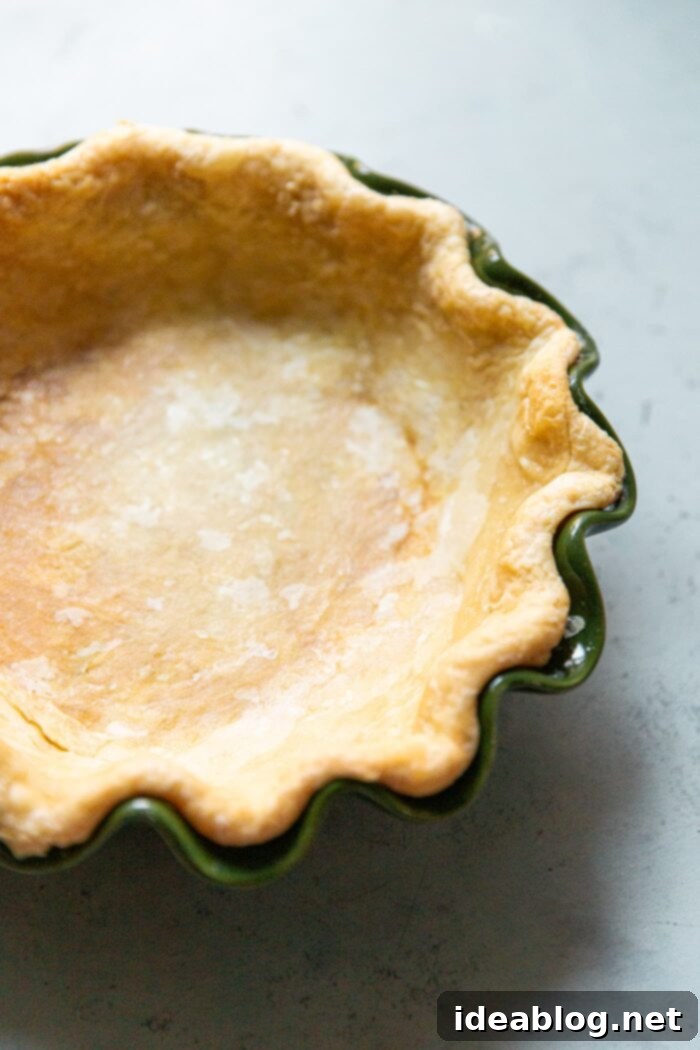
Today, we’re diving deep into my favorite quiche crust recipe, providing you with all the insights needed to create a consistently flaky, sturdy base. We’ll explore various methods for preparing the dough, allowing you to choose the approach that best suits your kitchen equipment and personal preference. Whether you’re a seasoned baker or new to pastry making, this guide will equip you with the knowledge to bake with confidence.
This versatile recipe and method can be applied to all your beloved quiche creations, including classics like a Gruyère Leek Quiche, or any savory tart that calls for a pre-baked shell.
The Secret to a Superior Quiche Crust: Extended Blind Baking
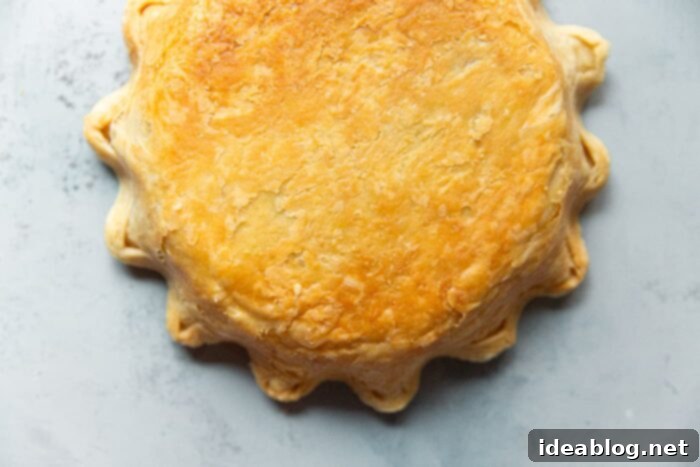
What truly distinguishes this quiche crust recipe is its innovative approach to pre-baking, often referred to as blind baking. Inspired by the groundbreaking work of pastry experts like Stella Parks, this recipe champions a single, extended blind bake. This brilliant technique streamlines the entire process, eliminating common frustrations such as needing to “dock” the dough (pricking holes) or managing multiple baking periods.
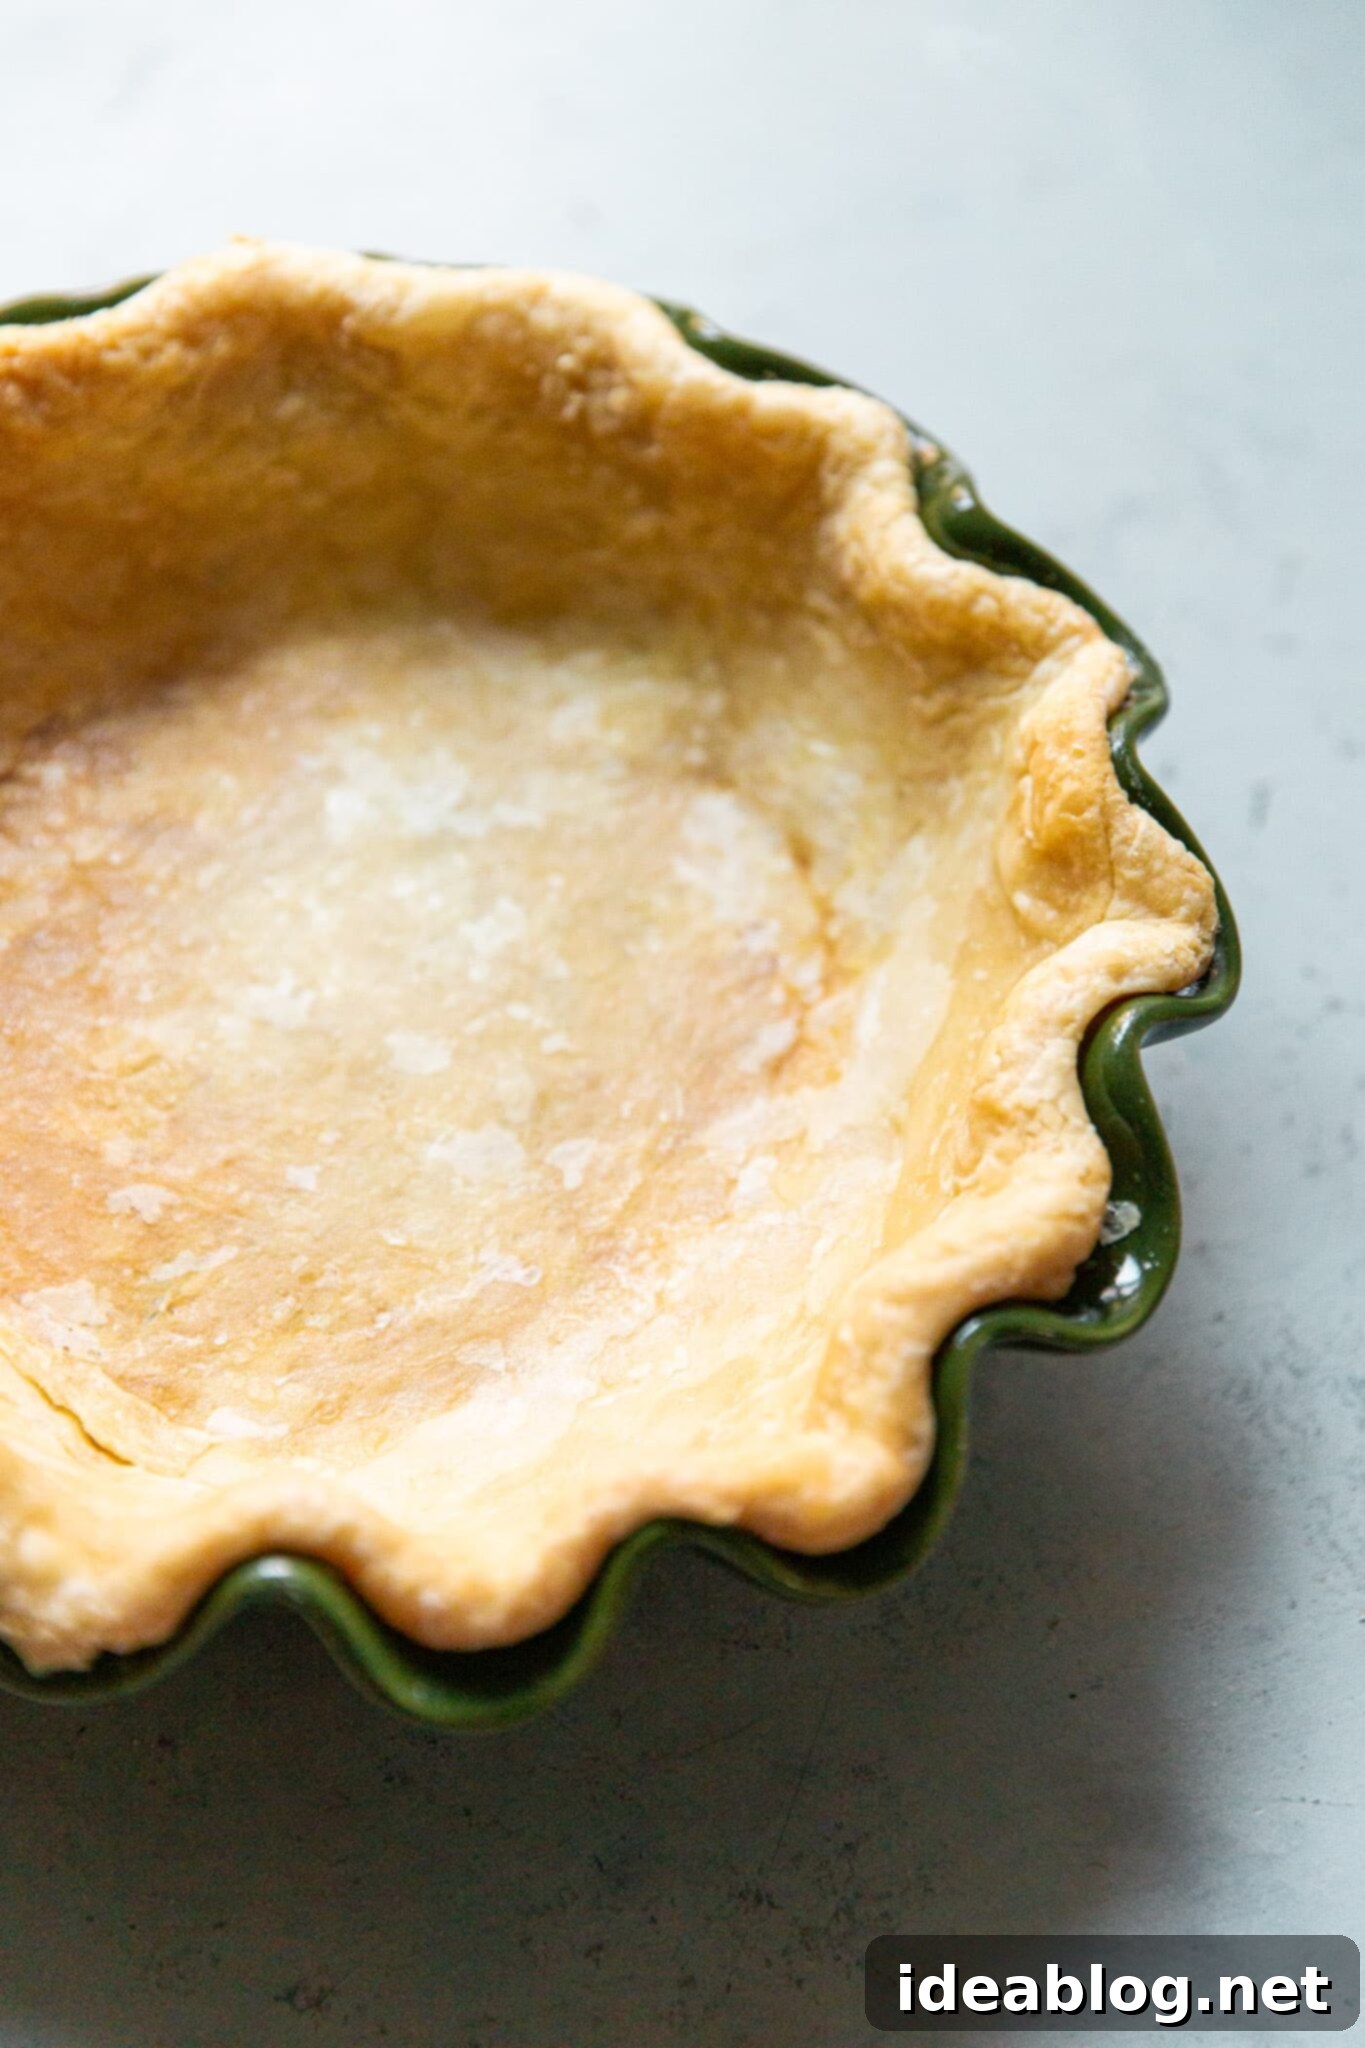
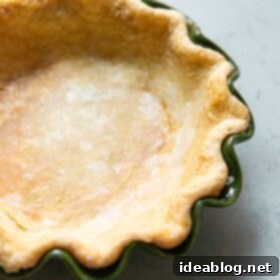
The remarkable outcome? An uncommonly flaky and robust crust that maintains its shape flawlessly throughout baking. You’ll notice it resists shrinkage and avoids puffing up unevenly, providing a beautiful, stable vessel for your rich quiche fillings. This method ensures your crust is not just baked, but *fully cooked* to a golden perfection, preventing any possibility of a dreaded soggy bottom.
PRO TIP: While this comprehensive article focuses on creating the ideal foundation for homemade quiche, the principles, recipe, and extended blind baking technique shared here are perfectly adaptable for virtually any savory pie or tart you wish to prepare. Think chicken pot pie, spinach and feta tart, or even a deep-dish savory custard pie.
Essential Ingredients for a Flaky Quiche Crust
The secret to a truly flaky and flavorful quiche crust often lies not in complexity, but in the quality and proper handling of just a few simple ingredients. Here’s a breakdown of what you’ll need and why each component is crucial:
- ALL-PURPOSE FLOUR: This is the backbone of your crust. All-purpose flour possesses a moderate protein content, striking a perfect balance. It provides enough structure to hold the crust together, yet remains tender, contributing to that desirable flaky texture. Using too high a protein flour (like bread flour) can lead to a tough crust, while too low (like cake flour) might result in a crumbly, difficult-to-handle dough.
- SALT: More than just a flavor enhancer, salt plays a vital role in balancing the richness of the butter and any savory filling. It also strengthens the gluten network in the flour, providing a subtle chewiness. My personal preference for both cooking and baking is Diamond Crystal Kosher Salt due to its consistent flake size and mild flavor. The recipe accounts for 2% salt by weight relative to the flour. If you’re using other salt brands, especially denser varieties like table salt or finer kosher salts, remember to halve the quantity to avoid over-salting (for more on different cooking salts, refer to this insightful article on cooking salts).
- UNSALTED BUTTER: This recipe is dedicated to an all-butter quiche crust, and for good reason. All-butter pastry yields a superior flavor and an unparalleled flakiness. The key is to use very cold butter. As the cold butter melts during baking, it releases steam, which creates distinct layers and pockets of air within the dough, resulting in that signature flaky texture. Unsalted butter allows you to control the exact amount of salt in your recipe.
- ICE WATER: Cold water is essential for bringing the dough together without overworking the gluten or allowing the butter to melt prematurely. The goal is to hydrate the flour and bind the ingredients while keeping the entire mixture as cold as possible. Add ice-cold water gradually, a tablespoon at a time, until the dough is *just* moist enough to cohere when squeezed. Too much water will develop too much gluten, leading to a tough crust, while too little will result in a dry, crumbly dough that’s hard to roll.
Key Techniques for Quiche Crust Success
Creating the perfect quiche crust is as much about understanding the science behind the ingredients as it is about mastering simple techniques. Pay close attention to these critical tips for consistently excellent results:
- Keep Everything Cold: This cannot be stressed enough. Cold ingredients are paramount for achieving that coveted flaky texture. From the butter to the flour and especially the water, the colder you keep everything, the better. Cold butter forms distinct pockets within the dough, which then release steam during baking to create layers. If the butter melts too early, it incorporates into the flour, resulting in a dense, cookie-like crust rather than a flaky one. Consider chilling your mixing bowl and even your flour for 15-20 minutes in the freezer if your kitchen is warm.
- Master Dough Technique: The way you incorporate cold butter into the flour mixture significantly impacts the final texture. The goal is to create varying sizes of butter pieces within the flour – from pea-sized to larger, thin flakes. These different sizes contribute to both tenderness and flakiness. Below, we’ll delve into my preferred “rolling in the butter” method, along with three alternative approaches, each offering unique benefits and control. Experiment to find the technique that resonates most with your style.
- Handle Water with Care: Water is the binding agent for your dough, but it’s also where many bakers go wrong. The objective is to add just enough ice water to bring the dough together, while simultaneously minimizing gluten development. Overworking the dough or adding too much water will lead to excessive gluten formation, resulting in a tough, chewy crust. The dough should feel slightly shaggy and come together when pressed, but it should never be wet, sticky, or overly smooth. A few dry, crumbly bits are perfectly fine and even desirable.
- Rest and Chill the Dough: Patience is a virtue in pastry making. After preparing your dough, wrap it tightly in plastic wrap and refrigerate it for at least 30 minutes, or ideally 1-2 hours, before attempting to roll it out. This resting period serves two vital purposes: it thoroughly chills the butter, making the dough easier to handle and preventing it from sticking, and it allows the gluten strands to relax. Relaxed gluten makes the dough significantly less elastic and much easier to roll evenly without shrinking back.
Methods for Preparing Your Quiche Dough
One of the beauties of making homemade quiche dough is the flexibility in preparation methods. After extensive testing, I’ve found that the technique of rolling in the butter consistently yields an extraordinarily flaky crust and offers the most control over butter distribution. However, several other excellent methods exist. Feel free to explore these options to discover which best suits your baking style and available equipment:
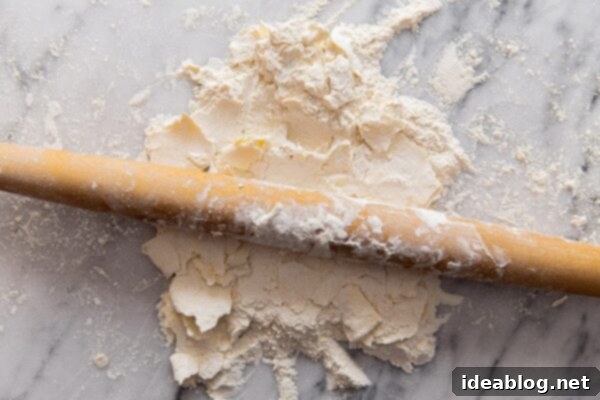
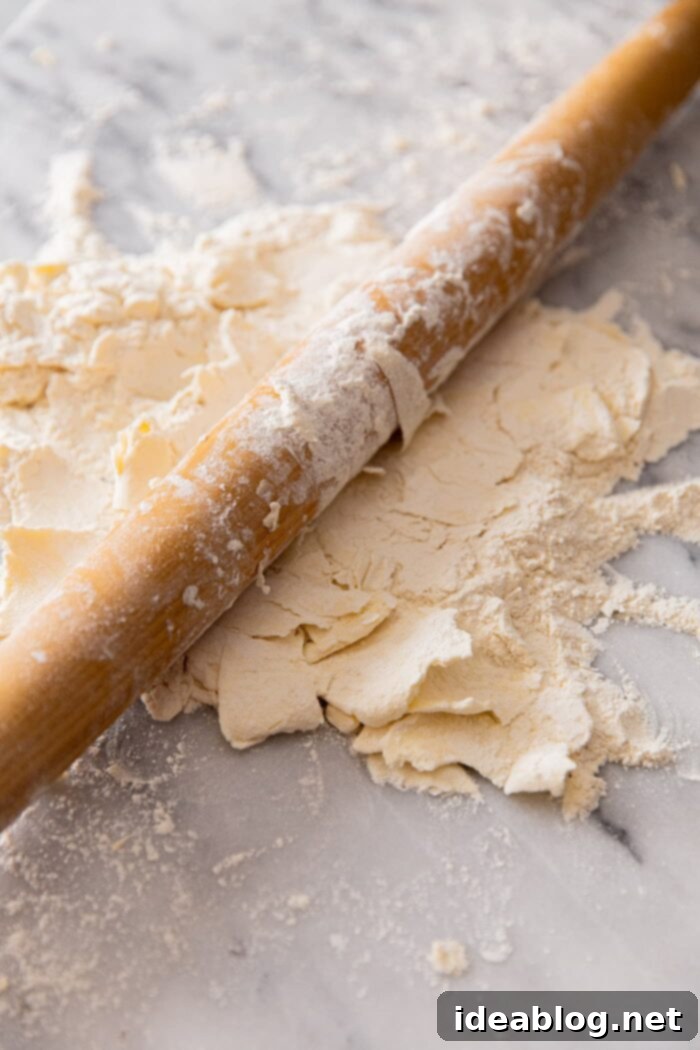
- Rolling in the Butter (Recommended Method): This hands-on approach involves using a rolling pin to flatten and fold the butter into the flour mixture, deliberately creating distinct layers of butter. These layers are crucial, as they melt and release steam during baking, separating the dough into incredibly flaky sheets. This method requires minimal specialized equipment (just a rolling pin and a bench scraper) and provides a highly tactile, satisfying experience that allows for precise control over the butter incorporation. It’s truly the artisan’s choice for superior flakiness.
- Stand Mixer Method: For those who prefer a less hands-on approach, a stand mixer fitted with a paddle attachment is an excellent alternative. This method offers more control over the butter size and distribution compared to a food processor, reducing the risk of overworking the dough. The paddle attachment gently cuts the butter into the flour, mimicking some of the layering benefits of the rolling method, while taking the physical effort out of it.
- Food Processor Method: If speed and convenience are your top priorities, the food processor is a fast and efficient option. Pulse the cold butter and flour mixture together until the butter pieces are no larger than the size of small peas or coarse meal. The key here is to use short, controlled pulses to avoid turning the butter into a paste or overworking the dough. Gradually add ice-cold water, pulsing just until the dough *barely* begins to clump together. It’s important to stop pulsing as soon as this happens to prevent a tough crust.
- Box Grater Method: This relatively newer technique involves grating very cold butter directly into the flour using a standard box grater. While it excels at quickly and evenly distributing the butter with minimal cleanup, in my experience, it tends to produce a less distinctly flaky crust compared to methods where larger pieces or layers of butter are maintained. The very small pieces of grated butter can sometimes incorporate too fully into the flour, reducing the steam pockets needed for maximum flakiness. However, it’s a valid and quick method if extreme flakiness isn’t your absolute top priority.
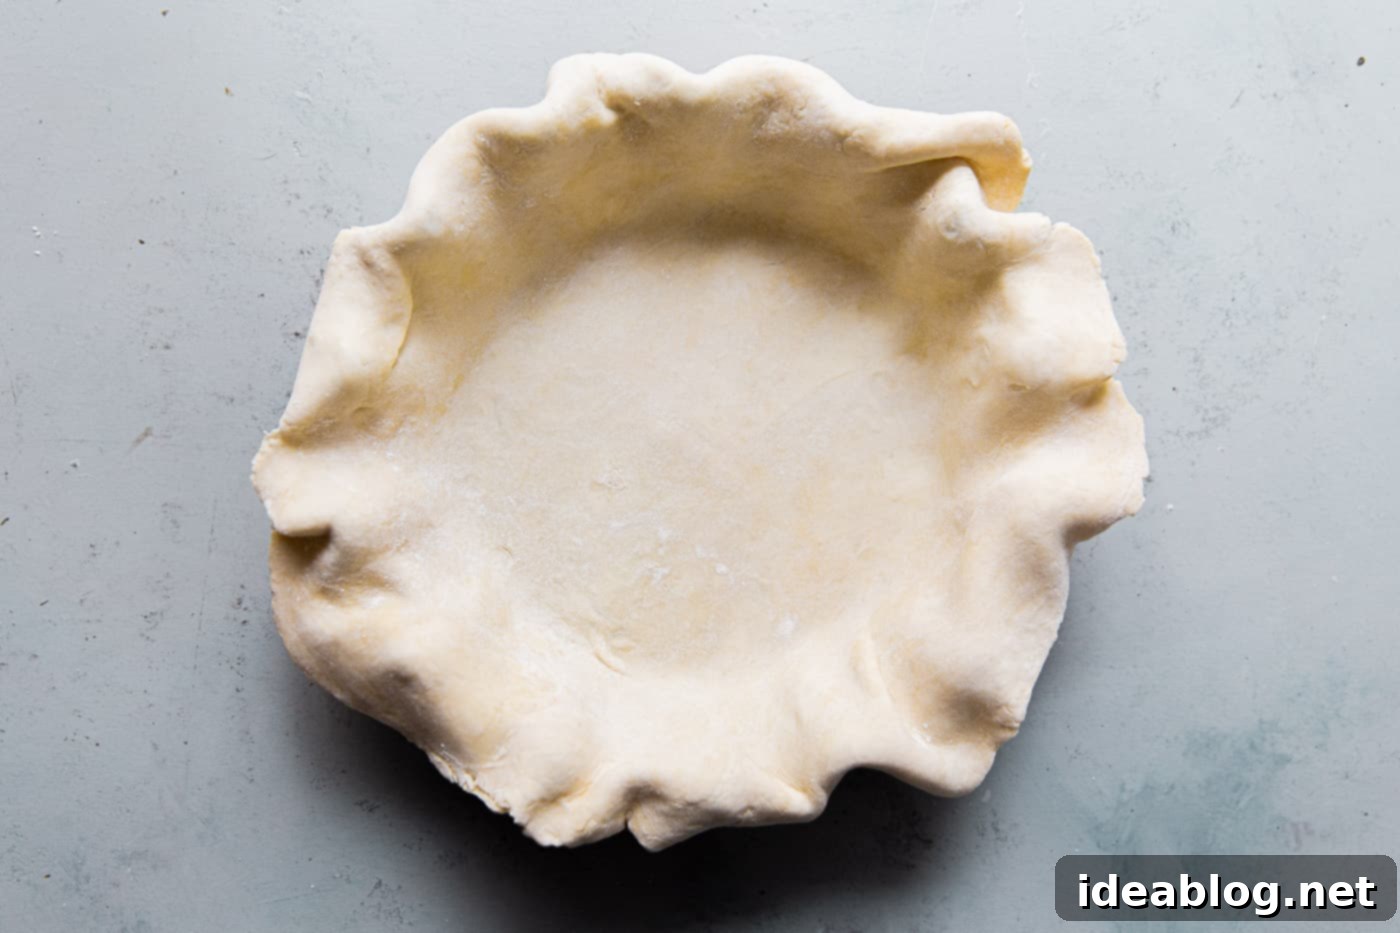
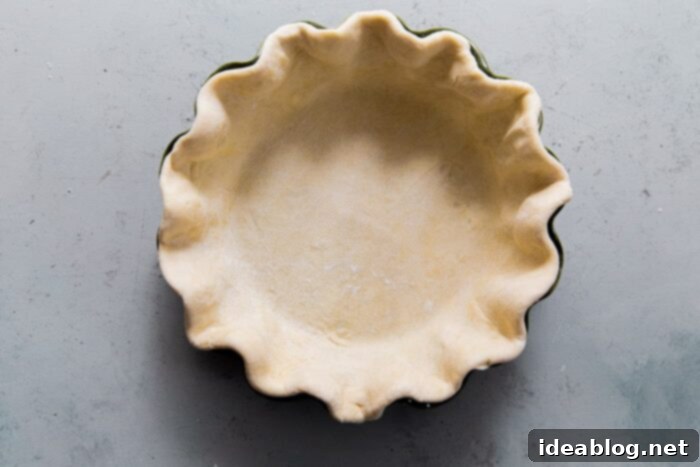
How to Pre-Bake (Blind Bake) Your Quiche Crust for Perfection
Pre-baking, or blind baking, refers to the process of fully baking a pie or quiche crust before adding the filling. This step is absolutely crucial, especially for custard-based fillings like those in quiche, as it prevents the crust from becoming soggy. It also ensures maximum crispness and a beautiful golden-brown color throughout. Our method utilizes a frozen, shaped crust combined with an extended (covered) pre-bake. Here’s a detailed guide to achieve this:
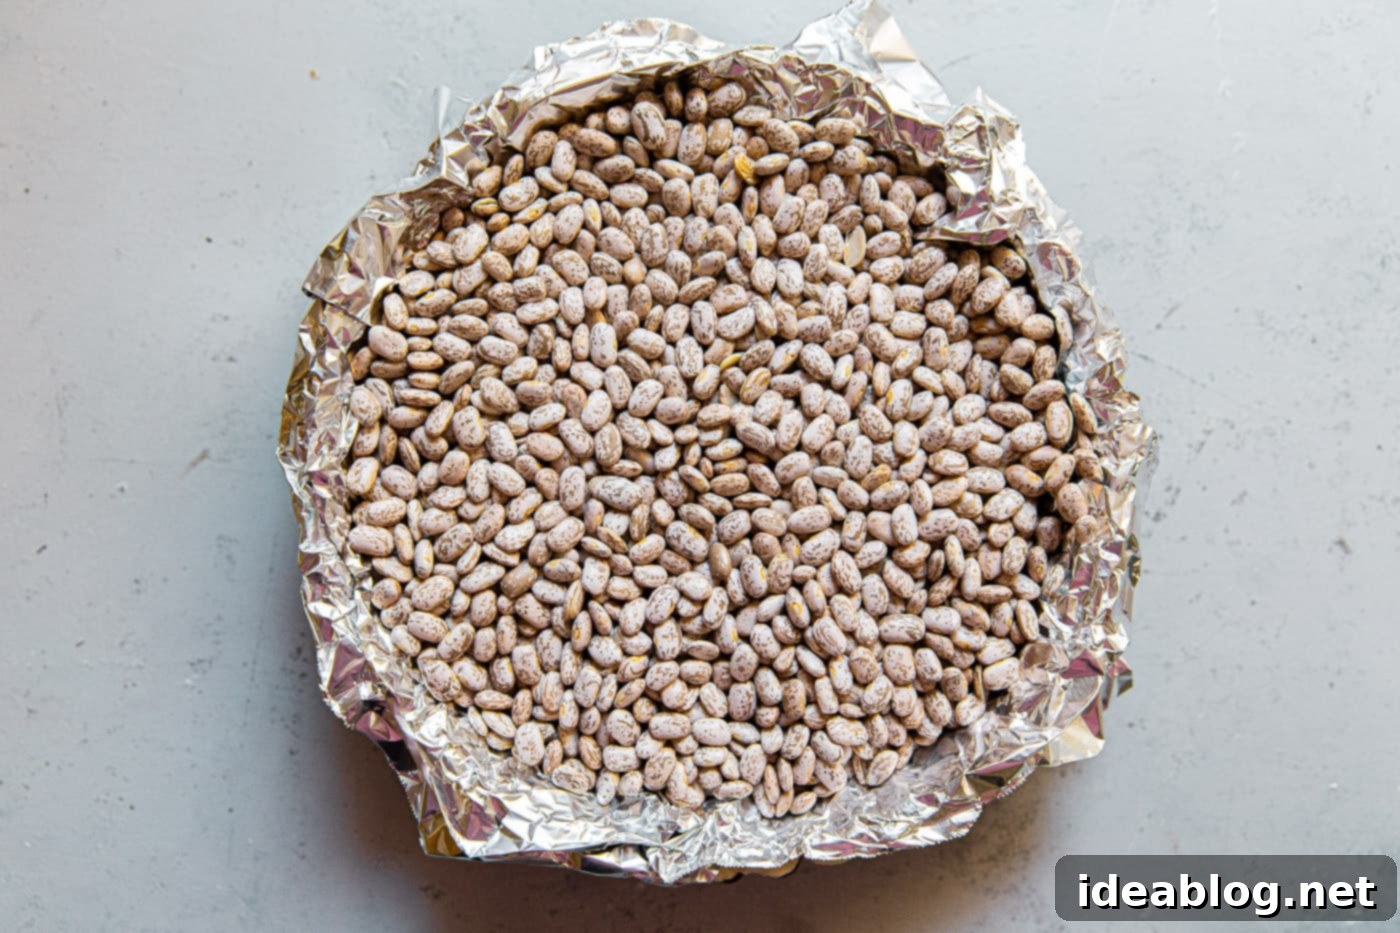
- Prepare Oven and Line the Crust: Begin by preheating your oven to 375°F (190°C) with an oven rack positioned in the center. Carefully retrieve your pie pan with the shaped, frozen dough from the freezer, discarding any plastic wrap. Now, line the frozen crust with lightly greased aluminum foil – ensuring the shiny side faces outwards (if you’re using non-stick foil, you can skip the greasing step). It’s crucial to fully cover the entire surface of the dough, including the crimped edges, to prevent them from over-browning. You will likely need two sheets of foil to achieve full coverage.
- Weigh Down the Dough: This is a critical step to prevent the crust from shrinking or puffing up unevenly during baking. Fill the foil-lined crust all the way to the top with dried beans, rice, or ceramic pie weights. The substantial weight holds the dough firmly in place, ensuring it maintains its perfect shape and crispness.
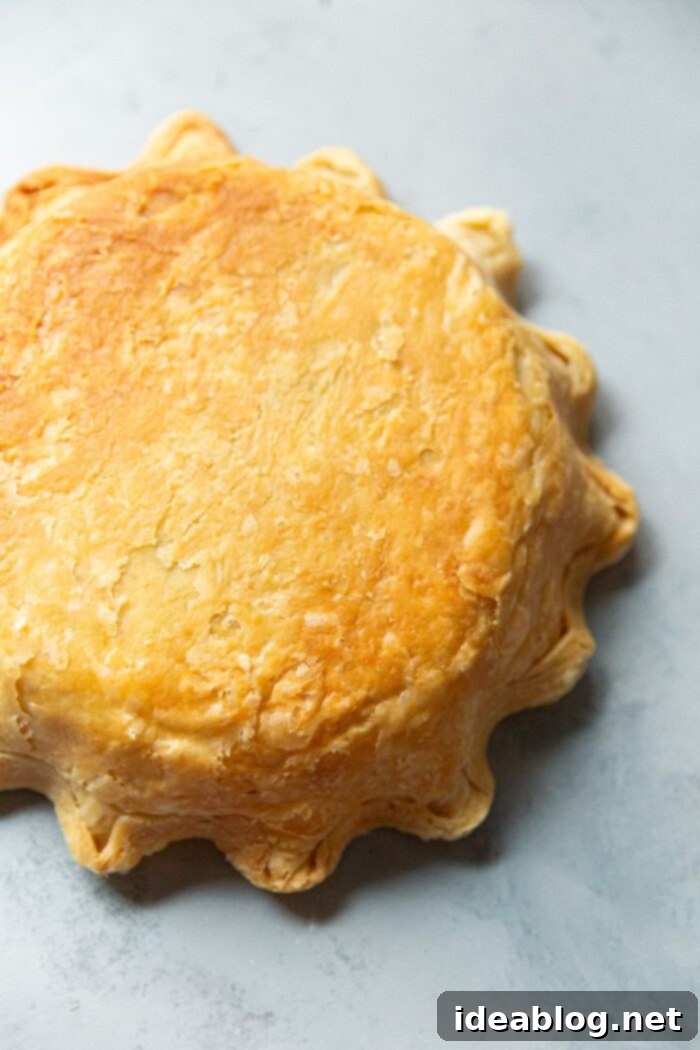
- Execute the Extended Blind Bake: Place the pie pan onto a rimmed sheet pan (this makes it easier to transfer and catches any potential spills). Bake the crust in the preheated oven until the edges are beautifully crisp and lightly golden, and the bottom appears completely dry and firm to the touch. This extended blind bake typically takes approximately 55 to 70 minutes. A vital note: I highly recommend checking the crust after about 45 minutes of baking. To do this, gently pull back one edge of the aluminum foil to inspect the color and texture of both the crust and the bottom. Continue baking, checking every 10 minutes as needed, until the desired crispness and color are achieved. Baking times can vary depending on the exact thickness of your dough and the material of your pie pan (ceramic, glass, or metal).
- Remove Weights and Cool Completely: Once the crust is perfectly baked, carefully lift the aluminum foil along with the dried beans/weights from the pie pan. Transfer the beans to a heatproof bowl to cool (they are reusable for countless future blind baking projects!). Place the hot, baked crust on a wire rack and allow it to cool down completely. It can be lukewarm to the touch, but it absolutely should not be hot when you pour in your quiche filling, as residual heat can affect the setting of the custard.
Quiche Recipes You’ll Love to Fill Your Perfect Crust:
- Gruyère Leek Quiche – A classic, rich, and savory option that pairs beautifully with this flaky crust.
- Spinach and Feta Quiche – A vibrant, Mediterranean-inspired filling that brings fresh flavors to your perfectly baked shell.
- Bacon and Cheddar Quiche – The ultimate comfort food, featuring salty bacon and sharp cheddar cheese for a hearty meal.
- Roasted Vegetable Quiche – A delightful vegetarian option, showcasing seasonal roasted vegetables in a creamy egg custard.
Perfect Flaky Quiche Crust Recipe
★
★
★
★
Pin Recipe
The dough can be prepared using various methods, with our preferred “rolling in the butter” technique highlighted for its superior flakiness and control. Alternative methods, including stand mixer and food processor, are detailed in the notes below for your convenience.
Perfect for any savory pie, this crust is an ideal base for recipes like this delightful Gruyère Leek Quiche.
Equipment
-
Rolling Pin
-
Bench Scraper
-
9-Inch Deep Ceramic or Glass Pie Pan (or Deep Quiche Tart Pan)
-
Kitchen Shears
-
Plastic Wrap and Aluminum Foil
-
Dried Beans (or pie weights)
Ingredients
- 150 grams (1¼ cups) unbleached all-purpose flour plus more for dusting
- 3 grams (1 teaspoon) kosher salt
- 113 grams (4 oz; 1 stick) cold unsalted butter
- 1/4 cup (60 mL) ice water plus more as needed
Instructions
-
Preparation Overview: Before you begin, gather all the equipment and ingredients listed. Remember that maintaining cold temperatures is key. The rolling-in-the-butter method is recommended for the flakiest crust, but feel free to review the alternative methods in the notes section based on your preference or available tools.

-
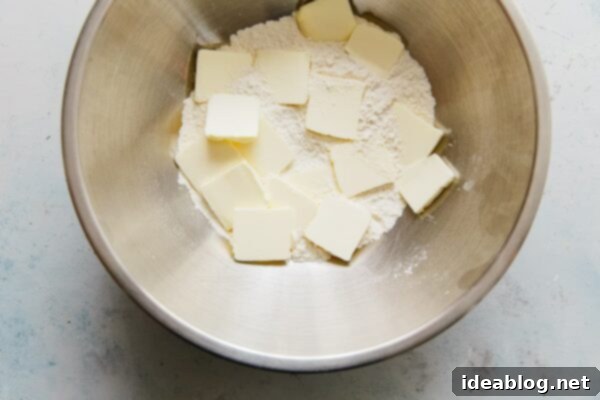
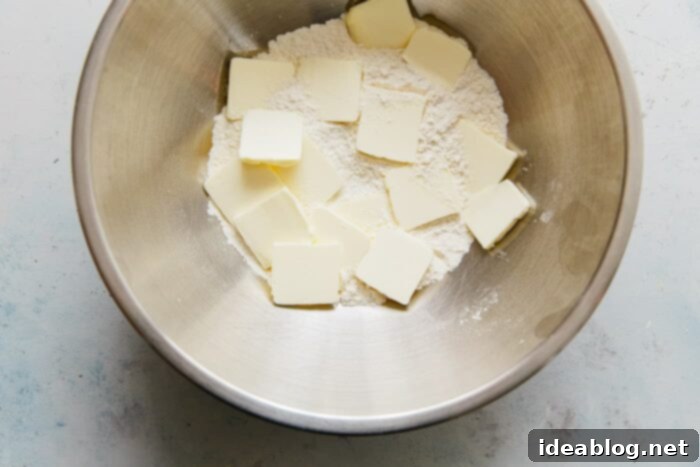
Roll in the Butter Method: In a medium bowl, whisk together the all-purpose flour and salt. Slice the very cold unsalted butter into ¼-inch thick pieces (slices are quicker than cubes for this method) and add them to the bowl. Toss the butter slices with the flour mixture until each piece is thoroughly coated.
Transfer this mixture to a clean, lightly floured work surface. Using a rolling pin, gently yet firmly roll the butter into thin sheets within the flour. Use a bench scraper to gather and keep the mixture in a compact pile as you work, continually folding it over itself and rolling again. The goal is to create distinct layers of butter and flour. Once you have thin butter flakes, transfer the mixture back into the bowl.

-
Incorporate Ice Water: Add the initial 4 tablespoons (60 mL) of ice water to the flour and butter mixture. Use both hands to gently toss and mix the ingredients until the water has been absorbed evenly. If the mixture still feels excessively crumbly or has very dry spots, add additional ice water a tablespoon at a time, focusing on the dry areas. Important Water Note: The precise amount of water can fluctuate based on your flour brand and ambient humidity; typically, I use between 4 to 6 tablespoons. The dough should appear slightly shaggy but should hold together easily when gently pressed between your palms. A few dry, loose bits are perfectly acceptable and contribute to flakiness.
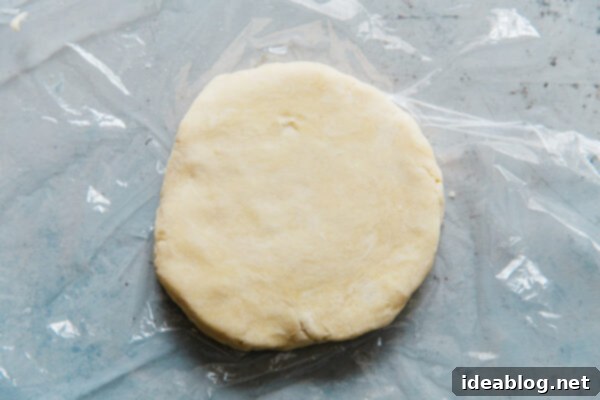
Transfer the dough onto a clean countertop. Using a bench knife as an aid, press and gather the dough into a round, flat disc, approximately 1-inch thick. Avoid overworking or kneading the dough excessively at this stage to prevent gluten development.

-
Rest and Chill the Dough: Wrap the prepared dough disc tightly in plastic wrap, ensuring it’s completely sealed. Refrigerate for a minimum of 1 hour. This chilling period is crucial; it allows the butter to firm up and the gluten to relax, making the dough much easier to roll without tearing or shrinking.
For convenience, the dough can be made ahead and stored in the refrigerator for up to 3 days. If chilled for longer than a few hours, let it sit on your countertop for 10 to 20 minutes before rolling to soften slightly. It should be cold but pliable enough to roll without cracking.
-
Roll and Shape the Crust: Remove the chilled dough from the fridge and unwrap it. Place it on a lightly floured countertop. Using a floured rolling pin, begin rolling the dough from the center outwards, rotating the dough frequently to ensure an even thickness and to prevent sticking. Dust with additional flour as needed, but use sparingly. If the edges start to crack, gently massage them with your fingertips to bring them together. Roll the dough until it is roughly ⅛-inch thick and approximately 2 inches wider than the diameter of your chosen baking pan.

-
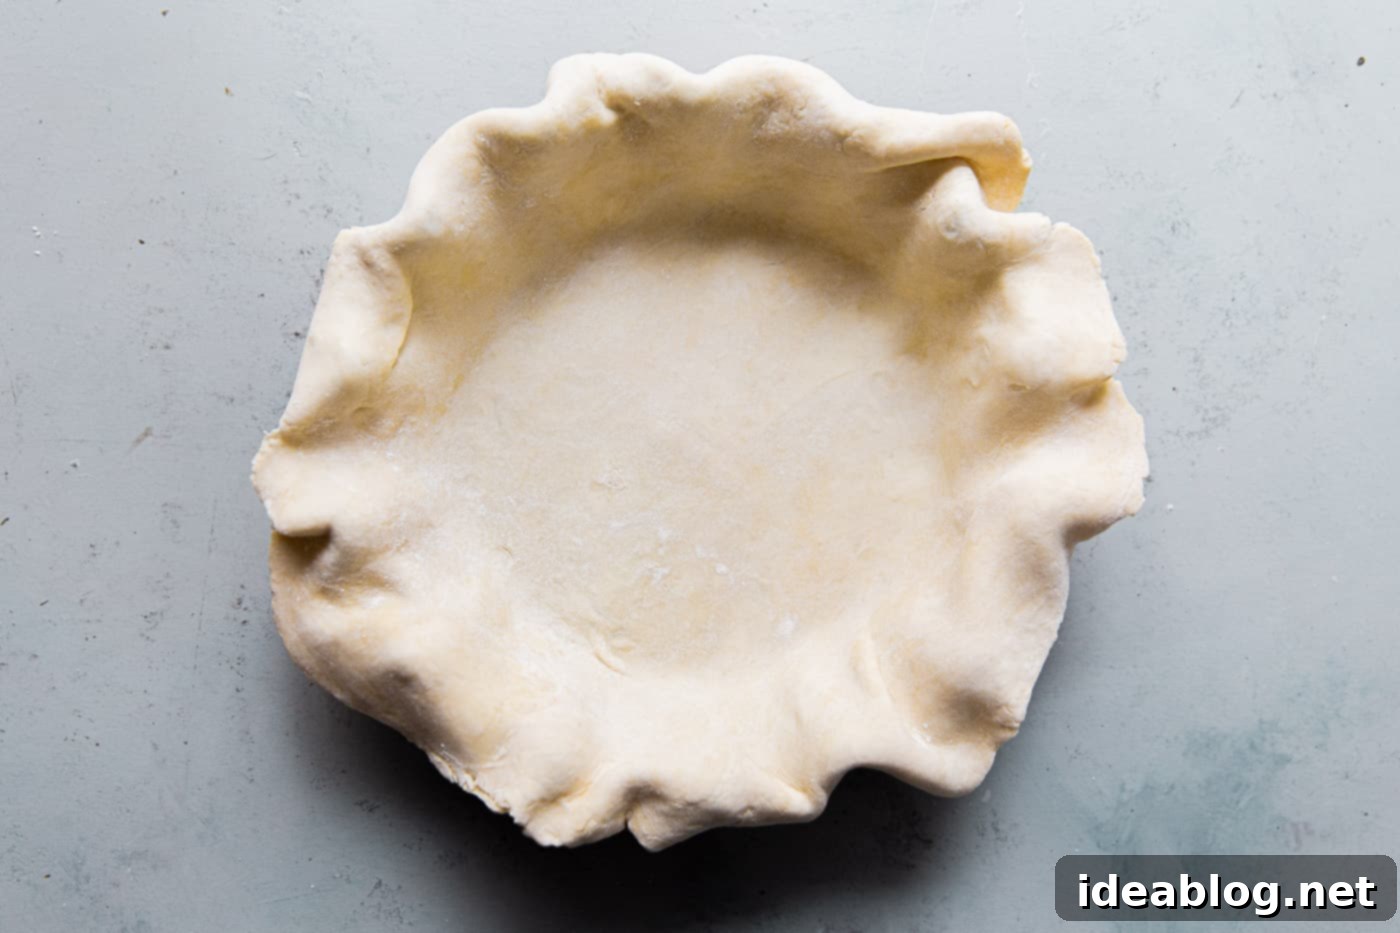
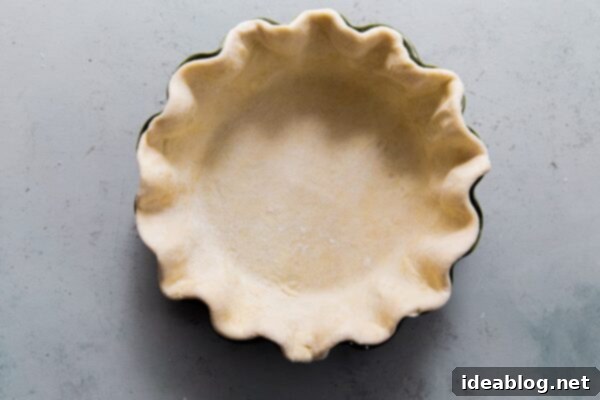
Fit and Freeze the Shaped Crust: Carefully lift the rolled dough and transfer it into your pie pan. Gently ease and nudge the dough into the contours of the pan, particularly along the bottom edge and sides, being extremely careful not to stretch or pull the dough. Stretching will cause the crust to shrink during baking. Using kitchen shears, trim any overhang so that it extends about ½-inch to ¾-inch past the edge of the pan. Fold the edges under and crimp them decoratively as desired. For a deep tart pan: Press the dough firmly into the fluted edges, then roll your rolling pin over the rim of the tart pan to cleanly cut off and trim the excess dough.
Cover the shaped crust tightly with plastic wrap and place it in the freezer until it is completely solid, for a minimum of 1 hour. This freezing step is vital as it ensures the butter remains very cold and firm throughout the initial phase of baking, contributing to maximum flakiness and preventing shrinkage. A frozen crust also offers incredible flexibility for meal prep, as it can be stored in the freezer for up to 3 months.

-
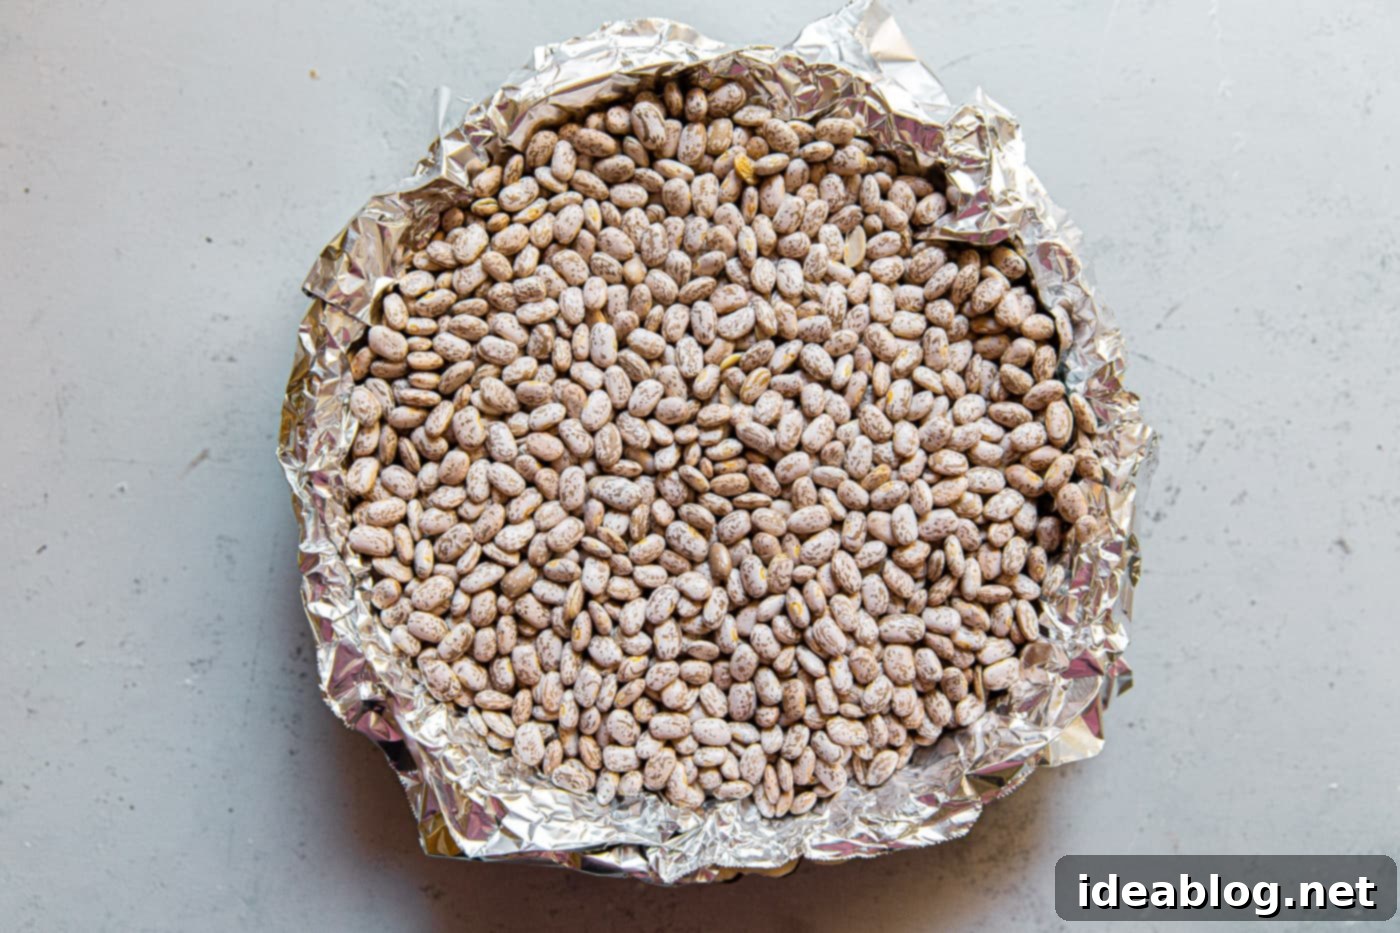
Line with Foil and Weigh Down: Preheat your oven to 375°F (190°C) with a rack in the center position. Remove the frozen pie pan from the freezer and discard the plastic wrap. Line the frozen crust with lightly buttered aluminum foil (if using non-stick foil, greasing is not necessary – ensure the shiny side faces outwards). Be sure the foil fully covers the edges of the pan to protect them from burning. You will likely need two sheets of foil to achieve complete coverage.
Fill the foil-lined crust completely to the top with dried beans, uncooked rice, or ceramic pie weights. This crucial step holds the dough in place, preventing it from shrinking down the sides or puffing up in the center during baking, ensuring a perfectly structured crust.

-
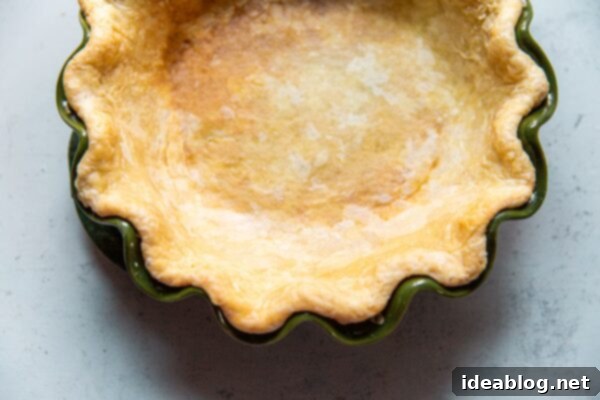
Perform the Extended Pre-Bake (Blind Bake): Place the pie pan (still on its rimmed sheet pan) into the preheated oven. Bake for approximately 55 to 70 minutes, or until the edges of the crust are crisp and lightly golden, and the bottom is completely dry and cooked through (yes, this is a longer bake time than typical blind baking, but it’s essential for the perfect outcome!). Important Check: After about 45 minutes, gently pull back one edge of the foil to check the color and texture of the crust. Continue baking, checking every 10 minutes as needed, until the desired golden color and crispness are achieved. Baking times can vary slightly depending on your oven calibration and the specific materials of your pie pan.
Carefully lift the foil and its contents (beans/weights) out of the baked crust and set them aside in a heatproof bowl to cool. (Remember, these weights are reusable!). Transfer the hot, baked crust to a wire rack and allow it to cool down to at least lukewarm temperature before adding any filling. Adding a hot filling to a hot crust is not recommended for optimal results.

Alternate Dough Making Methods:
- Stand Mixer: For a more automated process, use a stand mixer with the paddle attachment on low speed. First, combine the dry ingredients. Then, gradually add the very cold butter, mixing until the butter is broken into a mix of larger and smaller pieces. Slowly stream in the ice water until the dough just starts to come together. This method offers excellent control.
- Food Processor: For ultimate speed, a food processor is highly effective. Pulse the flour and salt briefly. Add the cold butter to the bowl, tossing by hand to ensure it’s coated with flour. Cover and pulse in short bursts until the butter is approximately pea-sized. Then, gradually add the ice-cold water, pulsing a few more times until the dough *just* begins to form clumps. Be careful not to over-process.
- Box Grater Method: This technique involves grating very cold butter directly into your flour mixture using a box grater. It’s quick and minimizes cleanup. While it effectively distributes the butter, in my personal experience, it may not produce as distinct layers and therefore might result in a slightly less flaky crust compared to the rolling method. However, it’s a solid option for convenience!
This method is inspired by the techniques found in Stella Parks’ recipes and the Zuni Cafe Cookbook.
Conclusion: Embrace the Art of the Homemade Quiche Crust
Creating a truly magnificent quiche starts and ends with its crust. By understanding the fundamental principles of keeping ingredients cold, mastering dough-making techniques, and embracing the extended blind baking method, you can consistently achieve a spectacularly flaky, buttery, and sturdy foundation for all your savory fillings. This comprehensive guide has provided you with not just a recipe, but a deeper understanding of the science and art behind perfect pastry.
Say goodbye to store-bought, mediocre crusts and hello to the immense satisfaction of serving a homemade quiche that truly shines. The extra effort invested in this process will be richly rewarded with every crisp, flavorful bite. Happy baking!
