Easy & Delicious American Flag Cake: Your Go-To Summer Berry Dessert Recipe
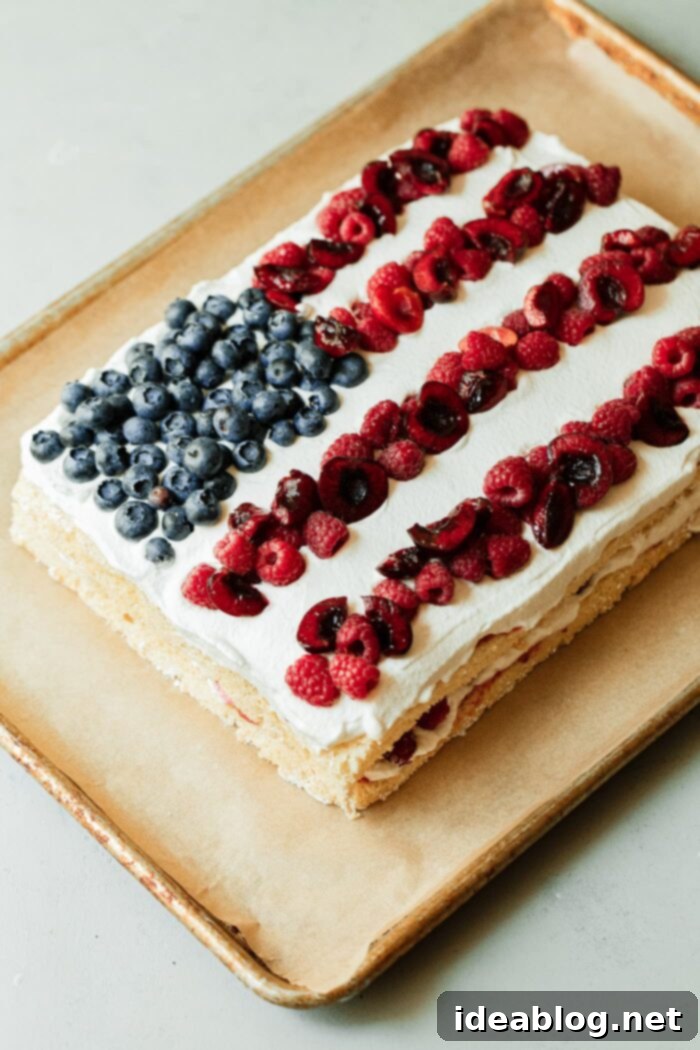
As we anticipate delightful summer gatherings, from Memorial Day picnics to vibrant Fourth of July celebrations and relaxed Labor Day barbecues, a show-stopping dessert is always a must. This exquisite American Flag Cake recipe is designed to impress, offering a perfect blend of lightness, sweetness, and patriotic charm. Just a few weeks ago, I had the pleasure of baking this cake for my own family, and its reception was nothing short of spectacular. The unanimous praise and requests for seconds truly inspired me to refine and share this beloved recipe with all of you, ensuring it becomes a highlight at your seasonal festivities.
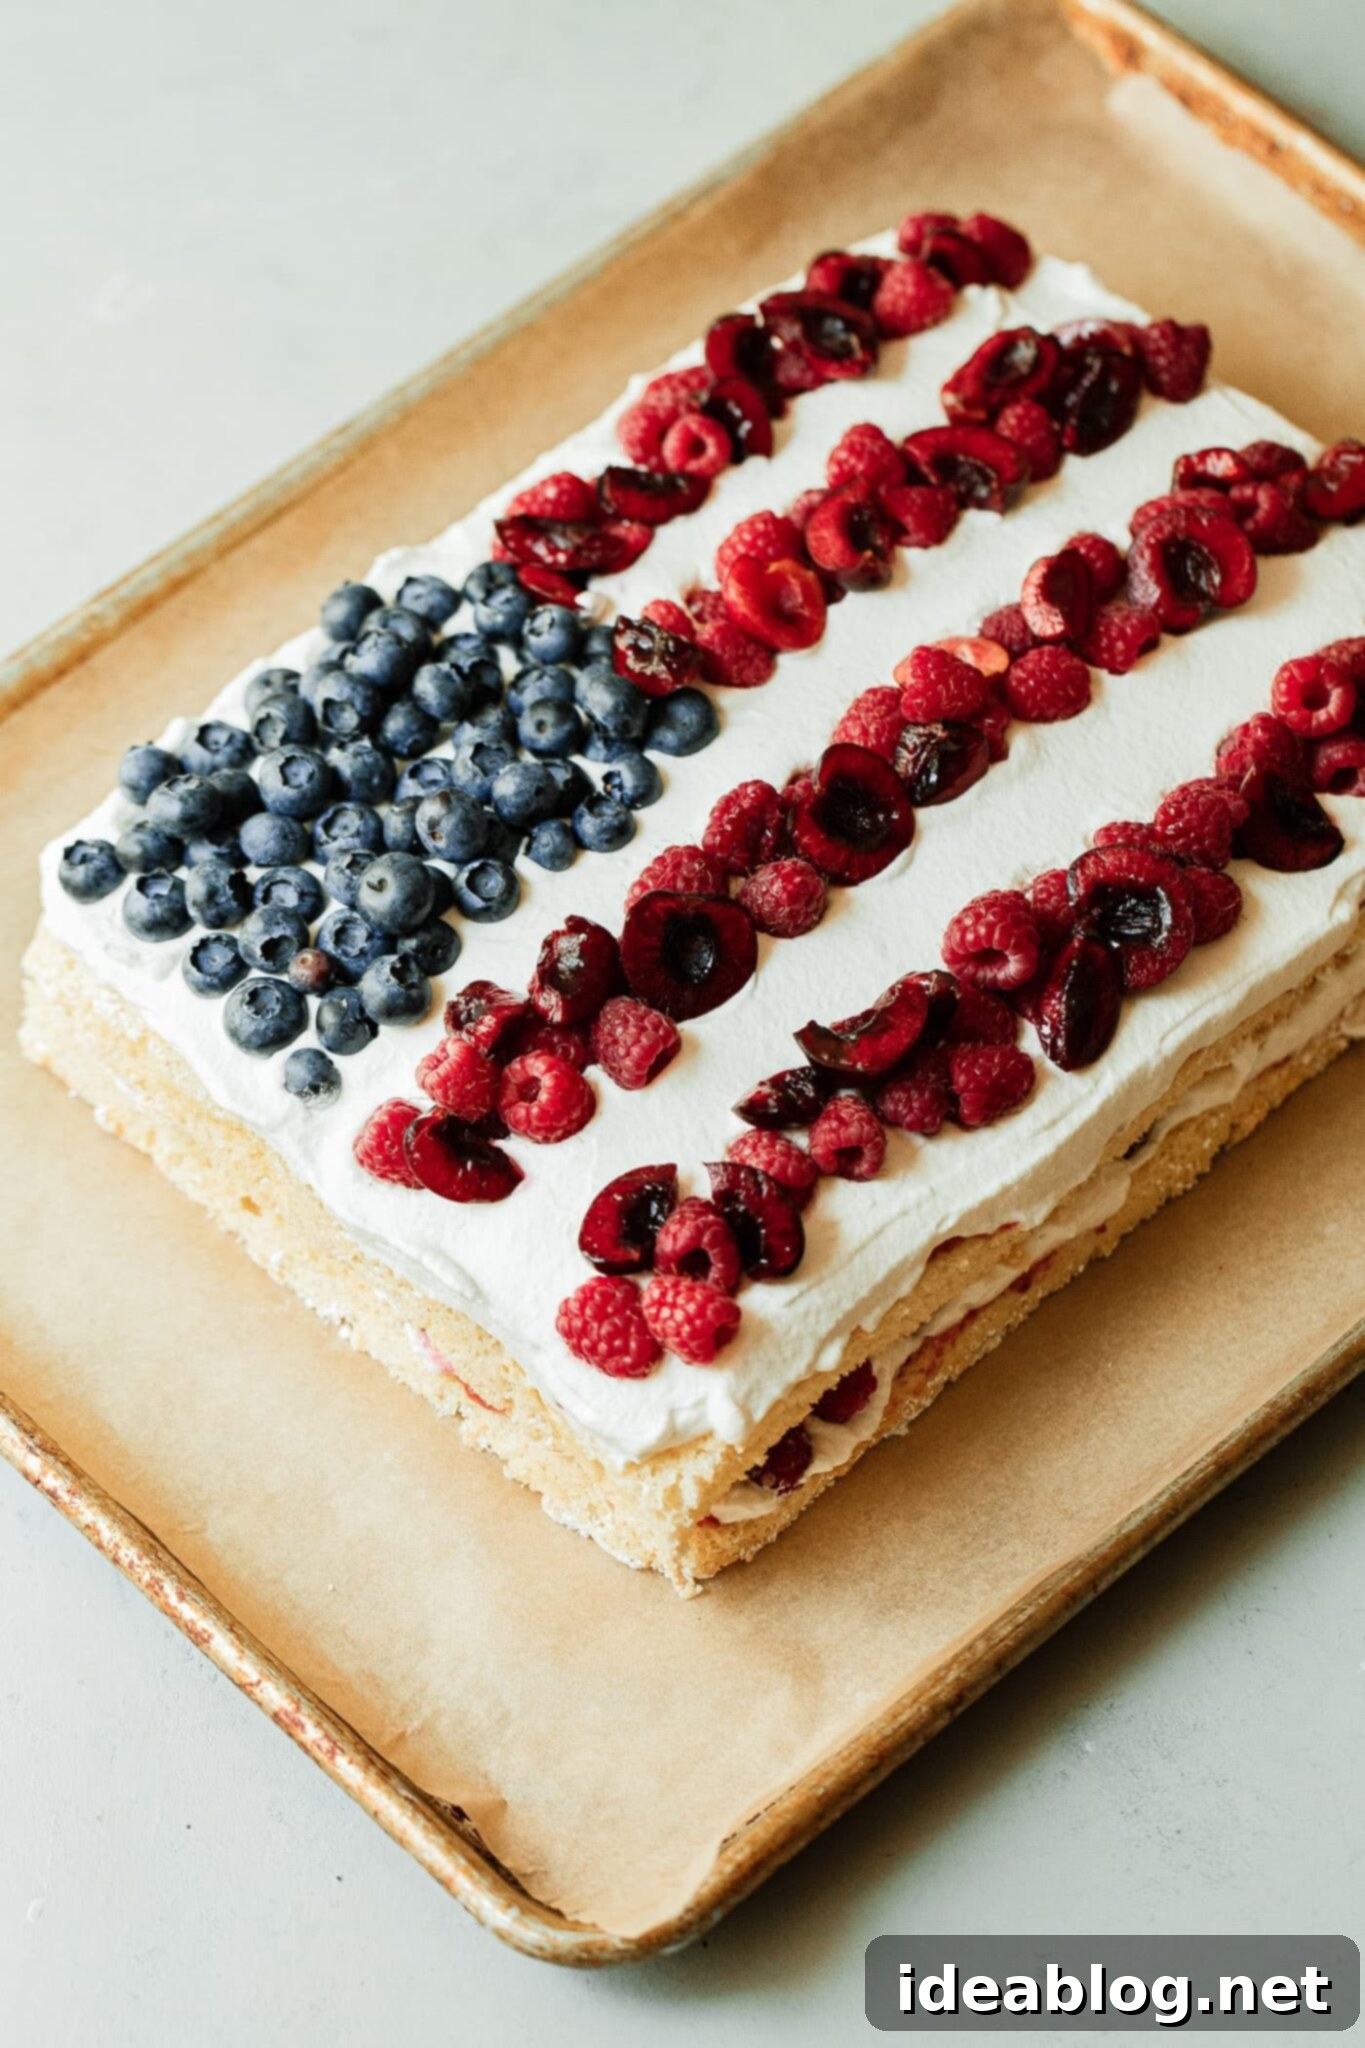
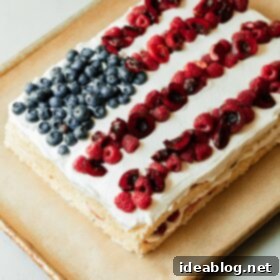
This magnificent dessert masterfully combines a wonderfully fluffy vanilla sponge cake base, a rich yet airy whipped cream filling, and a generous cascade of fresh, vibrant summer berries. Artfully arranged, these elements come together to form a beautiful and edible representation of the American flag. However, don’t let the patriotic theme limit your imagination! This versatile cake base is incredibly adaptable and can be adorned in countless creative ways to perfectly suit any occasion or theme. For me, it has become the quintessential summer cake, cherished for its incredibly light texture and subtly sweet flavor profile that truly celebrates the peak bounty of berry season. It’s a dessert that feels special yet remains delightfully easy to enjoy.
Why This Flag Cake Will Become Your Favorite Summer Dessert
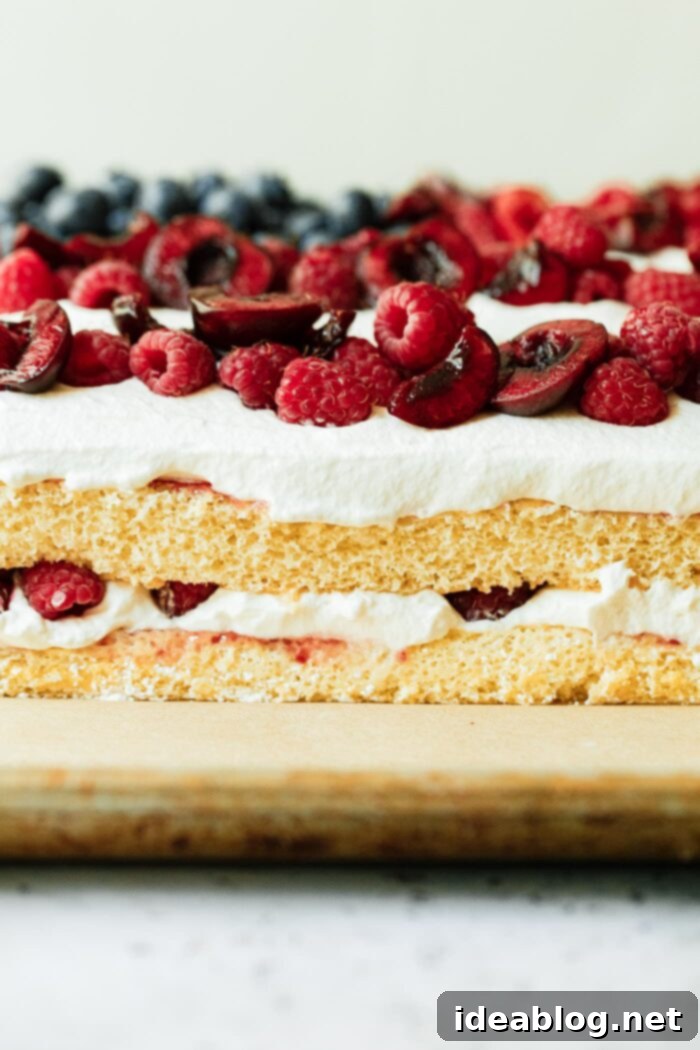
Today’s Flag Cake recipe is a brilliant, light adaptation of a long-standing family favorite: my celebrated Raspberry Roll Cake. While traditional roll cakes can sometimes feel intimidating to home bakers, this version simplifies the process beautifully. The key innovation here is our approach to the sponge cake: we let the light, airy sponge cake cool completely after baking, then simply slice it into two equally sized rectangular layers. This clever method entirely bypasses the often tricky rolling step, making the assembly and decoration of this stunning cake incredibly straightforward and fuss-free.
This simplified technique makes it an ideal option for beginner bakers or anyone who might feel hesitant about attempting a traditional rolled or Swiss-style cake. You get all the delicate flavor and tender texture of a classic sponge cake without any of the stress. Furthermore, the rectangular shape lends itself perfectly to the flag design, making it a breeze to arrange your berries for that iconic look. Beyond its ease of preparation, you’ll adore this cake for its delicate balance of flavors – the airy vanilla sponge, the sweet-tart raspberry preserves, the clouds of vanilla whipped cream, and the burst of fresh berries create a symphony of taste and texture. It’s truly the perfect sweet ending to any warm-weather meal.
Key Components of This Irresistible Flag Cake:
Crafting the perfect American Flag Cake relies on the harmony of its individual elements. Each component is carefully selected to contribute to the overall light, fresh, and utterly delicious experience. Here’s a closer look at what makes this cake truly special:
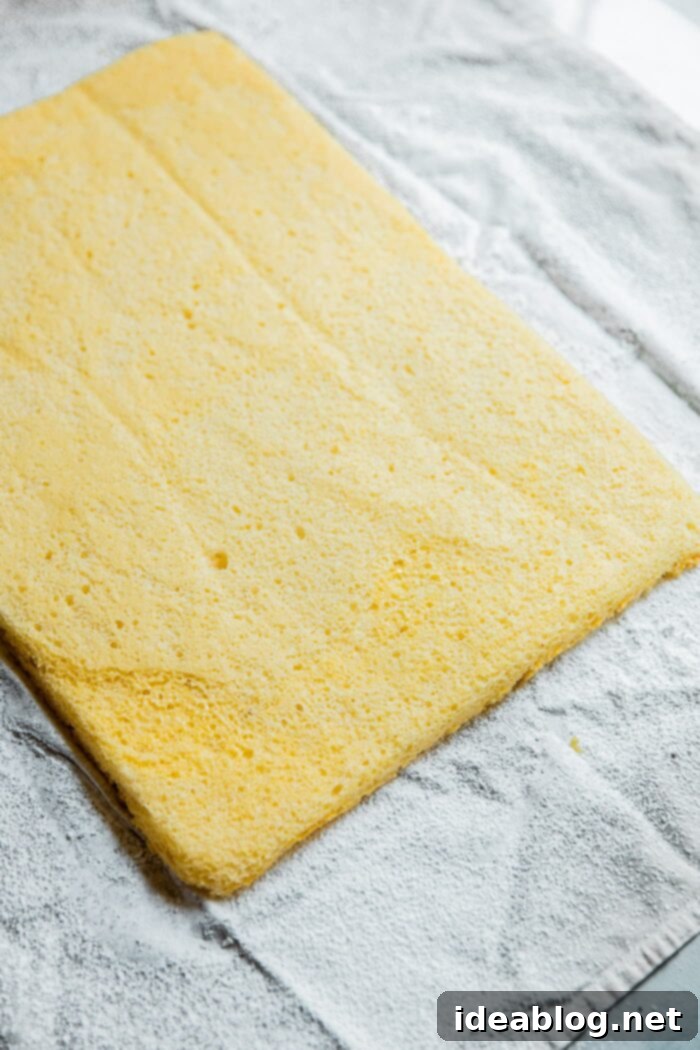
- The Fluffy Sponge Cake – The foundation of our flag cake is a soft, airy, and remarkably light vanilla sponge cake. Unlike heavier cake bases, this sponge provides a delicate canvas that perfectly absorbs the fruit flavors and cradles the creamy filling without feeling dense. This particular recipe is extremely well-tested, ensuring a consistently perfect texture every time. We’ve included detailed instructions to guide you to sponge cake success, so take a moment to read them through before you begin.
- Flavorful Preserves – During the assembly process, a thin, even layer of raspberry preserves is spread between the cake layers. This isn’t just for flavor; it’s a crucial element that infuses the sponge with additional moisture, keeping it tender and succulent. The preserves also introduce a delightful fruity sweetness and a subtle tartness that beautifully complements the other components. You can experiment with other red berry preserves like strawberry or cherry for a slight variation.
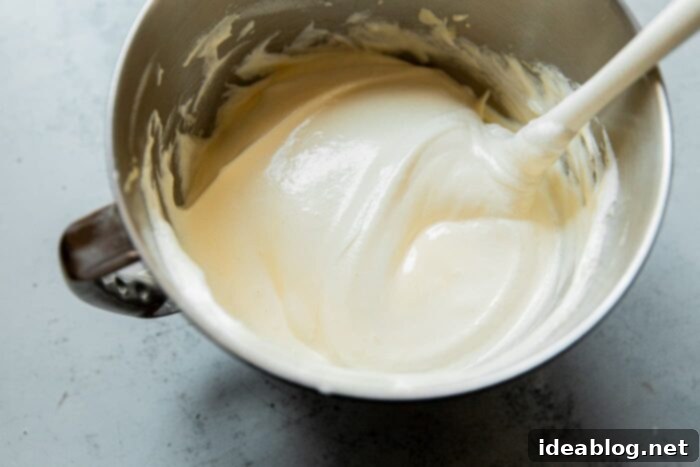
- Luscious Whipped Cream – To maintain the cake’s airy profile, we use a lightly sweetened whipped cream, generously flavored with pure vanilla extract. This cloud-like topping and filling envelopes the cake, adding a luxurious creaminess without ever weighing it down. The subtle vanilla notes enhance the natural sweetness of the berries, creating a truly harmonious flavor profile.
- Vibrant Fresh Berries – This summer berry cake truly shines with its abundance of ripe, seasonal berries. The inner layer is generously filled with thinly sliced strawberries, adding a juicy sweetness and soft texture. For the patriotic top decoration, vibrant blueberries form the ‘star’ field, while a colorful mix of raspberries and optional pitted red cherries create the striking ‘stripes’, offering a rustic yet stunning representation of the American flag. The combination of textures and flavors from fresh berries is simply unbeatable.

Essential Equipment You’ll Need for This Flag Cake:
Having the right tools on hand can make all the difference in achieving baking success and ensuring a smooth, enjoyable process. For this easy flag cake recipe, here’s a list of the key equipment that will help you create a beautifully structured and perfectly decorated dessert:
- Stand Mixer or Hand-Held Mixer – A powerful mixer is indispensable for achieving the light, airy texture required for the sponge cake and the perfectly whipped cream. A stand mixer fitted with a whisk attachment offers hands-free convenience, allowing you to focus on other steps. An electric hand mixer works equally well, though it requires a bit more manual effort.
- Half Sheet Pan – This specific size (approximately 18 x 13 inches) is crucial for baking the sponge cake into the ideal thin, rectangular shape. This ensures that when cut in half, you get two perfectly sized layers for your sheet cake assembly.
- Parchment Paper – Do not, under any circumstances, skip this step! Lining your sheet pan with parchment paper is very important for easy release of the delicate sponge cake. It prevents sticking and ensures your cake comes out in one perfect piece, ready for slicing and layering.
- Large Rubber Spatula and Offset Spatula – You’ll need a large rubber spatula for gently folding the delicate sponge cake batter, ensuring it remains airy. A large offset spatula is then essential for smoothly spreading the batter evenly into the pan and later for neatly applying the preserves and whipped cream layers, as well as for decorating the cake.
- Serrated Knife – A long serrated knife will be your best friend for cleanly and precisely cutting the cooled sponge cake into two equal rectangles without tearing or compressing the delicate crumb.
- Fine-Meshed Sieve – Useful for dusting powdered sugar onto your kitchen linen, creating a non-stick surface for inverting the warm sponge cake.
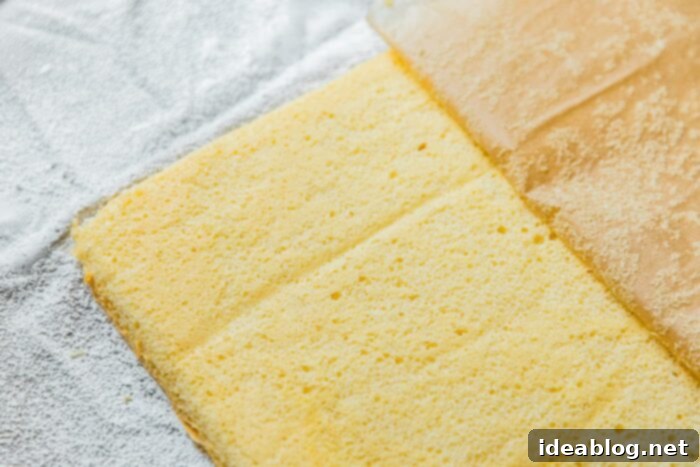
How to Assemble Your Stunning Flag Cake: A Step-by-Step Overview
Once your beautiful vanilla sponge cake is baked and cooled, and your fillings are prepared, assembling this delicious Flag Cake is a joyful and straightforward process. This simplified layering method makes it an accessible project for any home baker looking to create a memorable dessert. Here’s a concise overview of the assembly steps:
STEP ONE: Slice the Sponge Cake. Using a large serrated knife, carefully cut your cooled sponge cake in half cross-wise to create two equal-sized rectangular layers. Precision here ensures a symmetrical cake. Gently lift one piece and carefully transfer it to a clean, parchment-lined half sheet pan or a flat serving platter. This will be your bottom layer, so ensure it’s positioned where you plan to serve it.
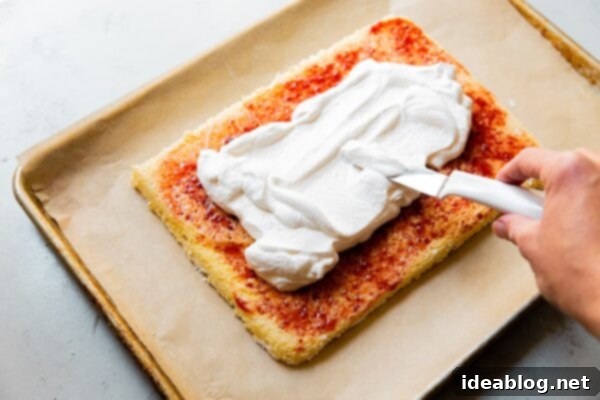
STEP TWO: Apply Preserves and Whipped Cream. With a small offset spatula, spread approximately half of your prepared raspberry preserve mixture into a very thin, even layer over the bottom cake layer, extending to all edges. This adds moisture and a burst of fruitiness. Follow this with roughly half of the sweetened whipped cream, spreading it smoothly and evenly until it covers the preserves and reaches the cake’s perimeter.
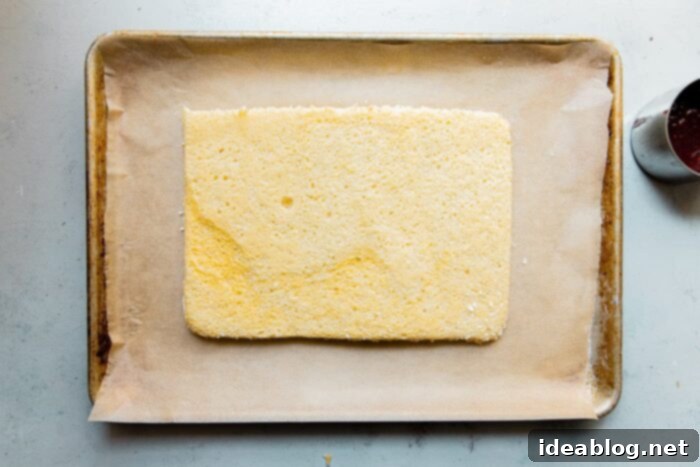
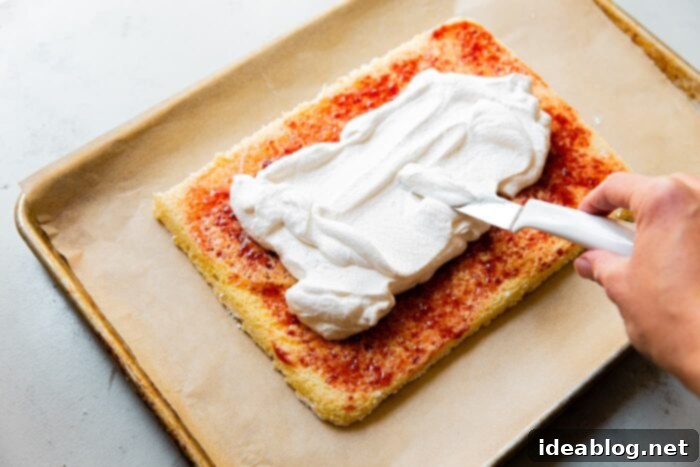
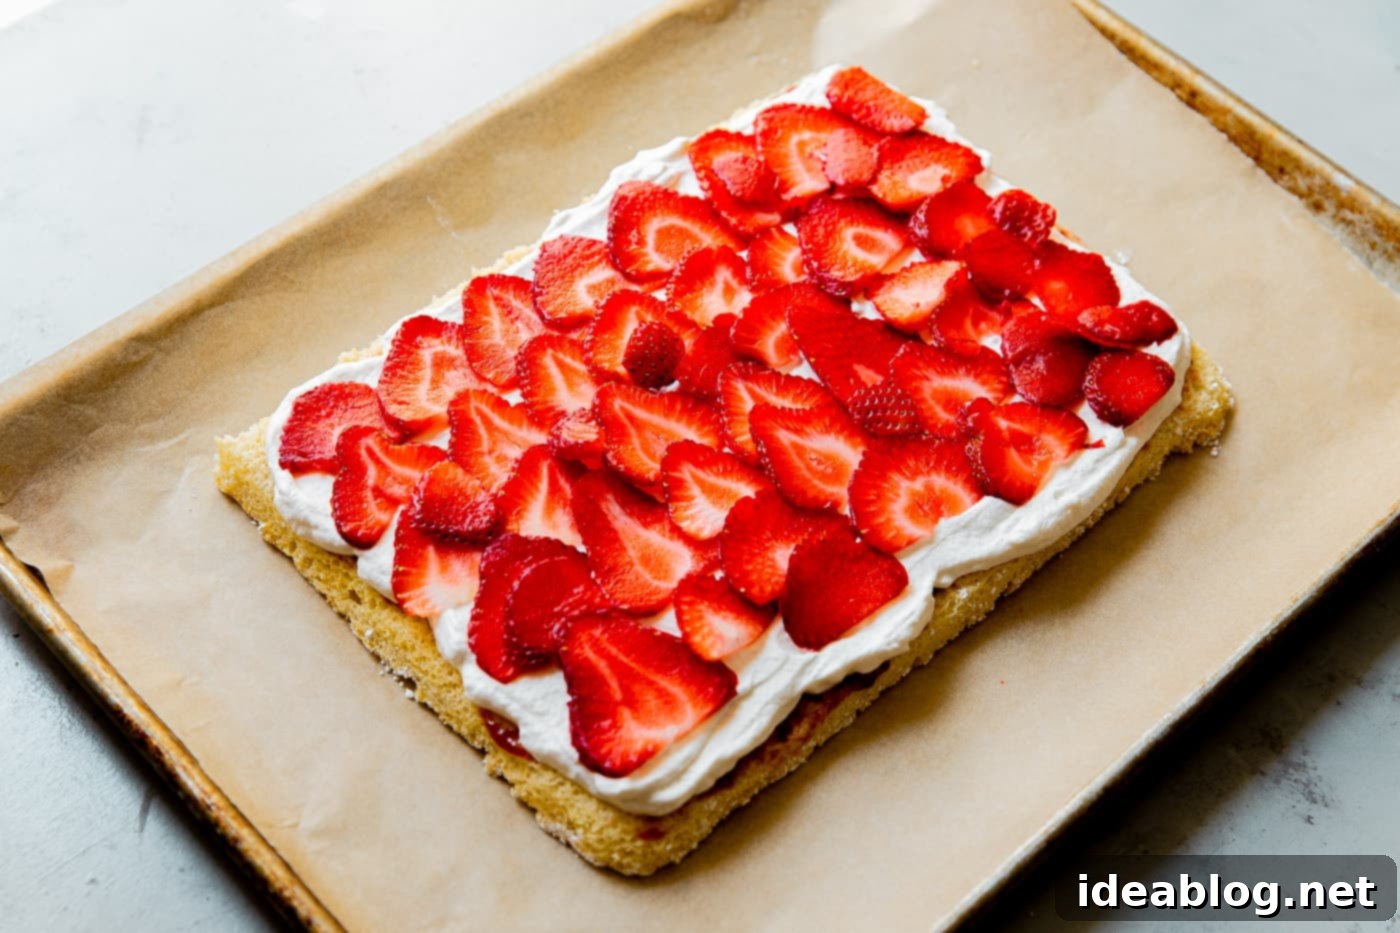
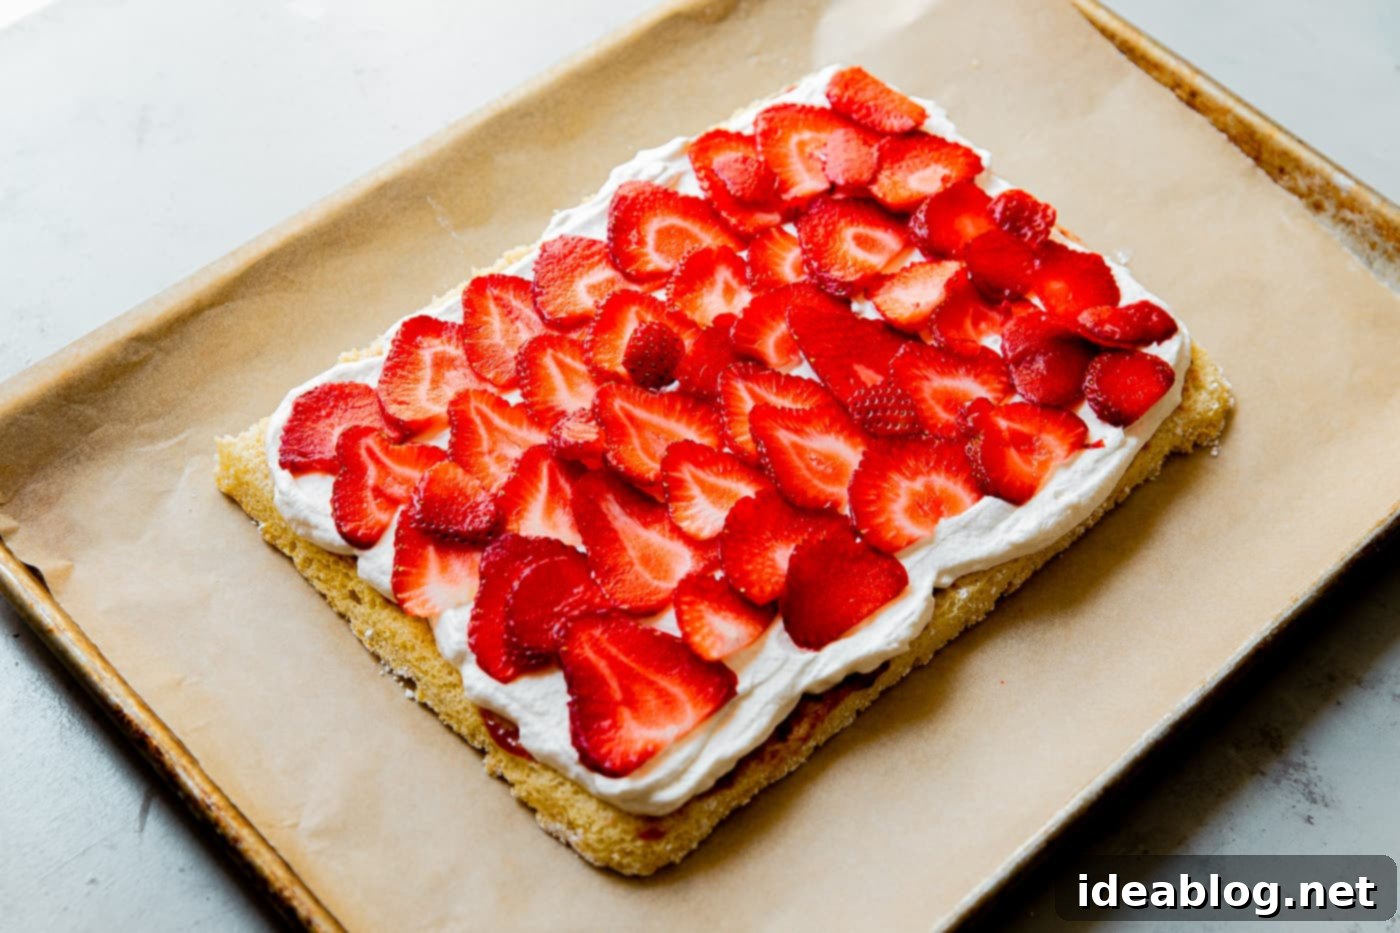
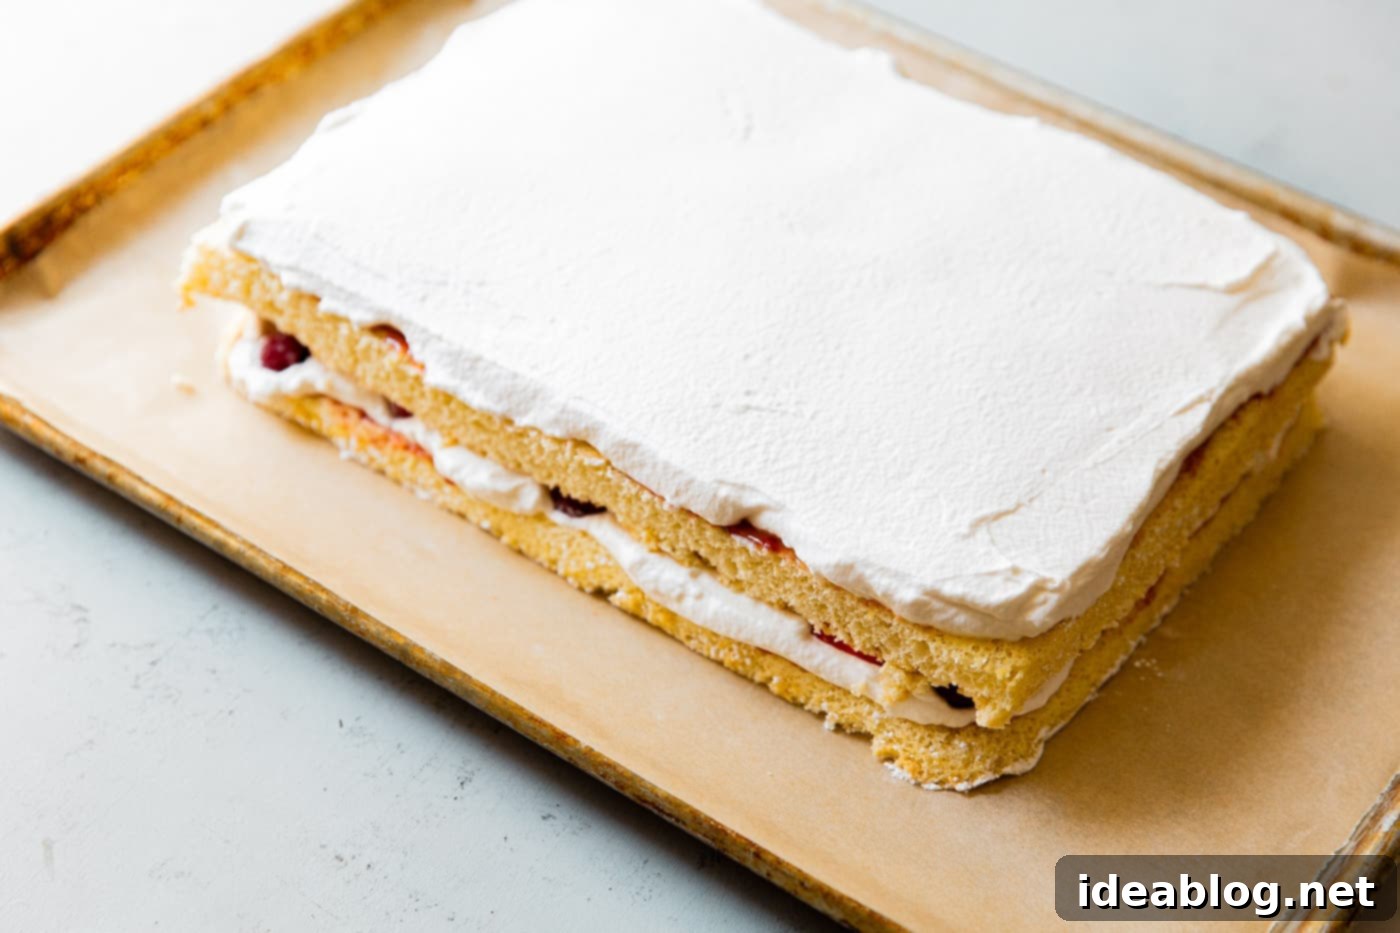
STEP THREE: Add Strawberries and Top Layer. Arrange your thinly sliced strawberries over the whipped cream layer. Overlap them slightly to ensure the entire surface is covered, creating a juicy, vibrant internal layer. Carefully place the remaining sponge cake layer on top, aligning it precisely. This forms the second tier of your dessert. Finish by spreading the remaining raspberry preserves over this top layer, followed by the rest of the whipped cream, creating a smooth, inviting surface ready for decoration.
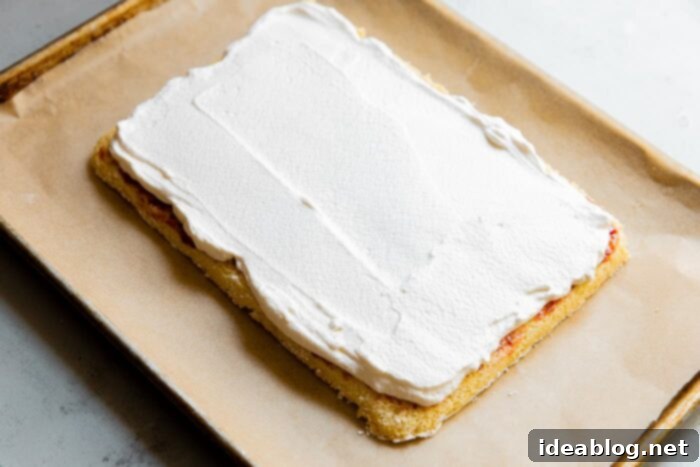
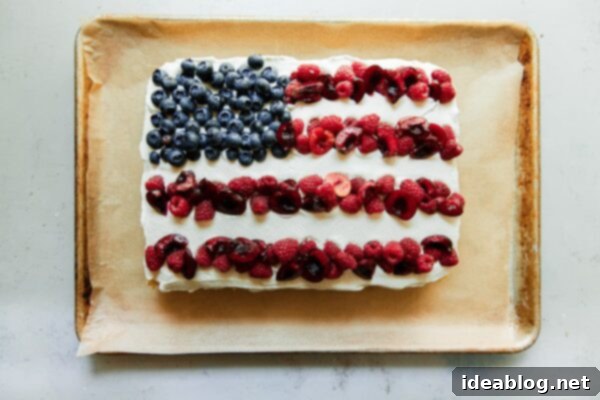
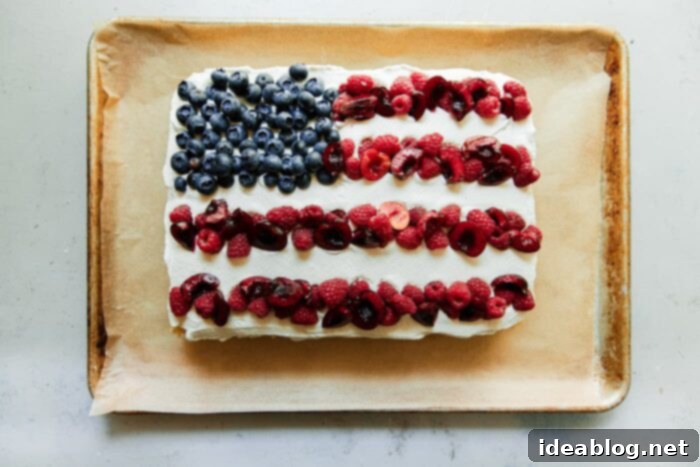
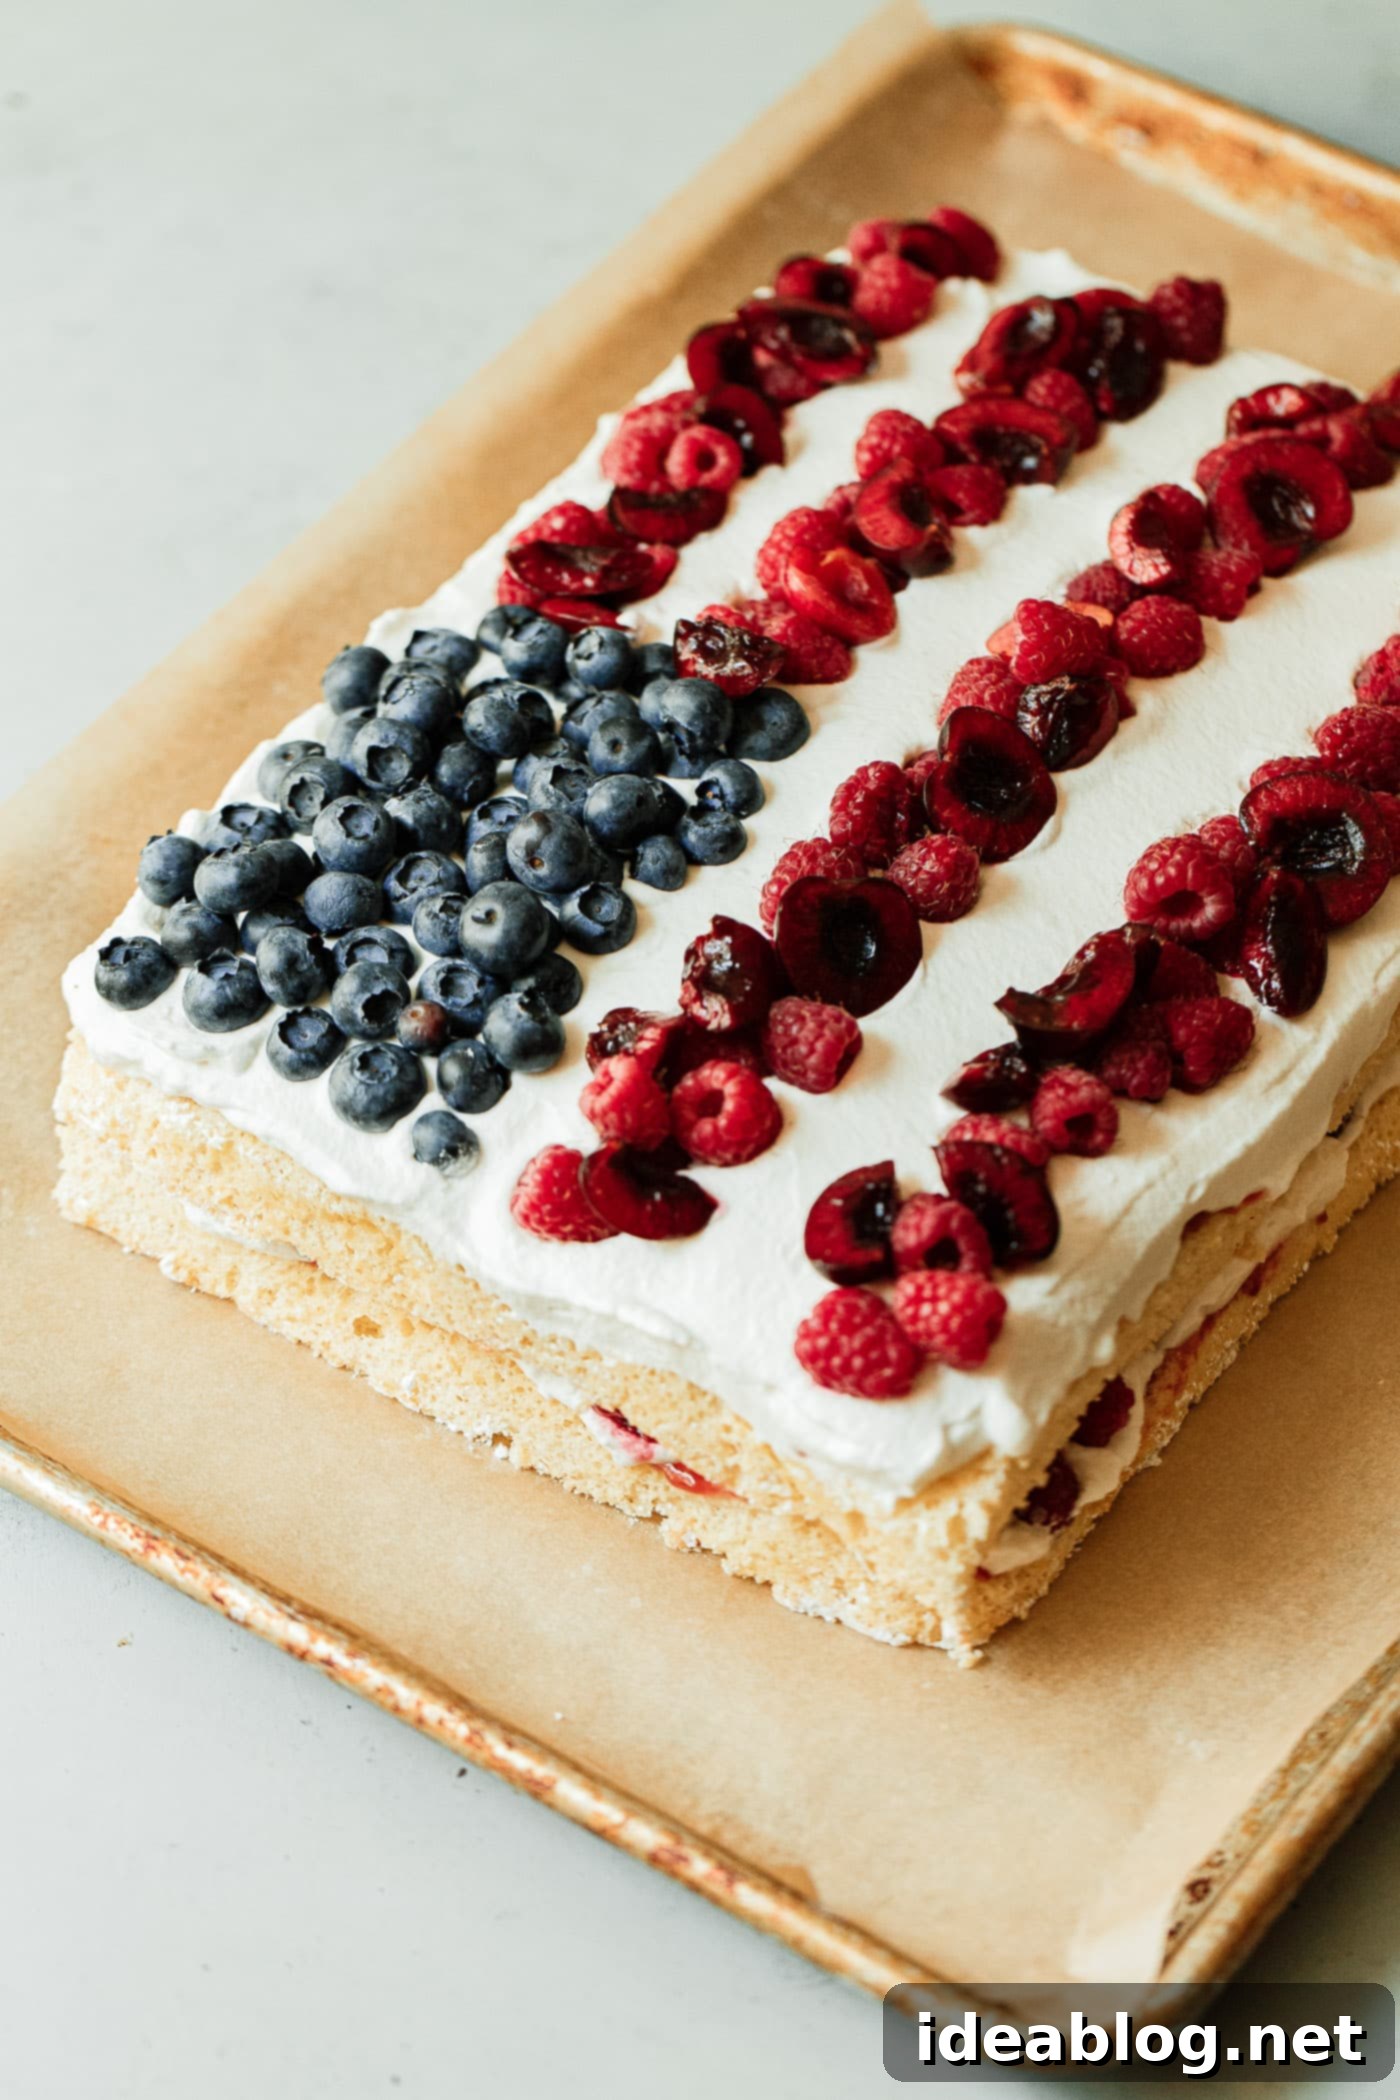
STEP FOUR: Create the American Flag Design. Now for the fun, patriotic part! Arrange the fresh blueberries in the top left corner of the cake to form the ‘star’ portion of the American flag. I personally prefer a generous, organic quantity of blueberries rather than strict, even rows for a more rustic and bountiful look. To create the iconic ‘stripes’, artfully arrange a mixture of raspberries and pitted red cherries (if using) in four distinct horizontal rows across the remaining surface of the cake. This creates a visually stunning and delicious edible flag.
Tips for Sponge Cake Success
Achieving a perfect sponge cake is crucial for this light and airy Flag Cake. Here are some essential tips to ensure your sponge turns out beautifully every time:
- Room Temperature Eggs: This is non-negotiable! Room temperature eggs whisk up to their maximum volume, creating a stable, airy foam that is the hallmark of a great sponge cake. Plan ahead and take your eggs out of the fridge at least 30 minutes to an hour before you start baking.
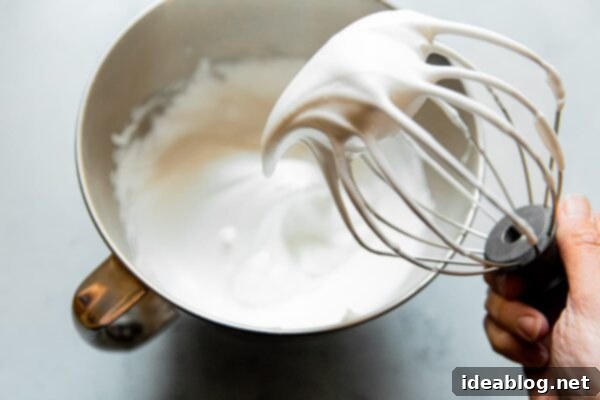
- Whip Egg Whites to Medium Peaks: When beating the egg whites, aim for medium peaks. They should hold their shape when you lift the whisk, but the tip should gently curl over. Over-whipping can make them dry and difficult to fold, while under-whipping won’t provide enough structure.
- Gentle Folding is Key: The air incorporated into the egg whites is what makes your sponge cake light. When folding in the egg yolks and then the sifted flour, use a large rubber spatula and a gentle, upward motion. Be careful not to deflate the mixture. It’s okay if it deflates slightly, but excessive mixing will result in a dense cake.
- Sift Your Flour: Sifting cake flour before adding it to the batter removes any lumps and aerates the flour, making it easier to incorporate smoothly and preventing a heavy texture. Cake flour, specifically, creates a more tender crumb than all-purpose flour.
- Don’t Overbake: Sponge cakes bake quickly due to their thinness. Keep a close eye on it, as overbaking can lead to a dry cake. It’s done when lightly golden and springs back gently when touched.
- Invert Immediately: As soon as the cake comes out of the oven, invert it onto a sugar-dusted linen. This quick action helps prevent the cake from sticking to the pan and allows it to cool without losing its delicate structure.
Creative Variations Beyond the Flag Design
While this recipe is designed to celebrate with a patriotic theme, its delicious components offer endless possibilities for other occasions. This versatile berry cake can be adapted beautifully:
- Seasonal Berry Delight: Skip the flag arrangement and simply scatter a generous mix of any seasonal berries (blackberries, sliced peaches, kiwis) over the top for a vibrant summer fruit tart-like appearance.
- Chocolate Lover’s Dream: Drizzle melted chocolate over the whipped cream before adding berries, or swap the vanilla whipped cream for a chocolate version.
- Lemon Zest Infusion: Add lemon zest to your sponge cake batter and whipped cream for a bright, citrusy twist that pairs wonderfully with berries.
- Different Preserves: While raspberry is classic, try strawberry, cherry, or even apricot preserves for a different fruity base layer.
- Individual Servings: Instead of cutting into two large rectangles, you could cut the sponge cake into smaller squares or circles before layering for individual mini cakes.
Flag Cake Preparation and Storage Tips:
One of the many advantages of this Flag Cake recipe is its excellent make-ahead potential, allowing you to focus on your guests and festivities rather than last-minute baking stress. The flavors of this cake actually tend to meld and improve slightly when given a bit of time to rest.
The entire flag cake can be conveniently assembled and beautifully decorated 1 to 2 days ahead of when you plan to serve it. To store it properly, lightly cover the finished cake with plastic wrap. It’s best to drape the plastic wrap carefully, avoiding direct contact with the delicate whipped cream to prevent it from sticking or getting damaged. Then, simply store it in the refrigerator until you’re ready to enjoy.
When it’s time to serve your masterpiece, remove the cake from the refrigerator and let it sit at room temperature for approximately 10 to 15 minutes before slicing and serving. This brief period allows the cake layers and whipped cream to soften slightly, ensuring a more pleasant texture and optimal flavor experience. Serve chilled, but not ice-cold, for the best taste.
Flag Cake Recipe
Pin
Review
SaveSaved!
Prep Notes: The flag cake can be assembled and decorated 1 to 2 days (the flavors actually improve slightly) ahead of serving. Lightly cover and drape with plastic wrap – avoiding the whipped cream – and store in the refrigerator. Allow to sit at room temperature for 10-15 minutes before serving for optimal texture.
Equipment
-
KitchenAid 5 Qt. Artisan Stand Mixer (or electric hand mixer)
-
Half Sheet Pan (approx. 18×13 inches)
-
Natural Parchment Paper
-
Large Rubber Spatula and Offset Spatula
-
Large Serrated Knife
-
Fine-Meshed Sieve
Ingredients
For the Sponge Cake:
- unsalted butter or baking spray for greasing the pan
- 6 large eggs, room temperature whites and yolks separated
- 1 cup (200g) granulated sugar divided
- 1 teaspoon pure vanilla extract
- 1 cup (120g) cake flour, sifted if not using a scale, fluff flour well, scoop, and level with back of knife
- ⅓ cup (40g) powdered sugar for dusting
For the Preserve and Whipped Cream Filling:
- ½ cup (150g) raspberry preserves I recommend St. Dalfour or Bonne Maman brand for best flavor and texture
- 1-2 teaspoons fresh lemon juice if needed for thinning preserves (or water)
- 2 cups (1 pint; 475mL) cold heavy cream
- 1½ teaspoons pure vanilla extract
- ¼ cup (24g) powdered sugar
For the Berry Decoration:
- 7-8 ounces strawberries hulled and very thinly sliced
- 3-4 ounces (¾ cup) blueberries
- 6 ounces raspberries
- 3-4 ounces red cherries pitted and halved (optional, but adds nice color)
Instructions
Prepare and Bake Sponge Cake:
-
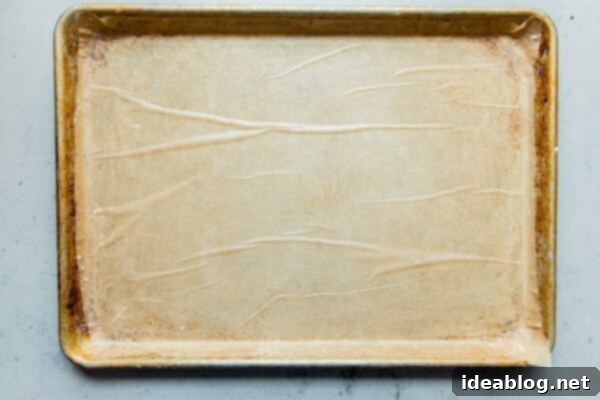
Preheat your oven to 375°F (190°C) with an oven rack positioned in the center. Lightly grease a half sheet pan (approximately 18 x 13-inches) with unsalted butter or a baking spray. Carefully line the pan with parchment paper, allowing some overhang on the longer sides for easy lifting. Then, lightly grease the parchment paper once again. Set the prepared pan aside.

-
Place the room temperature egg whites into the clean bowl of a stand mixer fitted with a whisk attachment (ensure no grease or yolk is present). Start whisking on low speed for 30 seconds to 1 minute, or until the whites become light and foamy. Gradually increase the speed to medium-high and slowly sprinkle in ½ cup (100g) of the granulated sugar. Continue beating until the mixture reaches medium peaks. Note: When you lift the whisk attachment from the bowl, the peak of the beaten whites should tip over gracefully but not fall. Carefully transfer this fluffy egg white mixture to a separate large, clean mixing bowl and set aside while you prepare the egg yolk mixture.

-
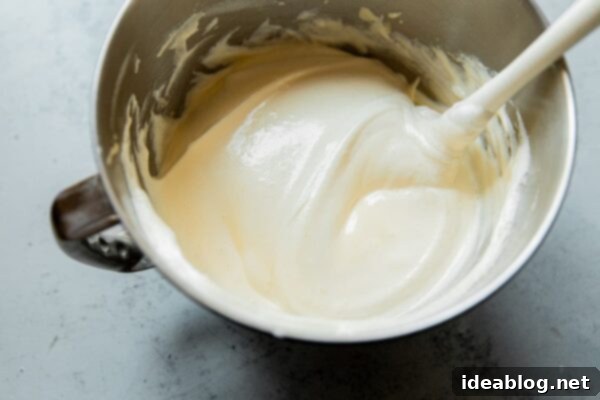
Wipe the stand mixer bowl clean. Add the egg yolks, the remaining ½ cup (100g) granulated sugar, and the pure vanilla extract to the bowl. Using the whisk attachment, beat this mixture over high speed until it becomes thick, ribbony, and pale yellow in color, which should take approximately 3 minutes. Remove the bowl from the stand mixer. Add roughly one-third of the whipped egg whites to the beaten yolk mixture. Using the whisk attachment still in hand, gently stir them together until the mixture is visibly lightened in texture. Then, using a large rubber spatula, gently fold in the remaining egg whites in two separate additions, taking care not to deflate the airy mixture you’ve created.

-
Next, sprinkle roughly one-quarter of the sifted cake flour over the batter and gently fold it in with your large rubber spatula until just combined. Repeat this process with three more additions until all of the flour has been evenly incorporated, and the batter appears airy and smooth. Be sure to scrape the sides and bottom of the bowl to ensure all dry ingredients are fully mixed without overworking. It’s natural for the batter to deflate slightly during this stage, so don’t worry.
Carefully transfer the prepared batter into the greased and parchment-lined half sheet pan. Using a large offset spatula, gently spread the batter into an even layer, ensuring it reaches all edges and fills the entire pan uniformly.
-
Gently transfer the sheet pan to the preheated oven and bake for 10 to 12 minutes, or until the cake is lightly golden in color and springs back when lightly touched in the center. As the cake bakes, prepare your cooling surface: lay a clean kitchen linen (with the long edge facing you) onto a large working surface. Using a fine-meshed sieve, generously dust the entire linen with the reserved ⅓ cup (40g) powdered sugar.
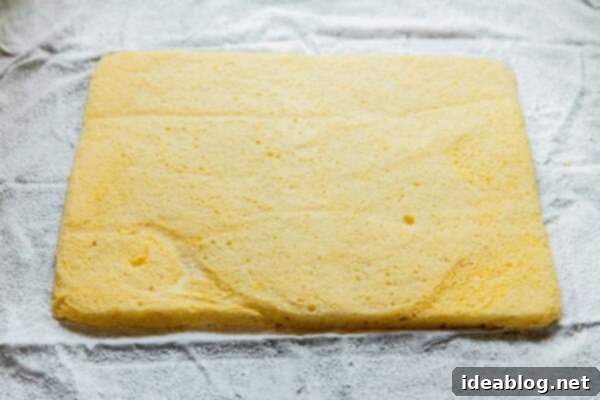
As soon as the cake is removed from the oven, immediately run a thin knife along the edges of the pan to loosen the cake. Wearing kitchen mitts and with the long edge of the pan facing you, carefully and quickly invert the hot sheet pan and cake onto the powdered sugar-dusted linen in one swift motion. Peel off the parchment paper. Allow the sponge cake to cool completely to room temperature – this typically takes about 30-45 minutes – before you begin assembling and decorating.

Assemble and Decorate the Flag Cake:
-
Note for Jam Preserves: The consistency of your raspberry preserves is important. Depending on their thickness, you may need to thin them down slightly to ensure they spread easily without tearing the delicate cake layers. I find fresh lemon juice works wonderfully, adding a lovely bright punch of flavor, but a tiny bit of water will also do the trick! Add 1-2 teaspoons at a time to the preserves and whisk to combine until it reaches a spreadable, relatively thin consistency. Use your best judgment to achieve the right texture.
-
In a very clean stand mixer bowl, combine the chilled heavy cream, powdered sugar, and vanilla extract. Using the whisk attachment, begin whipping over low speed, gradually increasing to medium-high. Continue to beat the cream until it is thick and forms medium peaks – be careful not to over-whip, or it may become grainy. Set aside.
Using your large serrated knife, carefully cut the cooled sponge cake in half cross-wise to create two equal-sized rectangular layers. Gently lift one piece and transfer it to a clean, parchment-lined half sheet pan (or your chosen flat serving platter) for convenient serving and decorating.
-
Using an offset spatula, spread half of the thinned raspberry preserve onto the first cake layer, creating a thin, even coating. Top this with half of the freshly sweetened whipped cream, spreading it into an even layer that extends to all the edges of the cake.

-
Generously top the whipped cream layer with your thinly sliced strawberries, overlapping them slightly until they fully cover the surface of the cream. Carefully place the remaining sponge cake layer directly on top, aligning it evenly. Follow this with a final layer of the remaining raspberry preserves, spread thinly, and then gently spread the remaining whipped cream over the top surface of the cake, ensuring it’s smooth and even.

-
Now, it’s time to bring your American Flag Cake to life! Arrange the blueberries in the top left corner of the cake to create the ‘star’ portion of the flag. I find that a generous quantity of blueberries, arranged somewhat organically rather than in strict rows, creates a more appealing and rustic look. For the ‘red stripes’, arrange a vibrant mixture of raspberries and pitted cherry halves (if using) in four distinct horizontal rows across the remaining surface of the cake. Take your time to create neat, attractive lines.

-
Prep and Storage Instructions: Your beautiful flag cake can be assembled and decorated 1 to 2 days before serving, if needed. In fact, allowing it to rest for a day often allows the flavors to deepen and meld wonderfully. To store, lightly cover the cake with plastic wrap, being careful to avoid direct contact with the whipped cream. Keep it refrigerated until you are ready to serve. For the best taste and texture, remove the cake from the fridge about 10 to 15 minutes before slicing and serving.
Prep and Storage Notes:
- The flag cake is an ideal make-ahead dessert! It can be fully assembled and decorated 1 to 2 days before you plan to serve it. This resting period often allows the delicate flavors to meld beautifully, enhancing the overall taste experience.
- To store, loosely cover the cake with plastic wrap, being careful not to press it directly onto the whipped cream to preserve its fluffy texture. Keep the cake in the refrigerator until ready to be served.
- For optimal serving, remove the cake from the fridge about 10 to 15 minutes prior to slicing. This brief time at room temperature will allow the cake and cream to soften slightly, offering a more pleasant texture and flavor.
