Mastering the Art of Homemade Pie Dough: Your Ultimate Guide to Flaky, Tender, and Shrink-Free Crusts
Tips for fool-proof pie dough! No more shrinking or tough crusts and less stress.

As the holiday season approaches, especially with big events like Thanksgiving just around the corner, the kitchen often becomes a hub of activity – and sometimes, a source of stress. Between meticulously planning grocery lists, fine-tuning menus, arranging seating, and handling all those last-minute preparations, it’s easy to feel overwhelmed. But take a deep breath; you’ve got this! And when it comes to creating the perfect homemade pie, one of the most common culinary anxieties revolves around the crust: will it be flaky? Will it shrink? Will it be tough?
Fear not, aspiring pie bakers! I’m here to share my absolute favorite, tried-and-true tips for producing consistently great, wonderfully flaky, and stubbornly no-shrink homemade pie dough. These essential principles, while focused on pie, are largely applicable to many other varieties of pastry dough as well. My aim is to make your pie-making experience not just less stressful, but also more consistent, enjoyable, and ultimately, more rewarding. Print these tips, keep them handy, and get ready to transform your pie crust game from frustrating to fantastic!
The Foundation of Flawless Pie Dough: Precision and Preparation
Achieving a perfect pie crust starts long before your hands touch the dough. It begins with meticulous planning and precise measurements. These foundational steps are non-negotiable for consistent, professional-quality results.
-
Read the Recipe, Plan Your Timeline, and Embrace Gram Measurements
Before you even think about gathering ingredients, immerse yourself in your chosen recipe. Read it not once, but two or three times. This thorough review helps you understand the entire process, identify potential tricky spots, and visualize each step. Pay close attention to the instructions for dough preparation, chilling times, and baking temperatures. Once you’ve internalized the process, create a simple timeline. Knowing when to start chilling butter, when to mix the dough, and when it needs its rest periods will significantly reduce last-minute panic.
Crucially, when selecting a recipe for pastry dough, prioritize those that provide ingredient measurements in grams or ounces, rather than just volumetric cups. This brings us to the most significant factor in producing consistent, flaky, and truly fabulous pastry: scaling ingredients with a digital kitchen scale. Unlike volumetric measurements, which can vary wildly, a gram is always a gram, ensuring accuracy and repeatability every single time.
-
Scale Your Ingredients: The Gold Standard for Consistency
This point cannot be stressed enough. Weighing your ingredients is the single most important step for consistent baking results, especially with delicate pastry dough. Consider flour: a “cup” of flour can vary by as much as ¼ cup or more depending on how it’s scooped and packed. This seemingly small variation can drastically alter the hydration of your dough, leading to tough, dry, or sticky results. By weighing your flour (and all other dry and semi-solid ingredients like butter), you guarantee the exact ratios the recipe intended, removing all guesswork and variability.
Investing in a good digital kitchen scale is perhaps the best upgrade any home baker can make. It transforms baking from an art of approximation into a science of precision, giving you the control needed to produce reliably perfect pie dough every time. This precision ensures that your dough has the optimal balance of flour, fat, and liquid, which is essential for developing that desirable flaky texture and preventing common issues like shrinking or toughness.
The Cold Truth: Temperature Control is Key
The secret to wonderfully flaky pie dough lies in keeping your ingredients, tools, and environment as cold as possible. This prevents the butter from melting too quickly and allows it to create distinct layers within the dough, which expand into those coveted flakes during baking.
-
Work in a Cool Kitchen and Chill Everything
Butter is the heart of flaky pie dough, and keeping it cold is paramount. Try your best to work in a cool kitchen environment. If it’s a hot day, consider turning on the air conditioning or baking early in the morning before temperatures rise. More importantly, pre-chill everything that will come into contact with your dough: your mixing bowl (especially if it’s metal), your dry ingredient mixture (flour, salt, sugar), your butter, and even your hands or any pastry tools you’ll be using. Placing these items in the freezer or refrigerator for 15-30 minutes before you start will give you a significant advantage.
When butter stays firm and cold, it gets incorporated into the flour in small, distinct pieces. These tiny pockets of butter melt in the hot oven, releasing steam that pushes apart the layers of dough, resulting in that light, airy, and unmistakably flaky texture. Warm butter, on the other hand, will simply mix into the flour, leading to a dough that’s more like a cookie crust – dense and tough, rather than tender and flaky.
-
Chill Your Dough: The Essential Rest Period
Once your dough is mixed, it needs a crucial rest period in the refrigerator. Chill your dough for at least an hour or two – though preferably overnight – before you even think about rolling or shaping it. This chilling serves multiple vital purposes. Firstly, it allows the gluten in the flour to relax. When you mix dough, gluten strands develop, making the dough elastic. If you try to roll it immediately, the gluten will resist, causing the dough to snap back and making it difficult to achieve an even thickness. Relaxed gluten means a more pliable dough that’s easier to roll and less prone to shrinking during baking.
Secondly, chilling ensures your butter is absolutely COLD! This reinforces the goal of keeping distinct butter pieces, maximizing the flakiness potential. A properly chilled dough is also firmer, making it much easier to handle without becoming sticky or tearing. This rest period is not a suggestion; it’s a fundamental step that contributes significantly to both the workability of your dough and the final texture of your pie crust.
Expert Techniques for Rolling and Shaping Your Crust
Once your dough is perfectly chilled, the way you handle and roll it can make all the difference between a rustic, uneven crust and a beautifully even, professional-looking one.
-
Master the Art of Rolling with a Ruler
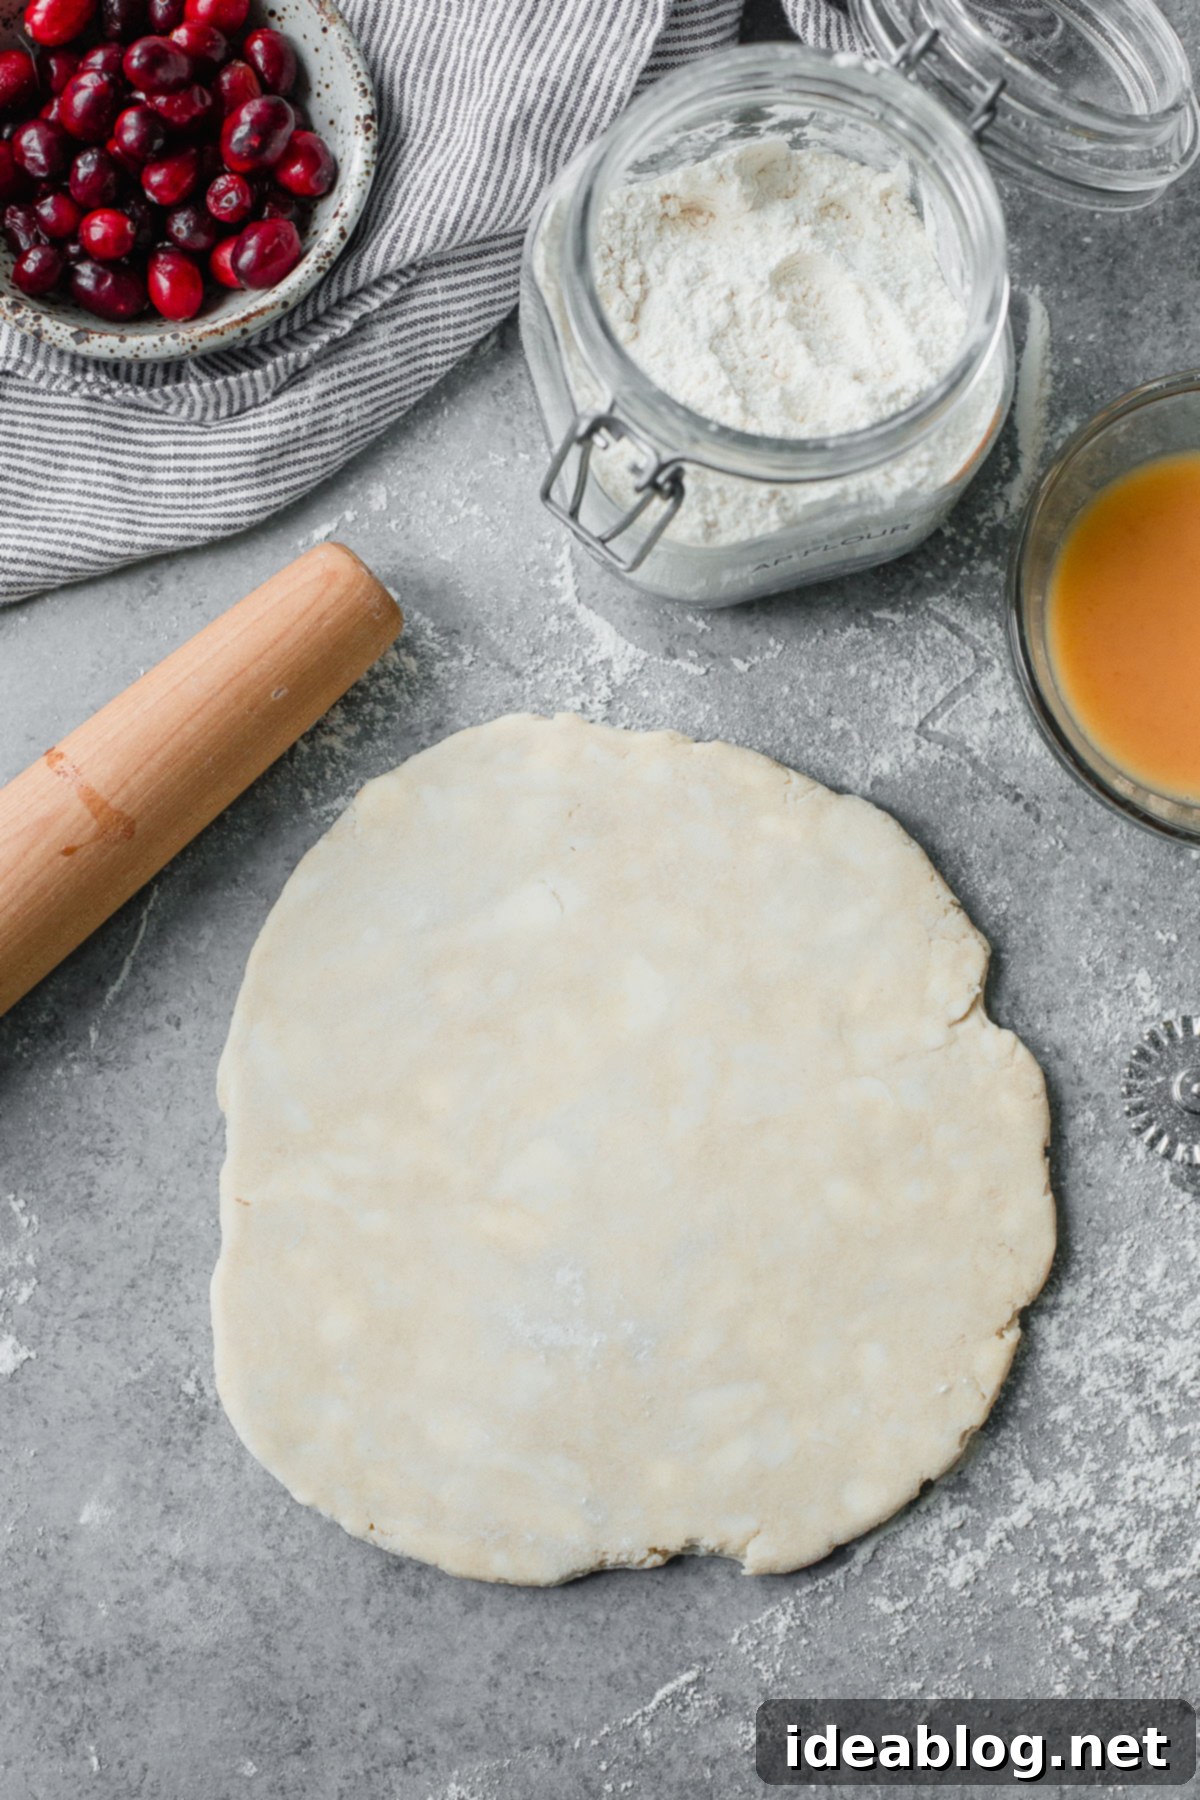
When it’s time to roll, remember the goal is even thickness and a consistent shape. Begin rolling your dough from the center outwards, using gentle, short strokes. Avoid pressing down too hard or making long, sweeping motions, which can stretch the dough unevenly. Continuously rotate and flip your dough throughout the rolling process. This prevents it from sticking to your work surface and helps ensure an even thickness across the entire sheet. A light dusting of flour on your surface and rolling pin is acceptable, but use it sparingly.
Keep a ruler handy! This simple tool is incredibly useful for checking that your dough is rolled to a uniform thickness, typically around 1/8 to 1/4 inch, depending on your recipe. An evenly rolled crust will bake more consistently, preventing burnt edges or undercooked spots. The goal is a large, even circle (or whatever shape your pie dish requires) that can be easily transferred without tearing.
-
Brush Away Excess Flour
As you roll your dough, you’ll likely use a light dusting of flour on your work surface and rolling pin to prevent sticking. Before transferring the dough to your pie plate, it’s crucial to brush off any excess flour from its surface. You don’t want any stray flour clinging to the dough if you can help it. Why? Extra flour can dehydrate portions of your dough, leading to dry, tough spots in the baked crust. It can also interfere with the browning process and sometimes leave a powdery residue.
A soft pastry brush is ideal for this task. Gently sweep away any visible flour from both sides of the dough. This simple step ensures that your crust bakes to an even golden brown and retains its tender, flaky texture throughout.
Preventing the Dreaded Shrinkage and Perfecting the Bake
One of the most common complaints about homemade pie crusts is shrinking in the oven. But with the right technique and a little patience, this problem can be easily avoided.
-
To Prevent Shrinking: Chill Your Shaped Pie Crust
This is arguably the most critical step to prevent your beautiful pie crust from shrinking away from the edges of your pie plate. Once you’ve shaped your pie crust in its pan, whether it’s a single bottom crust or a full double-crust pie, you must chill it again. For a single crust that will be blind-baked, chill it for at least an hour or two (or even longer) before blind-baking. This gives the gluten one last chance to relax and the butter to firm up completely.
For a double-crust pie, first chill the bottom crust for about 30 minutes after placing it in the pan. Then, add your filling and top with the second crust. Once the entire pie is assembled and crimped, chill the whole pie in the refrigerator for at least an hour before baking. This final chill is vital: when the cold dough hits the hot oven, the butter will immediately begin to steam, creating flakiness, while the relaxed gluten ensures the crust holds its shape rather than contracting. This technique dramatically reduces the risk of shrinkage, giving you a perfectly formed, sturdy crust every time.
-
Preheat Thoroughly and Add Finishing Touches
Never place a pie into a cold or insufficiently preheated oven. Preheat your oven for at least 20 minutes, or even longer, beyond the point it indicates it has reached the target temperature. Ovens fluctuate, and this extra time ensures that the oven walls and racks are fully saturated with heat, providing a consistent and powerful baking environment from the moment your pie enters. A hot oven delivers an initial burst of heat that helps the butter in the dough release steam quickly, contributing to maximum lift and flakiness.
For a beautiful, professional finish, brush the top crust with an egg wash (a simple whisked egg with a splash of water or milk). This will give your pie a gorgeous shiny, golden-brown crust. For an extra touch of texture and sparkle, sprinkle the top with demerara sugar before baking. The coarse sugar crystals add a delightful crunch and a hint of sweetness, elevating both the appearance and the experience of your homemade pie.
The Golden Rule Revisited: Consistency Through Measurement
Weighing your ingredients isn’t just a suggestion; it’s a fundamental principle that underpins all successful baking, especially when it comes to the delicate balance of pie dough. As mentioned previously, and worth reiterating for emphasis:
-
Yes, It’s Worth Repeating: Weigh Everything!
Every professional baker will tell you: baking is a science. While creativity certainly plays a role, precision in ingredient measurement is non-negotiable for consistent results. We’ve discussed how a “cup” of flour can vary significantly. This variability extends to butter, sugar, and even liquids if you’re not careful. Grams provide an unchanging standard. By weighing every single ingredient—flour, butter, sugar, salt, and even water if your recipe specifies—you eliminate variables that can derail your pie dough.
This commitment to accurate scaling ensures that the hydration, fat content, and overall balance of your dough are perfect, exactly as intended by the recipe. It’s the ultimate secret to taking the guesswork out of baking and ensuring that your homemade pie crusts are consistently flaky, tender, and robust, batch after delicious batch. Make a digital scale your best friend in the kitchen, and you’ll unlock a new level of baking confidence and success.
