How to Spatchcock a Chicken: The Ultimate Guide for Crispy, Evenly Cooked Roasts
Welcome to the ultimate guide on how to spatchcock (or butterfly) a whole chicken – a transformative technique that will revolutionize your approach to roasting poultry. If you’ve ever struggled with unevenly cooked chicken, dry breast meat, or soggy skin, spatchcocking is the simple, game-changing solution you’ve been searching for. This method isn’t just a culinary trick; it’s the easiest, fastest, and most consistent way to achieve a perfectly roasted chicken, complete with incredibly crispy skin and juicy, tender meat throughout. Best of all? No complicated trussing required!
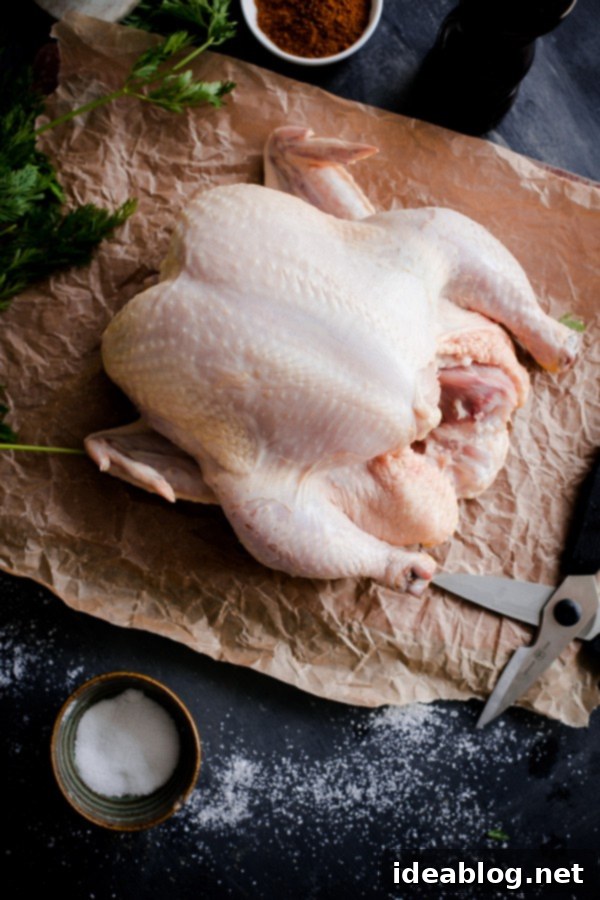
Spatchcocking is widely considered the superior method for roasting chicken, and for good reason. While the term “spatchcocking” technically refers to splitting open poultry for grilling, we’ll be focusing on its incredible benefits for oven roasting today. Once you master this straightforward technique, you’ll likely find yourself ditching traditional roasting methods for good.
For those already familiar with the spatchcocking method, consider elevating your cooking with these delicious recipes: try this classic spatchcock chicken recipe for a flavorful and straightforward meal, or explore the rich spices of a Middle Eastern roast chicken. These dishes truly highlight the advantages of a butterflied bird.
In our kitchen, spatchcocked chicken is a weekly staple. We love enjoying the freshly roasted chicken for dinner, and the leftovers are fantastic for various meals throughout the week. Imagine adding succulent roasted chicken to this incredible guacamole greens salad, or incorporating it into sandwiches, tacos, or pasta dishes. It’s also an excellent choice for a smaller, more intimate Thanksgiving gathering, offering a more manageable cooking time and consistently delicious results compared to a whole, un-spatchcocked turkey.
Seriously, once you experience the ease, speed, and delicious outcome of roasting a chicken this way, I can almost guarantee that you’ll never return to a traditional, trussed roast chicken. The difference is truly remarkable.
What is Spatchcocked Chicken (or Butterflied Chicken)?
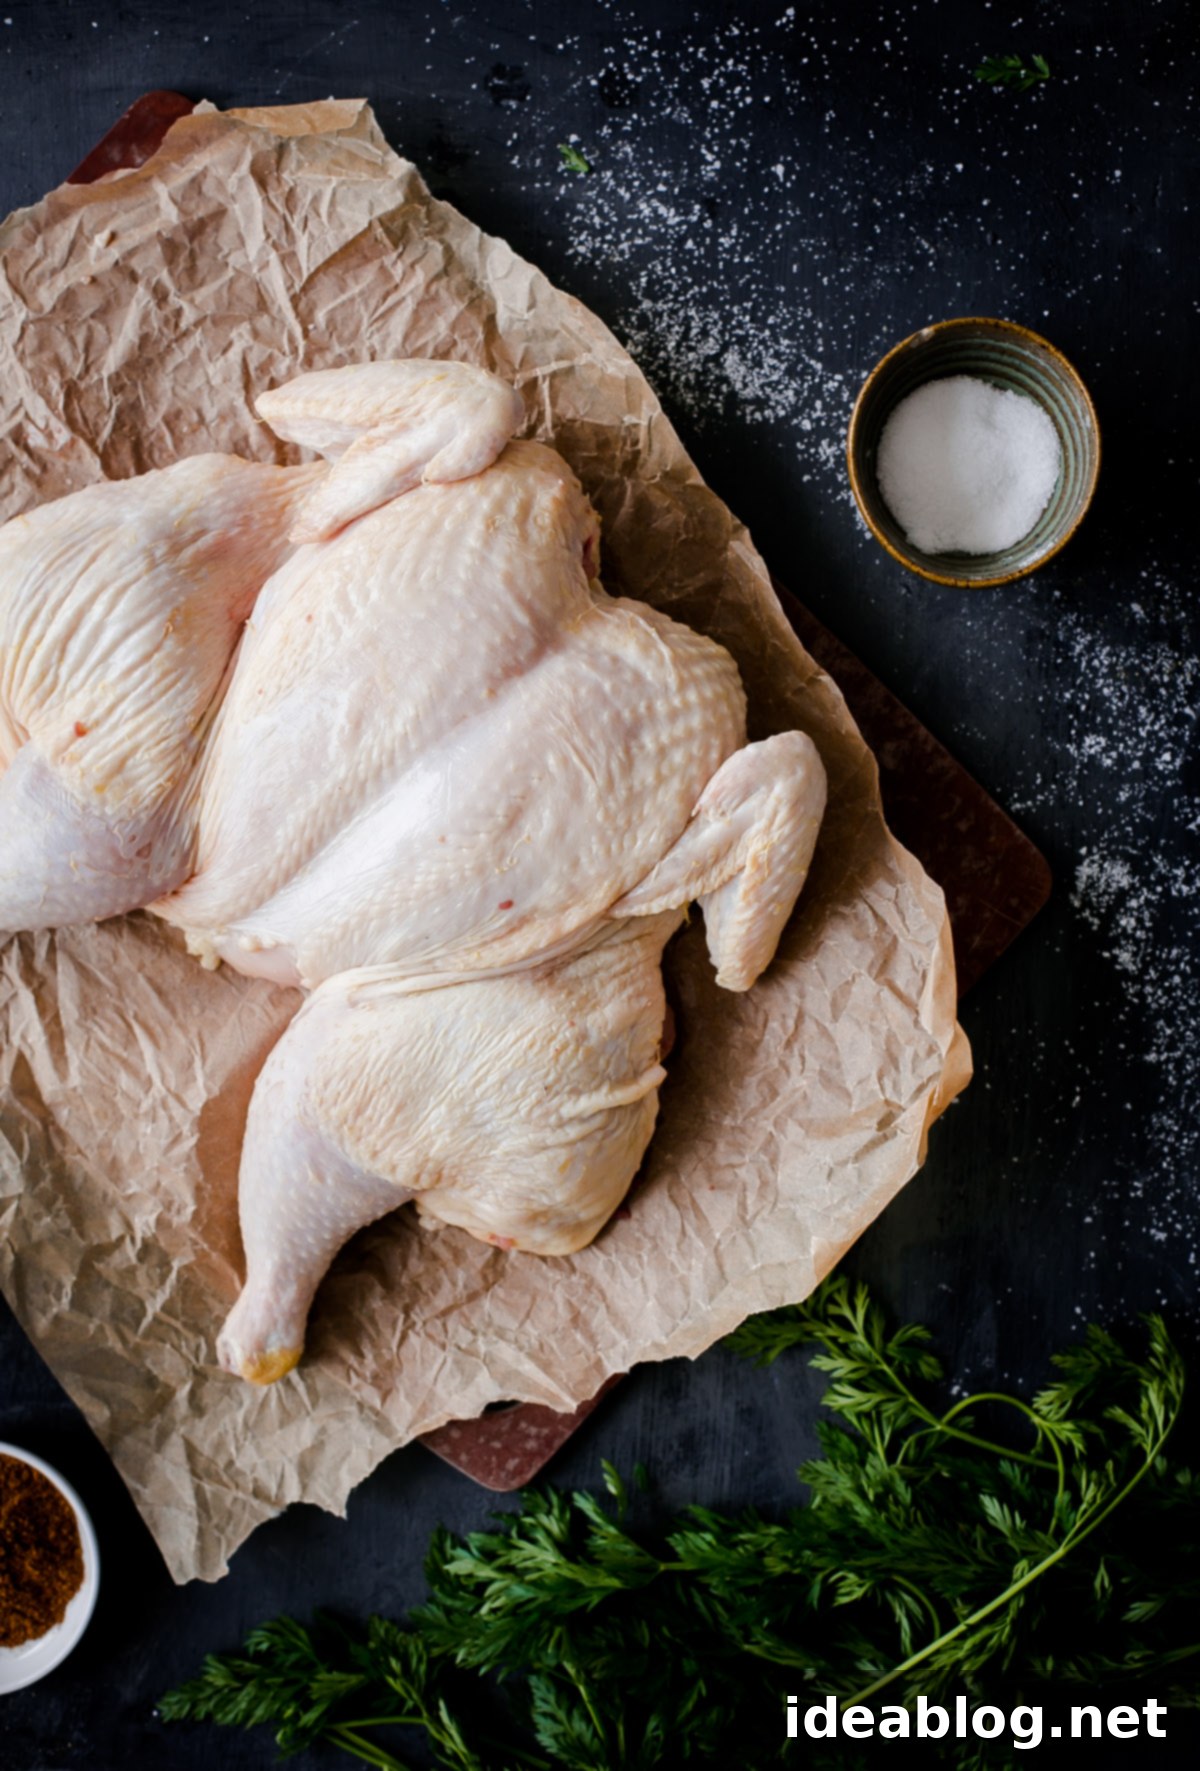
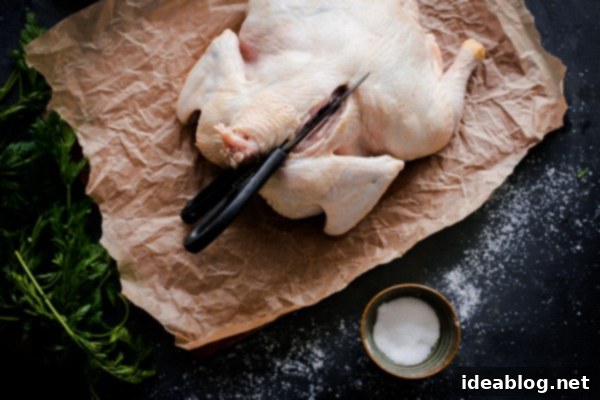
At its core, spatchcocking, also known as butterflying, means preparing a whole chicken by removing its backbone and then pressing the bird flat. This sounds a bit technical or even intimidating to beginners, but in reality, it’s an incredibly simple and straightforward process. The goal is to create a flattened chicken that lies completely open during cooking, allowing for optimal heat distribution and maximum skin exposure. This technique isn’t just for chickens; it works wonders for turkeys and other poultry as well.
The primary tool you’ll need for this process is a sturdy pair of good-quality kitchen shears or poultry shears. Investing in a reliable pair will make the backbone removal quick and effortless. If you’re still wondering why you would go to the trouble of preparing a chicken this way, let’s delve into the numerous benefits that make spatchcocking a culinary superpower.
Key Cooking Benefits of Spatchcocking for the Perfect Roast Chicken:
Spatchcocking offers a myriad of advantages that make it the preferred method for many home cooks and professional chefs alike. Here’s why this technique stands out:
- No Trussing or Kitchen Twine Required: Let’s be honest, does anyone truly enjoy wrestling with kitchen twine to truss a bird? The answer is almost universally no. Traditional trussing can be fiddly and time-consuming. Spatchcocking eliminates this step entirely, simplifying your prep and getting your chicken into the oven faster.
- Super Crispy, Caramelized Skin Everywhere: This is arguably one of the most celebrated benefits. When a chicken is spatchcocked, it lays completely flat, exposing nearly all of its skin to the direct, high heat of the oven. This maximized surface area allows the skin to render its fat and crisp up beautifully and evenly across the entire bird, resulting in a golden-brown, crackling skin that is impossible to achieve with a traditional roast. Say goodbye to soggy underside skin!
- Perfectly Even Cooking: The most common challenge with roasting a whole chicken is the difference in cooking times between white meat (breast) and dark meat (legs and thighs). White meat tends to cook faster and dry out easily, while dark meat requires more time to become tender. A traditional, round chicken often leads to overcooked breasts as you wait for the thighs to reach their ideal temperature. By flattening the chicken, spatchcocking ensures that the breasts and thighs are exposed to heat more uniformly. This means both parts cook through at a similar rate, yielding consistently juicy breast meat and perfectly tender dark meat. This evenness is further enhanced by understanding oven dynamics – read this guide from Serious Eats for more scientific insight. There’s no need to flip or rotate your pan mid-roast.
- Significantly Reduced Roasting Time: Spatchcocking drastically cuts down on cooking time, making a whole roasted chicken a realistic option even on a busy weeknight. A 5-pound chicken, for example, might roast in just over an hour using this method, compared to the 1 hour and 45 minutes or more required for a traditionally trussed chicken of the same size. The increased surface area and uniform thickness allow heat to penetrate the meat more efficiently, accelerating the cooking process without sacrificing quality.
- Ability to Roast at Higher Temperatures: Because spatchcocked poultry cooks faster and more evenly, it tolerates higher oven temperatures better than a traditional whole bird. Roasting at higher temperatures not only contributes to that coveted perfectly golden and crispy skin but also helps to achieve a better sear and flavor development on the exterior of the chicken.
- Utilize the Removed Backbone: Don’t throw away that backbone! It’s a treasure trove of flavor. You can immediately use the removed backbone to make a rich, homemade gravy or a quick pan jus while your chicken roasts. Alternatively, save it for later to create a deeply flavorful chicken stock, perfect for soups, sauces, and other culinary endeavors.
- Easier to Carve: The flattened, open shape of a spatchcocked chicken makes carving incredibly simple. Without the roundness and awkward angles of a whole bird, it’s much easier to properly remove the legs and thighs, and cleanly slice the breast meat from the bone, making serving a breeze.
- Consistent and Thorough Seasoning: With the chicken laid flat, every part of the bird, both inside and out, is easily accessible for seasoning. You no longer have to worry about missing crevices or struggling to get seasoning into the cavity or under the skin. This ensures that every bite is infused with flavor.
- Fits Better in Your Oven: For those with smaller ovens or roasting pans, a spatchcocked chicken takes up less vertical space and can often fit more comfortably on a single sheet pan, especially if you want to roast vegetables alongside it.
How to Spatchcock a Chicken: A Step-by-Step Visual Guide
Ready to transform your roasting game? Here’s how to spatchcock a chicken with ease. This method is surprisingly simple and requires minimal equipment.
-
Step 1: Prepare Your Workspace and Chicken
Begin by removing the whole chicken from its packaging. Make sure to check the cavity for any giblets or neck, and remove them. Place the chicken breast-side down on a large, clean cutting board. Position the chicken so the neck end is facing towards you. Using paper towels, thoroughly pat the entire chicken dry. This crucial step helps to achieve the crispiest skin by removing excess moisture.
-
Step 2: Remove the Backbone
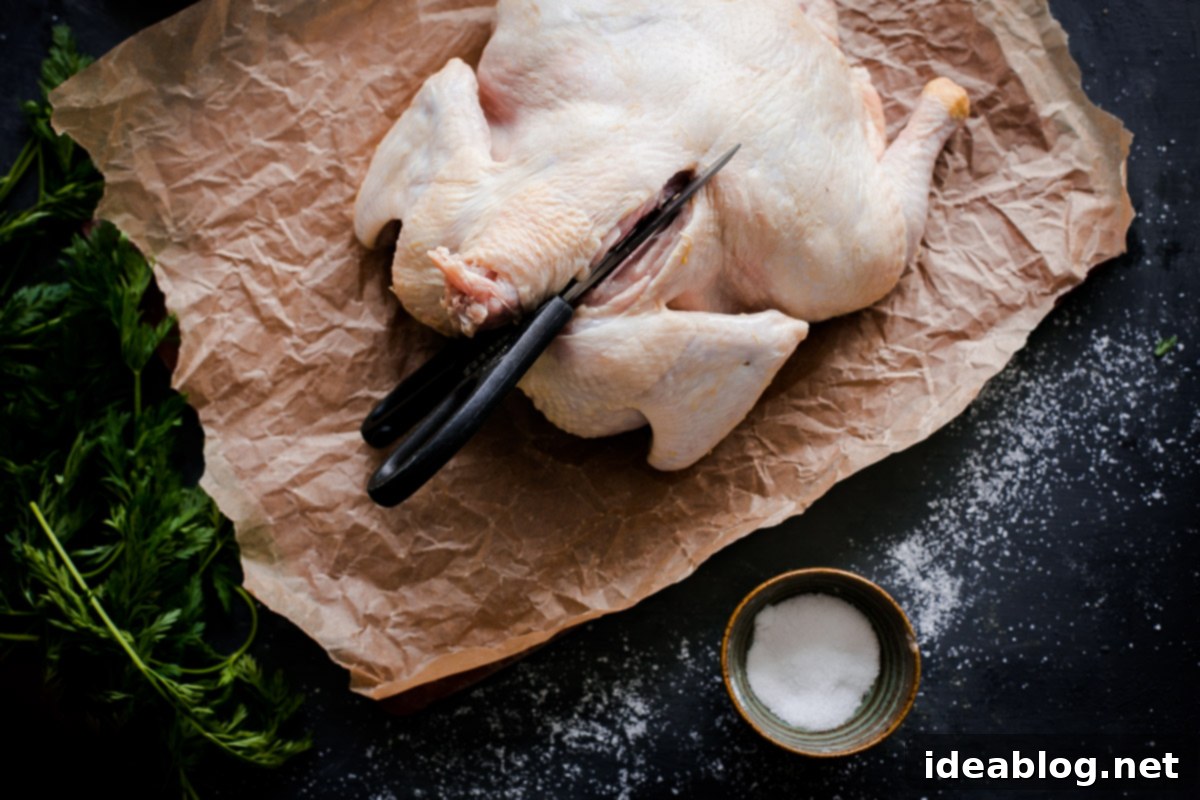
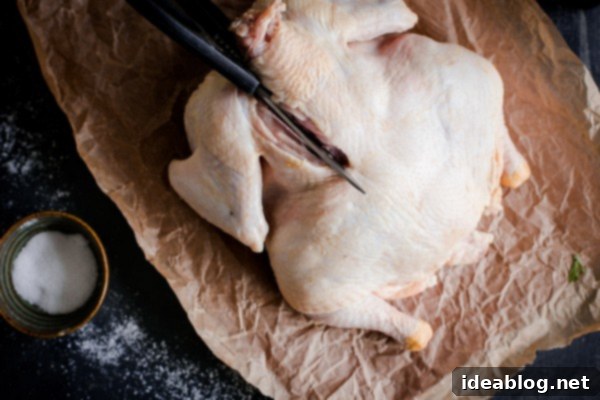
Grab your good-quality kitchen shears or poultry shears. Holding the chicken firmly at the neck end with one hand, begin to cut along one side of the chicken’s spine, separating it from the rib cage. Cut as close to the spine as possible to ensure you don’t remove any valuable meat from the bird. Apply firm, steady pressure, as the bones can be tough.

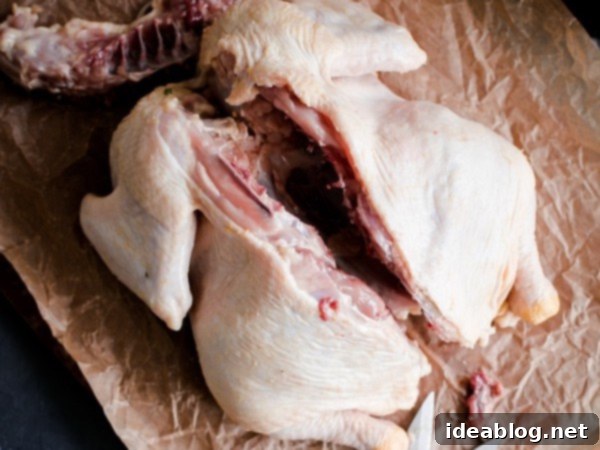
Once you’ve cut about three-quarters of the way down one side of the spine, repeat the process on the other side of the spine. If you find it difficult to cut from the neck end, you can rotate the bird so the tail end faces you and cut from that side instead. Continue cutting on both sides until the backbone is completely removed. Reserve the backbone to make flavorful homemade chicken stock or a quick pan jus while your chicken roasts.

-
Step 3: Flatten the Chicken
Now that the backbone is removed, flip the chicken breast-side up. Spread the legs outwards so the chicken lays as flat as possible. Locate the breastbone, which runs down the center of the breasts. Using the heel of your hands, firmly press down on the breastbone with considerable force. You should hear a distinct crack as the breastbone flattens. This action breaks the bone and cartilage, allowing the entire chicken to lie completely flat on your cutting board. Ensure both the legs and breasts are uniformly flattened.

-
Step 4: Season and Prepare for Roasting
Your chicken is now successfully spatchcocked and ready for seasoning and roasting! For best results, consider a dry brine if time permits, or simply rub the chicken generously with extra virgin olive oil, kosher salt, and freshly ground black pepper. Don’t forget to get some seasoning under the skin of the breasts and thighs for maximum flavor. Place the seasoned chicken on a wire rack set over a baking sheet. This allows for excellent air circulation, contributing to even crisping. You can also place vegetables like chopped onions, carrots, and potatoes directly on the baking sheet under the rack to catch delicious drippings and roast alongside your chicken.
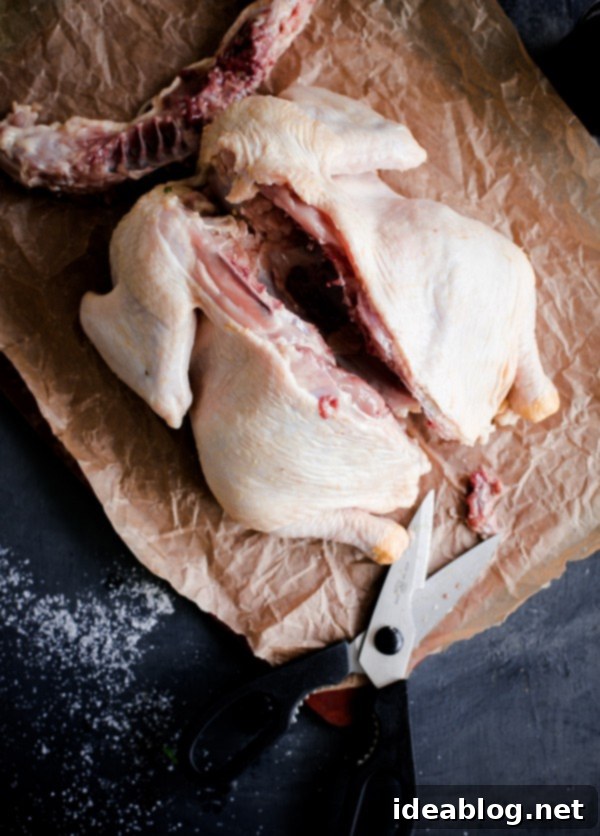
That’s it! You’ve successfully spatchcocked a chicken. This straightforward method can be applied to any poultry, including turkey, making it an invaluable skill in your culinary repertoire.

How Long To Cook Spatchcock Chicken for Perfection
While general guidelines based on the chicken’s weight can offer a starting point, the true way to determine if your chicken is perfectly cooked is by measuring its internal temperature. Relying solely on cook time can lead to overcooked or undercooked spots.
For this reason, I cannot stress enough the importance of investing in a good quality instant-read thermometer. I highly recommend brands like Thermoworks; it genuinely makes a world of difference in your cooking accuracy. With an instant-read thermometer at your disposal, you’ll never again have to guess if your chicken is done, ensuring juicy, safe results every time.
Insert the thermometer into the thickest part of the thigh, avoiding the bone, which can give a false high reading. The dark meat (thighs and drumsticks) should reach an internal temperature of 170-175°F (77-79°C). For the white meat (breast), aim for 160-165°F (71-74°C). Since spatchcocking promotes even cooking, both areas should reach their ideal temperatures around the same time. Remember that the temperature will rise slightly as the chicken rests.
General Spatchcock Chicken Cooking Times:
- For a 3-4 lb chicken: Approximately 45-60 minutes at 400-425°F (200-220°C).
- For a 5-6 lb chicken: Approximately 60-75 minutes at 400-425°F (200-220°C).
- For a 7-8 lb chicken: Approximately 75-90 minutes at 400-425°F (200-220°C).
Always trust your thermometer over these general timings. After cooking, allow the chicken to rest for at least 10-15 minutes before carving. This allows the juices to redistribute throughout the meat, resulting in an even more tender and flavorful chicken.
Now that you’re a spatchcocking expert, you’re ready to create incredible roasted chicken dishes. For recipe inspiration, be sure to try this simple yet incredibly flavorful spatchcock chicken recipe or this aromatic Middle Eastern roast chicken next. Happy roasting!

How to Spatchcock A Chicken
Pin
Review
SaveSaved!
Equipment
-
OXO Good Grips Poultry Shears (or sturdy kitchen shears)
-
ChefAlarm Thermometer (or reliable instant-read thermometer)
-
Large cutting board
-
Paper towels
Ingredients
- 1 whole chicken, 4-5 lb (approx. 1.8-2.3 kg), giblets removed
- 2-3 tbsp extra virgin olive oil
- 1-2 tbsp kosher salt (adjust to taste)
- 1 tsp freshly ground black pepper (adjust to taste)
- Optional: aromatic vegetables (onions, carrots, celery) for roasting pan
Instructions
-
Remove the chicken from its packaging, ensuring giblets are removed from the cavity. Place the chicken breast-side down on a large cutting board with the neck facing towards you. Use paper towels to pat the entire chicken thoroughly dry. This step is critical for crispy skin.
-
Using good-quality kitchen shears or poultry shears, and holding the neck in one hand, cut along one side of the chicken spine, separating it from the ribs. Cut as closely to the spine as possible to avoid removing excess meat.

-
Continue cutting about three-quarters of the way down the spine on one side, then repeat the cut on the other side of the spine. Use the spine for leverage as you finish cutting on both sides to completely remove it. If you encounter difficulty, rotate the bird so the tail faces you and cut from that direction. Reserve the removed spine for making delicious homemade chicken stock or a quick pan jus.

-
Flip the chicken breast-side up. Spread the legs outwards and use the palm of your hands to firmly press along the breastbone until it cracks and the chicken lays completely flat. Ensure the legs and breasts are as flat and even as possible.

-
Your chicken is now spatchcocked and ready to be seasoned and roasted! For roasting instructions and delicious recipes, refer to this spatchcock chicken recipe or this flavorful Middle Eastern roast chicken dish.
Tips for Success:
- Bring to Room Temperature: If time allows (at least 45-60 minutes), let the chicken rest at room temperature before roasting. This helps the chicken cook more evenly and is essential for achieving ultra-crispy, golden chicken skin. Placing a cold chicken directly from the fridge into the oven can cause the skin to steam rather than crisp.
- Pat Dry, Always: As mentioned in the instructions, thoroughly patting the chicken dry with paper towels is a non-negotiable step for crispy skin. Moisture is the enemy of crispiness.
- Season Generously: Don’t be shy with seasoning! Rub the chicken all over, including under the skin of the breasts and thighs, with olive oil, salt, pepper, and any other desired herbs or spices. This ensures flavor penetrates deeply into the meat.
- Use a Wire Rack: Roast your spatchcocked chicken on a wire rack set over a sturdy baking sheet. This elevates the chicken, allowing air to circulate around all sides, which is crucial for even cooking and incredibly crispy skin.
- Trust Your Thermometer: Always use an instant-read meat thermometer to check for doneness. Insert it into the thickest part of the thigh (avoiding bone) and breast. Aim for 170-175°F (77-79°C) in the thigh and 160-165°F (71-74°C) in the breast.
- Rest Your Chicken: After roasting, let the chicken rest for 10-15 minutes, tented loosely with foil. This crucial step allows the juices to redistribute throughout the meat, ensuring a tender and moist final product.
