Mastering Bread Storage: The Ultimate Guide to Storing, Freezing, and Refreshing Homemade & Sourdough Loaves
Welcome to the ultimate guide for keeping your homemade bread, especially delicious sourdough, at its absolute best! Whether you’re a seasoned baker or just starting your journey into the wonderful world of bread making, knowing how to properly store, freeze, and refresh your loaves is essential. This comprehensive guide will equip you with all the tips and tricks to enjoy bakery-fresh taste days, or even months, after baking.

Like many of you, I’ve developed a deep passion for bread baking over the past year. My sourdough starter, affectionately named Breadley Cooper, has been a fantastic companion since last July, consistently helping me create my go-to artisan sourdough bread recipe. This culinary adventure has been one of the most rewarding projects I’ve undertaken recently, and I’m eager to share even more sourdough resources with you throughout the year. If you’re inspired to begin your own sourdough journey, don’t miss my extensive list of recommended sourdough bread tools, perfect for both beginners and experienced bakers alike.
One of the most common questions I receive, particularly from my wonderful community on Instagram, revolves around the best practices for storing fresh bread. This is especially pertinent for me, as I live in a smaller household yet frequently bake two loaves at once. It’s a delightful problem to have, but it demands smart solutions to prevent delicious homemade bread from going to waste.
Today, I’m thrilled to unveil all my tried-and-true methods! Below, you’ll discover comprehensive advice on effectively storing bread to maintain its optimal texture and flavor, the most efficient ways to freeze bread for long-term enjoyment, and perhaps the most magical technique of all: how to refresh bread so it tastes as incredible as if it just emerged from the oven. Say goodbye to stale bread and hello to prolonged freshness!

Essential Bread Storage Principles for Optimal Freshness
While there are numerous approaches to keeping bread fresh, the following methods are my absolute favorites, designed to preserve that coveted crisp, crusty exterior for as long as possible. It’s important to clarify that this guide primarily focuses on artisanal loaves – think boules, batards, baguettes, and other rustic varieties – rather than mass-produced, store-bought sandwich bread, which often contains preservatives that alter its storage requirements.
One remarkable advantage of freshly baked sourdough bread, made with a vibrant sourdough culture, is its naturally extended shelf life compared to many conventional breads. Sourdough typically remains delicious and enjoyable for approximately 4 to 5 days when stored at room temperature, thanks to its unique fermentation process.
Crucially, a universal rule for almost all types of bread: **never refrigerate your bread.** The cold temperatures of a refrigerator accelerate the staling process, making your bread dry out and become firm much faster than if it were left at room temperature. This phenomenon, known as starch retrogradation, is sped up in cooler environments just above freezing.
The Golden Rule: Why You Must Cool Bread Completely Before Slicing or Storing
It is absolutely imperative to allow your freshly baked bread to cool completely to room temperature before attempting to slice or store it. Transfer your beautiful loaf to a wire cooling rack immediately after it comes out of the oven and exercise patience, resisting the incredibly tempting urge to cut into it while it’s still warm. **Slicing into warm bread, despite how delicious it smells, negatively impacts both its texture and flavor.** Doing so traps steam, leading to a gummier, less airy crumb. Furthermore, warm bread loses moisture at a much faster rate when cut, resulting in a loaf that dries out significantly quicker. A full cool-down allows the internal structure of the bread to set properly and moisture to redistribute, ensuring the best possible eating experience.

Optimal Storage Methods to Keep Your Bread Fresh
The method you choose for storing your bread should evolve with its age. Freshly baked bread has different needs than a loaf a few days old. Here’s how to maximize the life and quality of your artisan bread, from the moment it cools:
Days One to Two: Preserving That Perfect Crust
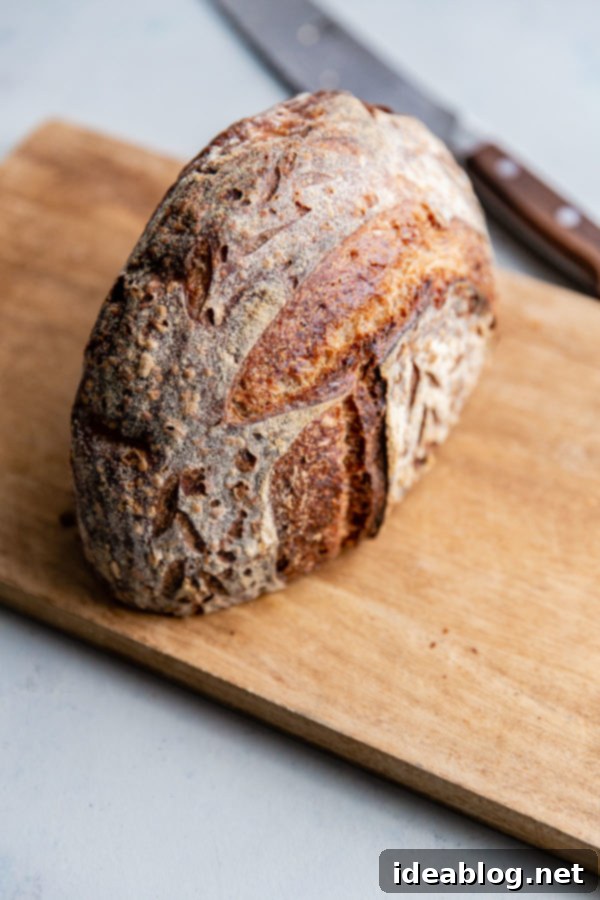
- For Whole, Uncut Loaves: For bread that has just been baked and fully cooled, I highly recommend leaving it completely uncovered at room temperature for the first day, and potentially even the second. The robust crust on freshly baked artisanal bread is designed to protect its interior and will naturally retain its desirable crisp texture for at least one, often two, full days. An airtight environment during this initial period can trap moisture and soften the crust prematurely, which is precisely what we want to avoid.
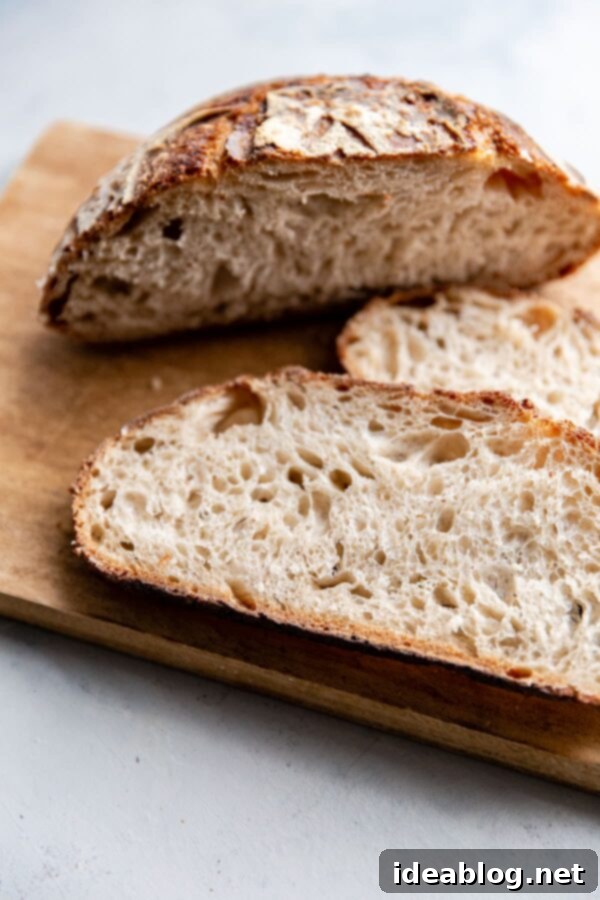
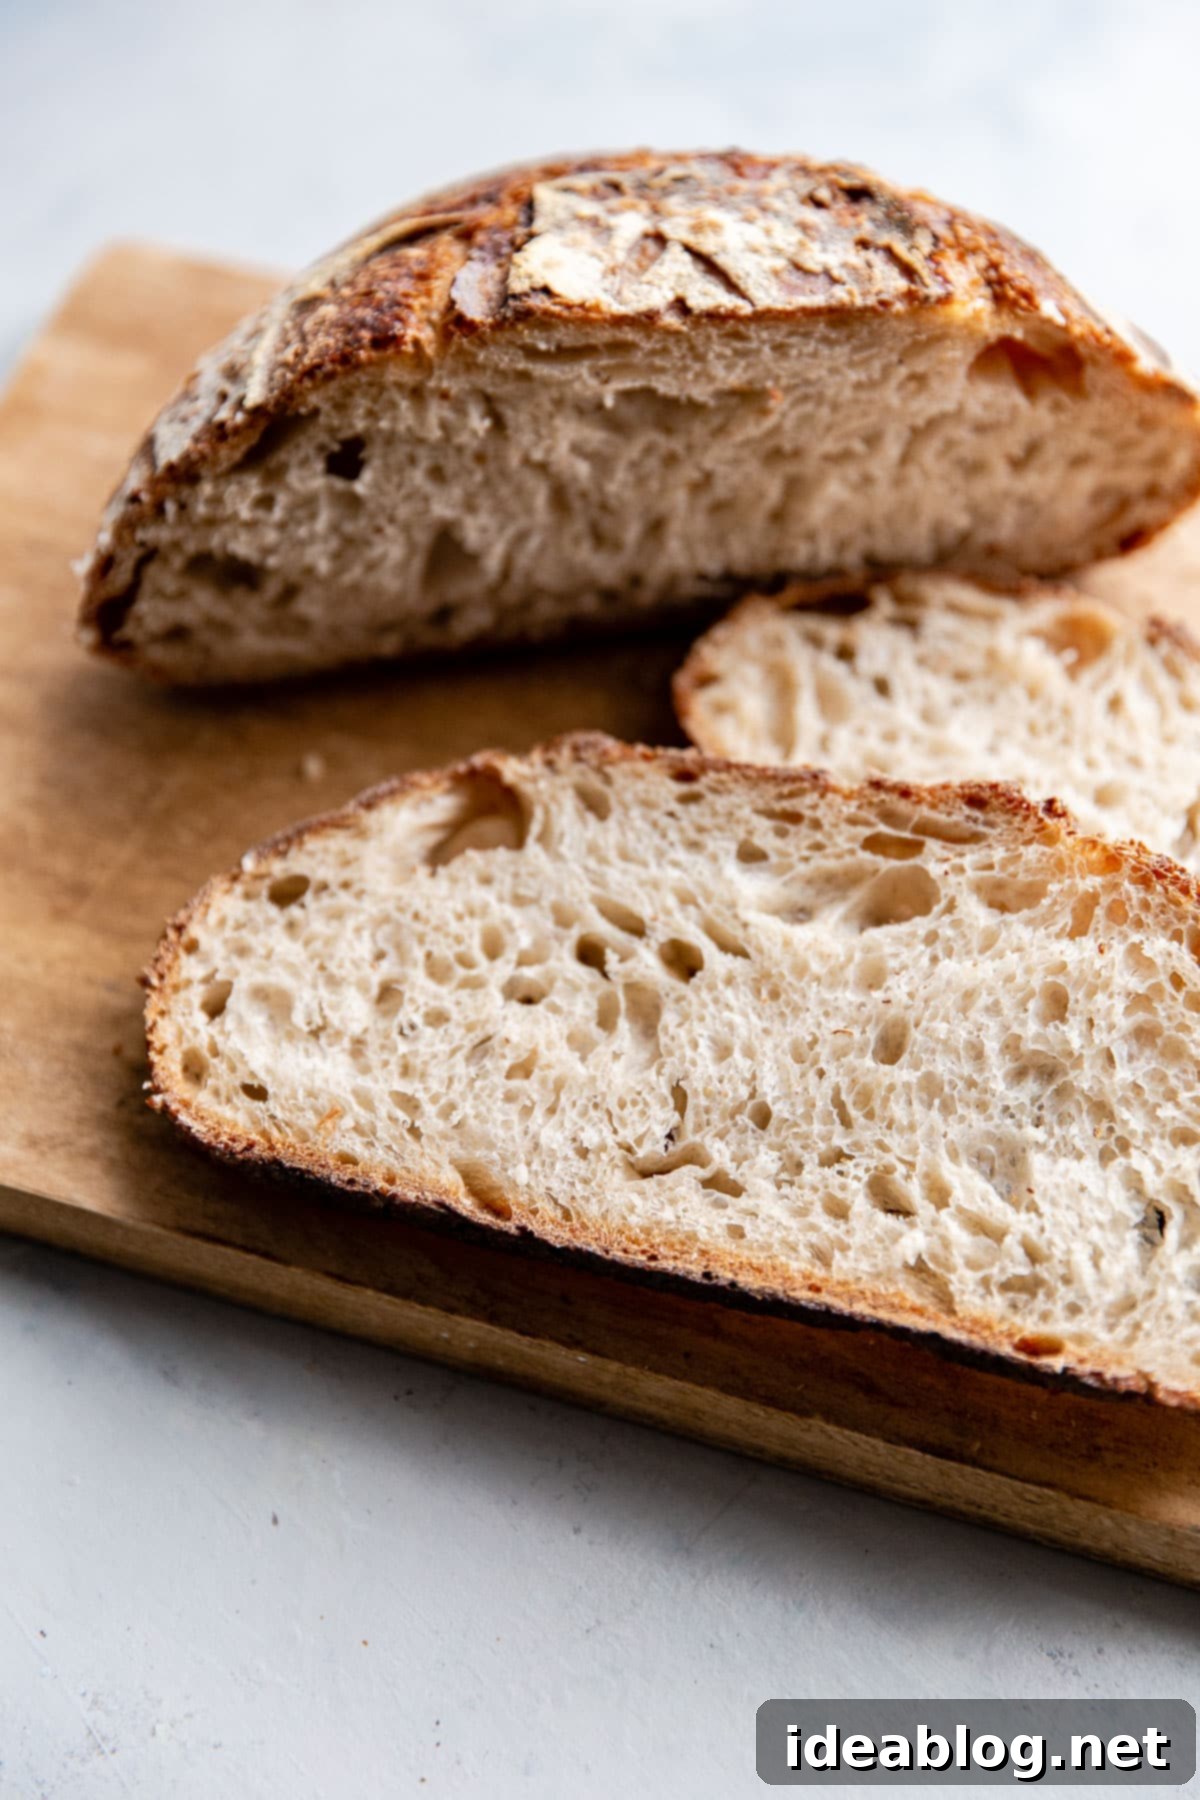
- For Sliced Bread (Partial Loaf): If you’ve indulged and sliced into your loaf, the best practice is to store it cut-side down directly on a clean cutting board, also uncovered. This technique brilliantly protects the exposed interior from drying out too quickly, while simultaneously allowing the crust to breathe. This prevents moisture from accumulating on the crust, which would otherwise lead to a soft, undesirable texture.
- Alternative for Uncut Loaves (Day 2+): If you haven’t sliced into the bread on the day of baking and want a slight compromise between maximum crispness and preventing complete drying, you can transfer the whole loaf to a large, clean paper bag and fold over the edges. While the crust might not remain quite as shatteringly crisp as on day one, the porous nature of the paper bag allows for some air circulation. This helps to slow down the staling process without trapping excessive moisture, providing a good balance.
Days Three to Four: Maintaining Moisture and Extending Enjoyment
- As delicious as the uncovered method is, it’s not sustainable for the long run. By day three, your bread will start to dry out more rapidly if left exposed, becoming stale or too hard to slice comfortably. At this stage, it’s time for a different approach.
- Using a Bread Box or Airtight Bag: For bread that’s a couple of days old, your best bet is typically a bread box (if you have one) or a large, clean Ziploc bag (or similar airtight container). A bread box provides a dark, cool environment that helps regulate humidity, slowing moisture loss without making the crust soggy. When using a Ziploc bag, ensure you press out as much excess air as possible before sealing it. It’s important to understand that storing bread in an airtight manner will inevitably cause some moisture from the crumb to be trapped, leading to a softer crust. However, this trade-off is often worth it for extending the freshness of the interior. If you find the crust has softened too much for your liking, a quick toast in a toaster or oven can bring back some of its crispness.
- Eco-Friendly Alternative: Beeswax Wraps: For an excellent and more sustainable alternative, consider wrapping your bread in natural beeswax food wraps (affiliate link). These wraps are naturally porous, allowing a controlled amount of air exchange while preventing the bread from drying out too rapidly. They are superior to plastic in maintaining a balance of moisture and preventing an overly soft crust, making them ideal for artisanal breads.
Day Five and Beyond: When to Consider the Freezer
- If you haven’t managed to enjoy your entire loaf within the first few days of baking, don’t despair – and definitely don’t let it go to waste! For any bread that you don’t anticipate consuming within the first three to four days, I consistently recommend storing it in the freezer. Freezing is an incredibly effective way to pause the staling process and preserve the quality of your bread for much longer periods. Detailed instructions on how to properly freeze bread to ensure it tastes just like fresh can be found in the section below.

The Art of Freezing Bread: Preserving Freshness for Months
The freezer is an indispensable tool in any kitchen, especially for bread enthusiasts! It’s a fantastic solution if you have limited access to high-quality artisan bread, or if you need to prepare for a special occasion or dinner party days or even weeks in advance. I wholeheartedly recommend baking or buying an extra loaf or two, freezing them, and then enjoying them at a later date with virtually no compromise on quality.
As a regular baker of two sourdough loaves at a time, I almost always freeze my second loaf. By diligently following a few straightforward steps, I can assure you that a properly frozen and later refreshed loaf can taste every bit as good as one that was just pulled from the oven. Freezing effectively halts the staling process, preserving the bread’s texture and flavor profile.
A critical step before freezing any bread is ensuring it has cooled completely to room temperature. Freezing warm bread can lead to ice crystals forming within the crumb, which can negatively impact texture upon thawing. **When stored correctly, bread can maintain its quality in the freezer for approximately 3 to 6 months.** While it remains safe to eat beyond this period, its flavor and texture might gradually diminish over longer storage times, so aim to consume it within this optimal window for the best experience.
Freezing Whole Loaves for Future Enjoyment
To freeze an entire loaf of bread, first confirm it’s absolutely cool. Then, prepare it for freezing by:
- Initial Wrap (Optional, for added protection): For extra security against freezer burn or if you’re concerned about a very crusty loaf puncturing a bag, first wrap the loaf tightly in a layer of plastic wrap or aluminum foil. This creates an initial barrier, protecting against moisture loss and odors. Alternatively, placing it in a small paper bag before the next step can also work.
- Airtight Bagging: Transfer the wrapped loaf (or the bare loaf if skipping the initial wrap) into a large, durable freezer-safe Ziploc bag.
- Remove Air: Press out as much excess air as possible from the bag before sealing it tightly. Air is the enemy of frozen food, contributing to freezer burn and flavor degradation.
- Labeling: Don’t forget to label the bag with the date it was frozen. This helps you keep track of its freezer life and ensures you consume it within the optimal period.
This comprehensive method is my preferred choice for both short-term and long-term bread storage. I consistently find that whole loaves frozen this way, and then refreshed using the method detailed below, truly taste just as incredible as my freshly baked ones, complete with a fantastic crust and moist interior.
Freezing Sliced Bread for Ultimate Convenience
If you’re in a smaller household, or if you prefer to consume only a small amount of bread at a time, freezing your bread pre-sliced is a brilliant strategy for ultimate convenience and reducing waste.
Here’s how to freeze sliced bread effectively:
- Slice Evenly: Using a sharp serrated bread knife, slice your cooled loaf evenly into your desired thickness.
- Prevent Sticking (Optional, but recommended for moist bread): If your bread has a particularly moist crumb, I highly recommend placing a small piece of parchment paper or wax paper between each slice. This simple step prevents the slices from sticking together in the freezer, making them much easier to separate later.
- Bag and Seal: Carefully transfer the sliced bread (with or without parchment paper) into a large, freezer-safe Ziploc bag. Press out as much air as possible and seal securely.
- Label: As with whole loaves, label the bag with the freezing date to ensure freshness.
This method offers incredible flexibility: you can take out just one slice at a time, pop it directly into your toaster (no need to defrost first!), or use your preferred method to quickly warm it. This ensures you can enjoy a delicious, warm slice of toast or a quick snack whenever the craving strikes, without committing to an entire loaf.

How to Perfectly Refresh Bread for a Bakery-Fresh Experience
This specific method for refreshing whole loaves of bread – whether previously frozen or just a few days old – is truly transformative. It might sound a little unconventional, but I promise you will be utterly astonished by the results. This technique consistently delivers a remarkably crisp crust and a tender interior, replicating the taste and feel of bread that has just emerged from the oven.
Once you experience this method, I assure you, you’ll never go back to dry, stale bread! Your frozen loaves will literally taste like they were baked just moments ago. Moreover, even a lackluster loaf from a bakery, one whose crust has softened considerably, can be instantly elevated and brought back to life using these steps. This process works incredibly well for a wide array of artisanal breads, including boules, batards, baguettes, and other crusty varieties.
Step-by-Step Guide: Refreshing Whole Loaves of Bread
- Thaw Completely: If refreshing a frozen loaf, allow it to thaw completely first. This can be done by leaving the loaf (still in its freezer bag) at room temperature for several hours or conveniently overnight on your kitchen countertop. Thawing ensures even reheating and prevents a cold, dense center.
- Preheat Oven: Preheat your oven to a precise 350 degrees Fahrenheit (175°C) with a rack positioned in the center. Allow it to preheat for at least 20 minutes to ensure the oven cavity is thoroughly heated and stable. A hot oven is key to achieving that perfect crust.
- The Water Spritz Secret: Just before placing the bread in the oven, remove the loaf from its bag. Briefly and lightly run it under cold tap water, or quickly spritz all sides evenly with cold water. The goal is not to saturate the bread, but rather to create a very thin, even coating of moisture across the crust. This light layer of water will turn into steam in the hot oven, which is the magic behind revitalizing the crust, making it significantly crisper and fresher than if you were to bake a dry loaf. The steam helps to soften the old crust and then re-crisps it as the moisture evaporates. **Important:** Only perform this step once your oven is fully preheated and you are ready to immediately transfer the bread into it.
- Bake to Perfection: Place the lightly dampened whole loaf directly onto the center oven rack. Bake for approximately 15 to 20 minutes, or until the crust is wonderfully crisp, golden, and emits a slight cracking sound when gently compressed. Baking time may vary slightly based on the size and density of your loaf (smaller items like baguettes might only need about 10-15 minutes), so always aim for that satisfying crispness. When in doubt, err on the side of a minute or two longer for a truly great crust.
- Cool Before Slicing: Once refreshed, remove the loaf from the oven and allow it to cool completely on a wire cooling rack. This critical step, typically taking at least an hour, allows the internal structure to set and steam to escape, preventing a gummy interior. Attempting to slice it too soon can compromise its texture and make it less enjoyable.
Once cooled, your perfectly refreshed loaf is ready to be enjoyed! Store any remaining refreshed bread using the daily storage methods outlined earlier in this guide. I generally find that refreshed whole loaves maintain their quality almost as well as freshly baked ones, though they might dry out slightly faster, so plan to consume them within a couple of days.
Should you have any further questions about storing, freezing, or refreshing your bread, please don’t hesitate to leave a comment below! I’m always happy to provide additional insights and assistance.
