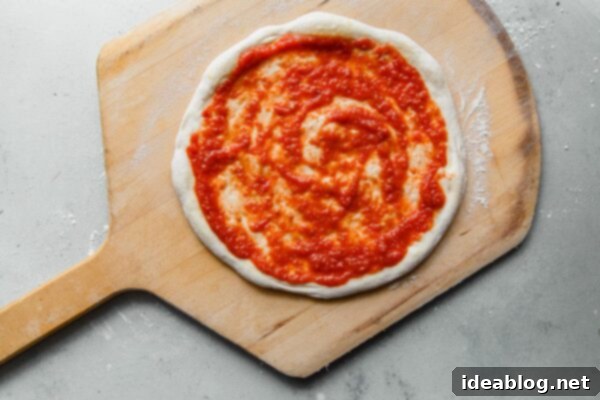
Mastering Homemade Sourdough Pizza: The Ultimate Recipe for Restaurant-Quality Crusts and Classic Margherita
Embark on a culinary journey to create the most incredible sourdough pizza at home. This comprehensive guide will walk you through every step, from crafting the perfect naturally leavened dough to assembling a classic Margherita-style pizza, ensuring a delightfully crisp, chewy, and tangy crust every time.

While my passion for sourdough bread runs deep, I can confidently say that homemade sourdough pizza is the most rewarding aspect of maintaining an active sourdough starter. Beyond the sheer satisfaction of creating something truly special from scratch, sourdough pizza is surprisingly easier to master than its bread counterpart, and it will undoubtedly revolutionize your weeknight dinner routine. The depth of flavor, unique texture, and impressive results you can achieve at home are simply unparalleled.
This incredible sourdough pizza dough recipe is naturally leavened, meaning it uses only the wild yeast and bacteria from your active sourdough starter for its rise. The magic lies in a carefully balanced combination of Type “00” flour – a strong, finely ground flour traditionally favored for authentic Italian pizza and homemade pasta – and high-protein bread flour. This blend is key to achieving the desired texture and flavor profile.
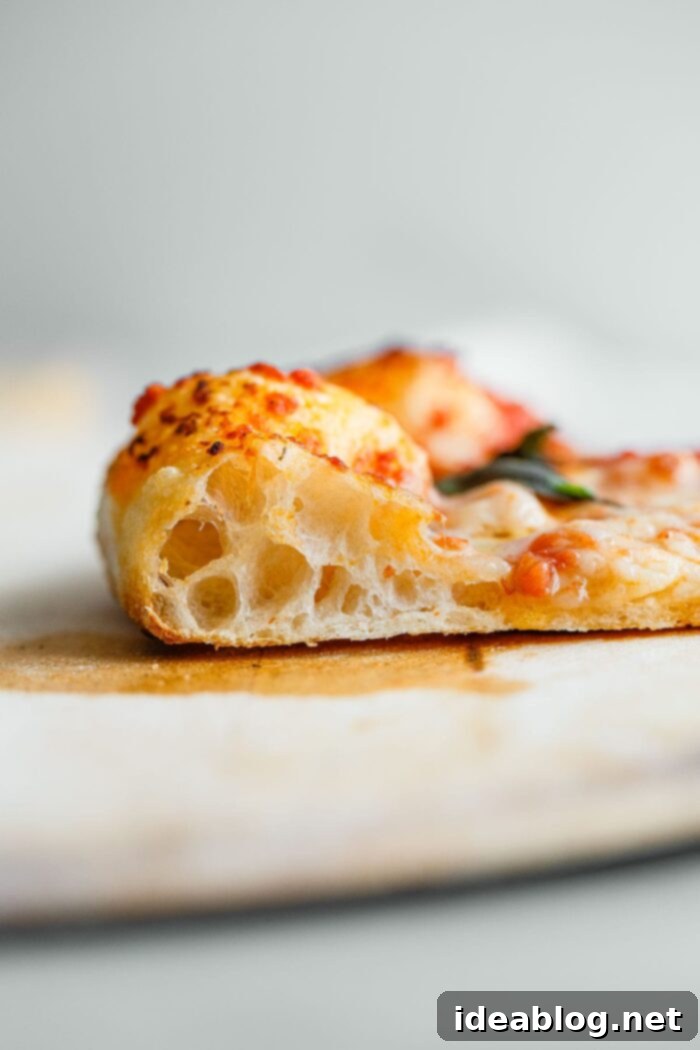
The result is a pizza crust that is a symphony of textures and flavors: wonderfully crisp on the outside, delightfully chewy within, and tender throughout. Each bite offers that signature tangy note from the sourdough, elevating the entire pizza experience. You’ll discover a complexity of flavor that simply cannot be replicated with commercial yeast, making every slice an unforgettable delight.
Why Choose Sourdough for Your Pizza?
Opting for sourdough pizza dough over traditional yeast-based recipes offers a multitude of benefits, transforming a simple meal into an artisanal experience. First and foremost is the unparalleled flavor. The slow fermentation process of sourdough develops a rich, complex taste with subtle tangy undertones that complement any topping. This depth of flavor goes far beyond what instant yeast can provide.
Beyond taste, sourdough offers superior digestibility. The long fermentation helps to break down complex carbohydrates and gluten, making the pizza easier on the stomach for many people. This means you can enjoy that second (or third!) slice without feeling overly heavy. Furthermore, the dough typically results in a crust with an open, airy crumb structure and a beautifully blistered exterior when baked at high temperatures, offering an irresistible combination of chewiness and crispiness that is often found in the finest pizzerias.
After years of experimenting with countless pizza recipes and dough formulas, this particular method is the one my family and I consistently return to. It stands out for its straightforward approach and its ability to consistently produce truly delicious, restaurant-worthy pizza right in your own kitchen. Once you taste the difference, you’ll find it hard to go back to anything else – a truly delightful “problem” to have!
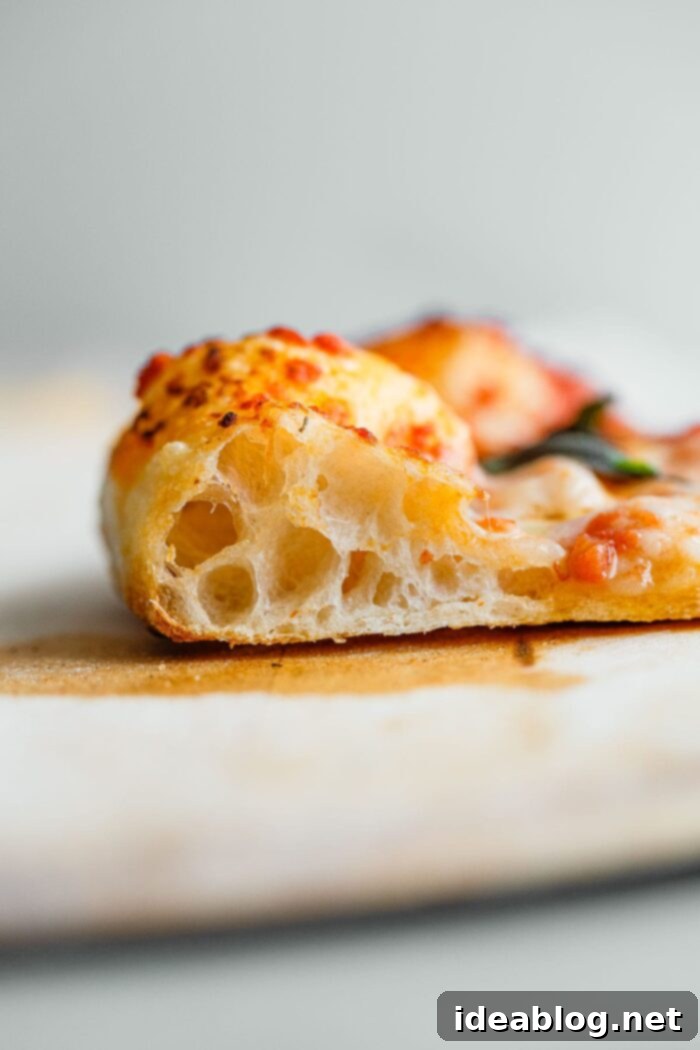
Sourdough Pizza Dough Ingredients:
Yields Three (10-Inch) Pizzas
- 225 grams 90°F-95°F filtered water (32°C-35°C) – The specific temperature helps activate your starter without shocking it.
- 15 grams salt – Essential for flavor and controlling fermentation.
- 250 grams ripe sourdough starter (100% hydration) – Ensure your starter is active and bubbly, at its peak.
- 250 grams type “00” flour – This finely milled Italian flour provides a tender, elastic crumb. I’ve tested this formula extensively with Central Milling and on occasion Caputo, both excellent choices.
- 125 grams high-protein bread flour – Adds structure and chewiness to the crust. I highly recommend King Arthur brand for consistent results.
How to Make Sourdough Pizza Dough: A Detailed Guide
For even more in-depth instructions, equipment recommendations, and a precise example baking timeline, please refer to the complete recipe card located at the bottom of this post. These steps provide a visual and practical overview.
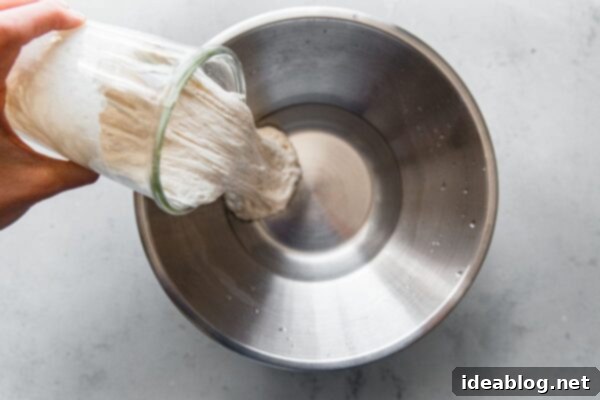
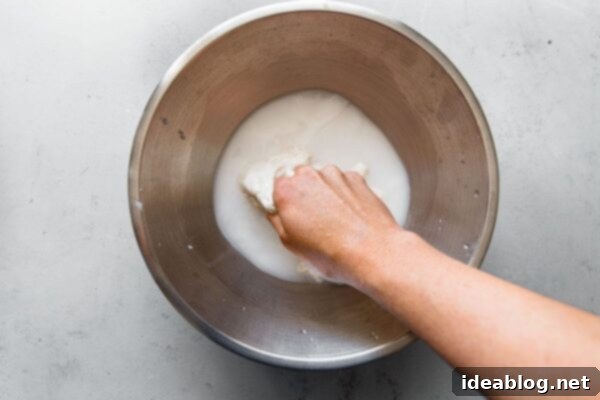
Step 1: Hydrate and Integrate the Starter. In a large mixing bowl, combine the filtered water and salt. Whisk or swirl with your fingers until the salt has completely dissolved – this ensures even distribution and prevents large salt crystals from hindering yeast activity. Add your ripe, bubbly sourdough starter to the mixture. Using your hands, gently pinch the starter into the water, breaking it into small clumps. This helps it disperse evenly throughout the liquid, allowing for better hydration and activation.
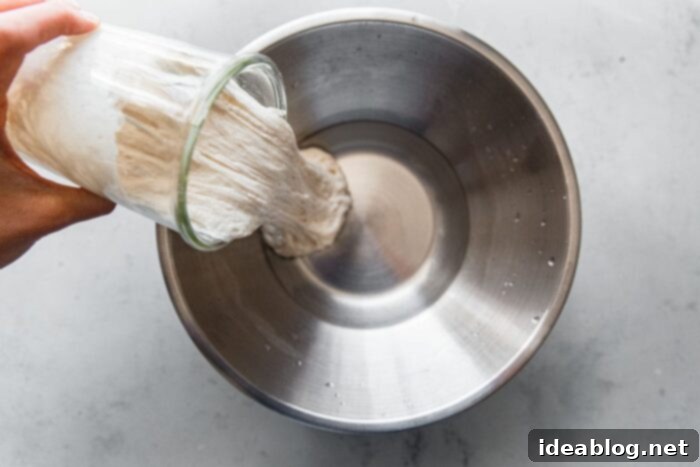
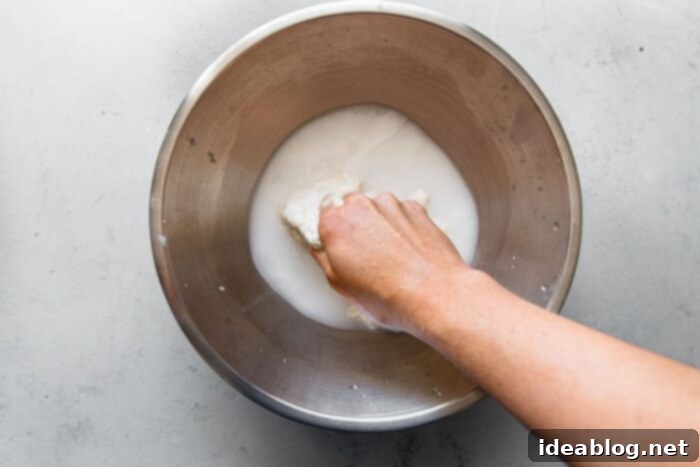
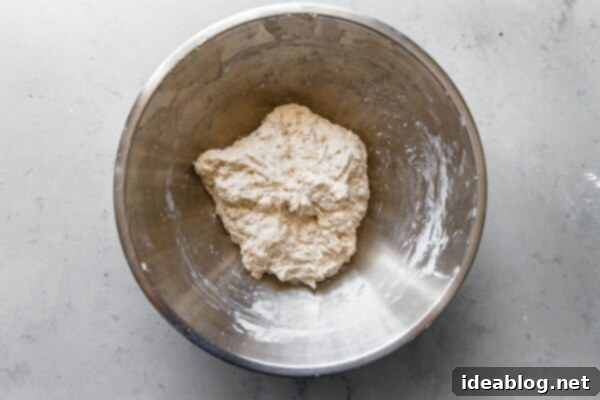
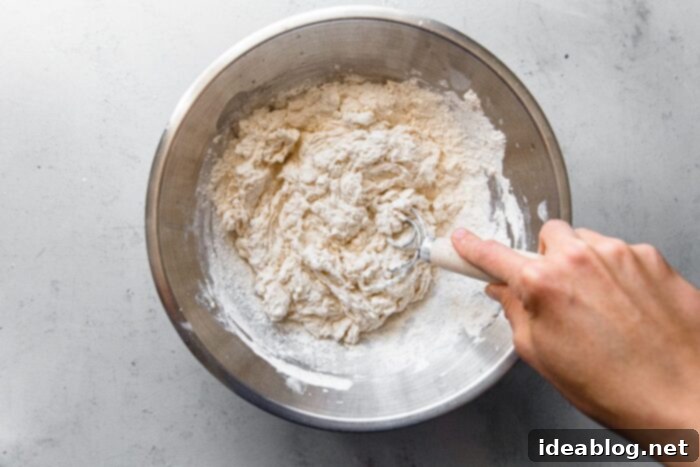
Step 2: Combine Flours and Rest (Autolyse). Add both the “00” flour and the bread flour to the bowl containing the starter mixture. Using a Danish dough whisk or your hands, mix all the ingredients together until thoroughly combined. Be sure there are no dry pockets of flour or visible lumps. At this stage, the dough will appear shaggy and somewhat unformed; this is perfectly normal. Cover the bowl with a clean kitchen towel or plastic wrap and allow it to rest at room temperature for 20 minutes. This resting period, known as autolyse, allows the flour to fully hydrate and the gluten to begin developing naturally, making the dough easier to work with later.
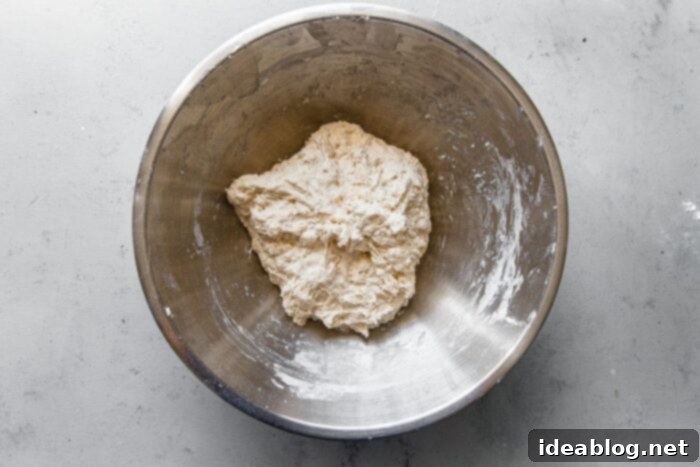
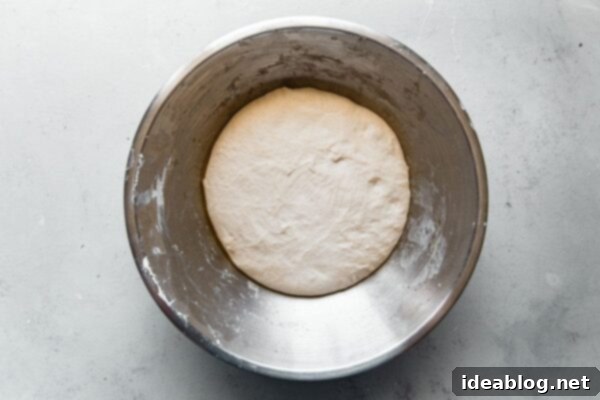
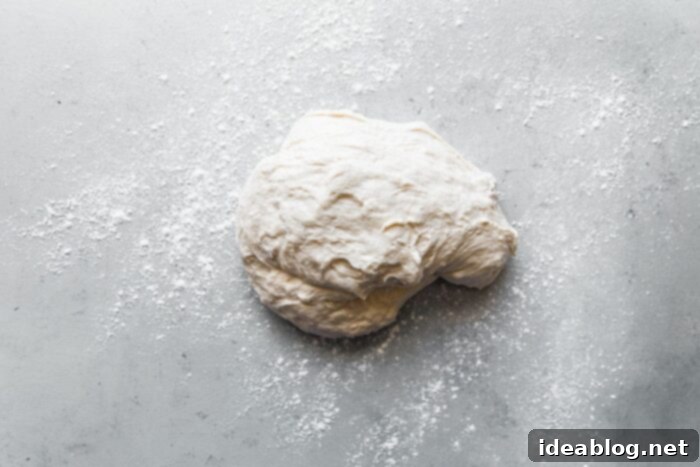
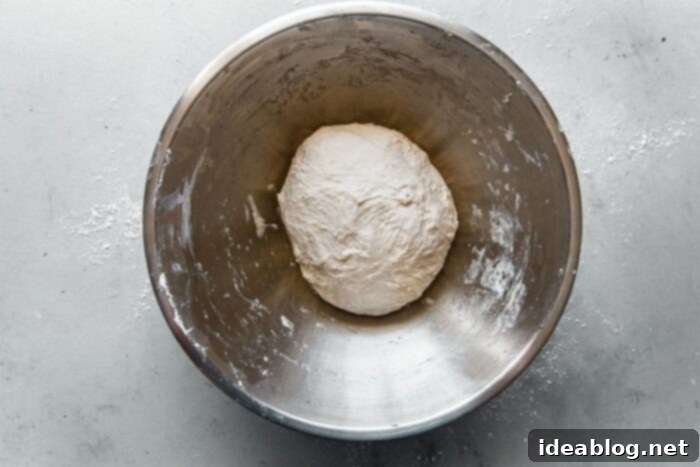
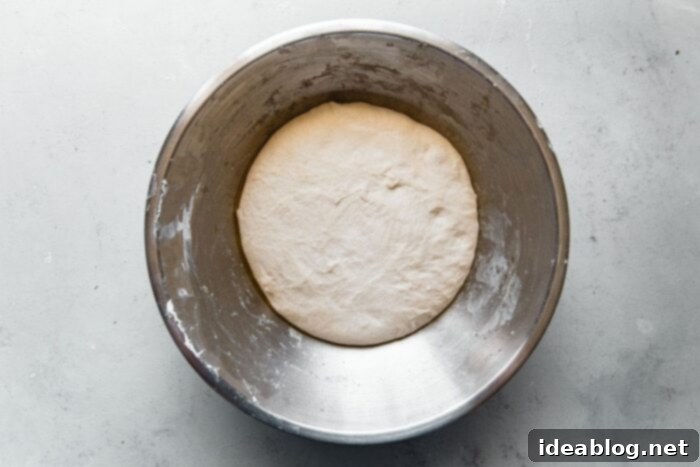
Step 3: Short Knead and Bulk Fermentation. Transfer the shaggy dough to a lightly floured countertop. Knead the dough for approximately 1 minute, or until it becomes mostly smooth and elastic. You may dust your hands or the countertop lightly with flour once or twice if the dough is too sticky, but avoid adding too much extra flour. Lightly grease your mixing bowl with a touch of olive oil, then place the briefly kneaded dough back into the bowl. Cover it tightly and allow it to proof at room temperature (ideally around 72°F/22°C) for about 3 hours. During this bulk fermentation, the dough should visibly rise by approximately 50%, develop a smoother surface, and show rounded edges as the gluten relaxes and the sourdough cultures become active.
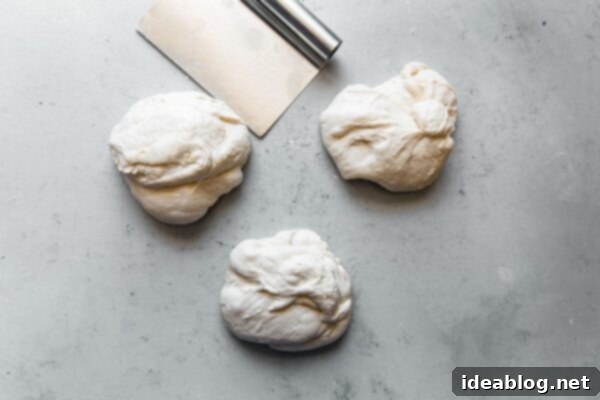
Step 4: Divide the Dough. Once the bulk fermentation is complete, gently transfer the dough onto a clean, un-floured countertop. Using a bench knife or a sharp, floured knife, divide the dough into three equal pieces. For best consistency, each piece should weigh approximately 280 grams. Precise division ensures uniformly sized pizzas that cook evenly.
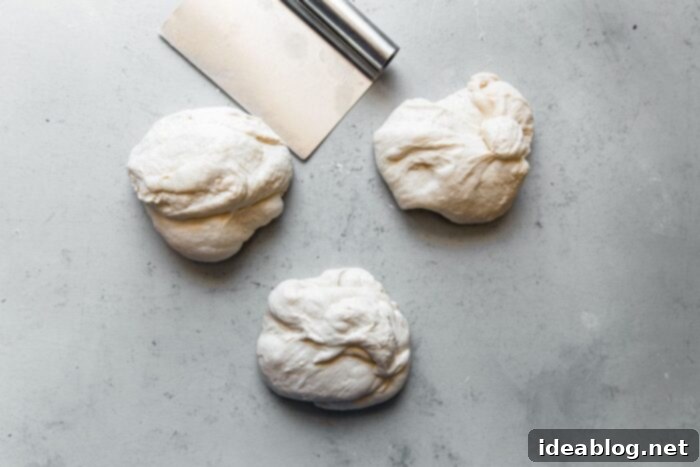
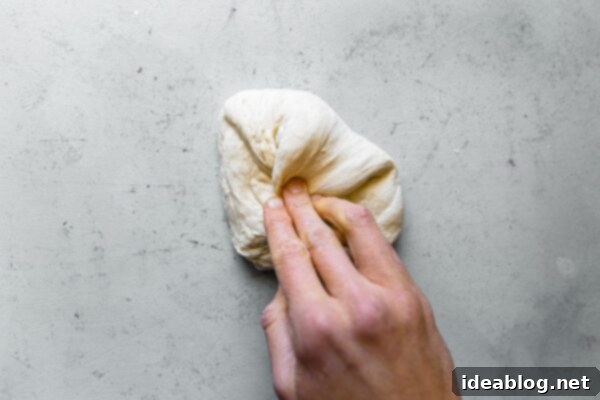
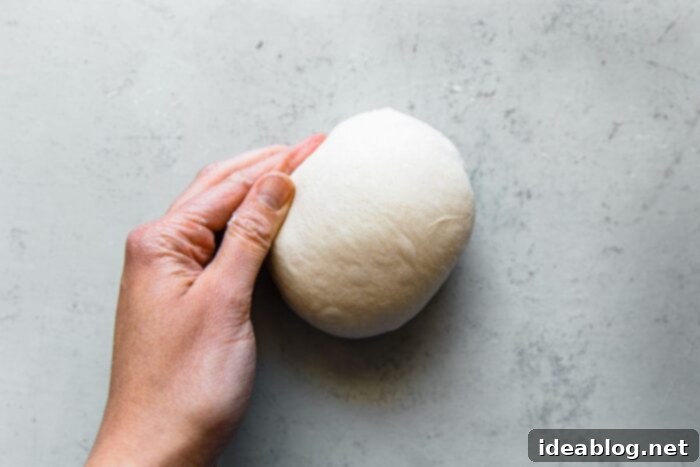
Step 5: Preshape the Dough Balls. Now, it’s time to build tension into your dough, which is vital for a good crust. Working with one piece of dough at a time, gently grab the top portion of the dough, stretch it upwards, and then fold it back into the center of the dough ball. Rotate the dough slightly and repeat this action from the opposite edge. Continue this process along all outer edges of the dough, folding them back into the center. This technique creates a tightly seamed package on one side of the dough.
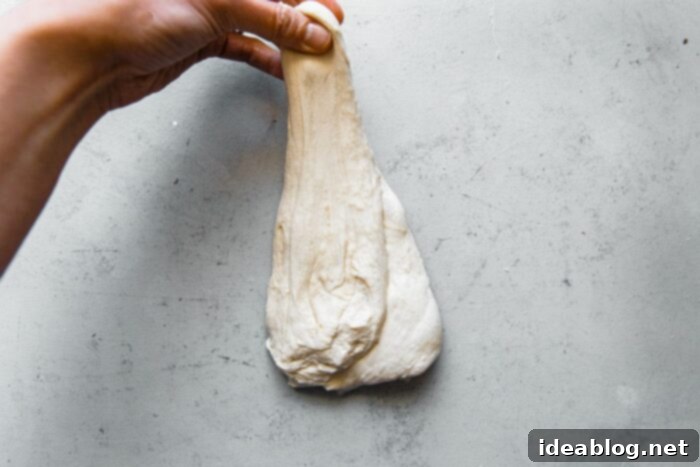
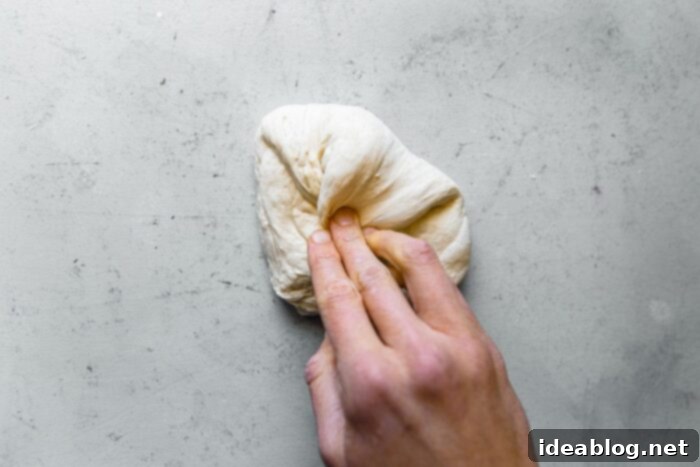
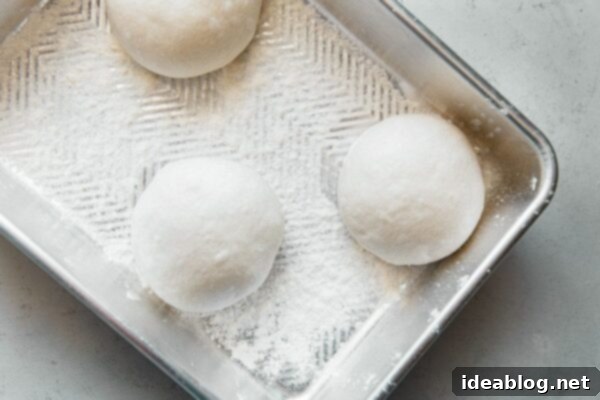
Step 6: Final Shaping and Cold Fermentation/Proofing. Flip the dough over so the seam-side is down on the countertop. Using your cupped hands, gently shape the dough into a smooth, taut round. Use the friction of the countertop to build tension into the surface of the dough, creating a smooth “skin.” Repeat this process with the remaining dough pieces.
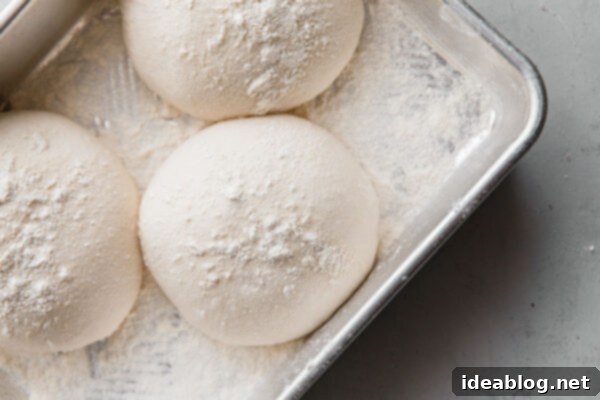
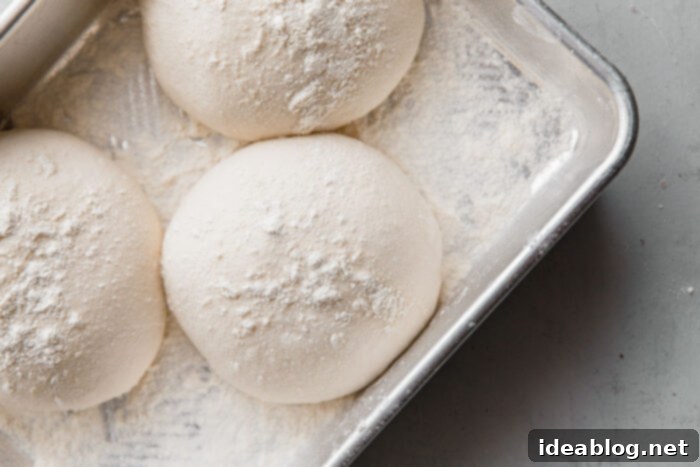
Transfer these perfectly shaped dough balls into a flour-dusted proofing box or a rectangular pan with a lid (or even a large plate, ensuring they don’t touch). Dust the tops lightly with flour. Cover them and let them rest at room temperature for a minimum of 5 to 6 hours. This final proof allows the dough to develop even more flavor and become light and airy, ready for assembly that evening. The dough is quite forgiving and can hold for an additional 3 to 4 hours after this proofing period if your timing shifts.
See the full recipe and notes below for convenient make-ahead instructions, including overnight refrigeration options.
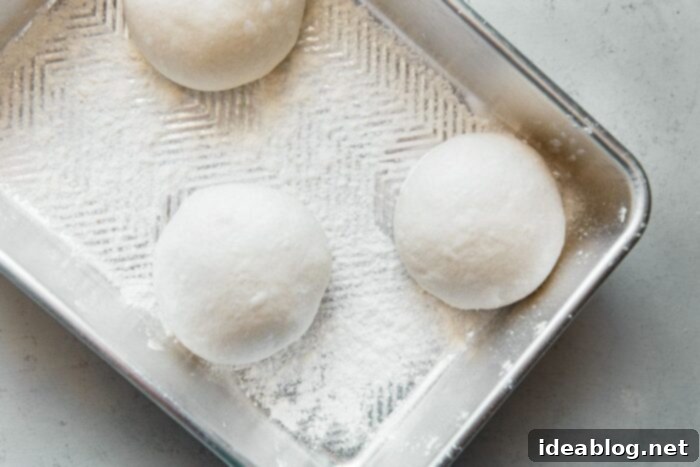
Step 7: Ready for Baking. After the final proof, your dough balls should have expanded considerably, likely touching each other, and nearly doubled in size. They will feel soft and airy, a clear sign they are ready to be transformed into incredible pizzas. Proceed with the shaping and baking instructions outlined below to turn these perfect dough balls into culinary masterpieces.
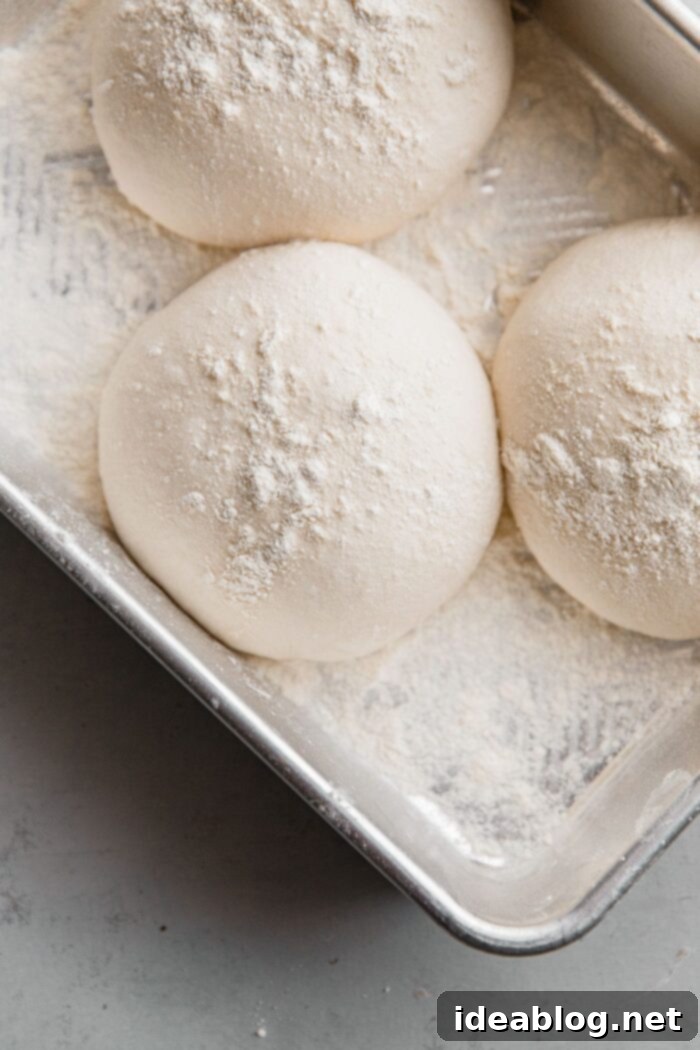

How to Shape and Make Sourdough Pizza (Classic Margherita Style):
Once you’ve successfully prepared your exquisite sourdough pizza dough, the exciting part begins: turning it into a delicious pizza! For a truly authentic and irresistible experience, we’ll focus on creating a classic Margherita-style pizza. This timeless choice allows the incredible flavor of the sourdough crust and high-quality ingredients to shine.
To craft a perfect Margherita, you’ll only need a handful of fresh, high-quality ingredients: our simple yet flavorful homemade pizza sauce, fresh mozzarella cheese (preferably whole milk, low-moisture), vibrant fresh basil leaves, and a good quality extra virgin olive oil. This combination ensures a pizza that is both elegant and deeply satisfying.
For additional visual guidance on shaping pizza dough like a pro, be sure to watch this quick step-by-step video series. It offers invaluable tips for achieving that perfect round crust.
Step 1: Intense Oven Preheat. Position a baking steel (or a pizza stone) on a rack in the upper third of your oven, approximately 6 to 7 inches below the broiler heating element. Preheat your oven and the steel to its maximum temperature, usually 500°F (260°C), for at least one full hour. This extended preheating is crucial for transferring intense heat to the dough, resulting in a blistered, crispy crust. While the oven preheats, take this time to prepare your pizza sauce and arrange all your desired toppings for easy, quick assembly. Time is of the essence once the dough is shaped!
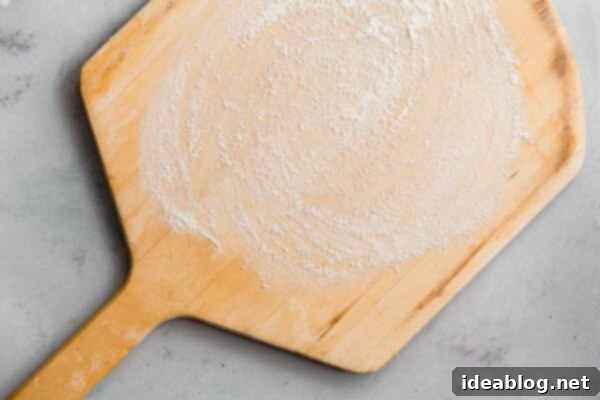
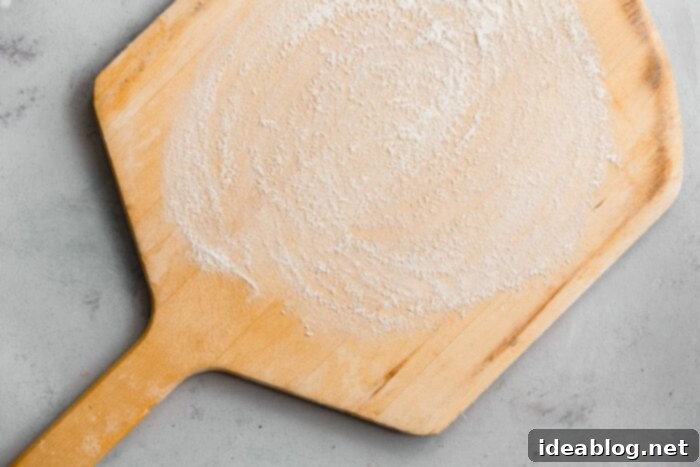
Step 2: Prepare Your Pizza Peel. Lightly dust your pizza peel (preferably wooden) with all-purpose flour. Then, sprinkle a generous amount of semolina flour over the flour. Use your hands to spread this mixture into a thin, even layer across the entire surface of the peel. This flour and semolina combination is essential; it creates a non-stick surface, allowing the dough to slide smoothly off the peel and onto the hot baking steel in the oven.
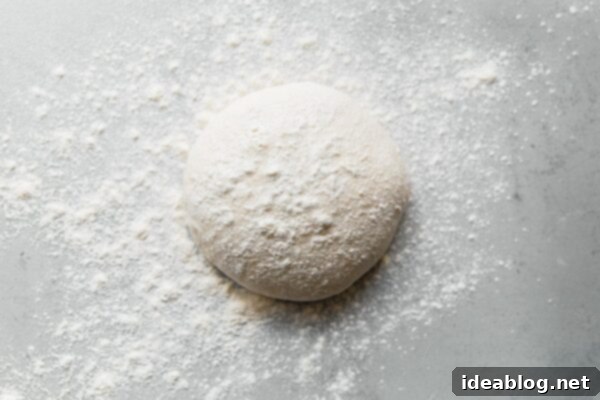
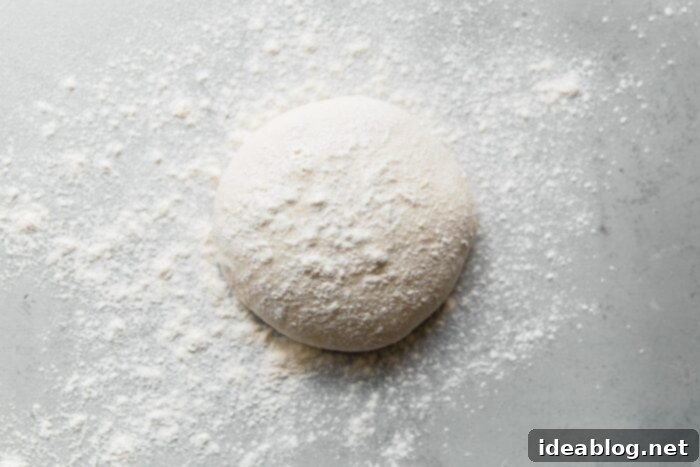
Step 3: Boost the Heat and Prep the Dough. Just before you begin assembling your first pizza, turn on your oven’s broiler to high for about 10 minutes. This provides an intense, direct burst of heat to the baking steel, ensuring it’s at its absolute hottest for that perfect crispy crust. While the broiler heats, generously sprinkle your clean countertop with flour. Carefully lift one pizza dough round from its proofing container, making sure to cover the remaining dough to prevent it from drying out. Place the chosen dough ball onto the floured countertop and dust its top lightly with more flour.
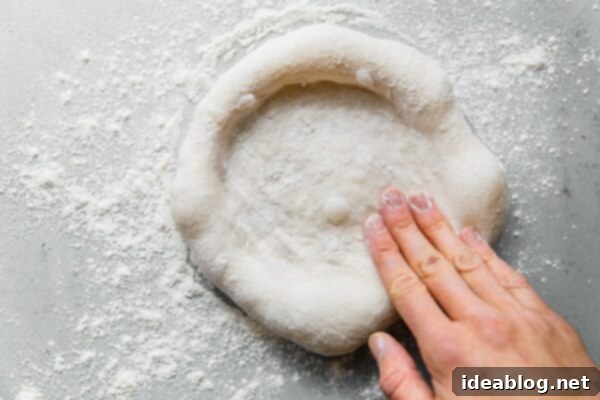
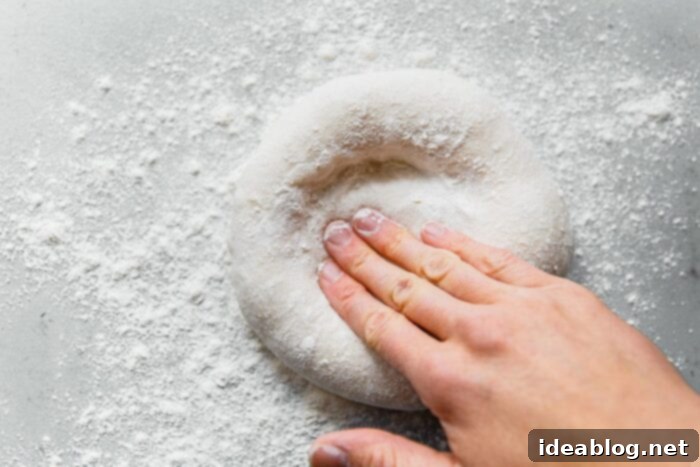
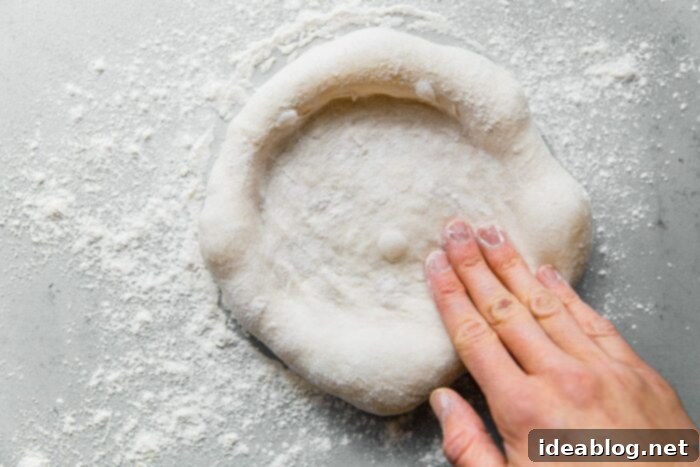
Step 4: Initial Hand Shaping. Using both hands, begin gently pressing the dough with your fingertips. Start from the center and gradually work your way outwards towards the edges. As you press, rotate the dough continuously to maintain a circular shape while being careful not to press down on the outermost rim, which will become your beautiful, airy cornicione (crust edge).
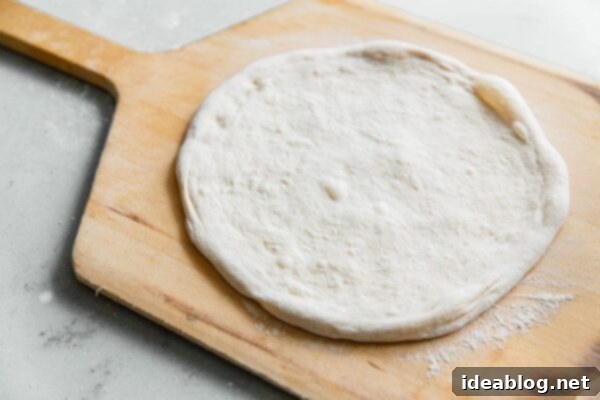
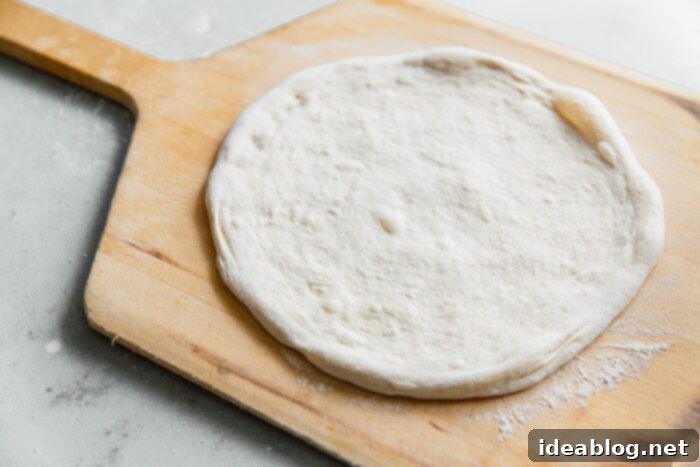
Step 5: Stretching for Thinness. Once the dough disc has reached approximately 6 to 7 inches in diameter, carefully lift it with both hands. Allow the center of the dough to rest gently on your knuckles. Begin to gently stretch the dough by pushing your knuckles outwards, continuously rotating the dough. It’s important to maintain the slightly rounded, thicker edges of the crust. Let the outer edges of the dough hang off your hands, allowing gravity to assist in stretching the dough into a thin disc, roughly 10-inches in diameter. Once stretched, gently transfer the dough onto your prepared, dusted pizza peel.
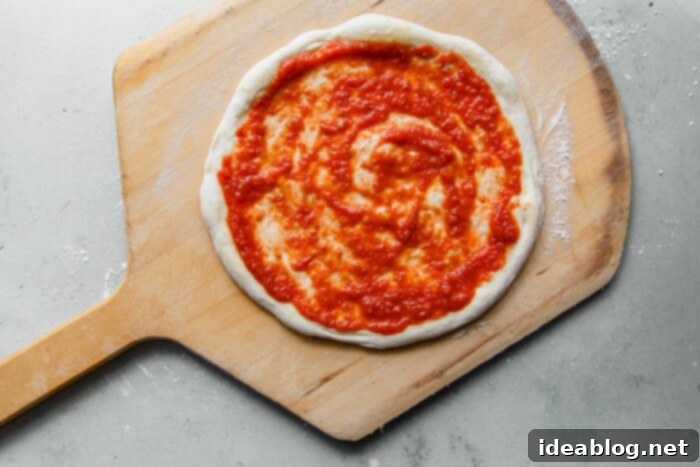
Step 6: Sauce Application. Drizzle a small amount of extra virgin olive oil over the surface of the stretched dough. Use your hands to gently brush it over the entire surface, paying particular attention to the edges, which will become the delicious crust. Next, spoon roughly ⅓ to ½ cup of your prepared homemade pizza sauce into the center of the dough. Using the back of the spoon, spread the sauce into an even, *thin* layer, making sure to leave a ¾-inch border on all sides for the crust to puff up beautifully.
Step 7: Add Cheese and Basil. Distribute approximately ⅓ of an 8-ounce ball of fresh mozzarella cheese (blotted dry and torn into irregular pieces for even melting) over the sauce. The irregular pieces melt more beautifully than perfectly diced cheese. Finish by scattering several fresh basil leaves over the mozzarella. The heat of the oven will release their aromatic oils, infusing the pizza with fresh, herbaceous notes.

Step 8: Bake to Perfection. With a swift, confident motion, transfer the assembled pizza onto the preheated baking steel. Immediately turn off the broiler and reset your oven temperature to 500°F (260°C). Cook the pizza for 4 to 5 minutes. During this time, monitor the crust and, if necessary, rotate the pizza once or twice on the steel to ensure even cooking and browning. The bottom should become crisp and lightly spotted with beautiful char marks. To finish, turn the broiler back on (watching *very carefully* to prevent burning) and cook for another 1-2 minutes until the edges of the crust have gained a beautiful golden-brown color and the cheese is bubbly and slightly caramelized.

Step 9: Serve Immediately. Using your pizza peel, carefully remove the hot pizza from the oven and place it onto a sturdy wooden cutting board. For an extra touch of flavor and aroma, lightly drizzle the pizza with a little more extra virgin olive oil. Garnish with a few fresh basil leaves and, if desired, a dusting of freshly grated Parmigiano-Reggiano cheese. Cut the pizza into quarters (or your preferred slices) and serve it immediately to enjoy its peak freshness and warmth.
Important: To ensure each subsequent pizza bakes perfectly, remember to set your oven back to 500°F (260°C) and let the baking steel reheat for about 10-15 minutes between pizzas. Repeat the assembly and baking steps with your remaining pizza dough balls, serving each pizza fresh for the best experience.


Pizza Topping Variations: Unleash Your Creativity
While the classic Margherita offers timeless perfection, our sourdough pizza dough provides an incredible canvas for a wide array of flavors. Feel free to use the detailed pizza dough and Margherita topping instructions below, including our favorite pizza sauce, as a solid foundation, and then get creative with your favorite additions.
Personal Favorites and Inspired Combinations: Some of my go-to toppings for elevating sourdough pizza include spicy Calabrian chiles for a kick, earthy roasted mushrooms, savory anchovies for a gourmet touch, robust Calabrese salami, briny kalamata olives, and a scattering of fresh arugula added after baking for a peppery freshness. Or, use this versatile sourdough pizza dough to transform other beloved recipes like this incredible mushroom pizza with havarti cheese, fresh herbs, and white truffle oil or the bright and zesty lemon truffle arugula pizza. The possibilities are truly endless once you have this fantastic base.


Sourdough Pizza Dough
Pin
Review
Save
Saved!
3
(10-Inch) Pizzas
15 minutes
10 minutes
9 hours
9 hours
25 minutes
Following the pizza dough recipe, you’ll discover my tried-and-true formula for a classic Margherita-style pizza, utilizing our favorite homemade pizza sauce. This simple yet profound combination is guaranteed to become an instant favorite in your household. Of course, feel free to use this exceptional dough recipe as a versatile base and personalize it with any toppings you desire.
Equipment
-
Danish Dough Whisk
-
Dough Proofing Box
-
Pizza Peel
-
Baking Steel
Ingredients
Sourdough Pizza Dough:
-
225
grams
90°F-95°F filtered water (32°C-35°C) -
15
grams
kosher salt -
250
grams
ripe sourdough starter
100% hydration, active and bubbly -
250
grams
type “00” flour
plus more for dusting. Recommended brands: Central Milling or Caputo (see notes for details). -
125
grams
high-protein bread flour
such as King Arthur brand for optimal texture.
Assembly and Toppings (For Three 10-Inch Margherita-Style Pizzas):
-
all-purpose flour
for shaping and dusting surfaces. -
semolina flour
for dusting the pizza peel to prevent sticking. -
extra virgin olive oil
for drizzling the dough and finishing the baked pizza. -
1
batch
homemade pizza sauce
(follow recipe linked here for best results). -
8
ounces
fresh mozzarella cheese, not packed in water
blotted dry and torn into small, irregular pieces for optimal melt. -
fresh basil leaves
plus more for finishing after baking. -
freshly grated parmigiano-reggiano cheese
optional, for an extra layer of savory flavor.
Instructions
Prepare the Sourdough Pizza Dough:
-
Important Note: This sourdough pizza dough recipe requires a substantial quantity (250 g) of ripe sourdough starter. To ensure you have enough active starter at its peak, remember to scale up your previous night’s feeding. Refer to the example baking timeline in the notes section below for scheduling guidance.
-
In a large mixing bowl, combine the specified amount of warm water (90°F-95°F / 32°C-35°C) and salt. Use your fingers to swirl the mixture until the salt is completely dissolved. Add the ripe, active sourdough starter to the bowl.

-
Using your fingers, gently pinch the starter into the water mixture, breaking it up and distributing it into small pieces throughout the liquid to ensure even incorporation.

-
Add the “00” flour and bread flour to the bowl. Using a Danish dough whisk or your hands, mix the ingredients until the dough comes together and no dry clumps or flour pockets remain. The dough will have a shaggy, rough appearance. Cover the bowl and allow it to rest at room temperature (around 72°F/22°C) for 20 minutes.

-
Transfer the dough onto a lightly floured countertop. Knead the dough for just one minute, adding a light dusting of flour once or twice if necessary to prevent sticking. The dough should become tacky but mostly smooth. Lightly coat your mixing bowl with olive oil, form the dough into a loose round, and place it back into the greased bowl. Cover and proof at room temperature (72°F/22°C) for about 3 hours. After this time, the dough should have risen by at least 50% and exhibit smooth, rounded edges.

-
Transfer the fully proofed dough onto a clean countertop. Using a bench knife, divide the dough into three equal-sized pieces, each weighing approximately 280 grams for consistent pizza sizes.

-
Shape the Dough Pieces into Rounds: Working with one piece of dough at a time, grab the top portion of dough, stretch it upwards, and fold it back into the center. Repeat this action from the opposite edge, and continue around the outer edges of the dough, folding them into the center to form a tightly seamed package. Flip the dough seam-side down onto the countertop and use your hands to gently shape it into a taut, smooth round, using the countertop to build surface tension. Repeat this shaping process with the remaining dough pieces.

-
Transfer the shaped dough balls into a flour-dusted proofing box (or a rectangular pan with a lid or a large plate), ensuring they are spaced apart. Lightly dust the tops of the dough balls with flour. Cover the container and proof at room temperature for a minimum of 5 to 6 hours, or until you are ready to assemble and bake your pizza that evening. The dough is quite forgiving and will hold well for an additional 3 to 4 hours after this final proofing stage.
Make Ahead Instructions: For greater flexibility, you can shape the dough balls and allow them to proof at room temperature for about 4 hours. Then, transfer the covered container to the refrigerator and refrigerate overnight (up to 24 hours). The following day, remove the dough from the fridge and let it rest at room temperature (72°F/22°C) for at least 2 to 3 hours before using. This cold fermentation develops even deeper flavors.

-
After the final proof, the dough balls should have expanded considerably, likely touching each other, and nearly doubled in size. They should feel soft and airy, ready for the next stage. Proceed to shape and bake your pizzas using the detailed instructions below as a guide.

How to Shape and Bake Sourdough Pizzas (Margherita Style):
-
Position a baking steel (or a pizza stone) on a rack in the upper third of your oven, roughly 6 to 7 inches below the broiler element. Preheat the oven and the steel to its highest temperature, typically 500°F (260°C), for at least one hour. While the oven preheats, prepare your pizza sauce and all other toppings, setting them out for quick and easy assembly.
-
Lightly dust a wooden pizza peel with all-purpose flour, then sprinkle a layer of semolina flour over it. Use your hands to spread this mixture into a thin, even layer across the entire surface of the peel. This non-stick surface is crucial for a smooth transfer of your pizza into the hot oven. Set it aside.

-
Just before you begin assembling your pizza, turn the oven broiler to high for 10 minutes. This will supercharge your baking steel with an extra dose of intense heat. Generously sprinkle your clean countertop with flour. Carefully lift one pizza dough round from the proofing container (making sure to cover the remaining dough to prevent drying) and place it on the floured surface. Dust the top of this dough ball with flour as well.

-
Using both hands, gently press the dough with your fingers. Start from the center of the dough and gradually press outwards towards the edges, being careful to maintain the integrity of the outer rim (the cornicione). Rotate the dough as you go to create an even, circular base.

-
Once the dough disc is approximately 6 to 7 inches in diameter, lift it with both hands, allowing the center to rest on your knuckles. Gently stretch the dough by pushing your knuckles outwards, continuously rotating the dough while carefully preserving the slightly rounded, thicker edges. Allow the dough to hang off your hands slightly, letting gravity help stretch it into a thin, roughly 10-inch disc. Once stretched, gently transfer the dough onto your prepared, dusted pizza peel.

-
Drizzle a small amount of extra virgin olive oil over the surface of the dough. Use your hands to brush it evenly, focusing on coating the edges. Spoon approximately ⅓ to ½ cup of your delicious homemade pizza sauce into the center of the dough. Using the back of a spoon, spread the sauce into a very thin, even layer, making sure to leave a ¾-inch border on all sides for the crust.

-
Distribute torn pieces of fresh mozzarella cheese (roughly ⅓ of the 8-ounce ball) evenly over the sauce. Top with several torn fresh basil leaves.

-
With a quick, confident slide, transfer the pizza directly onto the hot baking steel in the oven. Immediately turn off the broiler and reset the oven temperature to 500°F (260°C). Bake the pizza for 4 to 5 minutes, rotating it on the steel once or twice if needed to ensure even cooking, until the bottom crust is crisp and lightly spotted with char. To finish, turn the broiler back on (watching extremely carefully to prevent burning) and cook for another 1-2 minutes until the edges of the crust are beautifully golden and puffed, and the cheese is bubbly.

-
Using your pizza peel, carefully remove the cooked pizza from the oven and transfer it to a wooden cutting board. For a final flourish, lightly drizzle with extra virgin olive oil, scatter a few more fresh basil leaves, and (optionally) sprinkle with freshly grated Parmigiano-Reggiano cheese. Cut into quarters and serve immediately for the best experience.
-
Important: Set the oven back to its maximum temperature (500°F/260°C) and allow the steel to reheat for 10-15 minutes before assembling and baking the next pizza. Repeat the assembly and baking steps with the remaining pizza dough balls, serving each pizza fresh.
Tips for Success:
- Flour Blend for Optimal Texture: For a balance of added chewiness and crispiness, especially when baking in a home oven, I’ve found that sourdough pizza dough made with almost equal amounts of traditional Type “00” flour and high-protein bread flour yields the best results. This specific recipe has been extensively tested with Central Milling “00” Flour, but it also performs beautifully with Caputo (a classic Italian brand). While their protein levels differ slightly, both will produce fantastic pizzas. For the bread flour component, I consistently recommend King Arthur brand for its reliability and consistent protein content, which is key to achieving similar excellent results.
- Make-Ahead Dough for Convenience: This pizza dough is incredibly versatile and can be prepped a day in advance, making pizza night much easier. To do so, follow the pizza dough instructions as outlined above, but only allow the dough balls to proof at room temperature for 3 to 4 hours after shaping. After this initial proof, transfer the container with the dough to the refrigerator and refrigerate overnight (for up to 24 hours). On the day you plan to bake, remove the dough from the fridge and allow it to rest at room temperature (72°F/22°C) for at least 2 to 3 hours before using. This allows the dough to relax, warm up, and become pliable for shaping.
Example Baking Timeline:
- Note: This sourdough pizza dough recipe requires a large quantity (250 g) of ripe sourdough starter. It is crucial to scale up the previous night’s feeding, ensuring you have a healthy, active portion ready to be used in the pizza dough first thing in the morning.
- 9:00 AM – Mix the pizza dough ingredients (water, salt, starter, flours), then cover and rest for 20 minutes (autolyse).
- 9:20 AM – Perform a brief, 1-minute knead of the dough, then cover the bowl and allow it to bulk ferment at room temperature for 3 hours.
- 12:20 PM – Divide and shape the dough into individual pizza balls. Place them in a flour-dusted container, cover, and proof for at least 5 hours at room temperature. These dough balls are flexible and will hold well for up to 4 additional hours if needed, allowing for flexibility in your dinner plans.
- 6:00 PM – Begin preheating your oven and baking steel to 500°F (260°C) for a full hour.
- 7:00 PM – Prepare all your pizza toppings and arrange them for efficient assembly.
- 7:15 PM – Initiate the broiler, then assemble and bake your first pizza.
This delightful sourdough pizza dough recipe has been thoughtfully adapted from Ken Forkish’s highly acclaimed book, The Elements of Pizza.
Serving:
1
serving
,
Calories:
758
kcal
,
Carbohydrates:
113
g
,
Protein:
35
g
,
Fat:
17
g
,
Saturated Fat:
8
g
,
Polyunsaturated Fat:
1
g
,
Monounsaturated Fat:
4
g
,
Cholesterol:
41
mg
,
Sodium:
2435
mg
,
Potassium:
203
mg
,
Fiber:
4
g
,
Sugar:
1
g
,
Vitamin A:
458
IU
,
Calcium:
573
mg
,
Iron:
4
mg
Laura
Sourdough Bread
Italian

