Easy Homemade French Boule Bread: A Guide to Baking Crusty Artisan Loaves
This classic French boule recipe makes baking delicious, crusty artisan-style bread at home incredibly simple and rewarding. Forget the fuss of complicated techniques; with this method, you’ll achieve a beautiful, round loaf with a perfectly golden crust and a soft, airy interior that rivals any bakery.
For many home cooks, the idea of baking bread can seem daunting. The ingredient often perceived as the most intimidating, yeast, has, over the past year, surprisingly become one of my favorite kitchen companions. The transformation of a few simple ingredients into a warm, fragrant loaf is nothing short of magical.
My journey into bread baking has led me to experiment with a variety of recipes, from more complex multigrain loaves and indulgent no-knead focaccia to practical dinner rolls. Yet, among all these adventures, this classic French Boule stands out as one of my all-time favorite and easiest bread recipes. It consistently delivers an impressive result with minimal effort, proving that exceptional homemade bread is within everyone’s reach.
The Charm of the French Boule: Effortless Artisan Bread
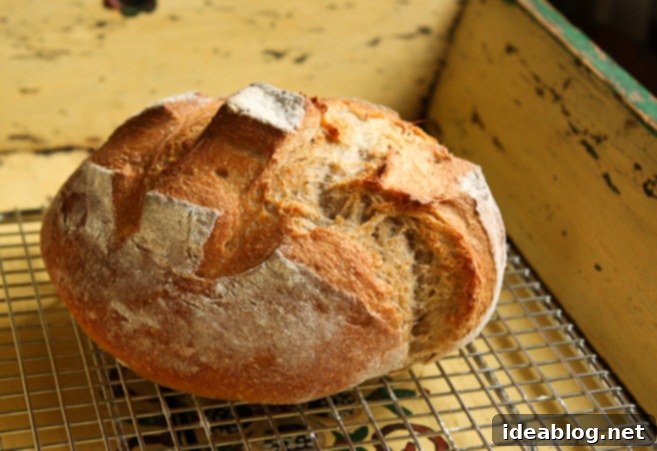
The beauty of this French Boule lies in its simplicity and the remarkable results it yields. The dough is wonderfully easy to prepare, requiring no extensive kneading or complex machinery. The final product is a truly artisan-style bread, characterized by a hearty, crackly crust and a delightful, open crumb that’s both tender and chewy. This versatile bread is a perfect accompaniment to almost any meal. It pairs beautifully with a steaming bowl of homemade soup, serves as an excellent base for gourmet sandwiches, or can be enjoyed simply sliced and spread with salted butter. In my experience, truly great bread needs very little else to shine.
If you fall in love with the process and the taste of this boule and are eager to elevate your bread baking expertise even further, I wholeheartedly recommend exploring the world of homemade sourdough next. It’s a natural progression that builds upon similar techniques and deepens your understanding of dough fermentation.
Make Ahead and Enjoy Fresh Bread Anytime
One of the most significant advantages of this French Boule recipe is its incredible flexibility. The generously sized dough, which yields two substantial 2-pound loaves, can be conveniently stored in your refrigerator for up to two weeks. This “make-ahead” feature means you can enjoy the luxury of freshly baked bread any day of the week, fitting perfectly into even the busiest schedules. This convenience, combined with the unparalleled taste and texture, makes this recipe an absolute staple. I assure you, once you experience the joy of biting into a slice of this homemade boule, you’ll find yourself making it regularly.
This particular recipe is a thoughtful adaptation from one of my most cherished cookbooks, Artisan Bread in 5 Minutes A Day, authored by the brilliant Jeff Hertzberg and Zoë Francois. Their groundbreaking approach revolutionized home bread baking, making high-quality artisan loaves accessible to everyone.
While the original recipe traditionally calls for 100% unbleached white flour, this adapted version incorporates a strategic blend of both unbleached all-purpose flour and whole wheat flour. The addition of whole wheat flour not only enhances the flavor profile, imparting a subtle nuttiness and depth, but also contributes to a richer nutritional content. The result is an even more delicious loaf that still retains its signature crusty exterior without becoming overly dense. It’s the perfect balance of classic technique and wholesome ingredients. Get ready for a delightful bread baking experience!
Tips for French Boule Perfection
The Power of Yeast and Proper Hydration
Yeast is a living organism, and understanding its behavior is key to successful bread baking. Ensure your warm water is within the recommended temperature range (95°F/35°C) to properly activate the yeast without killing it. Too cold, and the yeast won’t activate; too hot, and it will die. The high hydration of this dough is what contributes to its open crumb structure. Resist the urge to add more flour if the dough seems very wet; stickiness is a desirable characteristic for this type of artisan bread.
Mixing and Fermentation: Minimal Effort, Maximum Flavor
The “5 minutes a day” concept highlights that significant kneading isn’t necessary. A quick mix to incorporate ingredients, followed by a long, slow fermentation in the refrigerator, does all the heavy lifting. This extended cold fermentation not only develops complex flavors but also strengthens the dough’s gluten structure naturally. The dough’s ability to be stored for up to two weeks allows for unparalleled convenience, letting you bake fresh whenever the craving strikes.
Shaping and Scoring: The Art of the Boule
Shaping the boule involves a technique called “cloaking,” where you stretch the surface of the dough around to the bottom to create surface tension. This tension is crucial for a good oven spring – the final burst of rising that happens when the dough hits the hot oven. A well-shaped boule will hold its round form beautifully and develop a uniform crust. Scoring, or slashing the top of the loaf with a serrated knife or a baker’s lame, isn’t just for aesthetics. It allows the bread to expand in a controlled manner during baking, preventing uncontrolled cracks and ensuring an even rise. Experiment with different patterns like a simple cross or a scallop design to personalize your loaves.
Achieving the Ultimate Crust: Heat and Steam are Key
For that signature crisp, crackly crust, high heat and steam are essential. Preheating your pizza stone or steel for at least 45 minutes ensures it reaches a sufficiently high temperature to give the dough an initial boost, creating a beautiful oven spring and promoting crust formation. Introducing steam into the oven during the first part of baking is equally important. The steam prevents the crust from setting too quickly, allowing the loaf to expand fully before the crust hardens. This results in a thinner, crispier crust and a more voluminous loaf. While a baking stone or steel works wonderfully, baking in a Dutch oven (as suggested in the recipe note) can provide even superior results by naturally trapping steam around the loaf, leading to an incredibly deep, golden, and exceptionally crusty exterior.
Classic French Boule
Pin
Review
SaveSaved!
Ingredients
- 3 cups (680g) warm water (95°F/35°C)
- 1 tablespoon + 1½ teaspoons active dry yeast
- 1 tablespoon + 1½ teaspoons (18g) kosher salt
- 4 cups (560g) unbleached all-purpose flour
- 2½ cups (350g) whole wheat flour
- semolina or cornmeal for dusting your pizza peel or baking surface
Instructions
-
The Day Before Baking: In a very large container (preferably with a non-airtight lid, allowing for some gas exchange), gently whisk together the warm water, active dry yeast, and kosher salt until combined. Gradually add in all of the unbleached all-purpose flour and whole wheat flour, mixing initially with a sturdy wooden spoon. As the dough becomes too difficult and thick to stir, switch to mixing with your hands until all the flour is fully incorporated and the dough has a uniform texture. Remember, the dough should be quite wet and sticky; resist the urge to knead it. Loosely cover the dough container (do not seal it tightly to allow for rising) and let it rise at room temperature for at least 2 hours. After the initial rise, transfer the dough container to the refrigerator. The dough can be used the following day or stored for up to 2 weeks, developing more flavor with time.
-
Important Baking Note: Steam is critical for enabling the bread to develop its characteristic crusty, crisp exterior and for a good oven spring. One effective way to introduce steam into your home oven is to place a broiler tray or a cast-iron pan on a lower oven rack. Immediately after placing the loaf in the oven, carefully pour very hot water into this tray (about 1 cup) and quickly close the oven door. The steam will help prevent the crust from hardening too quickly, allowing the bread to expand. For even better results, especially if you do not own a baking stone or steel, you can bake this loaf in a preheated Dutch oven using the method outlined in my artisan sourdough bread recipe. This method creates a highly controlled steamy environment, yielding an exceptionally crusty loaf.
-
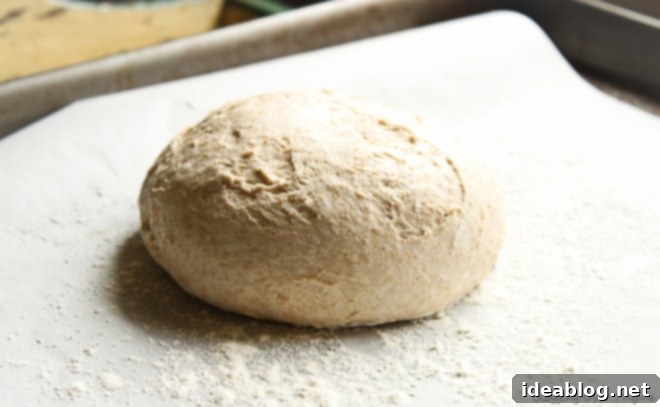
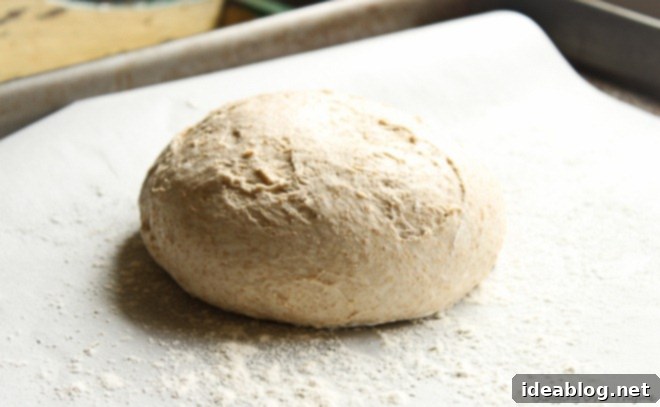
Before Baking: Position your oven rack in the middle or lower-middle position and preheat your pizza stone or steel to 450°F (230°C) for at least 45 minutes to ensure it’s thoroughly hot. While the oven preheats, dust a pizza peel lightly with semolina or cornmeal to prevent sticking. Remove approximately half of the dough from the refrigerated container (the dough will be very extensible and airy). Quickly “cloak” and shape the dough into a tight round boule. This shaping process should be swift, ideally taking only about 30 to 60 seconds total. To “cloak,” stretch the surface of the dough gently around to the bottom of the loaf, creating a strong surface tension on the top so that it feels relatively smooth and taut. Allow the shaped boule to rest uncovered at room temperature on your prepared pizza peel for 45 minutes. Equipment Note: If you do not have a pizza peel, you can carefully place the shaped dough on a half sheet pan lined with parchment paper.

-
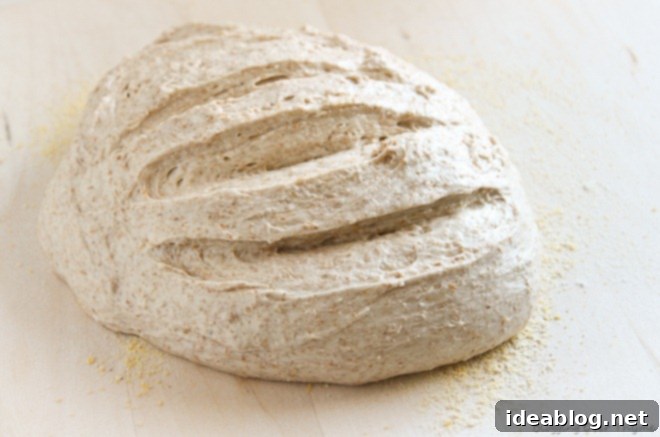
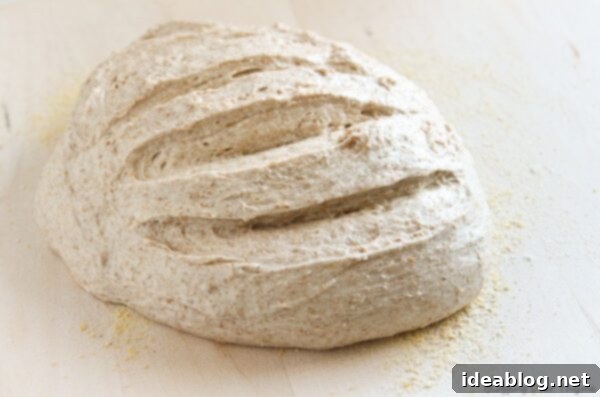
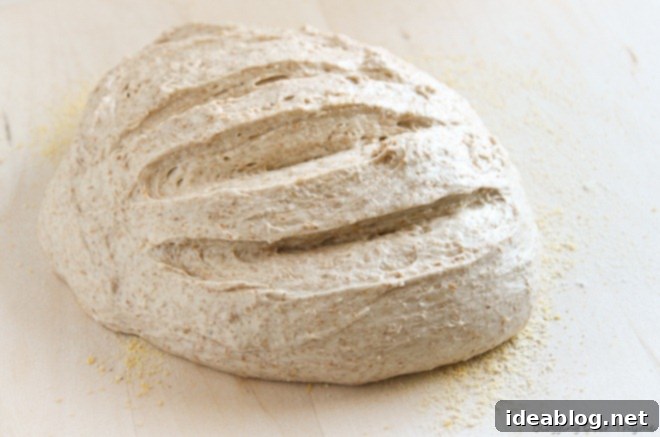
Once your oven has fully preheated, lightly dust the top of the shaped loaf with a small amount of all-purpose flour. Then, using a sharp serrated knife or a baker’s lame, score the top of the loaf with your desired pattern. A classic scallop pattern (as seen in the photo) or a simple “#” pattern works well. The individual scores should be no more than ½-inch deep to allow for optimal expansion during baking.

-
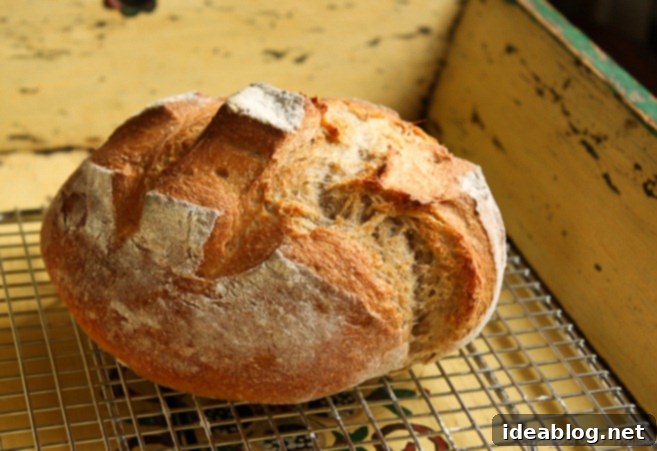
Carefully transfer the scored dough onto the hot pizza stone or steel in your oven (or place the baking sheet with parchment paper in the bottom third of your oven if using that method). Bake for 35 to 50 minutes, or until the crust is deeply golden brown and the internal temperature of the loaf reads between 190°F-200°F (88°C-93°C). Once baked, remove the loaf from the oven and allow it to cool completely on a wire rack for 1-2 hours before attempting to slice it. While it’s tempting to cut into warm bread, allowing it to cool fully is crucial for achieving the best crumb texture and helps prevent the bread from losing moisture and staling faster.

