Delicious Homemade Apple Cranberry Pie: Your Ultimate Guide to a Flaky, Flavorful Thanksgiving Dessert
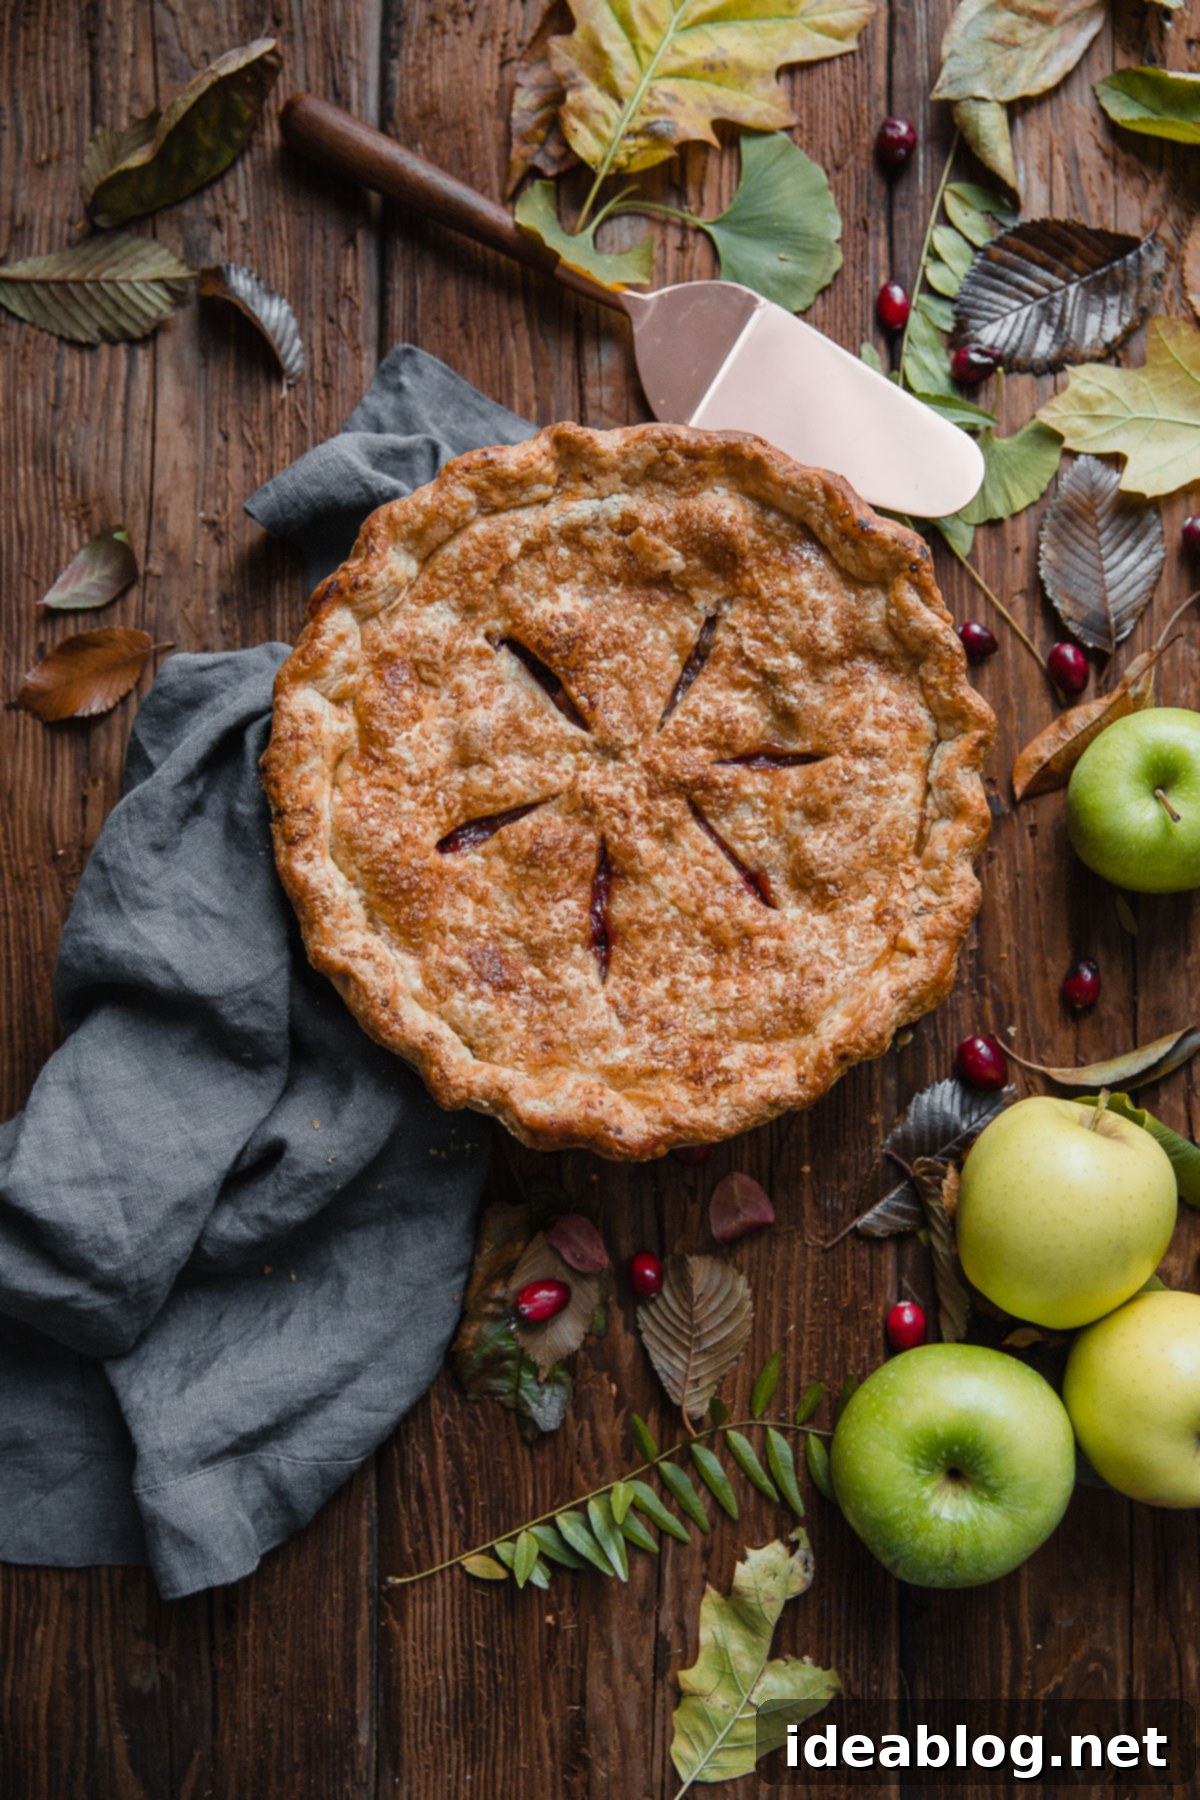
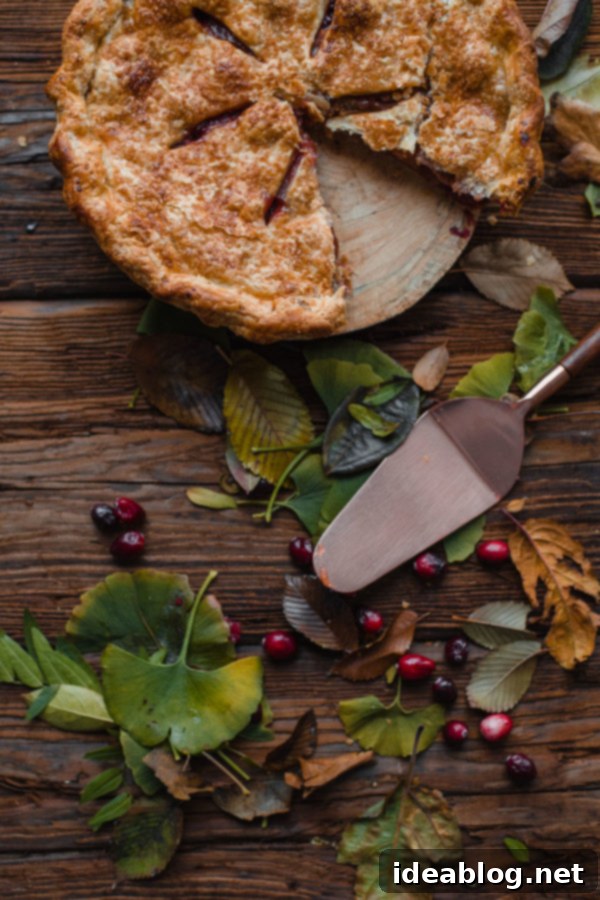
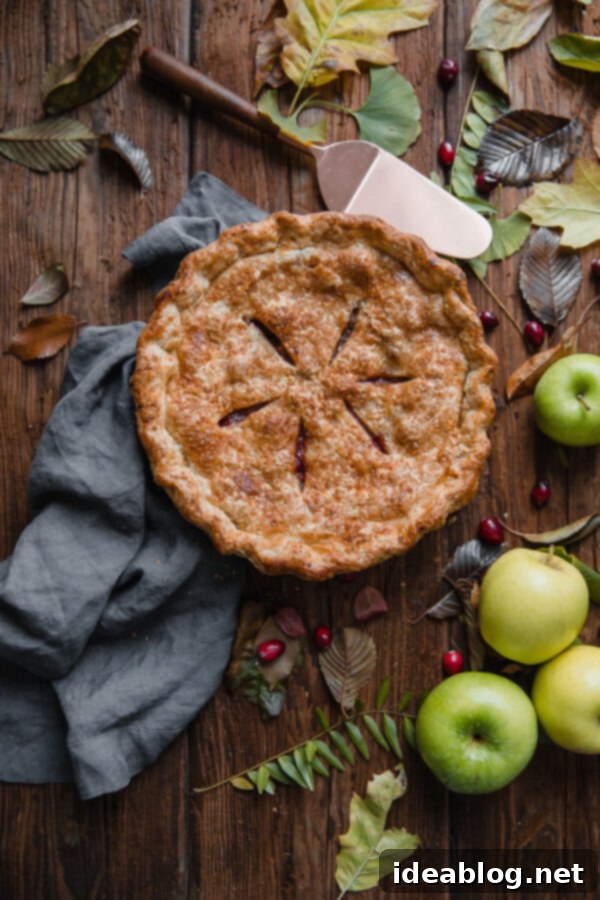
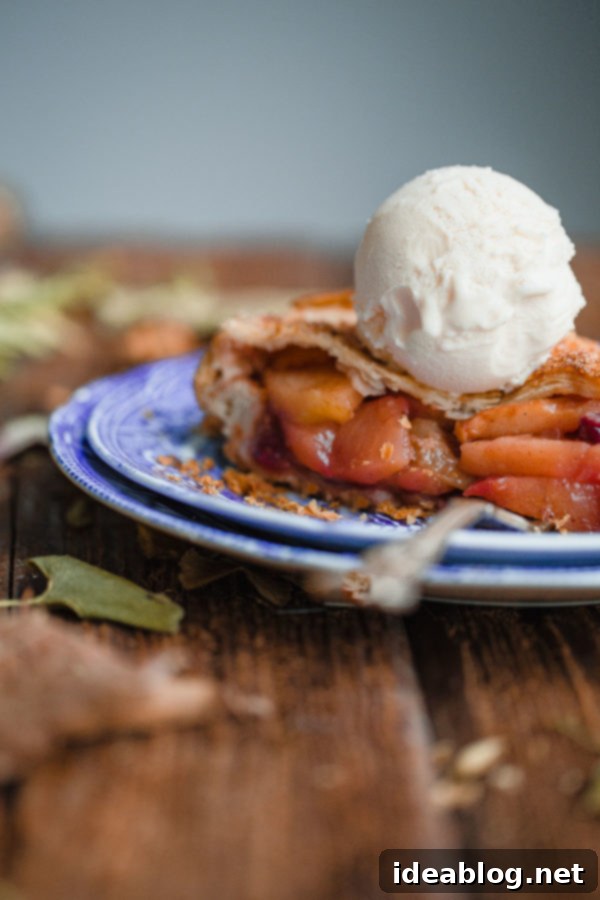
There’s something truly special about a homemade pie, especially one that graces your holiday table. This exquisite Apple Cranberry Pie recipe is destined to become a new family favorite, boasting a vibrant filling of crisp apples and tart cranberries, brightened with orange zest, all encased in a perfectly flaky, all-butter pie crust. It’s a harmonious blend of sweet and tart, wrapped in a golden, tender pastry that will impress even the most discerning dessert connoisseurs.
This post was created in partnership with Bob’s Red Mill, a brand we trust for exceptional baking ingredients.
Why This Apple Cranberry Pie is a Holiday Must-Have
As the holiday season approaches, particularly Thanksgiving, the quest for the perfect dessert often begins. While there are countless options, a pie remains an undeniable staple. This isn’t just any pie; it’s an Apple Cranberry Pie that elevates a classic to new heights. If your Thanksgiving dessert menu isn’t set in stone, allow this recipe to inspire you. It’s more than just a sweet treat; it’s a centerpiece that embodies the flavors and warmth of the season.
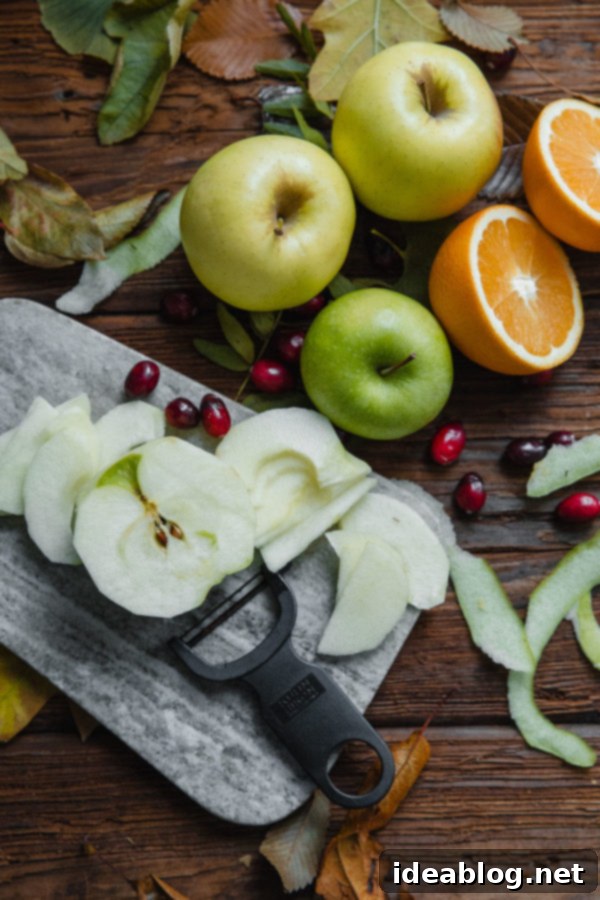
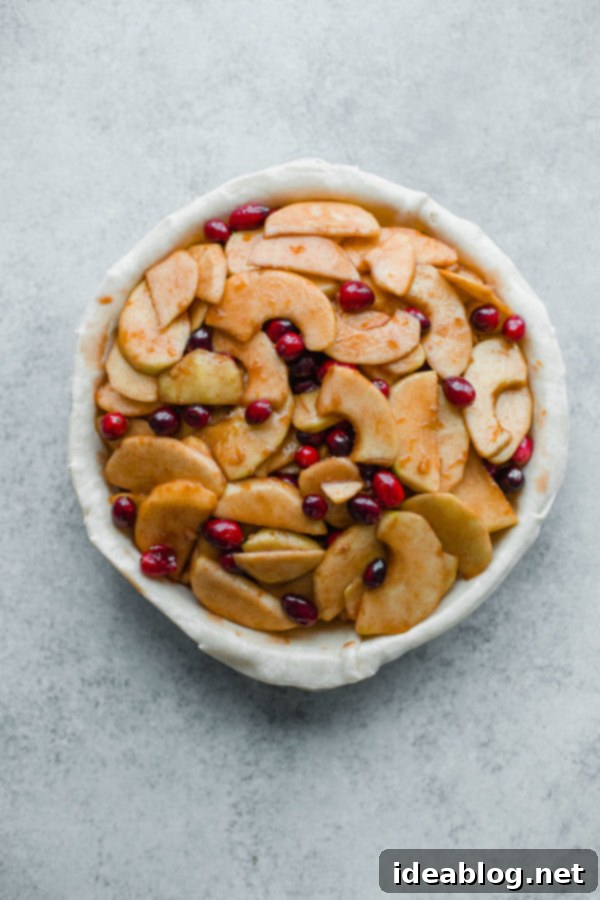
Every year, some form of apple pie makes an appearance at my holiday gatherings, but this specific iteration has quickly become my absolute favorite. It masterfully balances the sweetness of baking apples with the invigorating tang of fresh cranberries. The filling is a delightful symphony of flavors, where baking apples are lovingly combined with warming cinnamon, a blend of granulated and light brown sugar, and the bright, aromatic notes of fresh orange zest and orange juice. The fresh cranberries, which soften beautifully during baking, introduce a tart “zip” that perfectly complements the apple mixture’s sweetness, resulting in a filling that’s not only incredibly delicious but also boasts a stunning pink hue.
The Undisputed Star: Homemade All-Butter Pie Dough
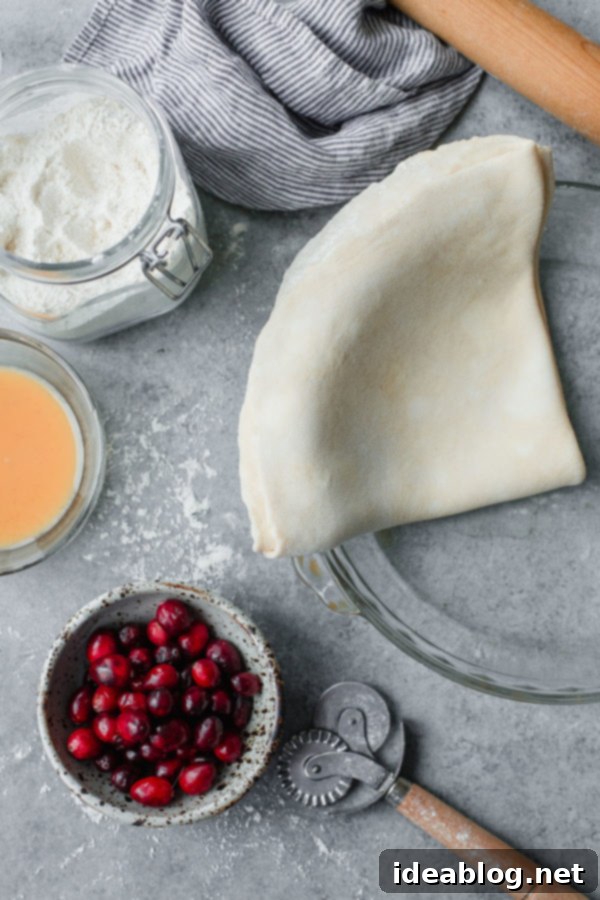
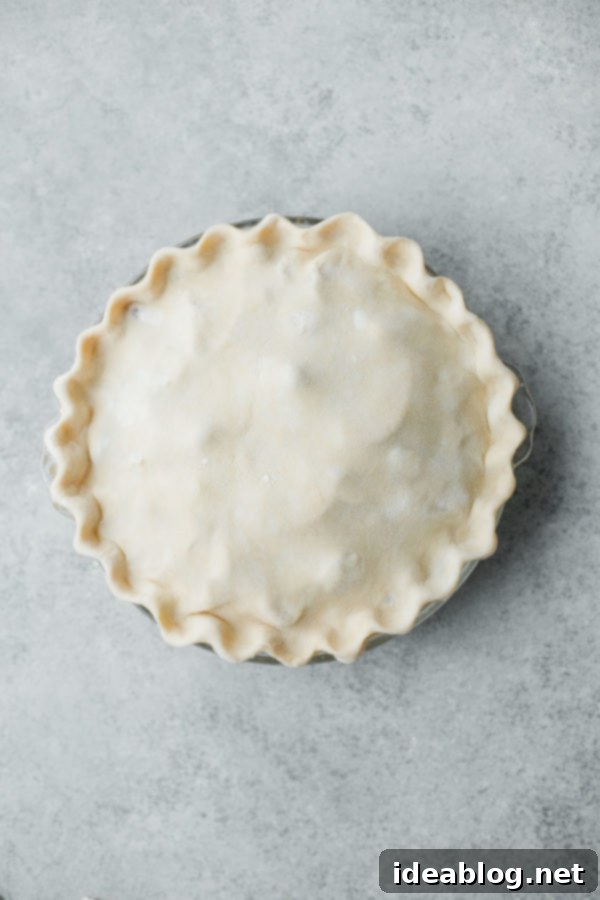
While the apple cranberry filling is undeniably fantastic, let’s talk about what truly sets this pie apart: the homemade all-butter double pie dough. I understand the convenience of store-bought pie doughs—especially during the whirlwind of Thanksgiving preparations. However, the unparalleled flavor and texture of a scratch-made, all-butter crust simply cannot be matched. Trust me when I say, once you’ve experienced the difference, there’s no going back.
Over the years, I’ve experimented with countless pie dough recipes, some far more intricate and demanding than others. This particular all-butter pie dough recipe has become my absolute go-to method. It’s incredibly straightforward, requiring minimal steps, yet it consistently produces an unbelievably flaky, tender, and robust pie crust. This crust holds up beautifully to even the juiciest fillings, ensuring every slice is a dream.
The Importance of Quality Ingredients for Your Pie Crust
When you’re making pie dough from scratch, remember that it’s composed of just a few core ingredients. This means the quality of each component is paramount. I strongly encourage you to seek out the highest quality flour and butter you can find. Using premium ingredients directly translates to exceptional flavor and consistently reliable results.
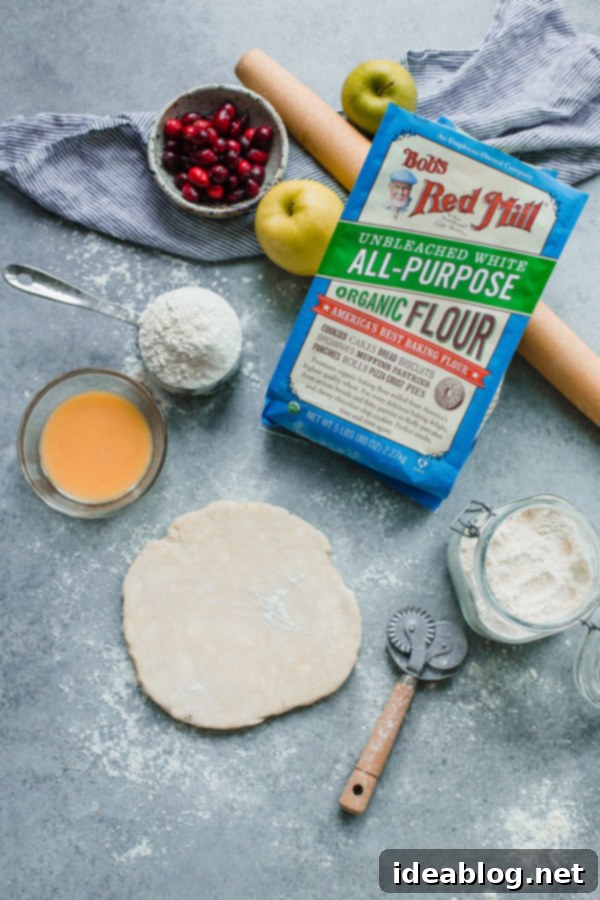
For this recipe, I always reach for my trusted everyday baking flour: Bob’s Red Mill Organic Unbleached All-Purpose Flour. It’s crafted from certified-organic, hard red wheat and is unbleached, unbromated (a chemical additive banned in many countries outside the United States), and unenriched, unlike many conventional all-purpose flours. This unbleached all-purpose flour, with its mid-level protein content, is perfectly suited for homemade pie crusts, contributing to their tender yet structured texture. If you’re eager to learn more about different types of flour and their optimal uses, explore my comprehensive Flour 101 baking reference post for detailed insights.
Mastering Pie Dough in a Stand Mixer
Much like many culinary endeavors (especially in the delicate world of pastries), creating homemade pie dough successfully hinges on practice, patience, and a fundamental understanding of the process. My goal here is to demystify the process and make it less daunting, ensuring you achieve a perfect crust every time.
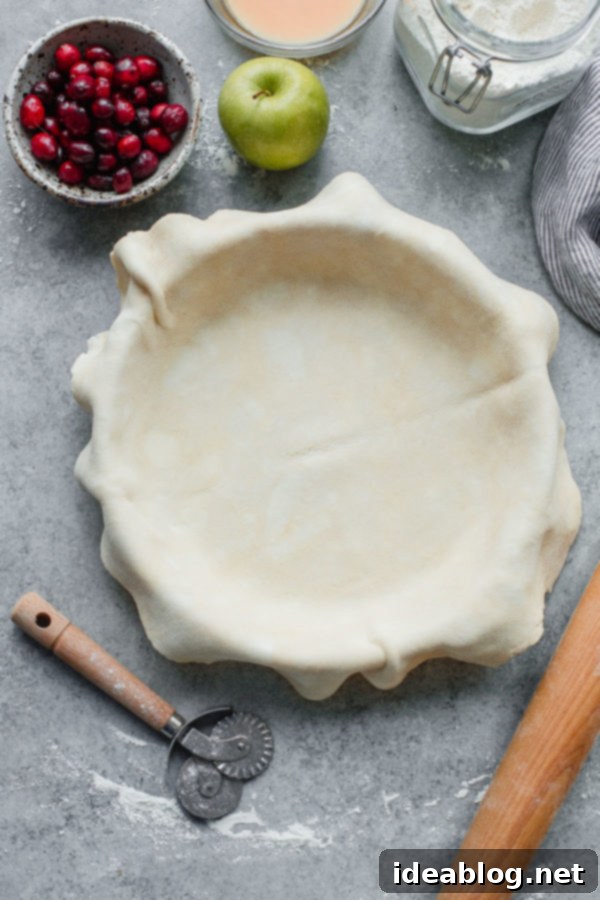
For this particular recipe, mirroring my approach for this blackberry peach pie, we’ll be preparing the homemade pie dough using a stand mixer fitted with a paddle attachment. Having experimented with virtually every possible method over the years—from pastry cutters to food processors—I can confidently say this stand mixer technique is my absolute favorite. While other methods can certainly yield good results, I’ve found the stand mixer to provide the most consistent and effortless path to a stellar crust.
Why the Stand Mixer Method Excels:
- Temperature Control: Traditional pastry cutters demand a high level of skill and speed to prevent the butter from warming up. Heat is pie dough’s worst enemy. A stand mixer’s metal bowl can be thoroughly chilled, maintaining a colder environment for far longer and more efficiently than a plastic food processor bowl.
- Precise Butter Incorporation: The paddle attachment offers superior control, breaking down the cold butter into varying sizes—from pea-sized to small walnut chunks. This is crucial for creating those coveted flaky layers, something the sharp, rapid pulsing action of a food processor can sometimes overdo, leading to a less distinct butter distribution.
- Controlled Hydration: The slow mixing speed of a stand mixer allows for more precision when gradually adding ice water. This prevents overmixing and ensures you add just the right amount of liquid, resulting in a perfectly hydrated dough that’s neither too dry nor too sticky.
If you’re new to the world of homemade pie dough, I highly recommend checking out or printing my essential 9 tips for fool-proof pie dough before you begin. These insights will provide invaluable guidance for success.
The Genius Behind This Apple Cranberry Pie Filling
What truly distinguishes this apple cranberry pie from many others lies in an often-overlooked but incredibly important step for the filling. Unlike recipes that simply instruct you to combine fruit and sugar before assembly, this recipe incorporates an additional, crucial technique that ensures a superior result.
If you’ve ever baked a fruit pie, you’re familiar with the common challenge: fruit, especially when mixed with sugar, releases a significant amount of liquid. This phenomenon is known as osmosis. Neglecting to account for this excess moisture can lead to the dreaded “soggy bottom” pie—a common pitfall that can undermine even the most delicious filling (though, let’s be honest, there are worse things in life!).
The Magic of Macerating Apples
To confidently avoid a runny pie, I employ one of my favorite tricks, inspired by Rose Levy Beranbaum’s seminal work, The Pie and Pastry Bible. This brilliant method involves macerating the apple slices in the sugar mixture for approximately 30 minutes. During this time, the apples naturally release their excess liquid. This liquid is then drained and reduced on the stovetop to create a thick, intensely flavorful syrup.
This technique offers several fantastic benefits:
- Concentrated Flavor: Reducing the fruit liquid on the stovetop intensifies its flavor, which is then reincorporated into the filling, resulting in a more profound apple-cranberry taste.
- Reduced Moisture: By removing and reducing this excess liquid, we significantly decrease the overall moisture content in the pie, virtually eliminating the risk of a soggy bottom crust and ensuring a thicker, more luscious filling.
- Prevents Gaps: As fruit bakes, it naturally shrinks. Macerating the apples beforehand allows them to release moisture and shrink slightly before baking. This helps prevent unsightly gaps from forming between the baked crust and the filling, ensuring a beautifully full and compact pie.
Important Note for Slicing: Since the apples will lose some volume during the maceration process, I highly recommend slicing them slightly thicker than usual—just over ¼-inch thick. This ensures they retain a pleasant texture and don’t become overly soft during the extended baking time.
Essential Baking Notes for a Perfect Pie
Achieving consistently excellent results in baking, especially with pastries, often comes down to precision. I cannot stress enough the importance of using a kitchen scale to measure your dry ingredients, such as flour. This practice yields the most accurate and consistent results. If a scale isn’t available, be sure to fluff your flour thoroughly before spooning it into measuring cups and leveling it off.
Finally, for a pie crust with a truly deep, golden color and a wonderfully crisp bottom, I prefer to bake my pies at a relatively high temperature of 425°F (220°C) for the entire duration. To ensure that crucial flaky, cooked-through bottom crust, place your pie pan on a rimmed baking sheet and position it on the lowest rack of your oven. This strategic placement concentrates heat on the bottom of the pie, promoting thorough cooking and preventing sogginess. If you notice the edges of your crust browning too quickly, simply tent them with aluminum foil to protect them while the rest of the pie continues to bake to perfection.
If you’re aiming to elevate your pie game this Thanksgiving, this comprehensive approach—from the homemade crust to the macerated filling and precise baking—is how you achieve it!
Smart Ways to Prep This Recipe in Advance
Holiday baking can be demanding, but thoughtful preparation can significantly reduce stress. Here are a couple of invaluable tips to get a head start on your Apple Cranberry Pie:
- Pre-Measure Dry Ingredients: Several days before you plan to bake, measure out all the dry ingredients for your pie dough (flour, salt, and baking powder). Store them together in an airtight container or a Ziploc bag in the freezer. This makes for effortless assembly on baking day – just combine with cold butter and water!
- Prepare and Chill Your Pie Dough: The pie dough can be prepared up to two days in advance. After forming the discs, wrap them tightly in plastic wrap and refrigerate. This not only saves time but also allows the gluten to relax, resulting in a more tender and easier-to-roll crust. Remember to let it sit at room temperature for a short while before rolling to prevent cracking.

