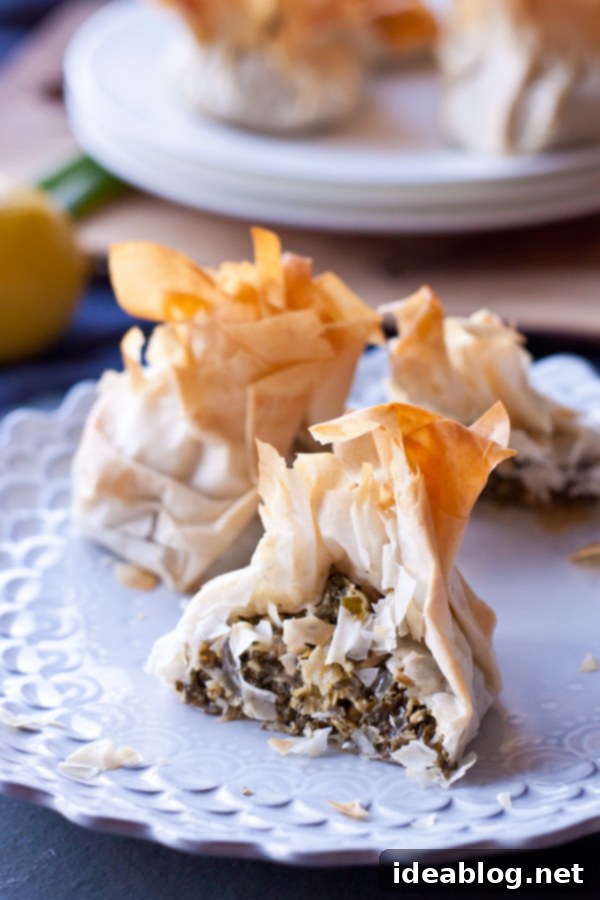
Crispy Swiss Chard and Feta Phyllo Purses: An Elegant Vegetarian Appetizer Recipe
Drawing inspiration from the beloved Greek classic, spanakopita, these exquisite Swiss Chard and Feta Phyllo Purses offer a sophisticated and utterly delicious vegetarian appetizer. Their golden, flaky exterior encases a rich, savory filling, making them perfect for any special gathering or simply to elevate a weeknight meal.
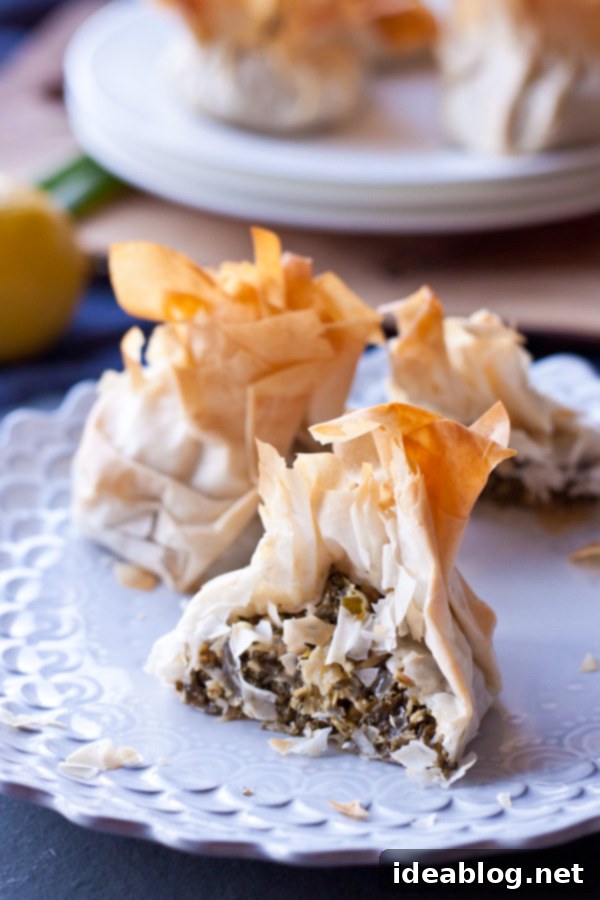
The concept for these delightful Swiss Chard and Feta Phyllo Purses emerged from a desire to reimagine a culinary favorite. The vibrant and flavorful filling takes its cues directly from traditional spanakopita, which is typically characterized by a harmonious blend of sautéed greens, aromatic onions (or green onions), tangy feta cheese, and a bright squeeze of fresh lemon juice. However, we’ve introduced a subtle yet impactful twist that enhances both the flavor and texture of this cherished dish.
Instead of relying solely on spinach, which is often used in spanakopita, our recipe proudly features Swiss chard. This robust leafy green not only offers a more substantial yield when cooked down but also boasts a heartier texture and a slightly earthier flavor profile that stands up beautifully to the creamy feta and crisp phyllo. Swiss chard maintains its integrity during cooking, preventing the filling from becoming overly watery, a common issue with spinach, ensuring a more satisfying bite in every purse.
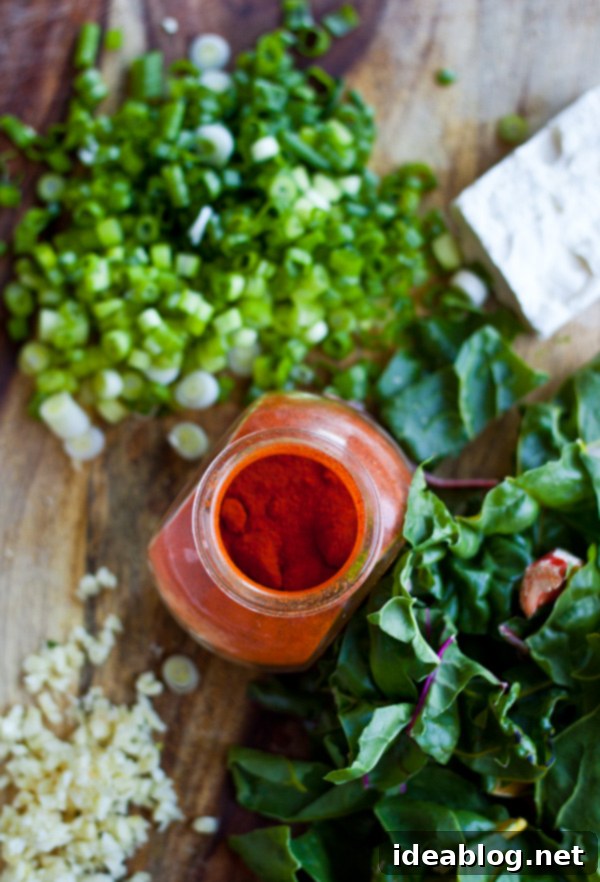
Indeed, it goes without saying that the star ingredient that truly defines this dish, much like its spanakopita inspiration, is the feta cheese. The moment you bite into one of these phyllo purses, you’re greeted by the exquisite sensation of warm, just-melting feta. Its salty, briny notes perfectly complement the tender, sautéed Swiss chard, sweet onions, and pungent garlic. This irresistible combination, enveloped within layers of golden-brown, crunchy phyllo, creates a truly memorable culinary experience that is both comforting and sophisticated.
If the thought of working with delicate phyllo dough makes you a little apprehensive, rest assured, you are certainly not alone! Many home cooks find it intimidating at first. However, with a little patience, a few key tips, and a calm approach, you’ll discover that mastering phyllo is entirely achievable and incredibly rewarding. The stunning results, a testament to your efforts, are well worth the initial learning curve.
Essential Tips for Successfully Working with Phyllo Dough:
Working with phyllo dough requires a bit of preparation and a steady hand, but the results are incredibly rewarding. Here’s how to set yourself up for success:
- Preparation is Key: Before you even unroll your phyllo dough, ensure your workspace is completely clean and spacious. Preheat your oven to the specified temperature and gather all necessary components for the dish. This includes a barely damp kitchen towel (crucial for keeping the dough hydrated and pliable), a bowl of melted butter (or clarified butter for extra flakiness), a pastry brush, your fully prepared and cooled filling, a parchment-lined half sheet pan, and a sharp knife. Having everything within arm’s reach will help you work efficiently and prevent the phyllo from drying out prematurely.
- Keep it Covered: Phyllo dough dries out incredibly fast when exposed to air, becoming brittle and difficult to work with. Always keep the sheets you’re not actively using covered with a lightly damp kitchen towel. This creates a humid environment that keeps the dough flexible.
- Gentle Thawing: For best results, thaw frozen phyllo dough in the refrigerator overnight. Attempting to thaw it at room temperature too quickly can lead to sticking and tearing. Once thawed, let it sit at room temperature for about 30 minutes before unrolling to make it easier to handle.
- Butter, Butter, Butter: Each layer of phyllo should be brushed lightly with melted butter. This not only adds incredible flavor but is also the secret to achieving that characteristic golden, shatteringly crisp texture. Don’t drench it, a light, even coating is sufficient. Clarified butter, also known as ghee, can offer an even crispier result due to its lower water content.
- Don’t Fear Imperfection: Perhaps the most important tip is to relax and not worry if a sheet of phyllo breaks or tears. This is a common occurrence, even for experienced bakers! This recipe calls for approximately 10 sheets of phyllo dough, but a standard box usually contains at least 20 sheets. This generous supply provides plenty of wiggle room for trial and error. You can easily patch up small tears or simply layer a slightly damaged sheet between two perfect ones; once baked, no one will ever know!
- The Art of Layering: For these purses, we use multiple layers (three, specifically) of phyllo for each individual pocket. Off-setting the corners of each successive layer helps create a “star” shape, which provides a more robust base and allows for beautiful pleating when you gather the edges, ensuring the filling is securely enclosed and the purse maintains its structure during baking.
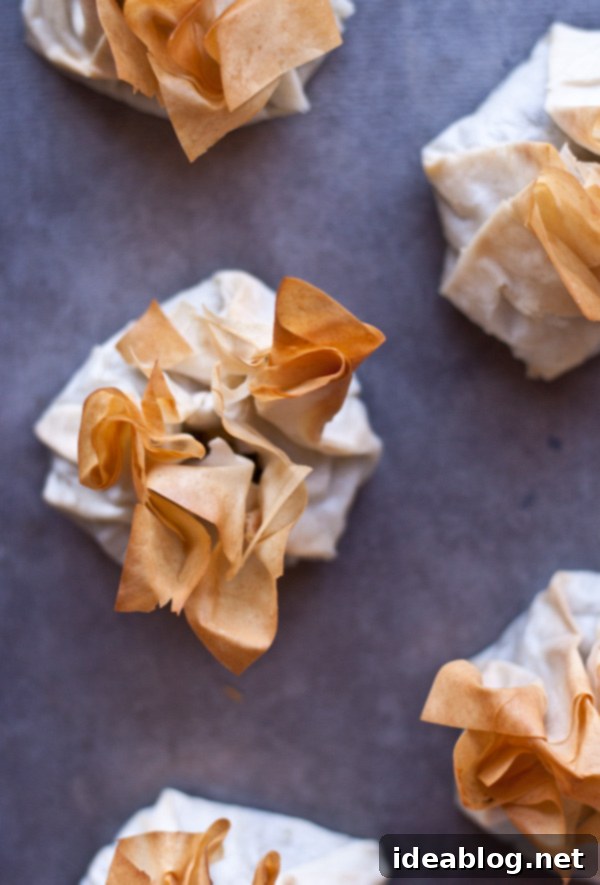
While you certainly don’t need a specific reason or a grand celebration to whip up a batch of these exquisite phyllo purses, they truly shine as an elegant and sophisticated vegetarian appetizer suitable for a myriad of special occasions. Imagine serving them at a festive holiday gathering, a chic dinner party, an intimate brunch, or even as a delightful addition to a picnic spread. Their impressive appearance and incredible flavor profile make them a guaranteed crowd-pleaser that will leave your guests asking for the recipe. They offer a refreshing alternative to more common appetizers, bringing a touch of Mediterranean flair and homemade charm to any event.
These purses are not just visually appealing; they are also incredibly versatile. The filling, with its savory blend of Swiss chard, pungent feta, and aromatic seasonings, can be prepared up to one to two days in advance. This “make-ahead” convenience is a lifesaver when entertaining, allowing you to focus on the assembly and baking closer to serving time. Simply store the cooled filling in an airtight container in the refrigerator until ready to use. This preparation strategy significantly reduces stress and allows you to enjoy your own party without being stuck in the kitchen. When it’s time to assemble, the process is streamlined, and you can quickly bring these flaky treasures to life, ensuring they are served warm and perfectly crisp.
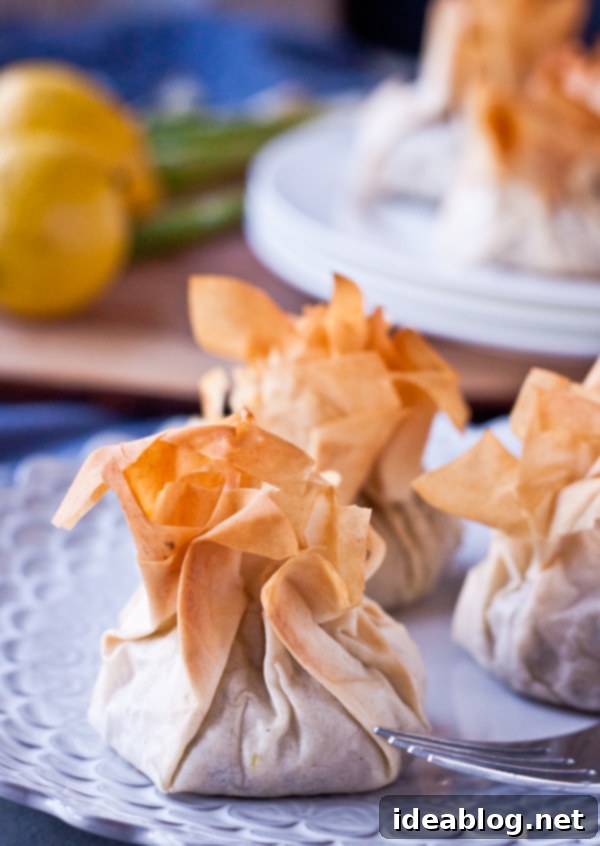
Once baked to a golden perfection, their crisp, buttery layers give way to the tender, savory filling, creating a symphony of textures and flavors. Serve them fresh from the oven, where the feta is still gloriously molten and the phyllo is at its absolute crispiest. These Swiss Chard and Feta Phyllo Purses are more than just an appetizer; they are a culinary statement, a celebration of simple, wholesome ingredients transformed into something extraordinary. They embody the comfort of homemade cooking with an undeniable touch of gourmet elegance.
Swiss Chard and Feta Phyllo Purses
Pin
Review
SaveSaved!
Equipment
-
Half Sheet Pan
-
Pastry Brush
-
Sharp Knife or Pizza Cutter
Ingredients
For the Savory Filling:
- 1 lb Swiss chard carefully remove the tough stems and roughly slice the leaves for blanching
- 1 tablespoon extra virgin olive oil
- ½ small yellow onion finely chopped for optimal flavor distribution
- 5 green onions thinly sliced, white and light green parts included
- 3-4 garlic cloves finely chopped or minced for aromatic depth
- 7 ounces crumbled feta cheese ensure it’s good quality for best flavor
- 1 tablespoon + 1 teaspoon fresh lemon juice adds brightness and cuts through the richness
- ¼ teaspoon freshly grated nutmeg a classic pairing with greens and cheese
- 2 pinches ground cayenne pepper for a subtle hint of warmth
- kosher salt and freshly ground black pepper, to taste
For Assembly:
- 10 (13 x 18-inch) sheets phyllo dough thawed according to package directions (I highly recommend thawing the entire box to allow for any ripped or broken phyllo sheets, ensuring you have enough intact sheets for your purses)
- ½ cup clarified butter or melted unsalted butter for brushing between layers and on top
Step-by-Step Instructions
-
Before proceeding with the recipe, for enhanced visual guidance and confidence, we highly recommend watching the instructional video included in the article above. It provides valuable insights into handling phyllo dough and assembling the purses.
-
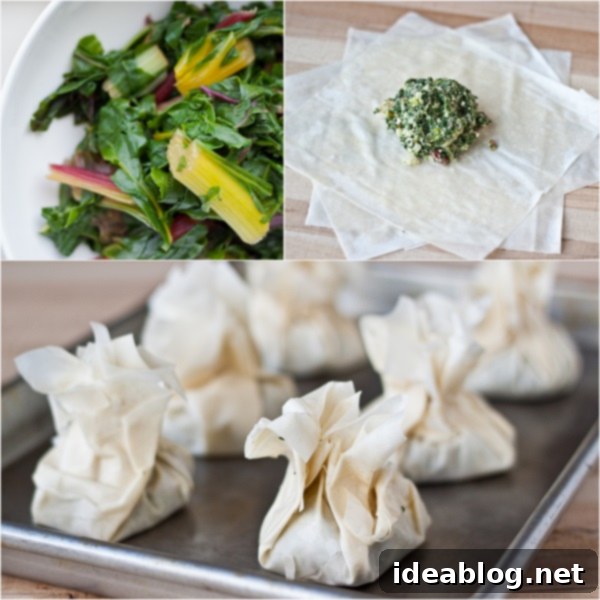
Prepare the Flavorful Filling: Begin by bringing a large pot of generously salted water to a rolling boil. Carefully add the prepared Swiss chard leaves to the boiling water and blanch them for a brief 2 to 3 minutes. Blanching helps to tenderize the chard, reduce its volume, and bring out its vibrant color. Once blanched, immediately drain the chard into a large colander and allow it to cool completely. This step is crucial for preventing a soggy filling.
-
While the Swiss chard cools, heat the extra virgin olive oil in a large skillet over medium-high heat. Add the finely chopped yellow onion and thinly sliced green onion to the skillet. Sauté them gently, stirring occasionally, until they become soft and translucent, which should take approximately 6 to 8 minutes. This process allows their natural sweetness to develop. Next, add the minced garlic and cook for an additional minute, or until it becomes wonderfully fragrant, but without browning. Remove the skillet from the heat and set aside.
-
Once the blanched Swiss chard has cooled sufficiently to handle, transfer it to a clean kitchen towel. Tightly gather the towel and vigorously squeeze out any excess moisture over a sink. This step is critically important; removing as much liquid as possible will prevent your phyllo purses from becoming soggy. After squeezing dry, finely chop the Swiss chard to ensure it integrates well into the filling and creates a consistent texture.
-
In a large mixing bowl, combine the finely chopped Swiss chard, the sautéed onion and green onion mixture, and the crumbled feta cheese. Mix all ingredients thoroughly, ensuring the feta is evenly distributed throughout the greens. Add the fresh lemon juice, grated nutmeg, and a pinch or two of cayenne pepper for a subtle kick. Season the filling with kosher salt and freshly ground black pepper to taste. Remember, feta is salty, so taste before adding too much salt.
-
Assemble and Bake the Crispy Purses: Preheat your oven to 375°F (190°C) and ensure an oven rack is positioned in the center. Line a half sheet pan with parchment paper to prevent sticking and for easy cleanup. Set this prepared pan aside. Establish a clean and organized working surface. Have your melted clarified butter (or regular melted butter) and a pastry brush within easy reach – speed is your friend when working with phyllo!
-
Gently remove the thawed phyllo dough sheets from their packaging. Carefully stack the phyllo sheets on top of each other on your clean working surface. Using a sharp knife or even a pizza cutter, cut the entire stack of sheets lengthwise in half. Then, cut each of these halves crosswise into thirds. This process will yield 6 separate sections of layered phyllo from each full sheet, or about 60 sections total from 10 sheets. Immediately cover the phyllo dough with a barely damp kitchen towel to prevent it from drying out while you work. Work quickly but gently.
-
To form each purse, place one square section of layered phyllo on your clean work surface. Lightly but completely brush the top surface with melted butter. Next, place a second square of phyllo directly on top, deliberately off-setting its corners from the first layer to create a rough star shape. This layering technique adds strength and helps create beautiful flaky edges. Brush this second layer lightly with melted butter. Repeat with a third square of phyllo, again off-setting the corners, and brush it lightly with butter. Now, place approximately two tablespoons of the prepared Swiss chard and feta filling directly in the center of this layered phyllo. To enclose the filling and form a purse, bring the opposite edges of the dough together over the filling. Continue to gather all the edges, gently twisting and pleating them slightly at the top to secure the filling and create a distinctive purse shape. Lightly brush the entire top and sides of the assembled phyllo purse with clarified butter. Carefully transfer the completed phyllo purse to the prepared sheet pan, leaving an inch or two between each purse to allow for even baking. Continue assembling the remaining purses until all filling is used.
-
Bake the phyllo purses in the preheated oven until their tops are beautifully golden brown and crispy, which typically takes about 18 to 25 minutes. Keep a close eye on them, as oven temperatures can vary. Important Note: If you need to bake the purses in multiple batches, it’s best to use two separate lined half sheet pans. Alternatively, if using the same baking sheet, allow it to cool completely between each batch to ensure consistent baking and a crispy bottom crust.
-
Once baked, remove the phyllo purses from the oven and carefully transfer them to a wire rack to cool for 5 to 10 minutes. This allows any steam to escape, keeping the phyllo crisp. Serve them hot for the ultimate experience, when the feta is delightfully gooey and the crust is at its peak flakiness. Enjoy!
