Mastering Crispy Garlic Chips: An Easy, Flavor-Boosting Homemade Recipe
Welcome to the definitive guide for crafting the most exquisite crispy garlic chips right in your own kitchen! This no-fuss tutorial will not only show you how to achieve perfectly golden, crunchy garlic bits but also inspire you with countless ways to weave their incredible flavor and texture into your daily cooking. Prepare to elevate your dishes and impress every palate!

Garlic chips! If you haven’t yet experienced the pure delight of homemade crispy garlic, prepare for a culinary revelation. For many, the idea of frying garlic might seem complex or intimidating, but I’m here to assure you it’s incredibly simple, quick, and utterly transformative. Once you taste these savory morsels, a world of enhanced flavor and texture will open up, making them an indispensable addition to your kitchen pantry.
Imagine a sprinkle of magic that instantly upgrades any meal. That’s exactly what crispy garlic chips are – a versatile ingredient I like to call ‘savory fairy dust.’ They deliver an intense, caramelized garlic flavor encased in an unbelievably crispy and crunchy package. Beyond their incredible taste, they add a fantastic textural contrast that makes everything from humble salads to elaborate pasta dishes taste ten times better. Plus, you’ll undoubtedly impress anyone you cook for with this simple yet sophisticated touch. It’s a culinary triumph on all fronts!
While I’m thrilled to share an exciting new recipe later this week that prominently features these golden gems, I felt it was essential to first dedicate a standalone guide to their creation. Crispy garlic chips are not just an accompaniment; they deserve their own moment in the culinary spotlight. Master this technique, and your cooking repertoire will never be the same again. Let’s dive into making these irresistible flavor bombs!
Unveiling the Secret: How to Make Perfect Garlic Chips at Home
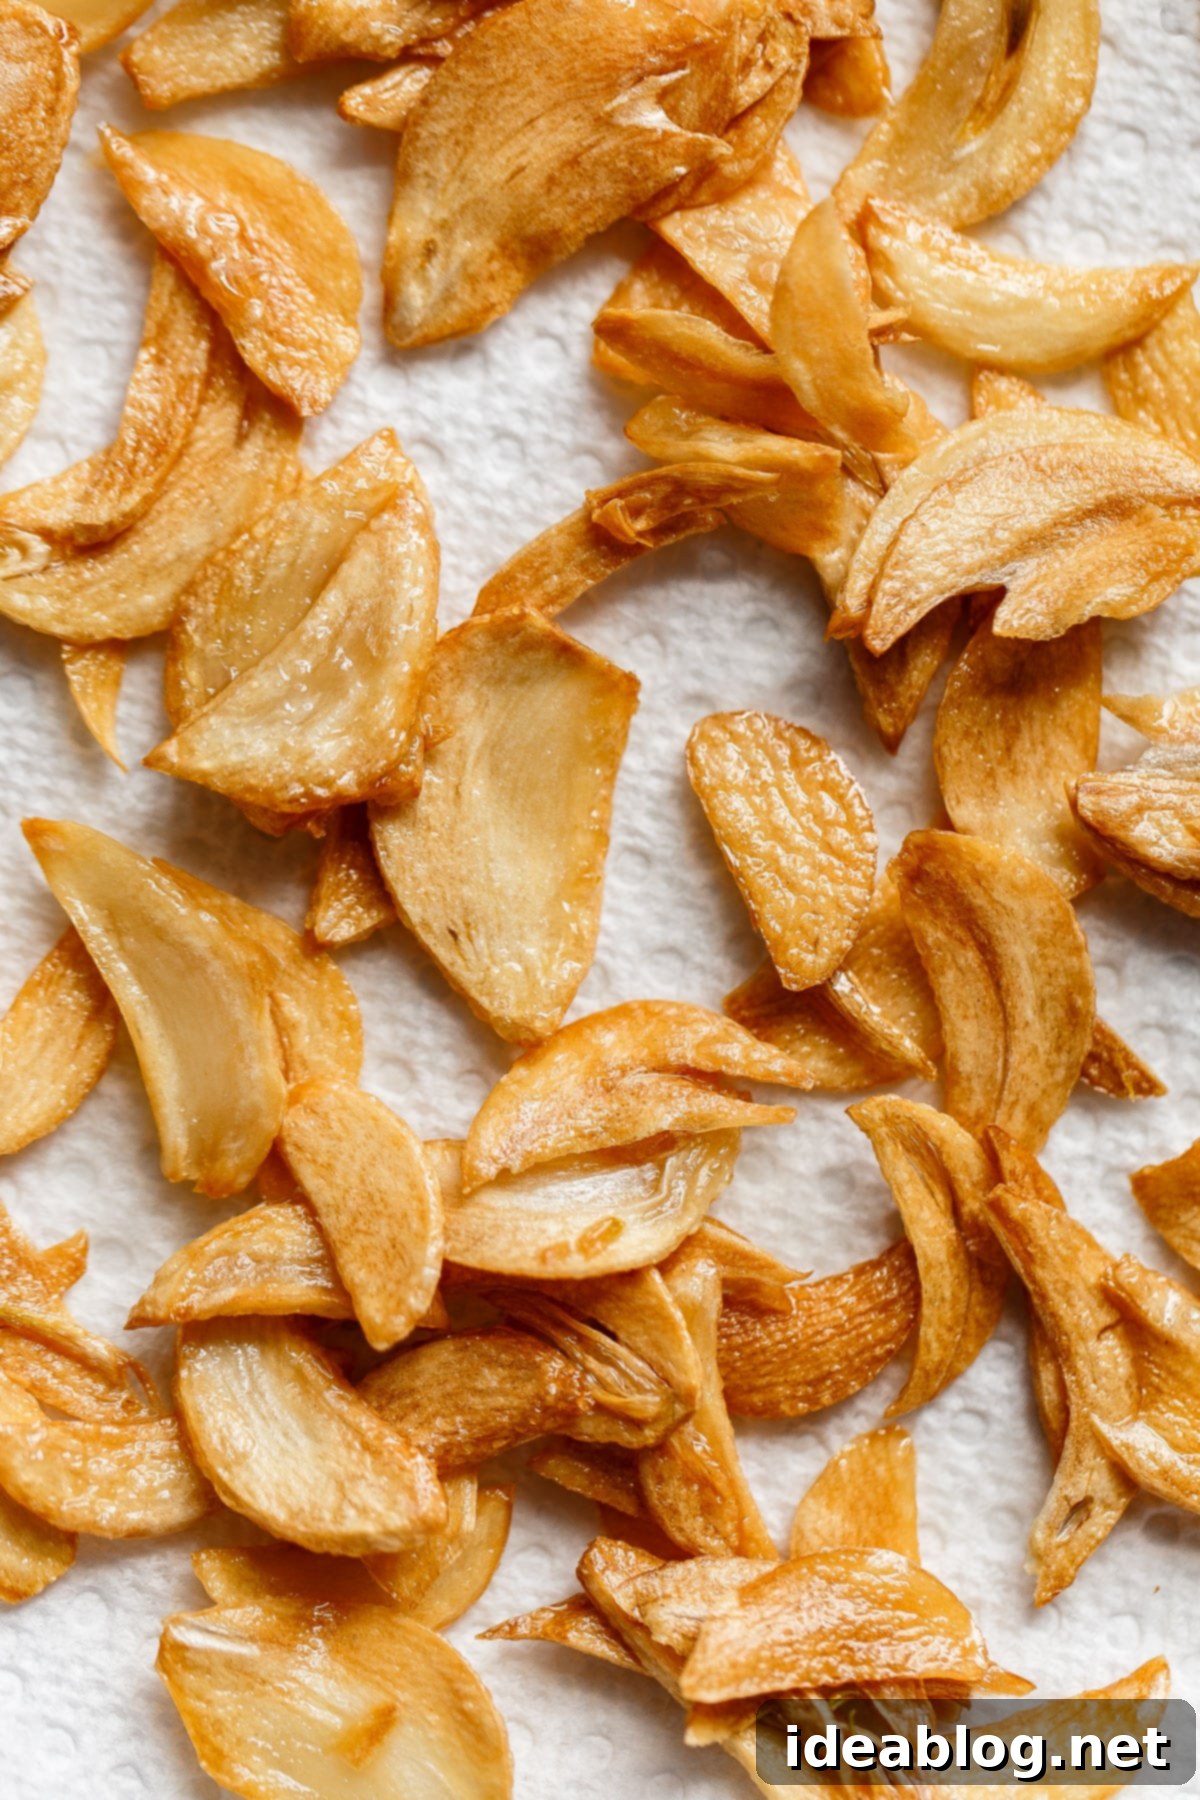
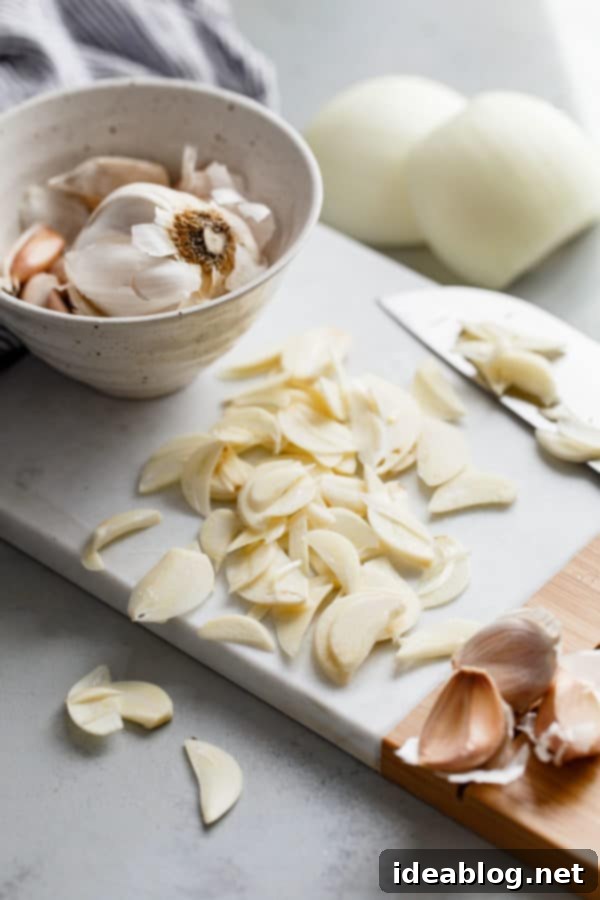
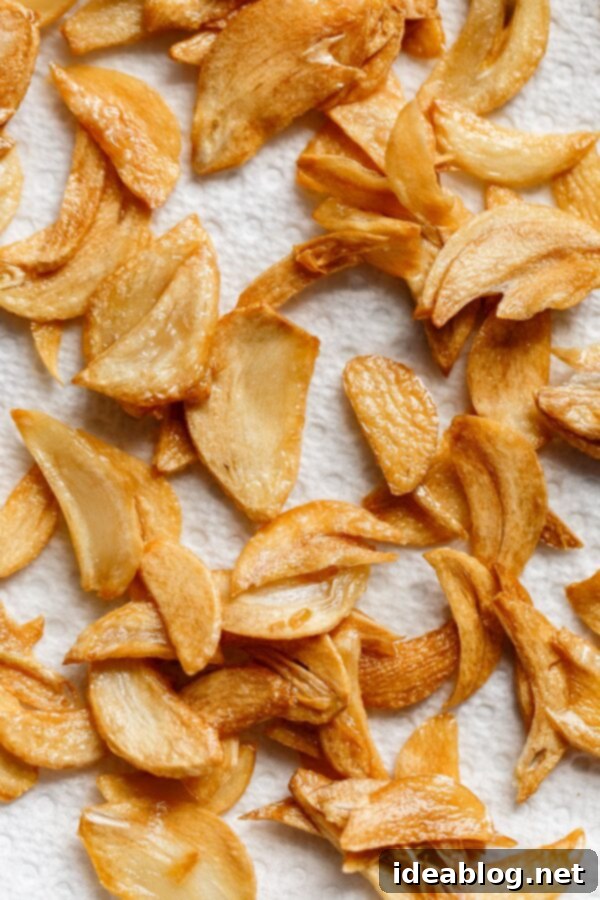
At their core, garlic chips are precisely what their name suggests: delicate slices of garlic, cooked gently in oil until they achieve a mesmerizing crispness, a delightful crunch, and a beautiful golden-brown hue. Think of them as elevated, shallow-fried garlic slices. The key to their perfection lies in the uniform thinness of each slice. This ensures that every piece cooks evenly, resulting in a consistently crisp texture without any burnt bits or soggy centers.
Yes, we’re venturing into shallow frying today, but please don’t let that deter you! This isn’t deep-frying in a massive pot of oil; it’s a quick, controlled process in a small skillet. The entire endeavor, from start to finish, takes less than ten minutes. You won’t need a gallon of oil – this small-batch recipe requires only 1/4 cup total – nor will you need a frying thermometer. Simplicity and speed are at the heart of this technique.
And here’s even better news: the cleanup is minimal, often zero, thanks to the small amount of oil used. Your efforts will be handsomely rewarded with approximately 1/4 cup of intensely flavorful crispy garlic chips (a small amount truly goes a long way!). But that’s not all; you’ll also yield a practical amount of homemade garlic-infused oil. This aromatic oil is a fantastic byproduct, perfect for low-heat cooking, enhancing salad dressings, drizzling over finished dishes, or even as a flavorful dipping oil for crusty bread. It’s a dual-purpose delight that adds value to your kitchen.
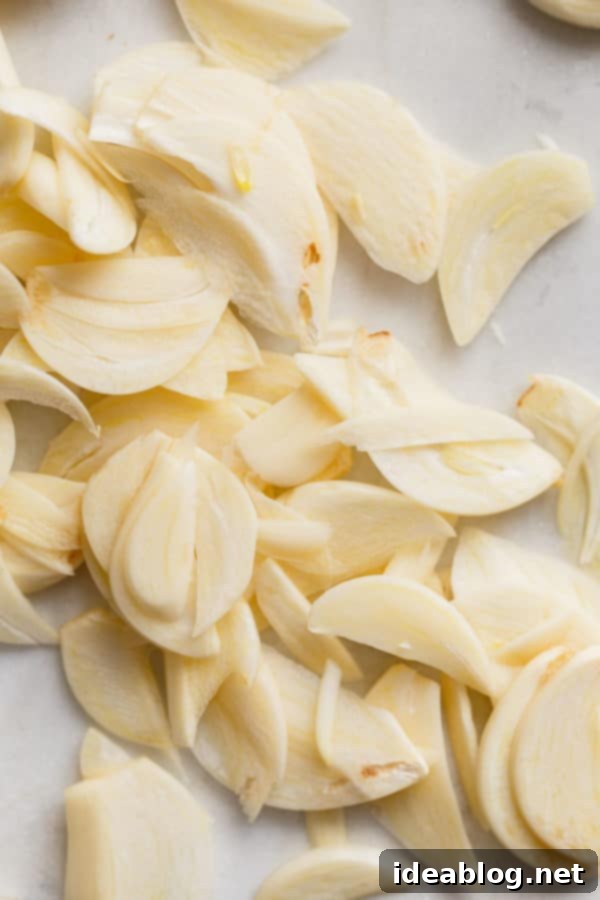
Essential Tools and Ingredients for Crispy Garlic Chips:
Gathering your mise en place before you begin ensures a smooth and successful frying experience. Here’s what you’ll need to make these incredible garlic chips:
- 6 large peeled garlic cloves: Opt for larger cloves as they are easier to slice thinly and uniformly. The size directly impacts the final chip quality. Make sure they are peeled cleanly.
- Small skillet (preferably 7″ to 8″ inches in diameter or smaller): A smaller skillet is crucial for this small-batch recipe. It allows the garlic to be submerged adequately in less oil and ensures more even heat distribution.
- Heatproof spatula: Essential for stirring and flipping the delicate garlic slices to prevent burning and ensure even crisping. Silicone or wooden spatulas work best.
- 1/4 cup pure avocado oil (or olive oil): Your choice of oil significantly impacts the flavor and reusability of the infused oil. See the dedicated section below for more details on oil selection.
- Fine-meshed strainer (or slotted spoon): This is vital for quickly and efficiently draining the crispy garlic chips from the hot oil and simultaneously collecting the invaluable garlic-infused oil.
- Paper towel-lined plate: For resting the freshly fried garlic chips to absorb any residual oil, ensuring maximum crispness.
Choosing the Right Oil: Avocado vs. Olive Oil for Superior Garlic Chips
The type of oil you select for making garlic chips is more important than you might think, especially if you plan to save and utilize the delicious garlic-infused oil for other culinary creations. For optimal results, I highly recommend using a high-quality oil. My top recommendations are pure avocado oil or good-quality olive oil.
Pure avocado oil stands out due to its remarkably high smoke point and wonderfully neutral flavor. These characteristics make it an ideal choice for frying, as it can withstand higher temperatures without breaking down or imparting unwanted tastes. Furthermore, avocado oil is often considered a healthier and less processed alternative compared to many other common cooking oils like canola or vegetable oil.
I personally gravitate towards avocado oil for this recipe, particularly when I intend to use the crispy garlic chips across a diverse range of dishes. Its neutral profile ensures that the pure garlic flavor shines through, and the resulting infused oil is incredibly versatile, capable of being reheated at higher temperatures for various cooking applications.
Olive oil, while possessing a lower smoke point than avocado oil, is still an excellent and perfectly acceptable substitute for this recipe. When using olive oil, you’ll produce a more robust and distinctly flavorful infused garlic oil. This oil will lend itself beautifully to Italian or Mediterranean-inspired dishes, making it perfect for dipping crusty bread, drizzling over bruschetta, or adding depth to marinades and dressings. The choice ultimately depends on your intended use for both the chips and the flavorful oil they leave behind.
Unleash the Flavor: Creative Ways to Use Your Homemade Garlic Chips
Once you’ve made a batch of these glorious crispy garlic chips, you’ll find yourself eager to sprinkle them on almost everything. Their intensely savory, caramelized flavor and satisfying crunch make them a superb garnish and flavor enhancer. Here are just a few ideas to get you started, but don’t be afraid to experiment – the possibilities are truly endless!
- Enhance your greens: Sprinkle them, whole or lightly crushed, over fresh salads, vibrant roasted vegetables, or simple sautéed greens for an instant flavor and texture boost. They’re particularly delightful on roasted asparagus, broccoli, or Brussels sprouts.
- Garnish for comfort: Elevate creamy mashed potatoes, hearty homemade soups (like a classic tomato soup or a rich lentil stew), or creamy dips (such as hummus or French onion dip) with a generous scattering of these golden crisps.
- Pasta perfection: Garlic chips are a match made in heaven for pasta dishes. They add an incredible depth and a delightful crunch. Consider them atop a rich pasta amatriciana, a light spaghettini with roasted tomatoes and basil, or even a simple aglio e olio. They replace breadcrumbs beautifully.
- Asian-inspired delights: Take your stir-fries, fried rice, or fluffy rice pilafs to the next level by topping them with these aromatic chips. They provide a wonderful counterpoint to the softer textures of rice and noodles.
- Protein power-up: Sprinkle them over grilled chicken, pan-seared fish, or roasted tofu for an unexpected burst of flavor and a lovely textural crunch.
- Bread & spreads: Use them in homemade garlic bread, mix them into cream cheese or butter for a savory spread, or sprinkle over avocado toast.

Storing Your Culinary Treasures: Garlic Chips and Garlic Oil
To maximize their deliciousness, crispy garlic chips are undeniably at their absolute best when enjoyed on the very day they are made, ideally right after they’ve cooled. However, you can certainly prepare them in advance. For optimal crispness and flavor retention, store them in an airtight container at room temperature. Kept properly, they will maintain their quality for up to a month, though their texture might slightly soften over time compared to freshly made chips.
When it comes to the highly versatile garlic-infused oil, careful storage is key. Oils are naturally susceptible to degradation from light and heat, which can affect both their flavor and shelf life. For this reason, I strongly recommend storing your homemade infused garlic oil in the refrigerator unless you plan to use it immediately. In the fridge, it will remain fresh and flavorful for up to a month. Before using, simply allow it to come to room temperature, or gently warm it if needed, to liquefy any solidified oil.

Crispy Garlic Chips
Pin
Review
SaveSaved!
Ingredients
- ¼ cup (60 mL) pure avocado oil or quality olive oil
- 6 large peeled garlic cloves sliced very thinly and uniformly
Instructions
-
Before you begin cooking, prepare your draining station. Place a fine-meshed sieve over a small, heatproof bowl. Separately, line a small plate with a paper towel. This setup allows for immediate draining and cooling of the chips and collection of the infused oil. Set these aside near your stovetop.

-
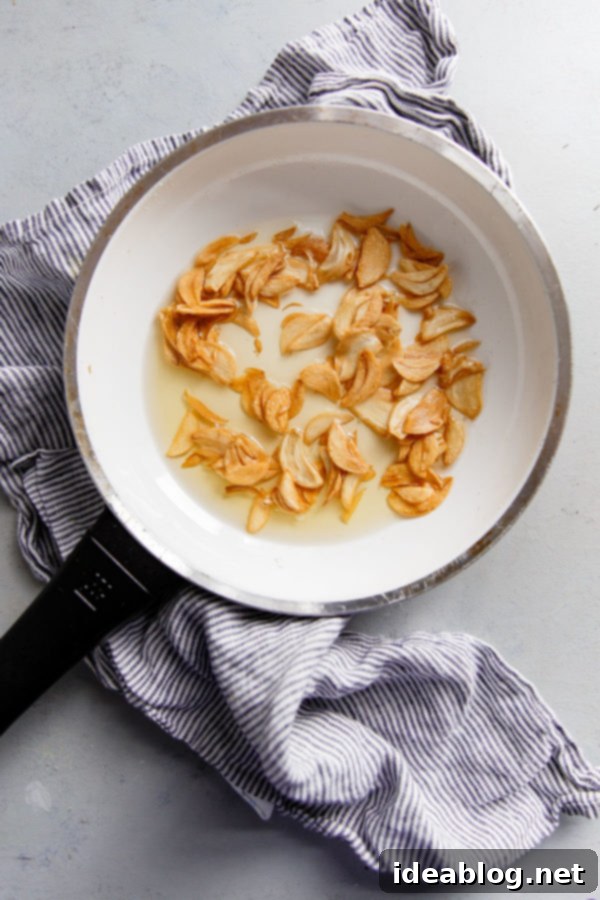
Pour the chosen oil (avocado or olive) into your small skillet (approximately 7″ to 8″ inches in diameter or smaller). Heat the oil over medium heat for a brief moment. To test if it’s ready, drop a single slice of garlic into the oil; it should sizzle gently. Once hot, carefully add all the thinly sliced garlic cloves to the skillet. Use a heatproof spatula to spread them into a single, even layer to ensure they cook uniformly.
-
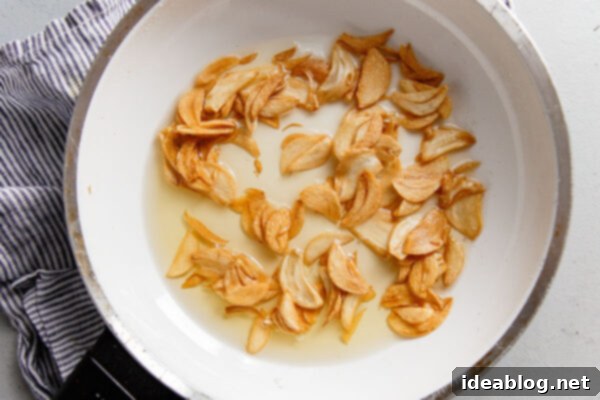
Immediately reduce the heat to medium-low. The garlic slices should be actively bubbling, but not browning too rapidly. Adjust the heat as necessary to maintain a gentle, consistent sizzle. During cooking, some garlic slices might stick together; while they will still cook, try to break them apart gently with your spatula for individual crisps. Continue cooking for approximately 2 to 3 minutes, stirring continuously and flipping the slices periodically, until they turn a beautiful, consistent golden brown. Watch them carefully, as they can burn quickly once they start to color!

-
Working quickly and carefully, pour the contents of the skillet (garlic chips and hot oil) into the fine-meshed strainer that is set over the heatproof bowl. This action simultaneously drains the chips and reserves the flavorful cooking oil. Immediately transfer the drained garlic chips to your paper towel-lined plate, spreading them out into a single layer. This allows any remaining excess oil to be absorbed, ensuring maximum crispness. Let the garlic chips cool completely before using or storing them. For best texture, enjoy them soon after cooking, but they can be stored in an airtight container at room temperature for up to one month.
-
Once the garlic-infused oil has cooled slightly, transfer it from the heatproof bowl into a small, clean, airtight container. Store this aromatic oil in the refrigerator for up to a month. It’s excellent for making salad dressings, light sautéing at low heat, drizzling over roasted vegetables, or as a delightful dipping oil.
Pro Tips for Success:
- Oil Choice Matters: For a versatile infused oil and chips that complement a wide array of dishes, opt for pure avocado oil due to its high smoke point and neutral flavor profile. It allows the pure essence of the caramelized garlic to shine without interference.
- Olive Oil for Specific Flavors: If you’re aiming for a more robust and distinctly Mediterranean or Italian flavor profile in your infused oil, a good quality olive oil is an excellent choice. This oil will be perfect for dipping crusty bread, finishing pasta, or creating flavorful salad dressings tailored to these cuisines. Just be mindful of its slightly lower smoke point.
- Thin and Even Slices are Key: The consistency of your garlic slices cannot be overstated. Uneven slices will result in some burning while others remain undercooked. A mandoline slicer is highly recommended for achieving uniform thinness effortlessly.
- Heat Control is Crucial: Garlic burns very quickly. Begin on medium heat to warm the oil, then immediately reduce to medium-low once the garlic is added. Constant stirring and vigilant observation are essential to achieve that perfect golden-brown crisp, not a burnt bitter result.
- Don’t Waste the Oil: The garlic-infused oil is a valuable byproduct! Don’t discard it. It’s a fantastic flavor enhancer for countless dishes. Store it properly to enjoy its benefits.
- Beyond Chips: If you’re truly captivated by garlic’s versatility in oil, I highly recommend exploring garlic confit next! It offers another dimension of rich, mellow garlic flavor.
