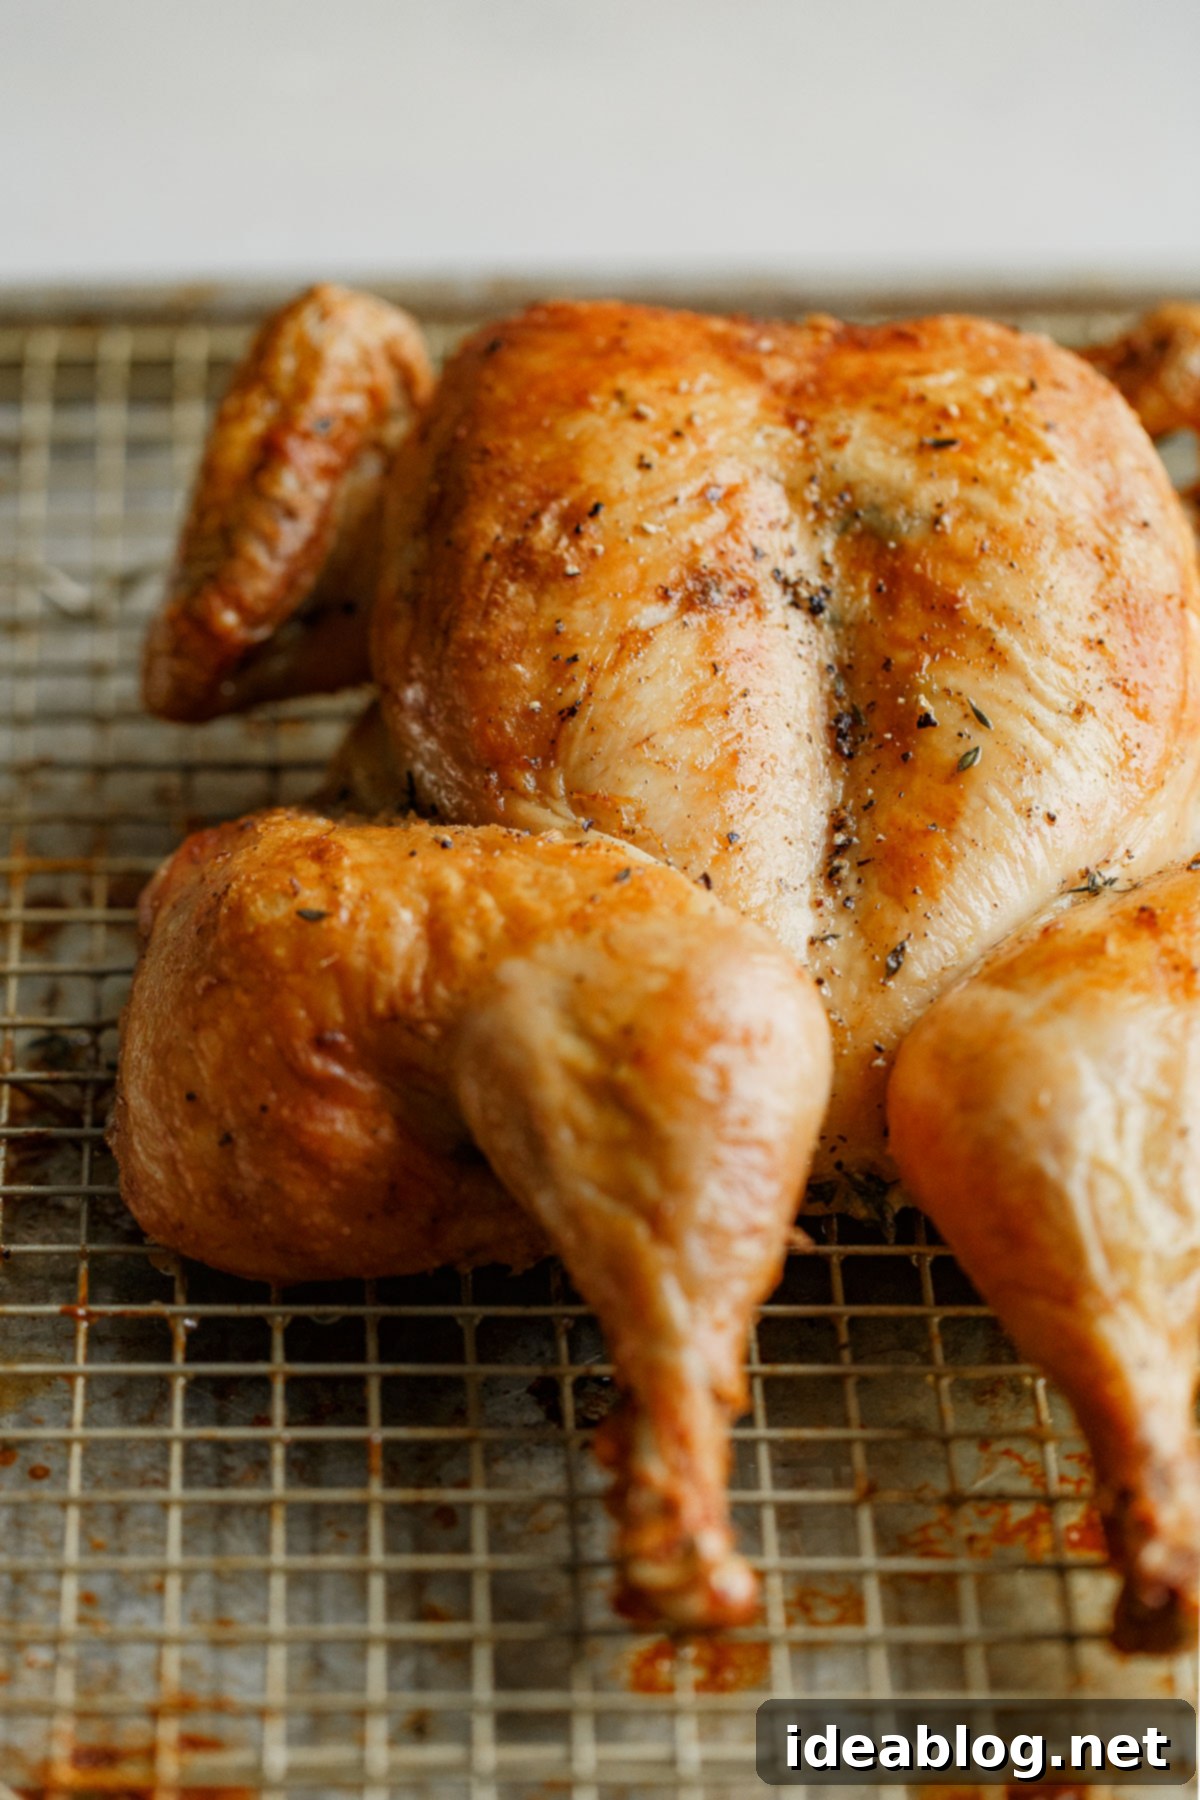
Mastering the Art of Spatchcock Chicken: Your Guide to Crispy Skin and Juicy Roasts
Welcome to a culinary journey focused on simplicity and technique! This year, we’re dedicated to bringing you more foundational recipes that empower your cooking skills. Building on the fantastic feedback from our previous cooking guides, we’re committed to making this platform your go-to resource for mastering everyday kitchen challenges and expanding your repertoire. Today, we’re diving deep into one of the most transformative chicken preparation methods: spatchcocking.
Forget dry breasts and unevenly cooked legs. This roast spatchcock chicken recipe isn’t just easy; it’s a game-changer that delivers consistently delicious results. It’s perfect for weekly meal prep, impressive enough for entertaining, and adaptable to countless flavor profiles. We’ll cover everything from the basics of the technique to advanced tips for achieving perfectly crispy skin and incredibly juicy meat every single time.
A few years ago, we shared a detailed, step-by-step guide on how to spatchcock a chicken. Now, we’re taking it further, integrating that essential technique into our go-to recipe. The flavors for this particular spatchcock chicken are kept delightfully classic and simple: a harmonious blend of kosher salt, freshly ground black pepper, vibrant grated lemon zest, and fragrant fresh thyme. These timeless ingredients complement almost any side dish and provide a superb foundation. Once you master this core method, consider it a blank canvas for your own creative culinary adventures.
What Exactly Is Spatchcock Chicken?
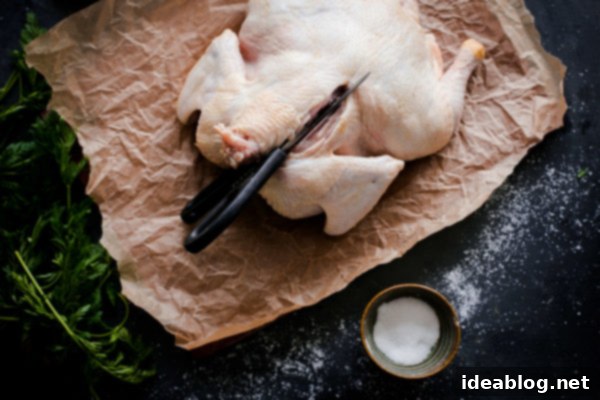
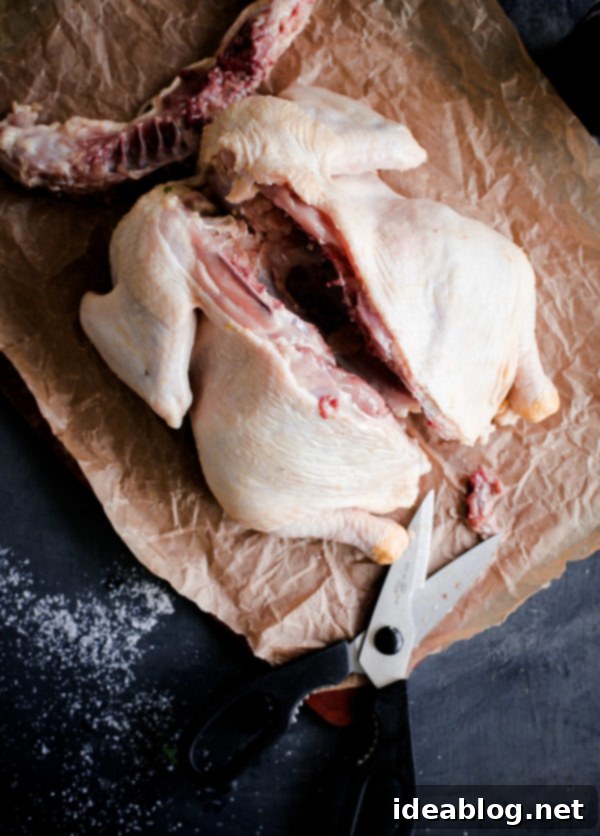
At its heart, “spatchcock chicken” refers to a culinary technique where the spine or backbone of a whole chicken is removed, allowing the bird to be flattened before cooking. This method is also commonly known as “butterflied chicken” due to its spread-out appearance. The flattening process might seem daunting at first glance, but it’s remarkably simple and quick, yielding superior roasting results that we’ll explore in detail below.
The beauty of spatchcocking lies in its simplicity. With a good pair of kitchen shears, this technique can be accomplished in mere seconds. We highly recommend investing in high-quality kitchen shears; they are not only essential for spatchcocking but also incredibly versatile for various kitchen tasks. Personally, we own and enthusiastically recommend these OXO shears. They are robust enough to handle everything from turkey bones to tough herb stems, making them a valuable tool in any kitchen. (Note: This is an affiliate link.)
If you don’t have kitchen shears, or prefer not to tackle the task yourself, don’t worry! Most butchers at your local meat counter are happy to spatchcock a whole chicken for you. Simply ask them when you purchase your bird, and they’ll prepare it in minutes, saving you the effort.
What to Do with the Removed Backbone?
The chicken backbone is a treasure, not trash! Never discard it, as it’s packed with flavor and culinary potential:
- For a Quick Pan Jus: This is an excellent way to extract immediate flavor. Sear the backbone (either whole or chopped into smaller pieces for more surface area) in a stainless steel sauté pan with a touch of olive oil until it achieves a deep, dark golden brown on all sides. This browning is crucial for developing rich flavor. Next, add finely chopped aromatic vegetables like onion, celery, and carrot, along with your favorite fresh herbs (rosemary, bay leaf, or parsley stems work wonderfully). Cook until these vegetables begin to caramelize, releasing their natural sweetness. Deglaze the pan with a splash of wine (red or white, depending on your preference) and cook until the wine has evaporated and the pan is almost dry, scraping up all those flavorful bits. Finally, add chicken stock and reduce it until it reaches your desired consistency and intensity. Strain the jus for a smooth, rich sauce to accompany your roasted chicken.
- For Homemade Chicken Stock: The backbone, along with any other giblets (excluding the liver, which can impart a bitter taste), is perfect for making a rich, nutritious homemade chicken stock. Simply place the backbone in a freezer bag and store it until you have accumulated enough chicken scraps and vegetable trimmings (like onion skins, carrot peels, and celery ends) to make a full batch of stock. Homemade stock provides unparalleled depth of flavor for soups, stews, sauces, and risottos, elevating your dishes far beyond what store-bought versions can achieve.
Why Spatchcocking Is the Superior Method for Roasting Chickens
If you’re considering trying the spatchcocking method – which, as promised, is incredibly straightforward – you’re probably eager to understand the compelling reasons behind its widespread acclaim in professional and home kitchens alike. The trickiest aspect of roasting a whole chicken traditionally is achieving even cooking. White meat (chicken breasts) tends to cook and dry out much faster than dark meat (chicken legs and thighs). While traditional trussing attempts to plump up the breasts, it often falls short of effectively addressing this fundamental cooking challenge.
The Undeniable Advantages of Spatchcocking:
- Unmatched Even Cooking: By removing the backbone, the chicken lies flat on the roasting pan. This crucial step exposes both the legs and breasts to the oven’s heat equally. In a conventional oven, heat distribution can often be inconsistent. Spatchcocking cleverly turns this potential weakness into an advantage, allowing the white and dark meat to cook simultaneously and evenly. The result? Perfectly tender, juicy dark meat and moist, never-dry white meat. As expertly highlighted by Serious Eats, this method optimizes heat exposure for consistent results.
- Achieve Unbelievably Crispy Skin: A flattened chicken exposes significantly more skin to the direct heat of the oven. This maximized surface area, combined with proper seasoning and advance preparation (like salting the chicken well in advance and allowing it to sit uncovered in the fridge), results in exceptionally crispy, evenly golden brown chicken skin. The uncovered refrigeration helps to dry out the skin, ensuring maximum crispness during roasting.
- Faster Cooking at Higher Temperatures: Spatchcocked poultry cooks more quickly than a whole, trussed bird. The increased surface area and direct heat exposure mean reduced cooking times. This allows you to roast the chicken at higher temperatures, which is excellent for promoting a beautiful, even browning through the Maillard reaction, developing deeper, more complex flavors on the exterior.
- Effortless Seasoning: One of the simple joys of a spatchcocked chicken is how easy it is to season. With the bird lying flat, every part of the chicken, from the breasts to the thighs, is readily accessible. There’s no concern about awkward crevices being missed, ensuring a uniform and flavorful seasoning throughout the entire bird. You can easily rub spices both over and under the skin.
- No Trussing Required and Simpler Carving: Say goodbye to fiddling with kitchen twine! Spatchcocking eliminates the need for trussing, streamlining your prep time. Furthermore, a flattened chicken is significantly easier to carve for serving. The breast bones are easily accessible, and the leg and thigh joints are simple to separate, allowing for clean, neat portions that impress guests and make meal prep a breeze.
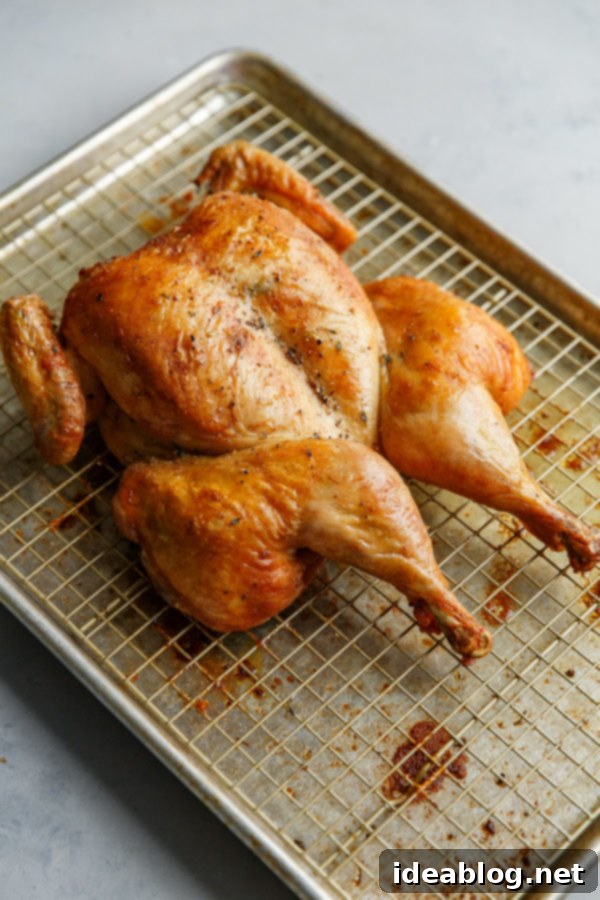
Additional Pro Tips for Roast Chicken Success:
- Season Well in Advance for Dry Brining: This is arguably the most impactful tip for achieving maximum flavor and juiciness. Liberally season the entire chicken, inside and out, at least 12 hours and up to 24 hours before roasting. This prolonged seasoning period acts as a dry brine, allowing the salt to penetrate deeply into the meat. It draws out moisture, then reabsorbs it, leading to a dramatically more flavorful and tender chicken. Additionally, refrigerating the seasoned bird uncovered helps the skin to dry out slightly, which is essential for achieving that irresistible crispness during roasting.
- Understand Your Kosher Salt: Our spatchcock chicken recipe specifies Diamond Crystal kosher salt (affiliate link). This particular brand is known for its flaky texture and lower density by volume compared to other kosher salts or table salt. This means you’ll use more of it by volume for the same salinity. If you are using a different brand of kosher salt (like Morton’s) or table salt, please consult our comprehensive cooking salts guide to adjust the quantity accordingly. Incorrect salt amounts can drastically affect the flavor and texture of your roast.
- Harness the Power of Convection: If your oven has a convection setting, use it! Convection ovens utilize a fan to circulate hot air evenly throughout the oven cavity. This consistent air movement promotes faster and more uniform cooking, and crucially, enhances browning and crisping, particularly beneficial for meat and poultry. It can significantly improve the quality of your roasted chicken skin.
- Bring to Room Temperature Before Roasting: About an hour before you plan to roast, remove the chicken from the refrigerator. Allowing the chicken to come closer to room temperature before it enters a hot oven reduces the overall cook time. More importantly, it ensures more even cooking throughout the bird and contributes to better, more consistent browning of the skin. A cold bird hitting a hot oven can lead to uneven cooking and a less crispy exterior.
- The Critical Resting Period: Once your chicken is beautifully golden and cooked through, resist the urge to carve it immediately. Allow the chicken to rest, uncovered, for a minimum of 15 to 20 minutes before carving. This crucial resting period allows the juices within the bird to redistribute evenly throughout the meat, preventing them from escaping when you cut into it. The result is significantly juicier, more tender meat.
- Mastering the Carve: For elegant and easy serving, start by removing the legs, separating the drumsticks from the thighs if desired. Next, carefully remove the entire chicken breasts from the breast bone. To ensure maximum tenderness, always slice the breast meat against the grain at a slight angle. This shortens the muscle fibers, making each bite incredibly tender and pleasant.
- Experiment with Seasoning Variations: While our classic lemon and thyme seasoning is superb, feel free to unleash your creativity! Mix up the flavor profile with your favorite fresh herbs like rosemary, sage, or oregano. Explore different spice blends such as smoked paprika, garlic powder, onion powder, chili powder, or even a Mediterranean or peri-peri blend. The flat surface of a spatchcocked chicken is ideal for trying new flavor combinations.
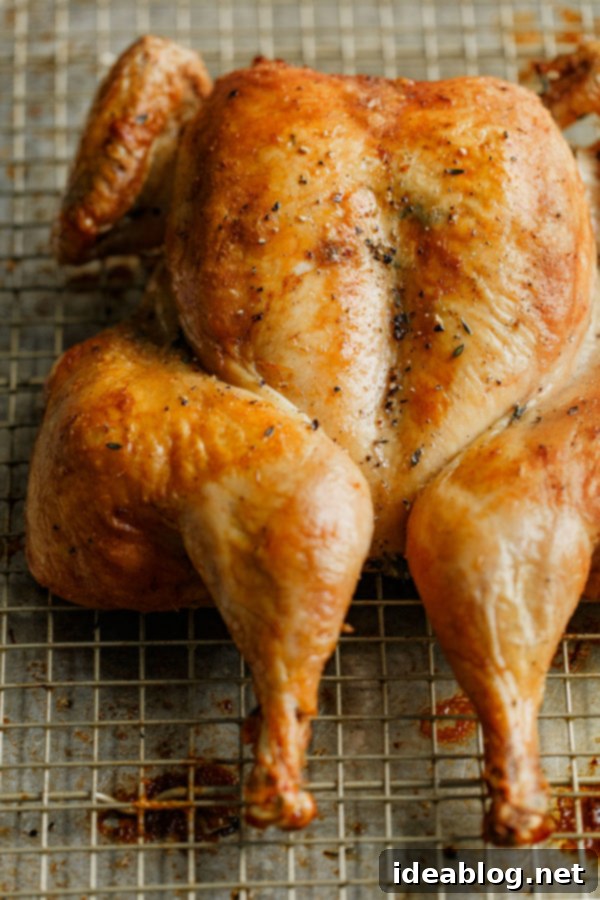
Creative Ways to Serve Your Roast Spatchcock Chicken:
- Classic Main Course: Present the beautifully roasted chicken as the centerpiece of your meal. Pair it with complementary side dishes such as roasted root vegetables, creamy mashed potatoes, or a vibrant grain salad. Our green beans almondine recipe would be an absolutely perfect and elegant accompaniment! A simple green salad with a light vinaigrette also provides a refreshing contrast.
- Versatile Meal Prep: This recipe is a meal prep superstar! Roast one or two chickens at the beginning of the week, carve them, and store the meat for quick and easy meals throughout the days.
- Salads: Add shredded or diced chicken to main course salads for a protein-packed lunch. It’s fantastic in our guacamole greens salad with cilantro lime jalapeno vinaigrette or our flavorful Mediterranean chicken salad.
- Grain Bowls: Top your favorite grain bowls with slices of roasted chicken, alongside roasted vegetables, fresh greens, and a drizzle of homemade dressing.
- Soups and Stews: Stir cooked chicken into soups or stews just before serving to add heartiness and flavor without overcooking the meat.
- Sandwiches & Wraps: Create gourmet sandwiches or wraps with leftover chicken, fresh vegetables, and a delicious spread.
- Tacos or Enchiladas: Shred the chicken and use it as a filling for quick weeknight tacos or enchiladas.
- Casseroles: Incorporate into comforting casseroles for a hearty family dinner.

Simple Spatchcock Chicken
Pin
Review
SaveSaved!
Equipment
-
OXO Good Grips Poultry Shears
-
Half Sheet Pan
-
Cooling Rack, Fits Half Sheet Pan
Ingredients
- 4 to 6 teaspoons Diamond Kosher Crystal salt note: this quantity should be determined by your taste preference, but is also specific to this brand and variety of salt, and will need to be reduced if using other salts, which have higher density by volume
- ½ teaspoon freshly ground black pepper
- zest of 1 lemon
- 1 tablespoon finely chopped fresh thyme leaves
- 4 to 4½ lb whole chicken, without giblets
- extra virgin olive oil for brushing
Instructions
-
Complete the day before roasting: In a small bowl, combine the salt, black pepper, lemon zest, and fresh thyme. Rub the mixture together with your fingertips to infuse the salt completely. Remove the chicken from its packaging (discarding any excess liquid into the sink or trash) and place breast-side down (with the neck facing towards you) on a large cutting board.
-
Using good-quality kitchen or poultry shears and holding the neck in one hand, cut along one side of the chicken spine, separating it from the ribs. Cut closely to the spine so that you do not remove any excess meat. Continue to cut about ¾ along the spine on one side, repeat on the other side of the spine. Grip the spine for leverage and continue cutting on both sides to remove it completely. If you are having difficulty, rotate the bird so that the tail faces you and cut from the opposite side.
-
Reserve the spine for homemade stock or a quick pan jus. Flip the chicken so that the breasts face upward and the chicken legs face outward on both sides. Using the palm of your hands, press along the breast bone with some force to flatten the chicken completely. You might hear a slight crack. The legs and breasts should lay completely flat. Pat the chicken dry with paper towels on both sides.
-
Season the chicken evenly and liberally on both sides with the salt mixture, both on top of the skin and under the skin on both the legs and breasts by gently lifting the skin (being careful not to tear it). Place the chicken, breast side up, on a wire rack set within a half sheet pan – or other suitable rimmed dish that can fit within your refrigerator. Transfer seasoned chicken to the bottom shelf of your fridge (be sure it is not touching other fridge items) and refrigerate, uncovered, for at least 12 hours or up to a full day.
-
To Roast the Chicken (Next Day): Remove the chicken from the fridge and allow to sit out at room temperature for an hour before roasting. This allows the chicken to come to room temperature, and will ensure it cooks more quickly, evenly, and will promote even browning and crisping of the skin. Preheat the oven, with a rack in the upper-middle position, to 425°F (218°C). Note: If you have a convection oven setting, I encourage you to use it – convection cooking uses a fan to evenly distribute hot air throughout the oven and promotes more even roasting/browning, particularly for meat.
-
Transfer the chicken, breast side up, onto a wire rack set within a clean, room temperature sheet pan. Tuck the wings under the breasts. Brush the chicken on all sides, with extra virgin olive oil. Roast for about 45 to 50 minutes, rotating the pan once or twice during cooking, or until the juices run clear when you cut between the leg and the thigh, the bird is evenly golden brown, and the thickest part of the breast reads 157°F-160°F (71°C) on an instant thermometer. The temperature of the chicken will increase as it rests as much as 10 degrees, so you do not want to remove the chicken any later, or the chicken breast will begin to dry out.
-
Allow the chicken to rest for at least 15 minutes before carving – slice away the legs. Then remove the entire breasts from the breast bone. Store for meal prep or slice against the grain and serve immediately.
