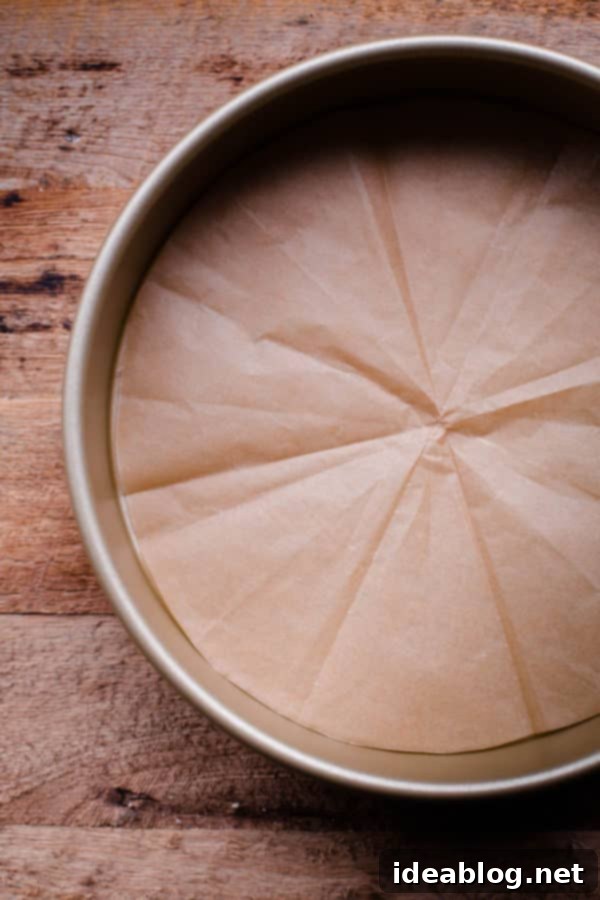
The Easiest Way to Line Cake Pans with Parchment Paper for Perfect Cakes Every Time
Mastering the art of baking often comes down to little tricks that save time and prevent common pitfalls. This ultimate guide will show you how to effortlessly line any cake pan with parchment paper, ensuring your cakes release perfectly every time. Say goodbye to sticky situations and hello to flawless cake layers with this simple yet revolutionary baking hack!
This week marks an exciting new milestone in my baking journey: I’ve received my very first commissioned cake order! A colleague of my husband, whom I’ve never met, reached out a few weeks ago with a special request for their birthday cake. The anticipation is thrilling, and it’s a wonderful opportunity to put all my culinary school knowledge to the test.
With many of you potentially baking a delightful cake this week, perhaps for an upcoming special occasion like Valentine’s Day, I wanted to share one of my absolute favorite baking secrets. It’s a trick I learned in culinary school that dramatically simplifies cake preparation: how to perfectly line any size cake pan with parchment paper. This isn’t just for round pans; the technique adapts beautifully to various shapes, though we’ll focus on the classic round pan today. Some experienced bakers might already be familiar with this method, but I have a strong feeling that many of you will find this post incredibly beneficial, transforming your cake baking experience forever. In culinary school, we even adapted this technique to create ‘cartouches’ – those ingenious parchment paper rounds placed directly on the surface of sauces or stews to prevent evaporation, and trust me, they work wonders! Ever since discovering this simple folding and cutting method, I’ve never looked back.
Why Lining Your Cake Pan is Non-Negotiable for Baking Success
First, let’s address the fundamentals. When a cake recipe instructs you to ‘grease, line with parchment paper, and grease and flour’ your pan, resist any temptation to skip these vital steps. This isn’t just an optional suggestion; it’s a critical foundation for successful cake baking. Many cake batters, especially delicate ones like genoise or sponge cakes, are incredibly fragile and have a frustrating tendency to cling to even the most supposedly non-stick cake pans. Skipping proper pan preparation is one of the quickest ways to end up with a heartbreakingly broken cake.
The meticulous process of layering your pan with parchment, followed by thorough greasing and flouring, serves multiple crucial purposes. It acts as an invaluable barrier, creating a non-stick surface that ensures your cake layers release cleanly and effortlessly once baked. Furthermore, this careful preparation aids in the proper ascent of your cake layers, allowing them to rise uniformly and achieve maximum height and a light, airy texture. The parchment paper provides a surface that the cake batter can gently climb, rather than sticking to the pan’s sides prematurely, which can impede rising.
This attention to detail becomes particularly paramount for cake recipes that do not rely on chemical leaveners (such as baking soda or baking powder) and instead depend on meticulously folded egg whites for their lift and volume. Think of delicate genoise or classic sponge cakes – their entire structure and ethereal texture hinge on this precise preparation. The last thing any baker wants, after investing time and effort into crafting a beautiful batter, is to have half of their masterpiece stick stubbornly to the pan when attempting to invert it. It is, without exaggeration, truly depressing and can deflate even the most enthusiastic baker. The parchment paper acts as your ultimate insurance policy, virtually guaranteeing a smooth, flawless release every single time. Personally, I prefer to use natural parchment paper. Not only is it a baking essential, but its neutral tone also surprisingly doubles as a fantastic and affordable food photography background for showcasing your culinary creations!
Beyond Tracing: The Superior Method for Lining Cake Pans
When it comes to lining a cake pan with parchment paper, you’ll encounter a few approaches. One option is to purchase those fancy pre-cut parchment rounds. While convenient, they often come at a premium price and are only available in a limited range of specific sizes, making them impractical for varied baking needs. Another common method involves tracing the bottom of your cake pan with a pencil onto parchment paper, then carefully cutting out the round. This technique, however, is notoriously time-intensive and frequently results in frustrating multiple rounds of trimming, as the initial cut almost always ends up being too large for a perfect fit. It’s a fussy process that can quickly drain your enthusiasm for baking.
Fortunately, there’s a far more efficient, precise, and incredibly easy alternative: this ingenious folding and cutting technique. This method eliminates the need for tracing, minimizes waste, and consistently produces a perfectly sized parchment round with minimal effort. Let’s dive into how to execute this baking game-changer.
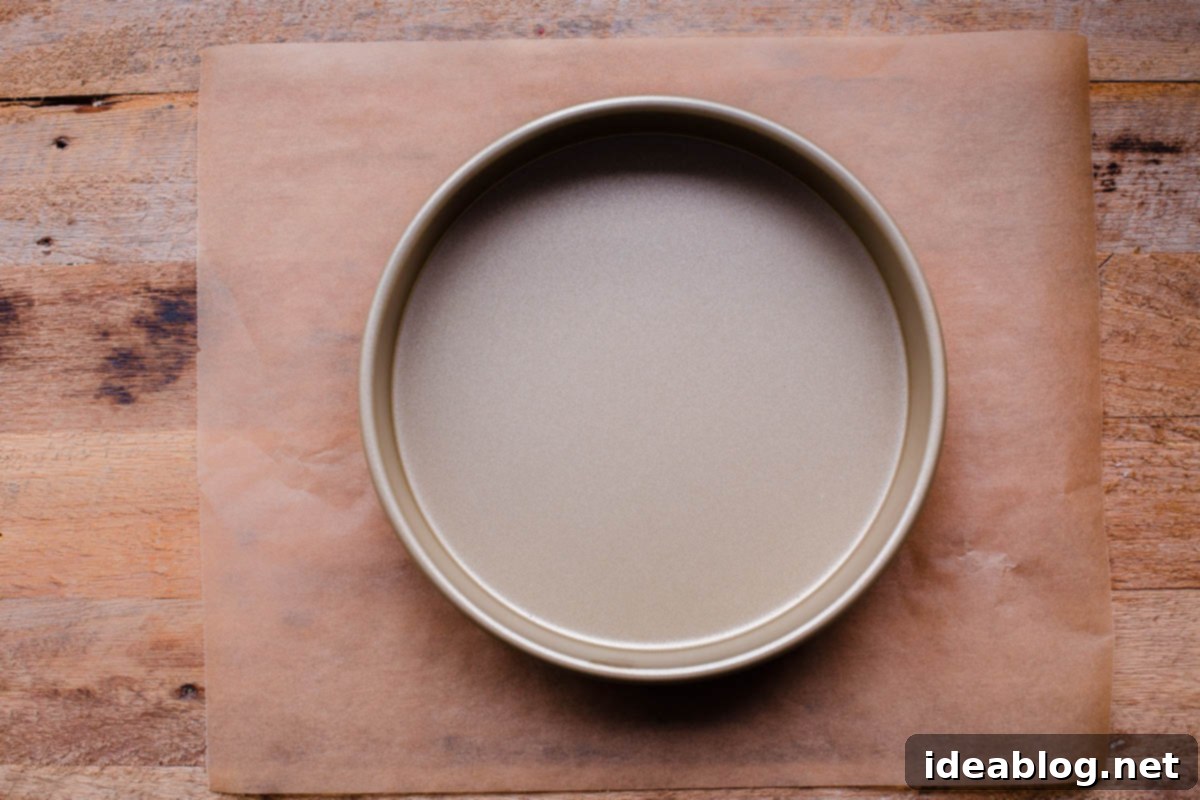
Step-by-Step Guide: Folding and Cutting Parchment Paper Like a Pro
1. Prepare Your Parchment Piece
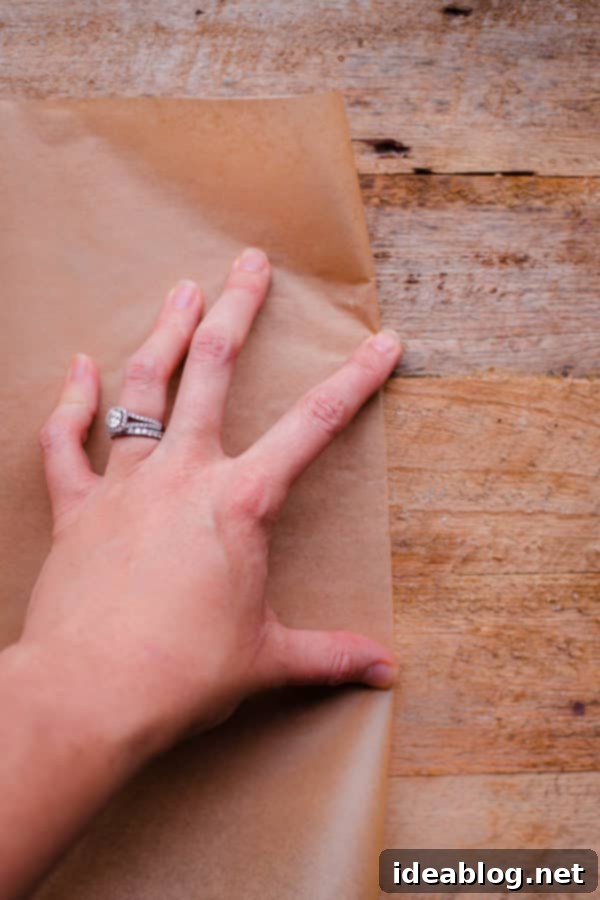
Begin by cutting or tearing a piece of parchment paper that is just slightly larger than the diameter of your intended cake pan. The goal here is to have enough excess to work with for folding without being overly wasteful. If you happen to have pre-cut half-sheet pan parchment papers, they often work perfectly, offering a generous size. However, if you’re working from a roll, simply estimate a square or rectangle that comfortably covers the pan’s bottom. As long as both dimensions of your parchment piece are slightly longer than the cake pan’s diameter, you have more than enough material to proceed.
2. The Initial Folds: Creating a Square Base
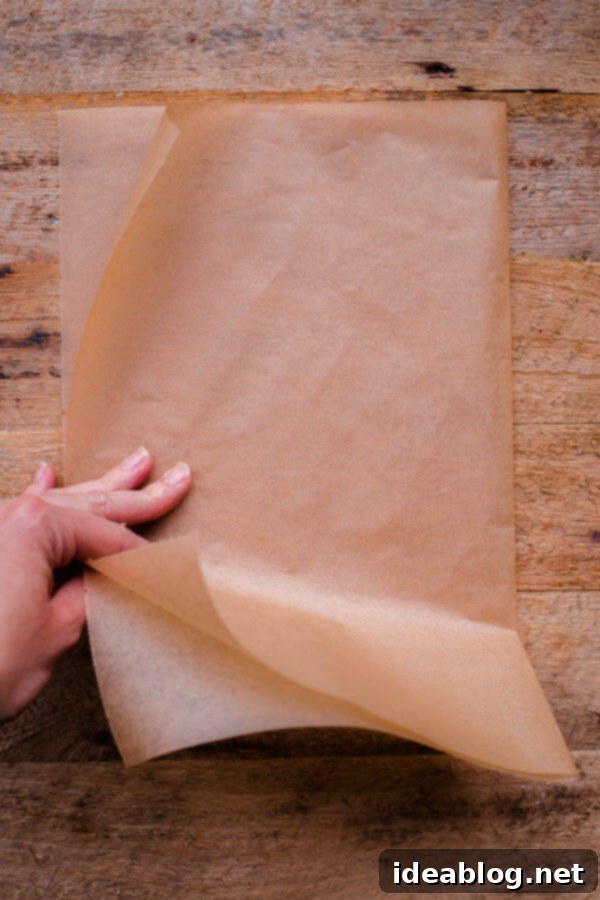
Take your prepared piece of parchment paper and fold it precisely in half. Run your finger along the crease to ensure it’s sharp and defined. Next, take this newly folded piece and fold it in half again, ensuring all edges are aligned as perfectly as possible. After these two folds, you will have created a rough, yet neat, square of parchment paper. This square will serve as the compact foundation for our subsequent folds, which will ultimately guide our cutting.
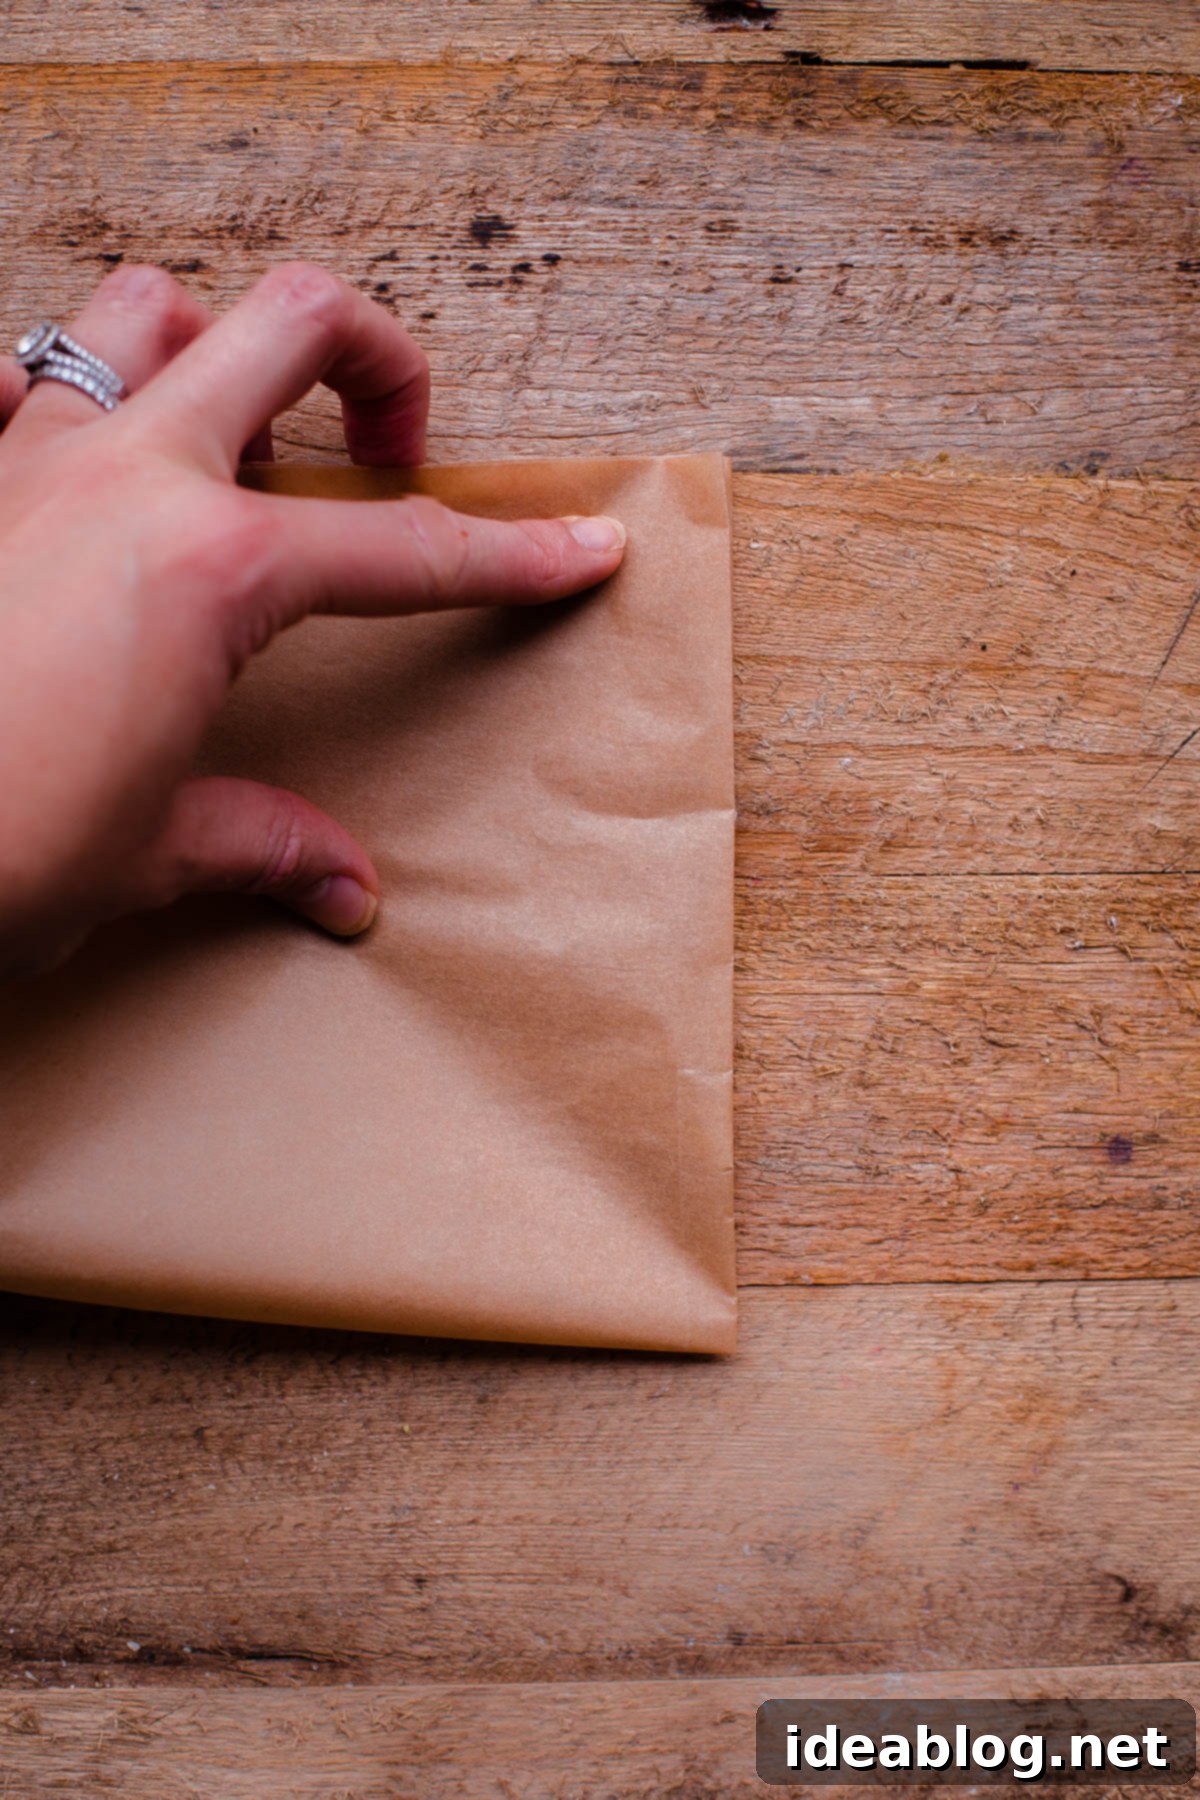
3. Transforming into Triangles: Precision Folding
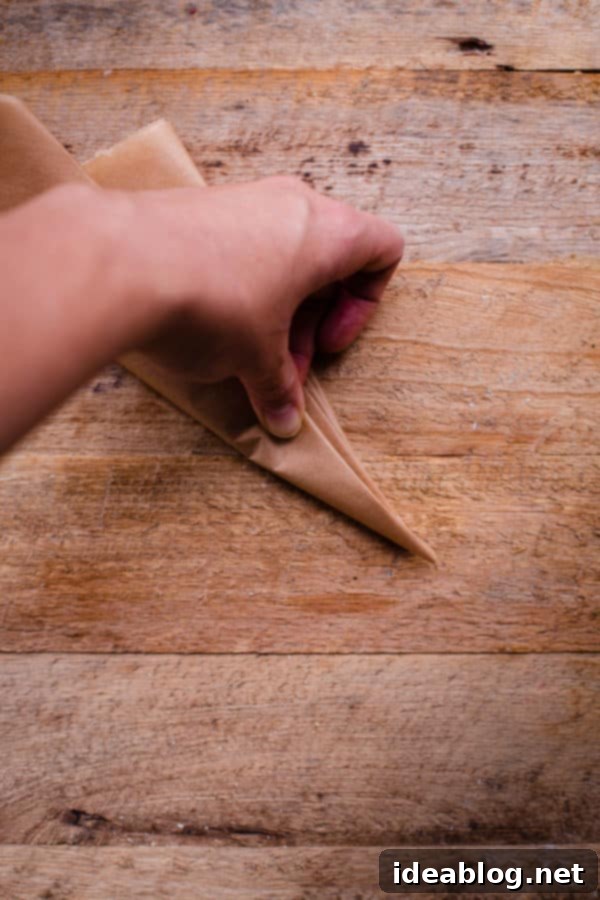
Now, take your folded parchment square and transform it into a triangle. To do this, simply bring one folded edge to meet another folded edge diagonally. This creates your first triangular shape. Press firmly on this new fold to establish a clear crease.
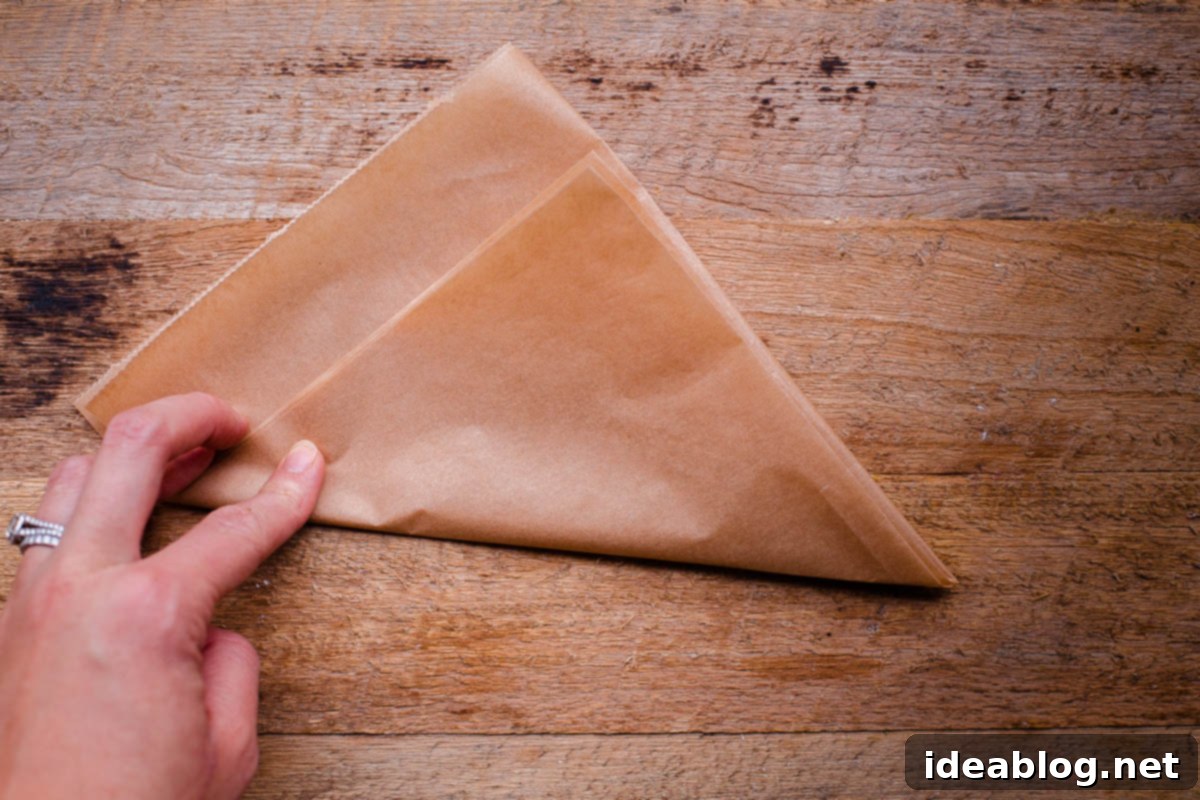
Continue this process of folding the triangle in half to create progressively smaller triangles. Think of it as making a simple paper airplane – each fold refines the point and reduces the overall size. I typically perform about two additional folds, resulting in a significantly smaller, dense triangle. The general rule is: the smaller and tighter your final triangle, the more accurate and ‘perfect’ your resulting parchment round will be. However, be mindful that excessive folding can make the parchment too thick and challenging to cut cleanly with standard kitchen scissors. Find a balance that allows for precision without making the cutting process arduous.
4. Positioning and Cutting: The Magic Moment
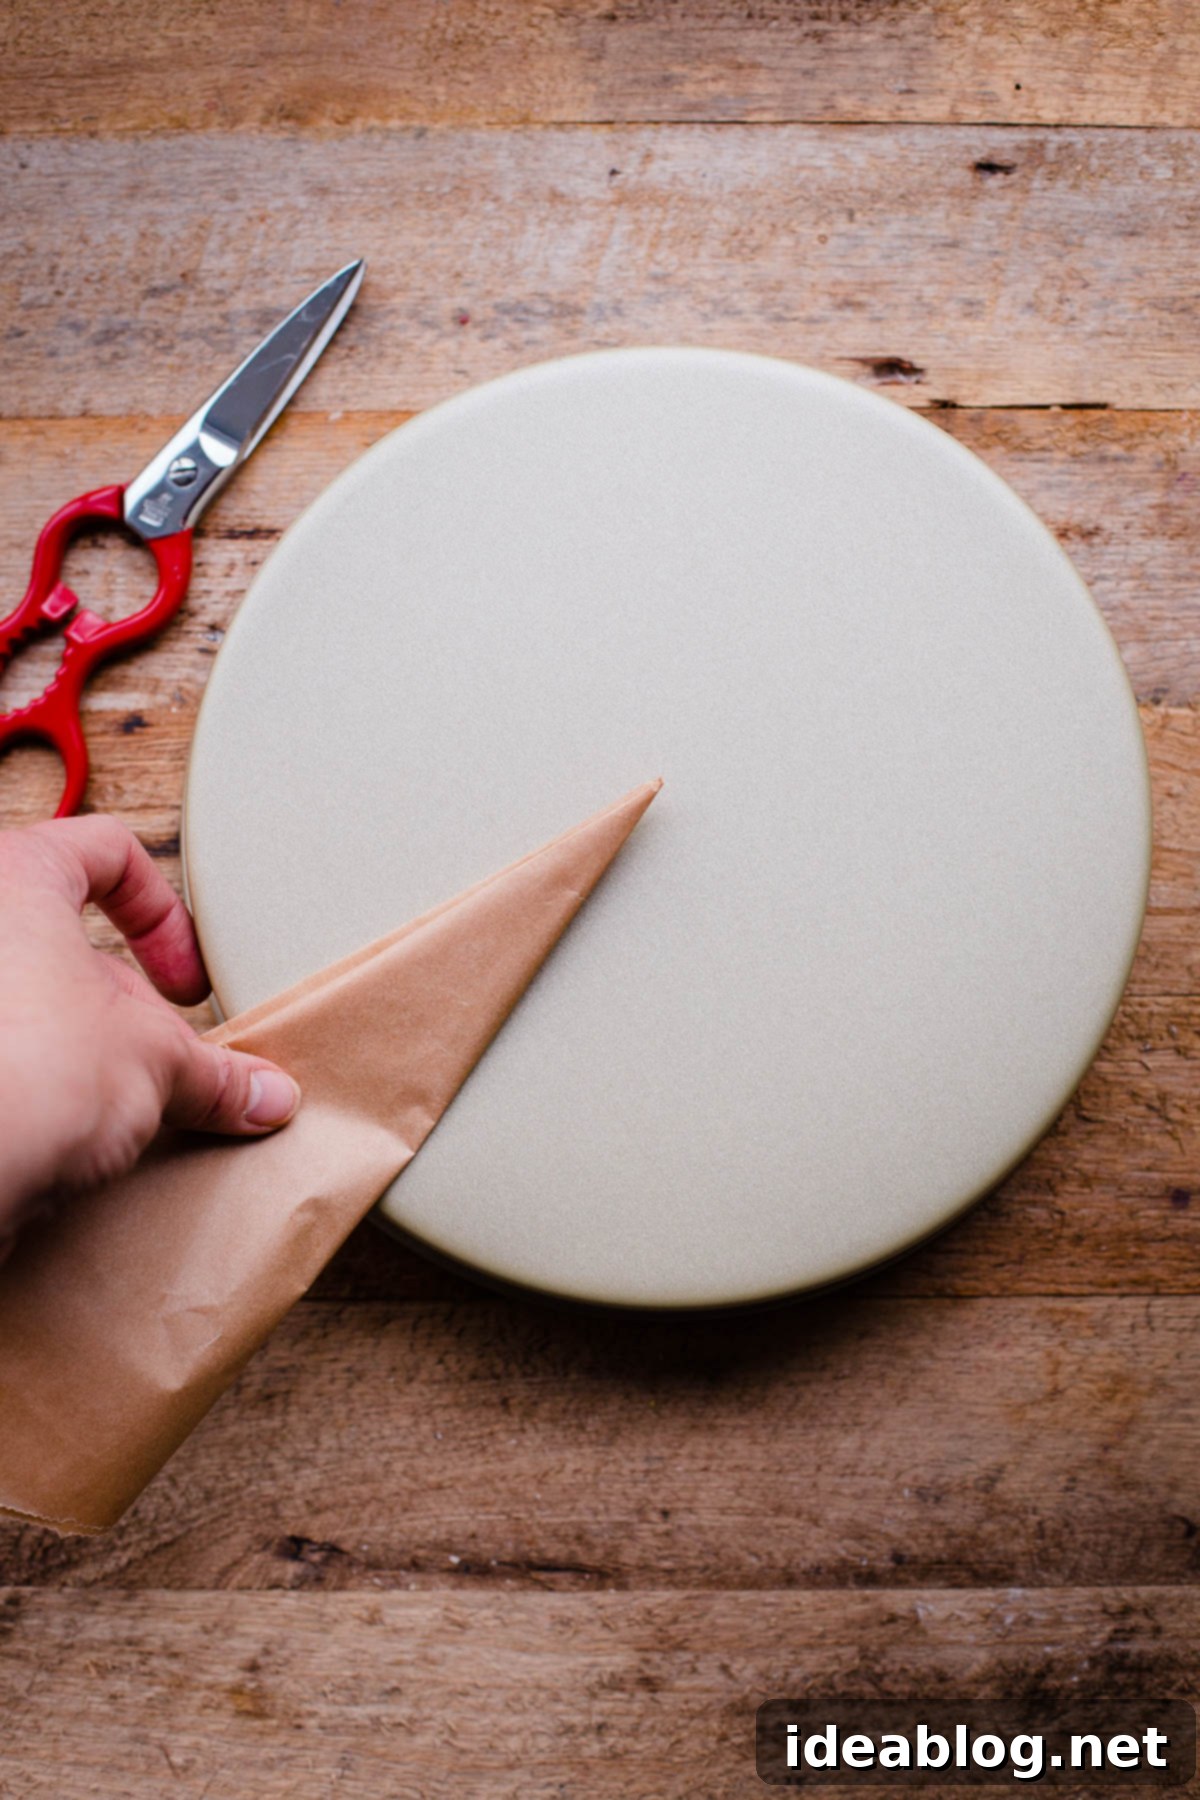
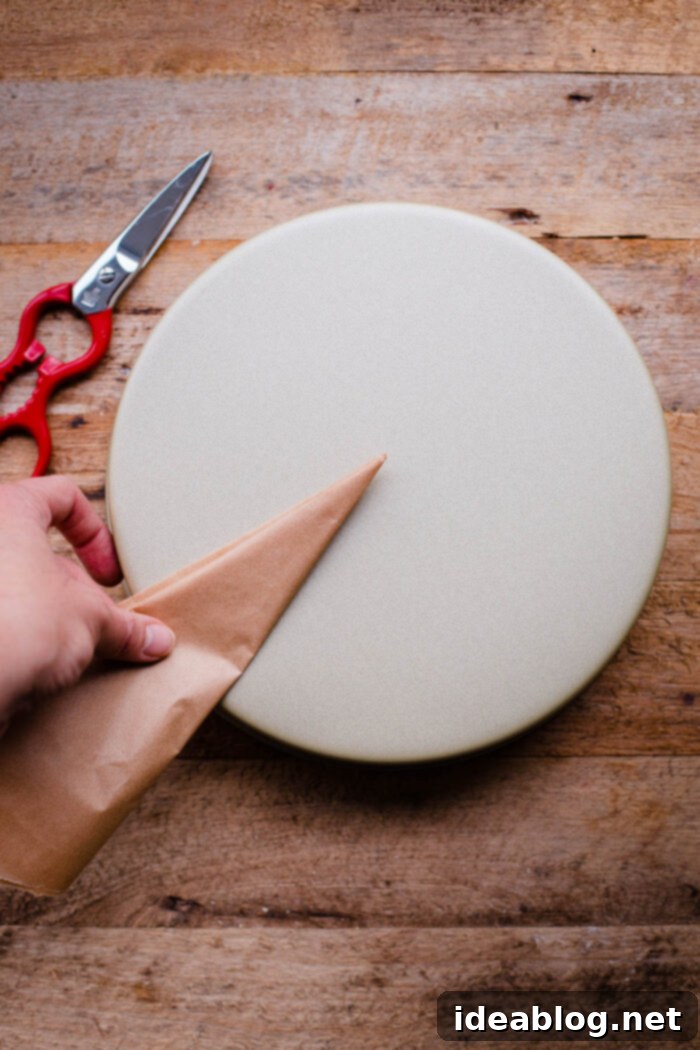
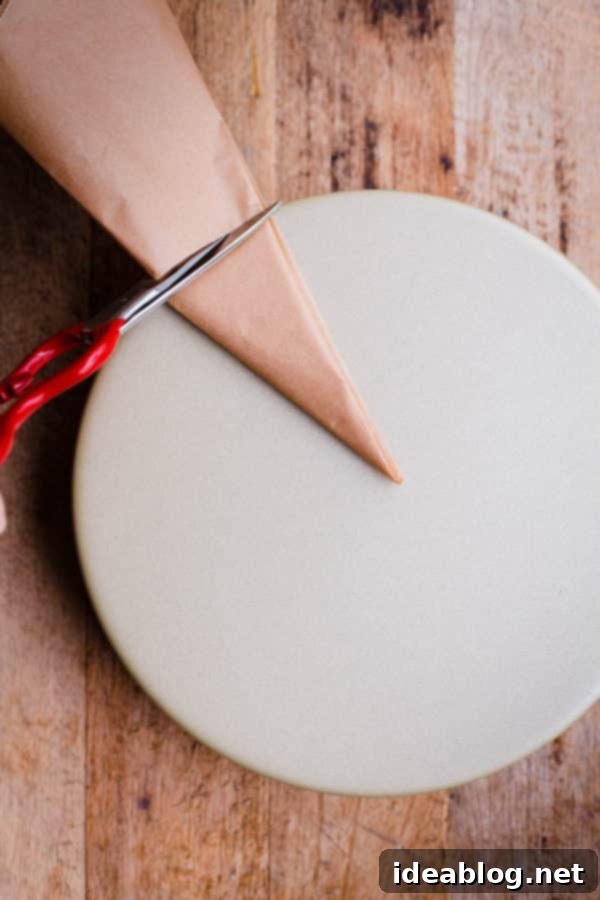
Now for the clever part. Take your cake pan and place it upside down on a clean, flat countertop or work surface. With your small, tightly folded parchment triangle in hand, align the very tip of the triangle with what you estimate to be the exact center of the inverted cake pan. This doesn’t need to be absolutely perfect, but aiming for accuracy will yield the best results. Eyeball it as closely as you can, ensuring the point is right in the middle.
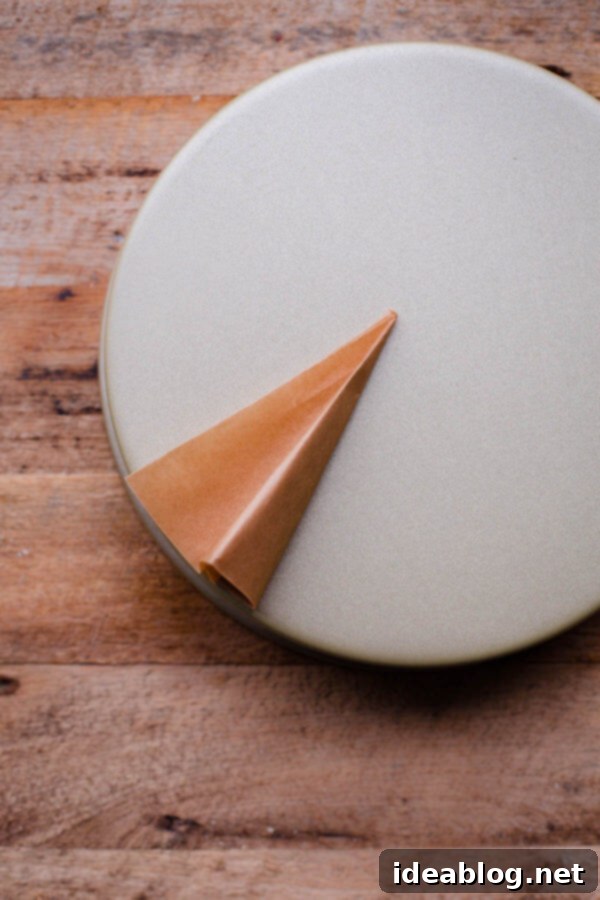
Once the parchment triangle is centered, hold it firmly in place with one hand. With your other hand, take a sharp pair of kitchen scissors and carefully cut the parchment paper, following the gentle curve of the cake pan’s sides. You are essentially trimming off the excess parchment that extends beyond the pan’s circumference. The beauty of this method is that the folded parchment acts as a guide, ensuring a perfectly round cut that matches the pan’s dimensions.
5. Unfold, Test, and Prepare Your Pan
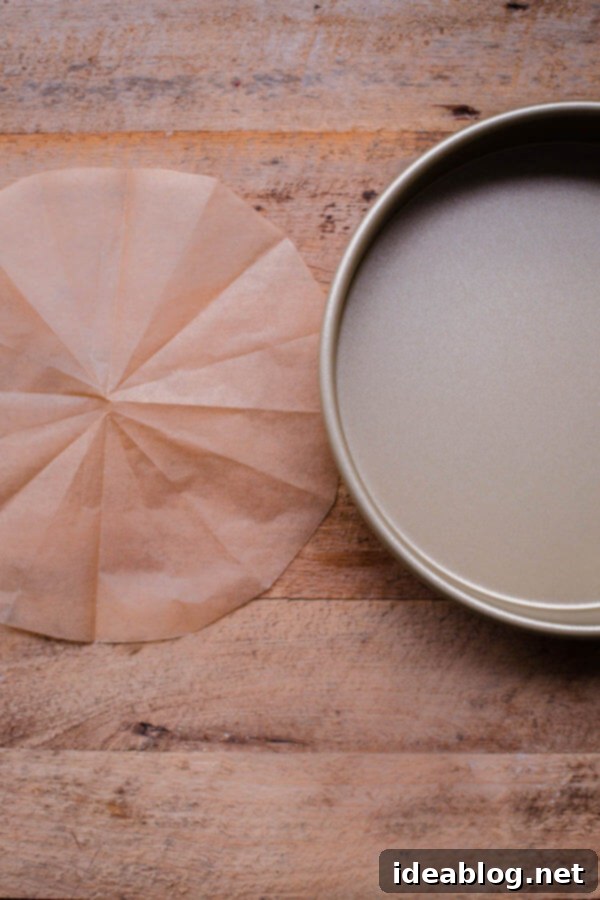
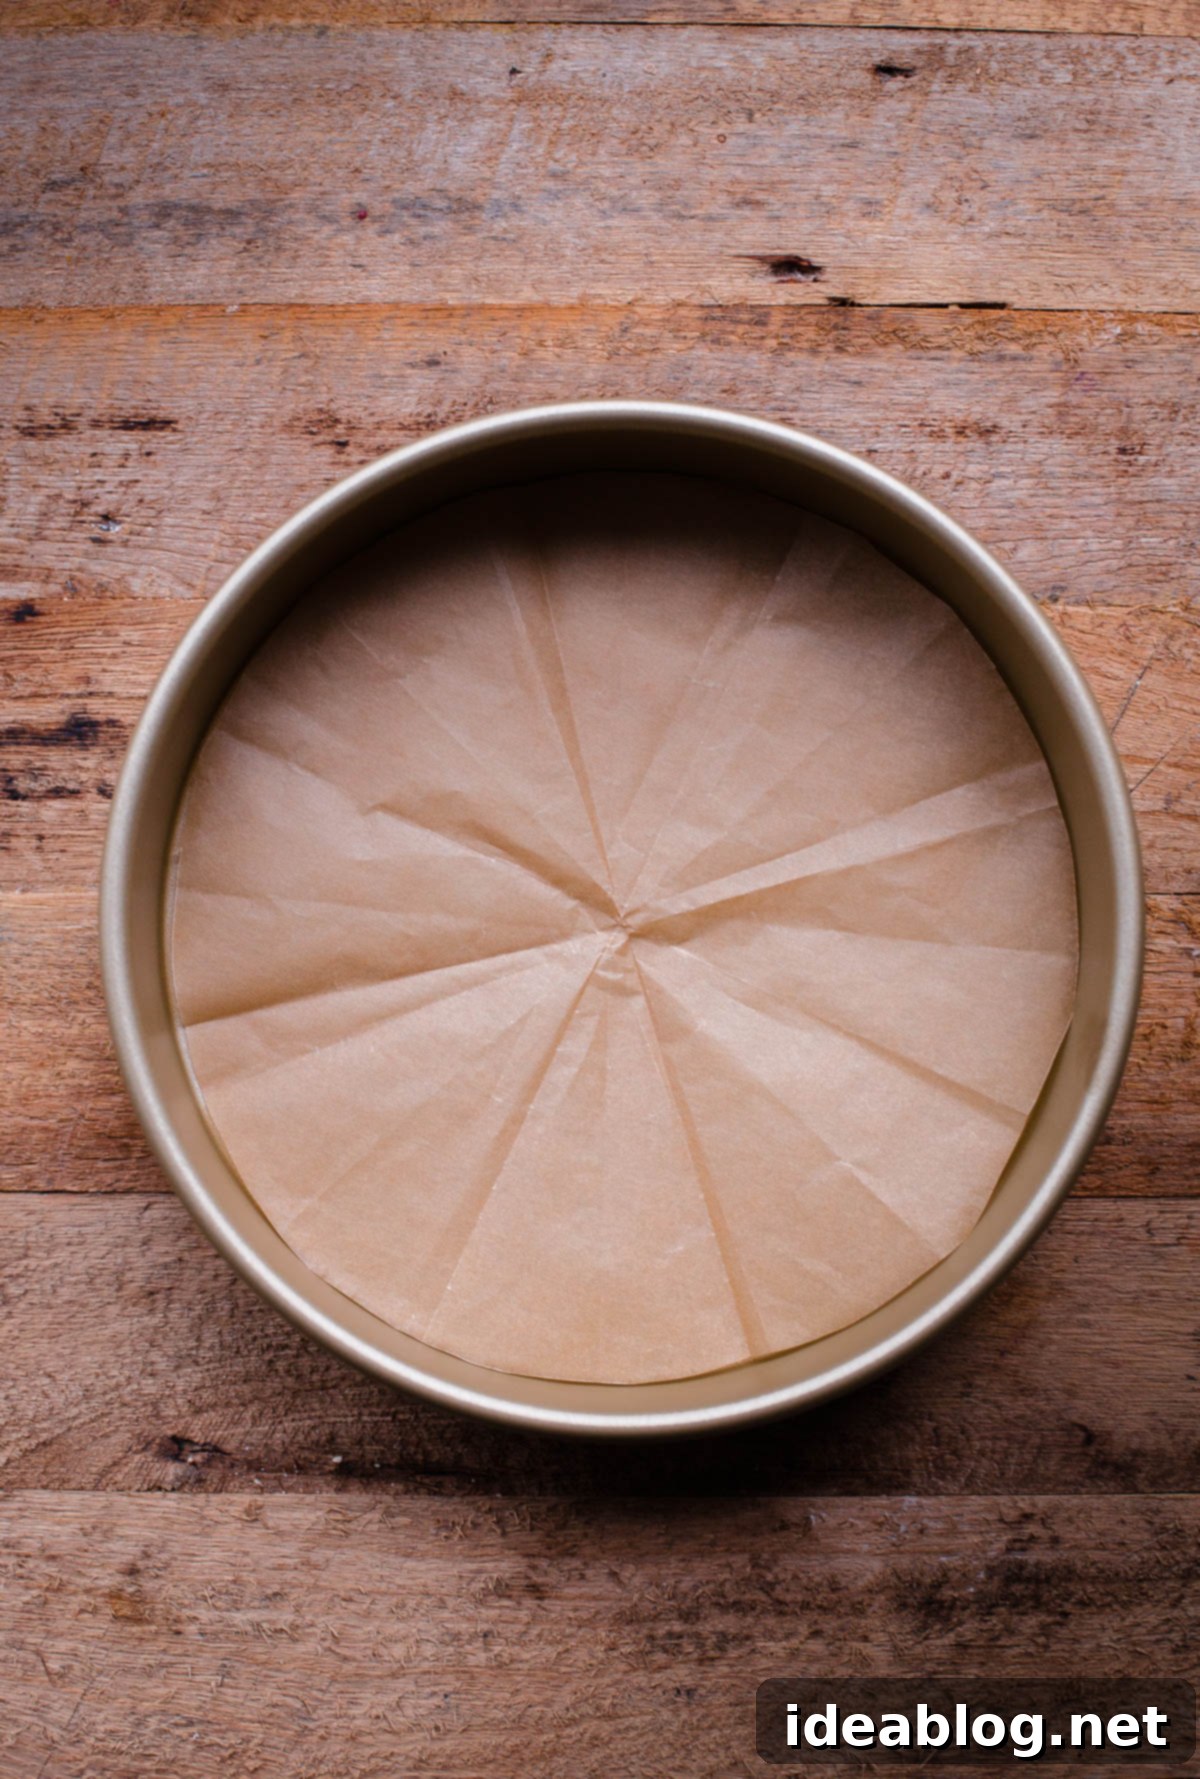
Once you’ve made your cut, carefully unfold the parchment paper. You’ll be amazed to find a perfectly circular parchment round, custom-fitted to your cake pan! Place this round inside the cake pan to ensure it fits properly and snugly against the bottom. In most cases, if you’ve followed the steps, it will fit perfectly. Occasionally, a tiny trim might be necessary, but with a little practice, you’ll rarely need to adjust. This precision is why this method is so superior to freehand cutting or tracing.
Now that your parchment round is ready, proceed with the remaining pan preparation as instructed by your recipe. This typically involves greasing the pan (and often flouring it) before carefully placing the parchment paper circle at the bottom, then giving the parchment itself a light grease. This multi-layered approach ensures maximum non-stick protection and guarantees a beautiful, clean release for your baked cake.
Voila! There’s no longer any need for pencils, tedious tracing, or any of that fussy, time-consuming guesswork. This folding method streamlines the process, making cake pan preparation quick, efficient, and consistently accurate, allowing you to focus on the joy of baking itself.
Embrace Effortless Baking
The next time you encounter that crucial sentence, ‘line with parchment paper,’ in your favorite cake recipe, bypass the old, cumbersome methods. Instead, take a quick trip back to this blog post and give this incredibly efficient folding and cutting technique a try! You’ll be amazed at how much time and frustration it saves, ensuring your cakes consistently emerge from the pan beautifully intact and ready for decoration.
This simple culinary school hack truly elevates the home baking experience, making it more enjoyable and far less stressful. No more struggling with torn cake bottoms or uneven layers – just perfect results every single time. Happy baking!
P.S. If you enjoyed learning this practical tip and appreciate posts dedicated to little tricks and hacks for baking or cooking, please don’t hesitate to let me know in the comments! I’m always delighted to share more insights and make your time in the kitchen even more rewarding.
