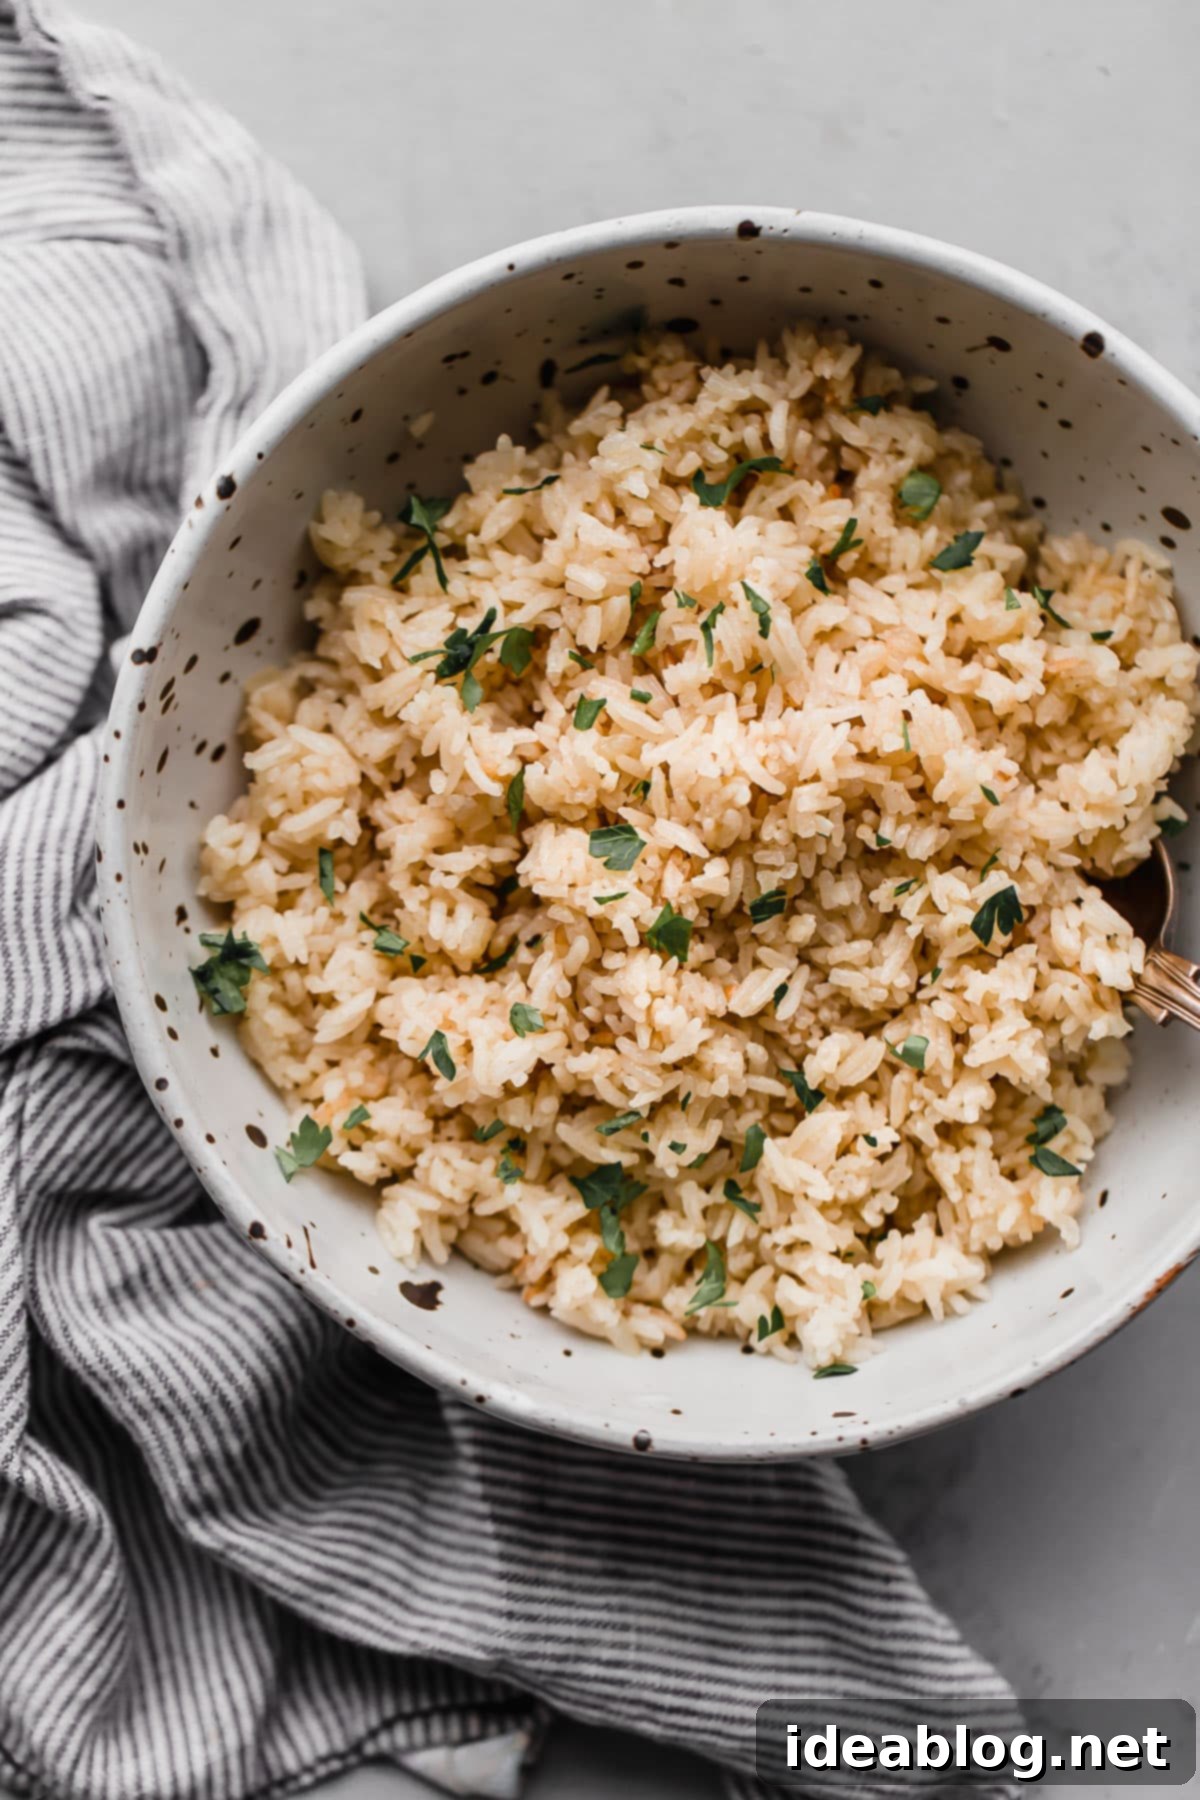
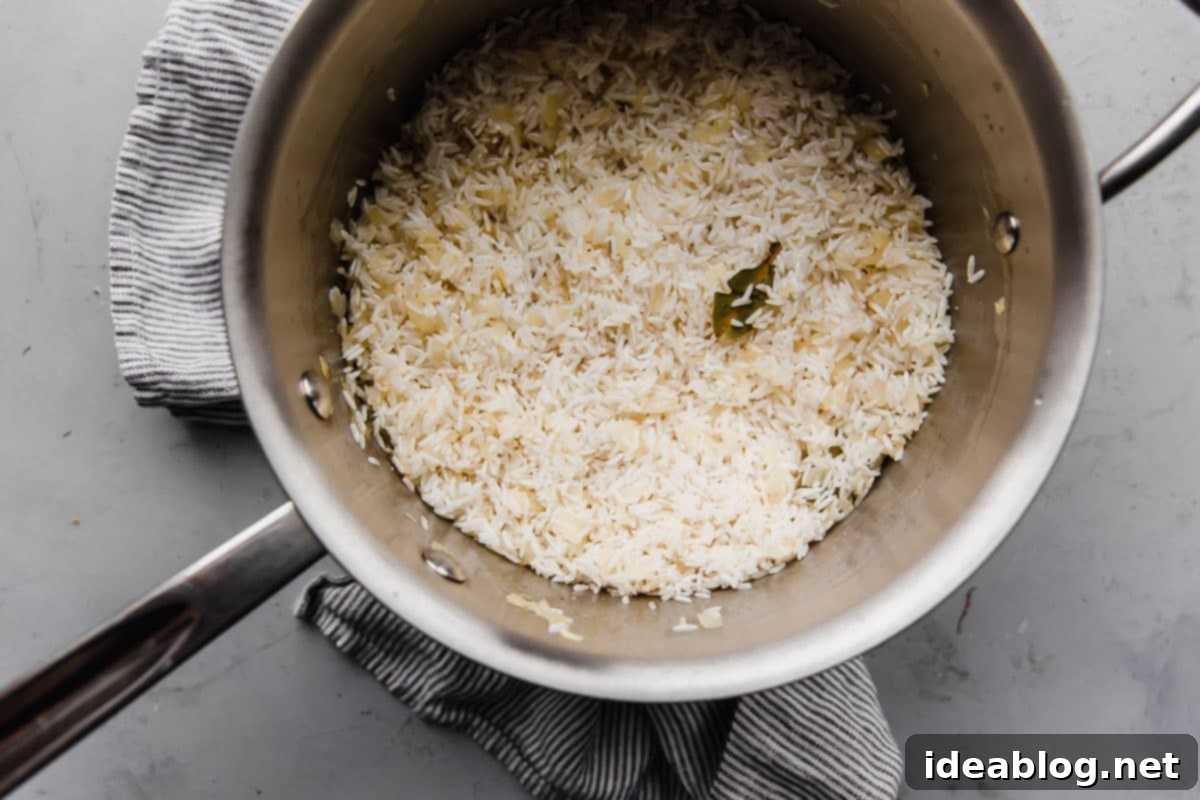
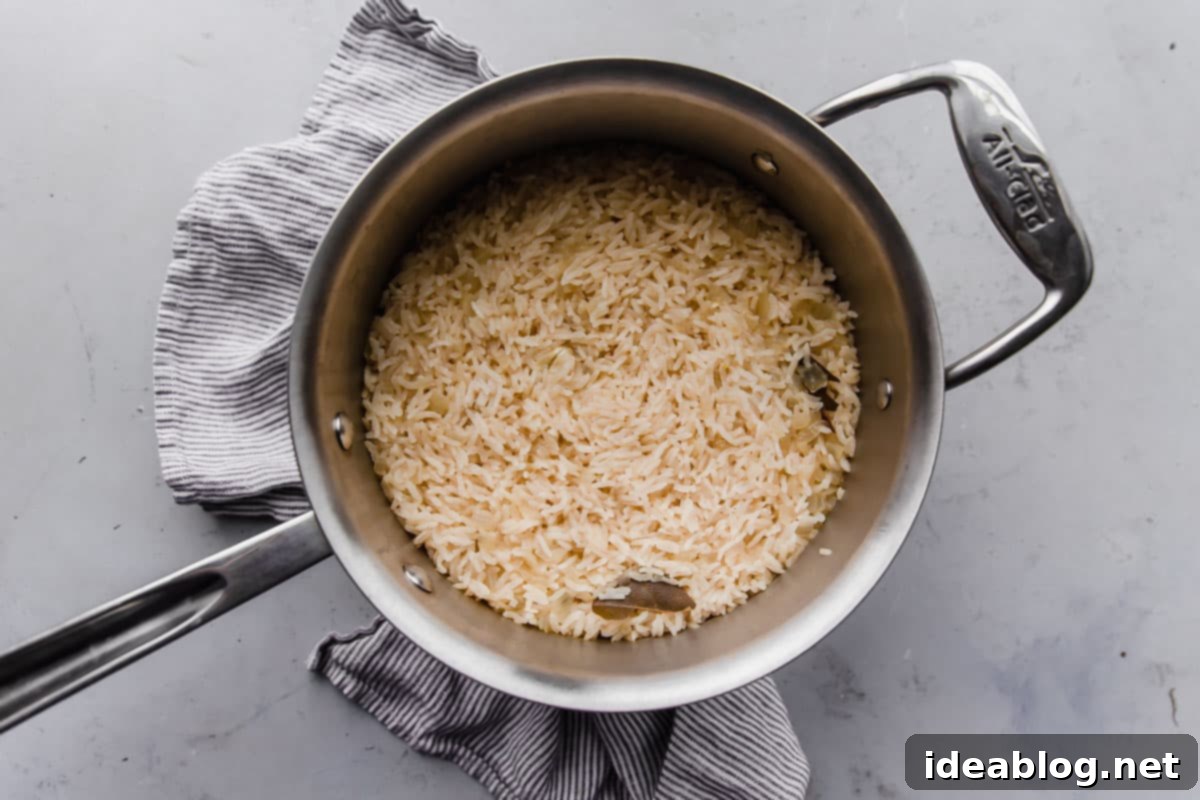
Mastering Stovetop Basmati Rice Pilaf: Your Guide to Perfectly Fluffy Grains

There’s something inherently comforting and versatile about a well-made rice pilaf. It serves as the perfect canvas for countless meals, from hearty stews to delicate roasted vegetables. After sharing our beloved coconut rice recipe a while back, we felt it was time to revisit the absolute fundamentals and bring you our ultimate guide to classic basmati rice pilaf.
Our goal today is to equip you with the knowledge to create **perfectly cooked, aromatic, and distinctly flavorful basmati rice** directly on your stovetop, without any specialized gadgets. While it sounds like a simple task, many home cooks often find themselves battling with rice that is either undercooked, clumped together, or, worst of all, an unappetizing mush.
You’d be surprised how many incredibly skilled chefs and home cooks express a genuine dislike for cooking rice the traditional way on the stove. The common culprits are inconsistent results, leading to grains that are either too firm in the center or disintegrated and sticky. The frustration is real, but thankfully, entirely avoidable.
After extensive experimentation and countless batches, we’ve developed a foolproof method incorporating a few key tricks. These simple adjustments will transform your rice-cooking experience and consistently deliver fluffy, separated grains that are bursting with flavor. Get ready to elevate your side dish game and become a stovetop rice master!
This classic basmati rice pilaf is incredibly versatile and pairs beautifully with almost any cuisine. We frequently serve it alongside vibrant Instant Pot Black Beans, rich Chicken Marsala, or a simple grilled fish. Its subtle aromatics and tender texture make it a welcome addition to nearly every meal, enhancing rather than overpowering other flavors.
Essential Basmati Rice Pilaf Ingredients:
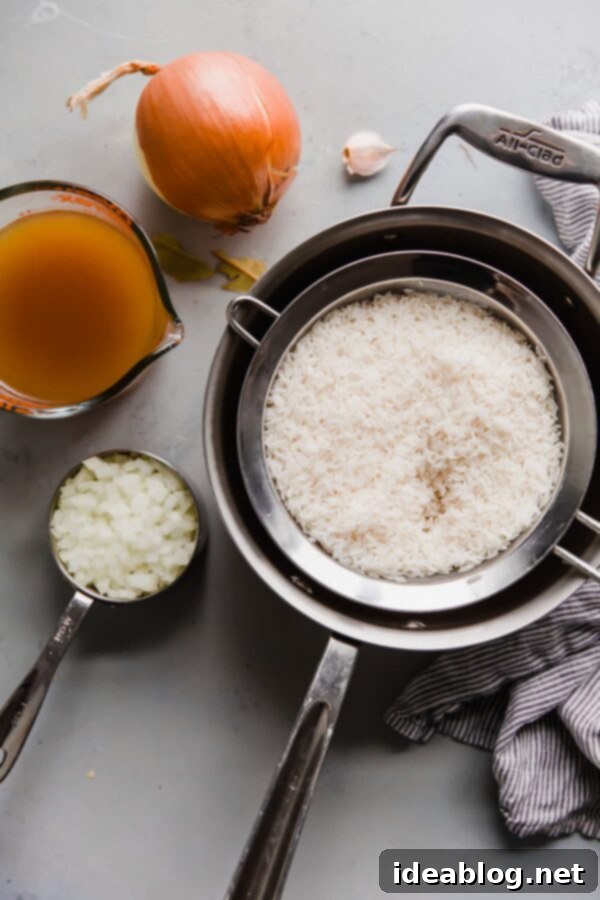
Crafting the perfect basmati rice pilaf begins with selecting the right ingredients. Each component plays a crucial role in achieving that desired fluffy texture and delightful aroma.
- Extra Virgin Olive Oil: Beyond simply preventing sticking, a good quality extra virgin olive oil contributes a subtle, fruity depth to the pilaf. It also works by lightly coating each rice kernel, helping them to cook separately and preventing them from clumping together. This fat is essential for sautéing the aromatics and building a flavorful foundation.
- Yellow Onion: Finely diced yellow onion is an absolute game-changer in classic rice pilaf. When sautéed slowly, it caramelizes slightly and nearly melts into the rice, imparting a wonderful sweetness and savory base without being overtly oniony. It adds a layer of complexity that water alone cannot provide.
- Garlic: A single smashed garlic clove might seem minimal, but it’s incredibly effective for infusing a gentle, aromatic essence into the pilaf. Smashing rather than mincing allows the garlic to release its flavor gradually without burning, ensuring a subtle, sweet garlic undertone throughout the dish.
- Basmati Rice: As the star of our pilaf, basmati rice is our top choice for its distinct, nutty fragrance (often described as popcorn-like) and its elegant, long-grain structure. Originating from the Indian subcontinent, Basmati translates to “fragrant one” in Hindi, a testament to its unique aroma. Always opt for the highest quality basmati rice you can find, as this significantly impacts both flavor and texture. Look for aged basmati for even better results.
- Dried Bay Leaf: This unassuming herb adds an elusive, subtly earthy, and slightly floral note to the pilaf, enhancing its overall savory profile. It’s a quiet contributor that rounds out the flavors beautifully. Remember to remove it before serving!
- Low-Sodium Chicken Broth: Cooking rice in broth instead of plain water is one of the easiest ways to inject incredible depth and richness into your pilaf. The savory notes from the broth permeate the grains, creating a far more flavorful result. Using low-sodium broth is crucial, as it gives you complete control over the final seasoning, allowing you to add salt to taste without making the dish overly salty. Vegetable broth can be a great alternative for a vegetarian option.
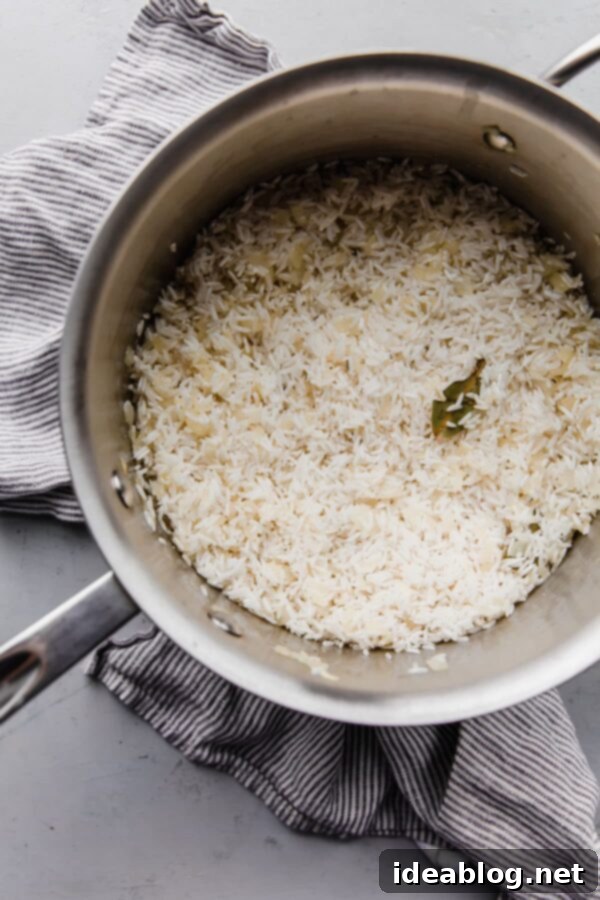
Unlocking Perfectly Cooked Rice Pilaf: Our Essential Tricks
Achieving consistently perfect, fluffy rice pilaf is a craft, and we’re here to share the secrets. While the fundamental rice-to-liquid ratio remains similar to our popular coconut rice recipe, we introduce a critical, yet simple, technique: using **pre-heated broth**. This seemingly minor step has a monumental impact on the final texture of your rice.
The broth (or water, if you’re using it) should be very hot, almost at a vigorous boil, before it even touches the rice. This ensures that when the liquid is added to the saucepan with the rice, the mixture comes to a boil *much faster*. Why is this important? Rapid boiling helps to cook the rice kernels more evenly from the start, prevents them from sitting in lukewarm water where they can become gummy, and significantly reduces the risk of ending up with mushy rice.
To heat the broth quickly and easily, simply pour it into a microwave-safe measuring cup and heat it for several minutes until steaming hot, nearly boiling. If you prefer to avoid the microwave, a small saucepan on the stovetop works just as well to bring the broth to temperature. This step might seem like an extra moment in your prep, but we cannot stress enough its importance. Through numerous tests, this small pre-heating trick consistently yielded superior rice texture compared to adding cold or room-temperature liquid. Please, do not skip this vital step!
Heating the broth allows the rice mixture to reach a boil *much* faster, helping to cook the rice kernels evenly and preventing mushy rice. This controlled, rapid cooking process ensures each grain retains its individual integrity and desirable slight al dente bite. It might sound like a minor detail, but our extensive recipe testing confirmed that this technique dramatically improves the final texture of the rice. Trust us – it makes a world of difference. Your patience for this extra minute or two will be richly rewarded with perfectly textured rice.
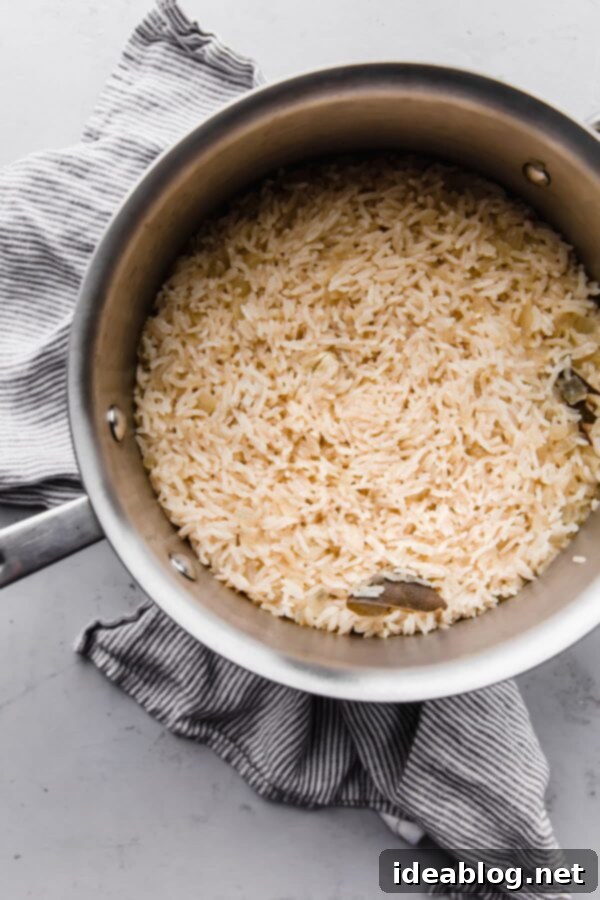
The Absorption Method: Step-by-Step for Flawless Basmati Pilaf
This recipe relies on the classic absorption method, a technique where the rice completely absorbs all the cooking liquid, resulting in perfectly tender and distinct grains. This method is preferred for long-grain rice like basmati, as it minimizes agitation and starch release, which can lead to stickiness.
Once your rice mixture comes to a vigorous boil (after adding the hot broth), give it one final, gentle stir to ensure no grains are sticking to the bottom. Then, immediately cover the saucepan with a tightly fitted lid. A tight seal is crucial to trap all the steam and heat inside, which cooks the rice evenly. Reduce the heat to its lowest setting and let the rice cook undisturbed for exactly 10 minutes. Resist the urge to peek during this time, as opening the lid releases precious steam and can disrupt the cooking process.
After 10 minutes, remove the pan from the heat entirely, but **do not remove the lid yet**. Instead, carefully lift the lid, quickly drape a clean kitchen towel or a few layers of paper towels over the top of the pot to absorb any excess moisture and steam, then replace the lid tightly. Allow the rice to sit off the heat, undisturbed, for an additional 15 minutes. This resting period is just as vital as the cooking time; it allows the residual steam to finish cooking the rice gently, ensuring every grain is perfectly tender without being soggy, and helping them to separate beautifully.
Finally, remove the lid and towel. Use a fork to gently fluff the rice, separating the individual grains. Discard the bay leaf. Taste a small portion and season with additional salt or freshly ground black pepper if necessary. For a touch of freshness and color, you can garnish the pilaf with finely chopped flat-leaf parsley or cilantro before serving. Alternatively, serve it as is – its inherent flavor is more than enough. This absorption method, combined with our hot broth trick, will consistently give you a pilaf that is light, fluffy, and utterly delicious.

If you’re now convinced that perfect rice is within your reach, we highly recommend trying our coconut rice recipe next!

Basmati Rice Pilaf
Pin
Review
SaveSaved!
Equipment
-
All-Clad 3 Quart Sauce Pan
-
Imagine Organic Low-Sodium Chicken Broth
-
Lundberg Farms Organic Basmati Rice
Ingredients
- 1½ tablespoons extra virgin olive oil
- ½ medium yellow onion finely diced (approximately 1 cup)
- 1 garlic clove smashed
- kosher salt + freshly ground black pepper to taste
- 2 cups white basmati rice thoroughly rinsed until water runs clear, then well-drained
- 1 dried bay leaf
- 2⅔ cups low-sodium chicken broth or water, pre-heated until nearly boiling
- finely chopped flat leaf parsley or cilantro for garnishing (optional, but recommended for freshness)
Instructions
-
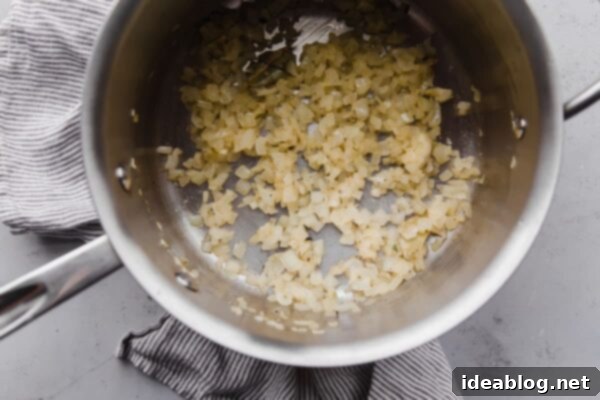
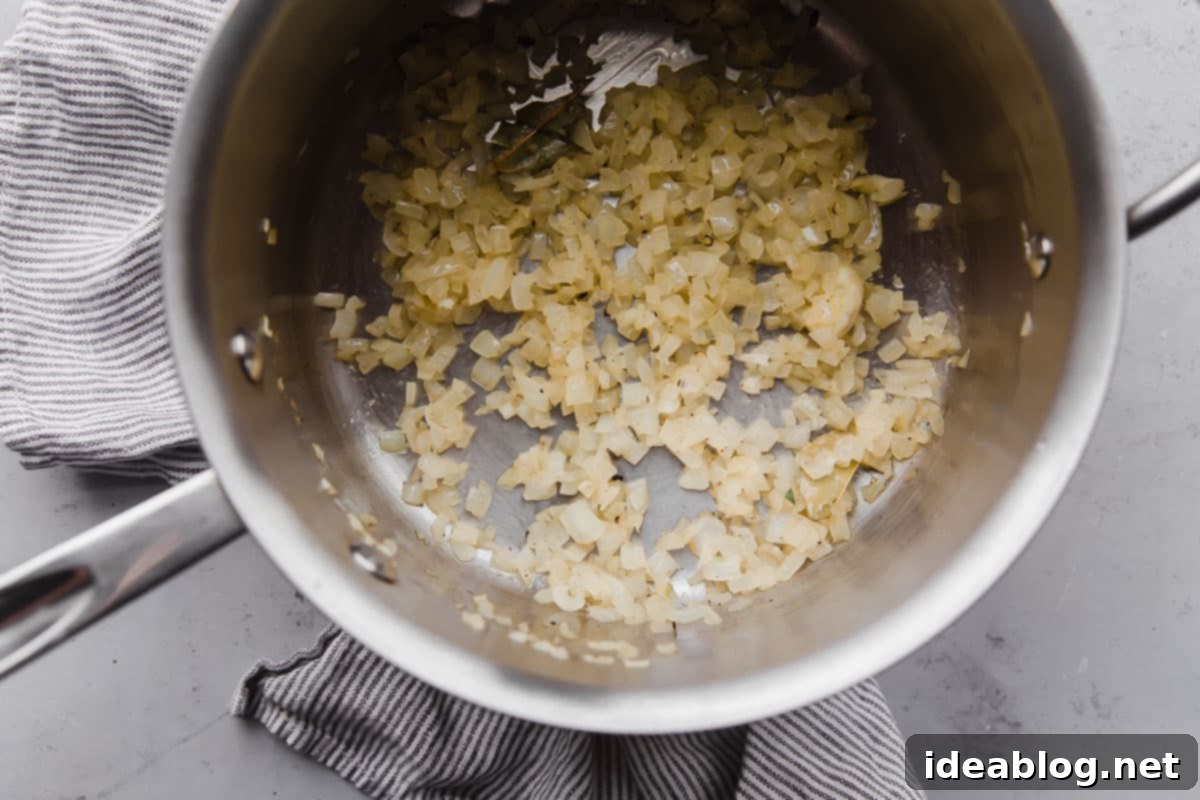
In a medium saucepan (3-quart capacity is ideal), heat the extra virgin olive oil over medium-low heat. Add the finely diced onion, the smashed garlic clove, and a small pinch of kosher salt. Sauté, stirring frequently to prevent sticking, until the onion softens and becomes translucent, which should take approximately 4 to 5 minutes. If the pan appears dry at any point, add a tiny splash of water to keep the onions from browning excessively, ensuring they maintain a gentle sweetness.

-
While the onion is sautéing, prepare your heated liquid. Pour the chicken broth into a large heat-proof measuring cup and microwave it for about 3 minutes, or until it is steaming hot and nearly boiling. Alternatively, you can heat the broth or water in a small pot on the stovetop until it reaches the same hot temperature. This step is crucial for achieving the perfect rice texture.
-
Once the onions are translucent, add the thoroughly rinsed and well-drained basmati rice, the dried bay leaf, and an additional 1 teaspoon of Diamond Crystal kosher salt to the saucepan. Gently stir all ingredients together, ensuring that every rice kernel is lightly coated with the oil. Continue to lightly toast the rice for about 5 to 10 seconds, which helps to develop a nutty flavor and further prevents sticking.

-
Carefully pour the hot broth (or hot water, if you are using it) into the saucepan with the rice mixture and stir once to combine everything. Immediately increase the heat to high and bring the mixture to a vigorous, rolling boil. As soon as it reaches a strong boil, stir the rice mixture thoroughly with a fork one last time. Cover the pot with a tightly-fitting lid, then immediately reduce the heat to the lowest possible setting. Set a timer for exactly 10 minutes and do not lift the lid during this time.
-
Once the 10-minute cooking time is complete, remove the saucepan from the heat, but do not uncover it completely. Carefully lift the lid just enough to place a clean kitchen towel or several layers of paper towels over the pot, then replace the lid securely. The towel will absorb excess steam, preventing the rice from becoming soggy. Allow the rice to sit undisturbed off the heat for an additional 15 minutes. After resting, remove the lid and towel. Use a fork to gently fluff the rice, discard the bay leaf, and taste to adjust seasoning with additional salt or pepper if needed. Garnish with chopped fresh parsley or cilantro for a vibrant finish, if desired, and serve immediately.

-
Any leftover basmati rice pilaf can be stored in an airtight container in the refrigerator for 4 to 6 days. For longer storage, it can be frozen for up to 3 months; thaw it in the refrigerator overnight before reheating. Ensure rice is cooled quickly before storing to maintain food safety.
Tips for Success & Common Troubleshooting:
- The Heated Broth Trick: Pre-heating your chicken broth (or water) until it’s nearly boiling before adding it to the rice is the single most important step for preventing over-cooked, gummy, or mushy rice. This rapid thermal introduction ensures even cooking from the very start. While it adds a minute to your prep, its dramatic positive impact on the final rice texture is undeniable. Absolutely do not skip this step!
- Proper Rinsing: Don’t forget to rinse your basmati rice thoroughly under cold running water until the water runs completely clear. This removes excess surface starch, which is a major culprit for sticky, clumpy rice. Proper rinsing contributes significantly to achieving those distinct, fluffy grains.
- Don’t Peek! Once the lid is on during the 10-minute cooking phase, resist the temptation to lift it. Each time you peek, steam escapes, interrupting the cooking process and potentially leading to unevenly cooked rice.
- The Towel Rest: The 15-minute resting period with a kitchen towel under the lid is essential. The towel absorbs residual moisture and allows the rice to steam gently, ensuring all grains are fully cooked and separated. This prevents a soggy top layer and a dry bottom layer.
- Leftover Storage: Safely store cooked rice in a covered container in the refrigerator for 4 to 6 days. For longer preservation, freeze it for up to 3 months. When cooling rice for storage, spread it out in a thin, even layer on a large sheet pan (without compressing) on a cooling rack to cool quickly before refrigerating or freezing. This rapid cooling minimizes bacterial growth.
- Troubleshooting:
- Rice is too hard/undercooked: If, after resting, the rice is still too firm, you can sprinkle 1-2 tablespoons of hot water or broth over it, cover it again tightly with the lid and towel, and let it steam off the heat for another 5-10 minutes.
- Rice is mushy/sticky: This usually indicates too much liquid or the lid was lifted too often. Next time, ensure your measurements are precise and resist peeking. If it’s already mushy, gently spread it out on a baking sheet to dry out slightly in a low oven (around 200°F/95°C) for 10-15 minutes, or use it in dishes where texture is less critical, like rice pudding or as a base for fried rice.
