Vibrant Homemade Red Pasta: A Simple Guide to Beautiful Tomato-Infused Fresh Noodles
There’s an undeniable magic to homemade pasta, a sensory experience that far surpasses anything you can buy in a box. From the tactile pleasure of kneading the dough to the aroma of freshly cooked noodles, it’s a culinary journey worth embarking on. While I’ve previously shared a variety of homemade pasta recipes, including unique options like chickpea flour pasta, this particular creation marks a delightful first: my inaugural colored pasta recipe. Prepare to elevate your pasta night with a splash of natural beauty and a subtle hint of flavor.
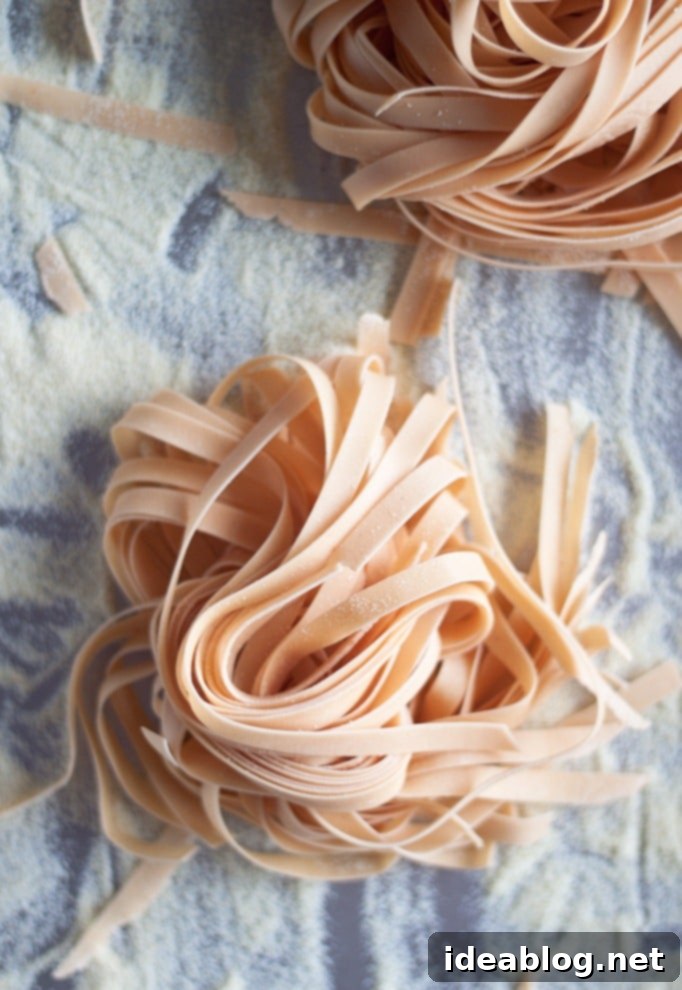
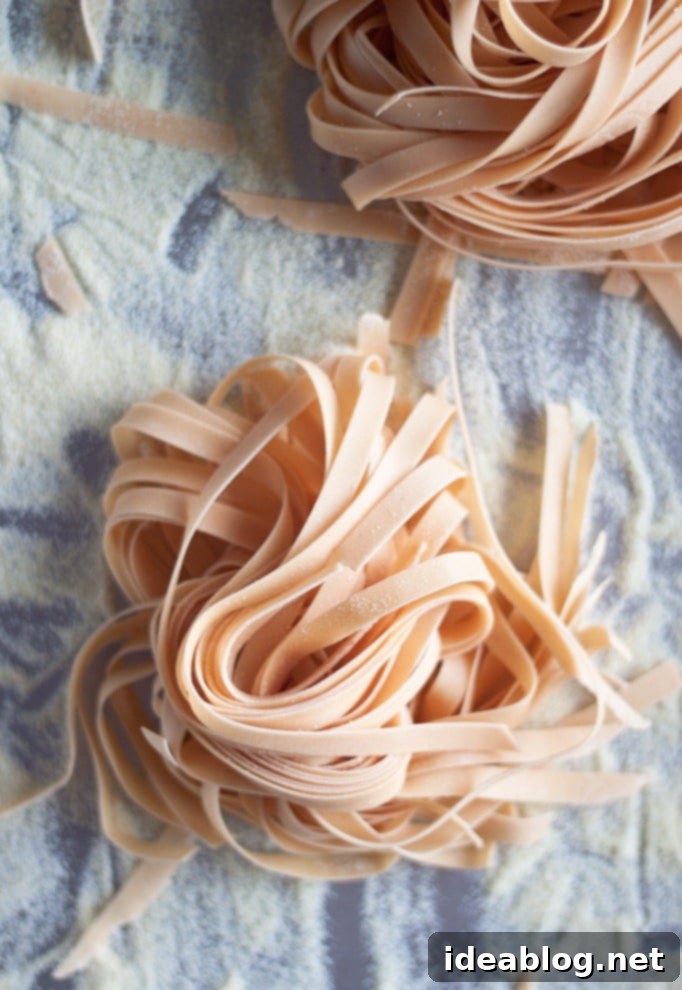
This isn’t just any red pasta; it’s a testament to the charm of understated elegance. Rather than a bold, bright scarlet, this pasta takes on a delicate light pink or beautiful salmon hue. It’s a color that evokes warmth and sophistication, promising a visually appealing dish even before the first bite. The subtle shading ensures it pairs wonderfully with a wide range of sauces without clashing, allowing the pasta itself to be a star on your plate.
The world of homemade pasta offers endless possibilities for customization, both in terms of flavor and visual appeal. You can transform your pasta dough with an array of natural ingredients to create truly unique culinary experiences. Imagine pasta infused with the pungent warmth of black pepper, the vibrant green freshness of spinach, the dramatic dark allure of squid ink, or the golden luxury of saffron. Fresh herbs can lend an aromatic charm, while sweet or savory chocolate pasta versions demonstrate just how versatile this humble dough can be. Each addition brings its own character, making homemade pasta a true canvas for creativity.
Among the myriad of options for coloring and flavoring pasta, this red pasta — or more accurately, tomato pasta dough — stands out for its remarkable simplicity and minimal labor requirements. Unlike some more intricate variations, achieving this beautiful hue doesn’t demand exotic ingredients or complex techniques. It’s an accessible entry point for anyone looking to experiment with colored pasta without feeling overwhelmed, making it perfect for both novice and experienced pasta makers alike.
The secret to its gentle red tint lies primarily in the use of tomato paste. This concentrated ingredient provides a natural, earthy color without overpowering the delicate pasta flavor. If you’re aiming for a more intense, bolder red to truly make a statement, you have a couple of straightforward options. A drop or two of red food coloring can significantly boost the vibrancy. Alternatively, for a more natural yet still brighter result, consider incorporating dried beet powder, which will yield a striking, purple-red color. While these options offer a more dramatic visual, I personally favor the natural, more subtle route that tomato paste alone provides, appreciating its understated elegance. Ultimately, the choice is yours, allowing you to tailor the visual impact to your personal preference and the dish you envision.
Crafting Your Own Homemade Red Pasta: A Detailed Guide
This homemade red pasta recipe is meticulously crafted using a blend of unbleached all-purpose flour and semolina flour. This combination is key to achieving the perfect balance of texture and pliability that makes fresh pasta so delightful. All-purpose flour provides the necessary gluten structure for elasticity, allowing the dough to be rolled thin without tearing. Meanwhile, semolina adds a distinct chewiness and a slightly coarser texture, reminiscent of traditional dried pasta, elevating the mouthfeel of your fresh noodles.
Semolina, derived from durum wheat, is a coarser grain than finely ground durum flour, which is often used in commercially extruded and dried pasta. Its unique granular structure contributes a delightful firmness and a pleasant bite to the pasta, setting it apart from pasta made solely with all-purpose flour. In this recipe, we incorporate just a small, carefully measured amount of semolina. This ensures you get that desirable textural boost and chew without making the dough too stiff or difficult to work with. The beauty of this versatile dough is that you can cut it into virtually any shape your heart desires. For this particular batch, we opted for classic fettuccine, but it’s also ideal for crafting broader, luxurious homemade pappardelle pasta, or even delicate tagliatelle or intricate ravioli if you’re feeling adventurous. The key is to enjoy the process and the freedom to create.
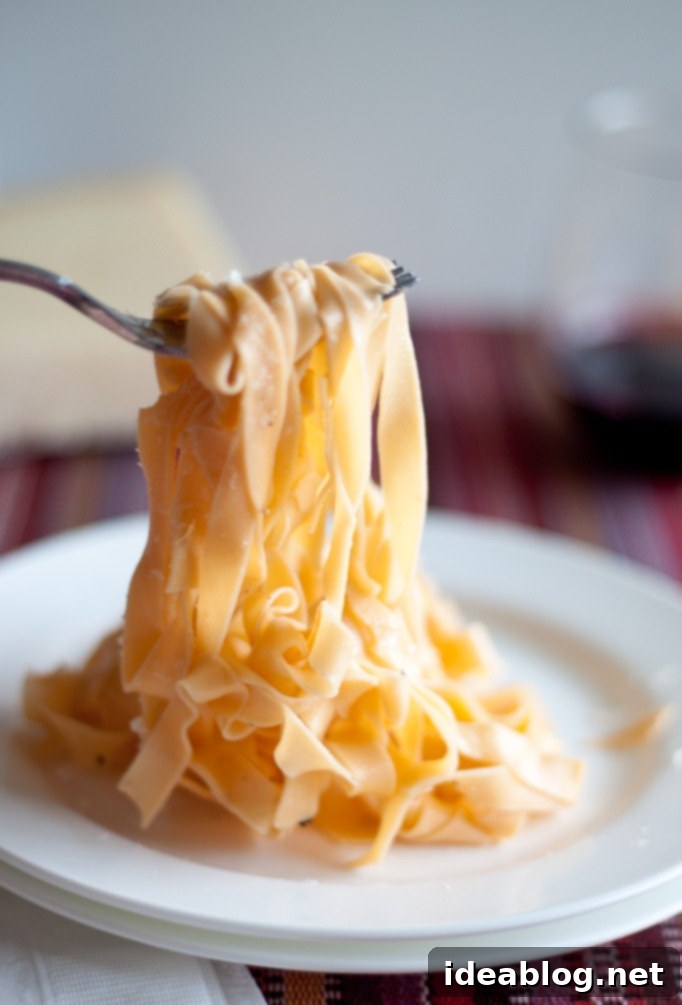
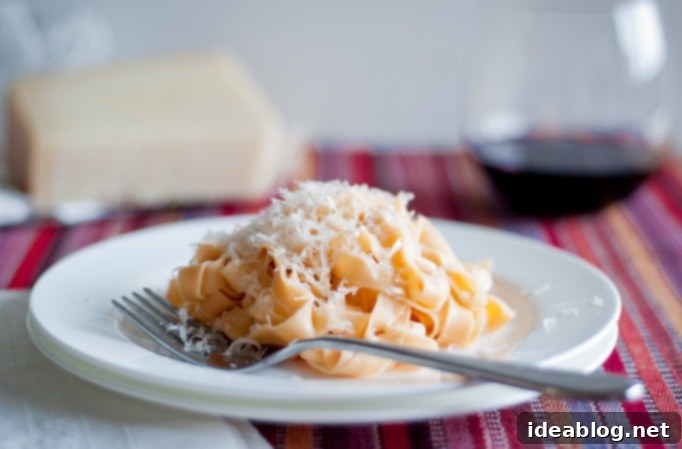
It’s important to set your expectations regarding the flavor profile of this red pasta. The tomato flavor, while present, is exceptionally subtle – very, very subtle. The primary goal of incorporating tomato paste here is for its beautiful natural coloring, which transforms ordinary pasta into something visually striking. For this reason, my strongest recommendation is to pair this homemade red pasta with a simple, elegant preparation. Choose a sauce that allows the delicate texture and understated color of the fresh pasta to truly shine, rather than overpowering it. Think light olive oil and garlic, a simple butter and sage, or a delicate cream sauce. Enjoy the artistry and effort you’ve poured into creating this wonderful dish!
Homemade Red Pasta
Pin
Review
SaveSaved!
Ingredients
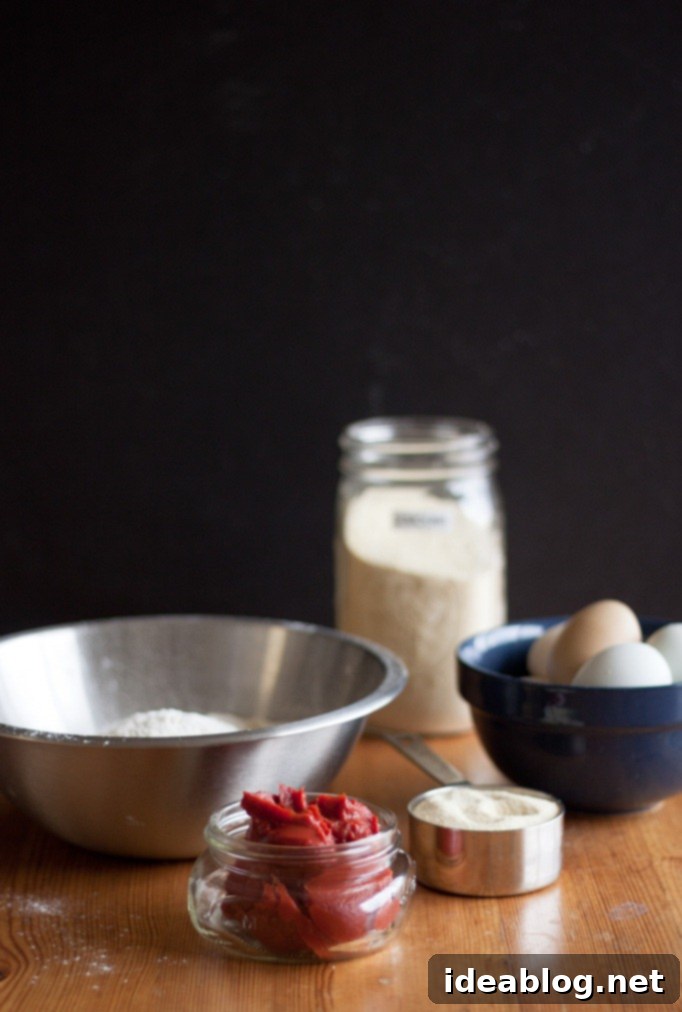
- 2⅓ cups (280g) unbleached all-purpose flour plus more for dusting, essential for dough elasticity
- ½ cup (80g) semolina flour plus more for dusting, to add texture and chew
- 4 large eggs preferably at room temperature for better incorporation
- 2 tablespoons tomato paste for natural color and a subtle hint of flavor
- 1-2 drops red food coloring optional, if you desire a darker, more vivid red pasta. Alternatively, a teaspoon of beet powder can be used for a natural, purple-red hue.
- 1 teaspoon fine sea salt to enhance flavor (not explicitly in original, but good practice for pasta dough)
Instructions
Prepare Pasta Dough:
-
Begin by combining the unbleached all-purpose flour, semolina flour, and fine sea salt in the bowl of a stand mixer. Ensure your stand mixer is fitted with a dough hook attachment. Mix these dry ingredients over low speed (typically setting 2) for about 30 seconds to one minute, until the flours are thoroughly combined and no pockets of a single flour type remain. This initial mixing is crucial for an even dough consistency.
-
In a separate bowl or a large measuring cup, whisk together the large eggs, tomato paste, and the optional red food coloring (or beet powder, if using). Whisk vigorously until the mixture is mostly smooth. A few small clumps of tomato paste are acceptable and will eventually incorporate into the dough. With the stand mixer running on low speed, slowly and gradually pour the egg and tomato mixture into the dry flour mixture. Continue to mix over low speed, allowing the dough to slowly come together. Use a rubber spatula to occasionally scrape down the sides of the bowl, ensuring all dry ingredients are evenly incorporated into the developing dough. This slow addition helps prevent a sticky or overly dry dough.
-
Once the dough has mostly incorporated and resembles a shaggy, somewhat crumbly mass, turn off the stand mixer. Transfer the entire pasta dough, including any remaining dry bits from the bottom of the bowl, onto a clean, lightly floured countertop. Do not worry if there is a small amount of unintegrated dry ingredients at this stage; these will be worked in during the hand-kneading process.
-
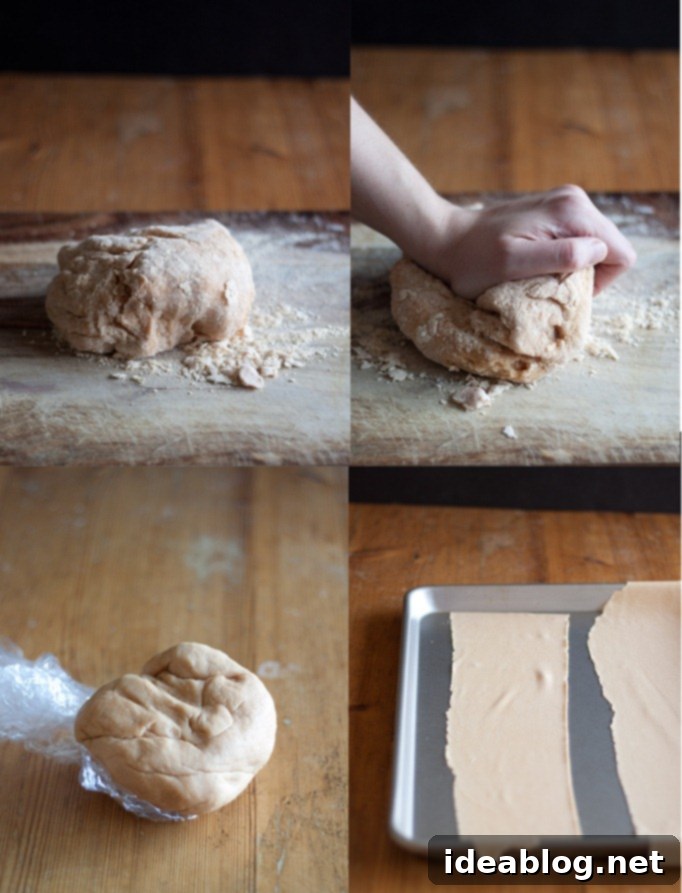
Now, begin the crucial kneading process. Use the palms and heels of your hands to push, fold, and turn the dough. The dough should feel firm but pliable, and crucially, it should not be sticky to the touch. If you find the dough is excessively sticky, lightly dust your hands and the countertop with additional all-purpose flour and continue kneading. As you knead, any remaining dried bits should gradually incorporate. Depending on factors like the humidity in your kitchen and the precise size of your eggs (even ‘large’ eggs can vary in weight), the dough’s consistency might differ slightly from batch to batch. Expert Tip: If your pasta dough feels too dry and resistant, add water one teaspoon at a time, kneading thoroughly after each addition until the desired consistency is achieved. Conversely, if it feels overly tacky, a bit more all-purpose flour dusted onto your hands and work surface will help.
-
Continue to knead the dough vigorously for an additional 10 to 15 minutes. This prolonged kneading develops the gluten, which is essential for achieving an elastic and supple dough that will roll out beautifully and hold its shape when cooked. You’ll know the dough is ready when it feels silky smooth, resilient to the touch, and springs back slowly when poked. Once kneaded, tightly wrap the dough in plastic wrap, ensuring no air can reach it. Allow it to rest at room temperature for 45 minutes to 1 hour. This resting period is vital, as it allows the gluten to relax and any excess flour to fully hydrate, making the dough much easier to roll thinly without tearing.
Prepare, Roll, and Shape Pasta:
-
Once your pasta dough has finished its essential resting period, unwrap it and divide the dough into six equal-sized pieces. It’s best to work with one dough ball at a time to prevent drying; keep the remaining dough tightly covered with plastic wrap. Take one dough ball, flatten it with the palm of your hand into a thin disc, and then feed it through your pasta machine at its widest setting. After the first pass, fold the dough into an “envelope” shape (bringing one short edge to the center, then repeating with the other side, ensuring the open seams face perpendicular to the pasta machine roller). This folding technique, also known as laminating, helps to smooth and strengthen the dough. Repeat this folding and rolling process through the widest setting several times (about 5-7 times) until the dough sheet is incredibly smooth and uniform, indicating good gluten development.
-
Now, proceed to roll the pasta dough through progressively thinner settings on your pasta machine. Do not skip settings; move one setting at a time. The desired final thickness depends on your planned sauce. Chef’s Advice: For lighter, more delicate pasta sauces (such as a simple butter and sage or a delicate cream sauce), roll the pasta dough sheets very thin, often to the second-to-last or last setting on your machine. This creates a delicate, airy pasta that won’t overwhelm the sauce. If you intend to serve your pasta with a heartier, more robust sauce (like a rich ragu or a thick pesto), rolling the pasta to a slightly thicker setting (perhaps two or three settings from the thinnest) will provide a more substantial bite that can stand up to the sauce. Repeat this entire rolling process with all remaining pasta dough pieces until you have a stack of perfectly rolled pasta sheets.
-
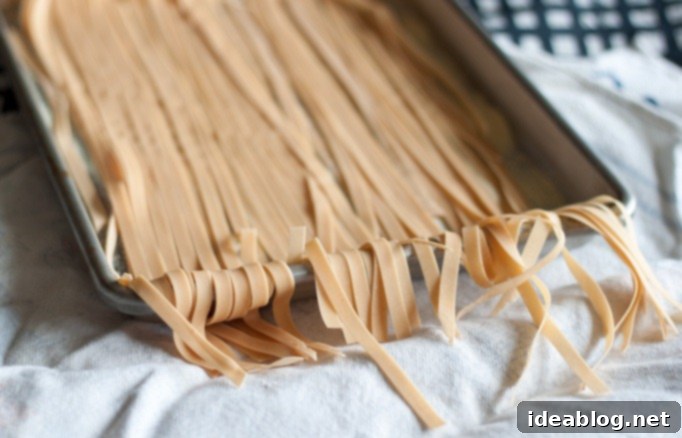
After rolling, allow the pasta dough sheets to dry slightly at room temperature. This is a crucial step to prevent the pasta from sticking together once cut. You can hang them over a clean broom handle placed between two chairs, a dedicated pasta drying rack, or even draped over clean kitchen towels on a countertop. Let them dry until they are no longer tacky to the touch and feel slightly leathery but still pliable (this usually takes about 15-30 minutes, depending on humidity). This partial drying ensures that when you cut the pasta, each strand or shape will remain separate and cook evenly.
-
Once the pasta sheets have reached the desired leathery consistency, it’s time to shape and cut your pasta. Attach your preferred cutting attachment to your pasta machine – for this recipe, we focused on cutting the dough into classic fettuccine strands. Other popular shapes include tagliatelle (slightly wider than fettuccine) or pappardelle (even wider, often hand-cut). Carefully feed the partially dried pasta sheets through the cutting attachment. As the fresh pasta emerges, gently gather it and place the cut strands onto a baking sheet generously dusted with semolina flour. Form the strands into loose nests to prevent them from tangling. You can either cook this fresh pasta immediately or store it. For short-term storage, leave it uncovered at room temperature; it will continue to dry slightly, which is beneficial. For longer storage, fresh pasta can be fully dried on racks for 24-48 hours and then stored in an airtight container for several weeks, or frozen for up to a month.
-
To cook your beautifully crafted red pasta, bring a large pot of generously salted water to a rolling boil. Add the fresh pasta to the boiling water, stirring gently to prevent sticking. Fresh pasta cooks much faster than dried pasta, often in just 2-4 minutes. Cook until the pasta is perfectly al dente, meaning it’s firm to the bite but still tender. Drain immediately, reserving a small amount of pasta water. Prepare as desired with your chosen simple sauce, using the reserved pasta water to emulsify and loosen the sauce if needed.
