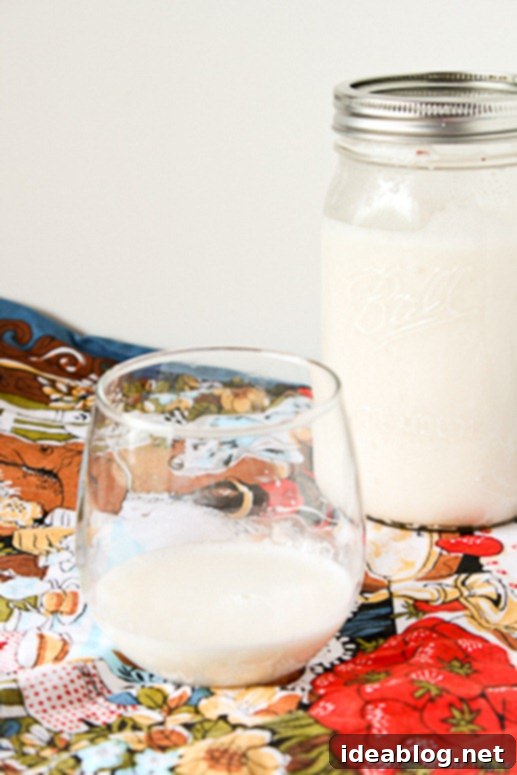
The Ultimate Guide to Homemade Maple Vanilla Almond Milk: Easy, Creamy & Delicious
There’s a unique satisfaction that comes from creating kitchen staples from scratch, whether it’s homemade almond butter or, as we’re about to explore, a wonderfully fresh batch of maple vanilla almond milk. Embracing this simple culinary craft not only offers a deeper connection to your food but can also lead to significant savings and fewer trips to the grocery store. This comprehensive guide will walk you through every step to produce a smooth, naturally sweetened, and incredibly flavorful almond milk right in your own kitchen.
While many of us appreciate traditional dairy milk for its versatility in baking, cooking, and simply enjoying a glass, the world of nut milks offers a fantastic alternative, especially for those seeking plant-based options or a different flavor profile. Homemade almond milk shines when incorporated into cooked oatmeal or creamy broken farro porridge, blended into energizing smoothies, or used as a dairy-free base in various baked goods. Its delicate flavor perfectly complements a wide array of dishes, adding a subtle richness without overpowering other ingredients.
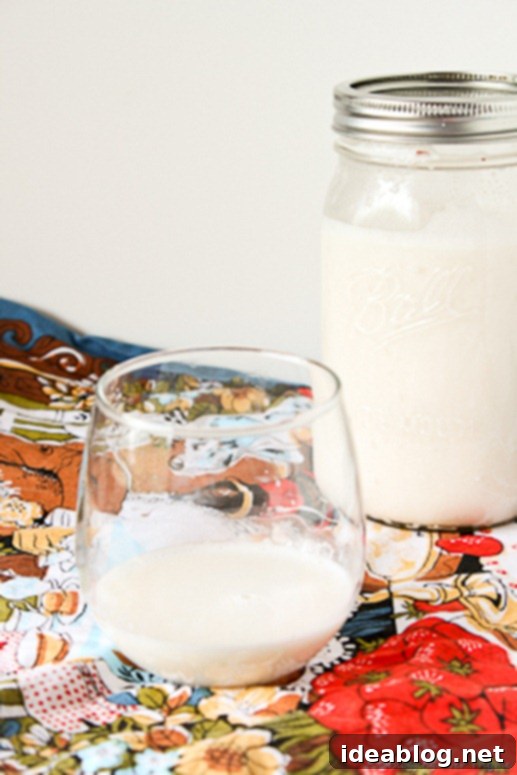
Why Choose Homemade Over Store-Bought Almond Milk?
The primary motivation for making your own almond milk stems from a desire for purity and control over ingredients. Most commercial almond milks, even those labeled “unsweetened,” often contain added sugars, thickeners like carrageenan or gellan gum, and emulsifiers such as sunflower lecithin. While these additives are generally considered safe, they can alter the texture, taste, and nutritional profile of the milk. By crafting your own almond milk, you eliminate these unnecessary extras, ensuring a product that is as clean and natural as possible. Plus, the fresh taste of homemade almond milk is simply unparalleled – it’s creamier, richer, and bursting with authentic almond flavor that store-bought versions often lack.
This particular recipe elevates the natural goodness of almonds with the warm notes of pure vanilla extract and a touch of golden pure maple syrup for a gentle sweetness. The beauty of making it yourself is the freedom to customize the sweetness level and flavor intensity to perfectly match your personal preferences. Want it less sweet? Reduce the maple syrup. Craving a stronger vanilla essence? Add a little more extract. The power is in your hands to create your ideal dairy-free beverage.
Essential Equipment and Ingredients for Your Homemade Almond Milk
Before diving into the process, gather these straightforward items. You’ll likely have most of them already, making this an accessible recipe for any home cook:
- High-Powered Blender: A robust blender is key for achieving that super smooth, creamy texture. While a basic blender can work, a high-powered model will break down the almonds more finely, resulting in a silkier milk and maximizing almond pulp extraction.
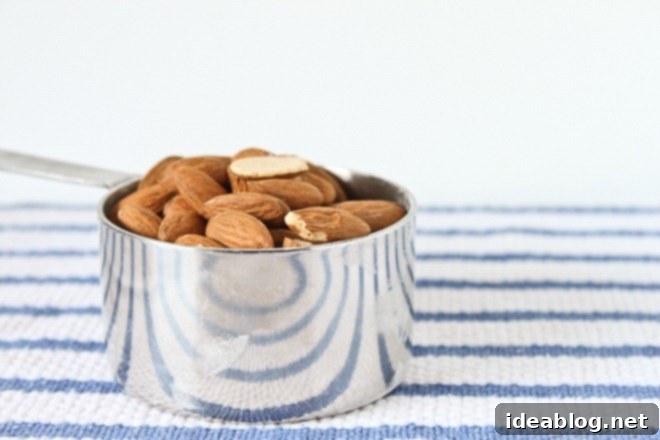
- Raw Whole Almonds: Always opt for raw almonds. Roasted almonds will impart a different, often stronger, flavor that might not be ideal for a neutral-tasting milk. You can also experiment with other raw nuts like cashews (for an even creamier result) or soy nuts for a different protein profile. Ensure your almonds are fresh for the best flavor.
- Filtered Water: The quality of your water directly impacts the taste of your almond milk. Using filtered water ensures a clean, pure base that allows the natural flavors of vanilla and maple to shine.
- Nut Milk Bag or Fine-Meshed Sieve with Cheesecloth: This is crucial for separating the liquid milk from the almond pulp. A dedicated nut milk bag is often the most efficient tool, providing a smooth, pulp-free result. If you don’t have one, a fine-meshed sieve lined with several layers of cheesecloth will work as a good substitute.
- Pure Maple Syrup: This natural sweetener adds a lovely, subtle caramel note. Adjust the amount to your taste. Honey or dates can also be used for alternative sweetening.
- Pure Vanilla Extract: Essential for that classic vanilla flavor. Use good quality extract for the best aroma and taste.
- Pinch of Kosher Salt: A tiny bit of salt enhances all the flavors, balancing the sweetness and bringing out the natural nuttiness of the almonds.
How to Craft Your Perfect Homemade Maple Vanilla Almond Milk: A Detailed Tutorial
Making almond milk is a surprisingly simple process, but paying attention to each step will ensure a truly exceptional result. Follow these instructions carefully for the best homemade vanilla almond milk you’ve ever tasted.
-
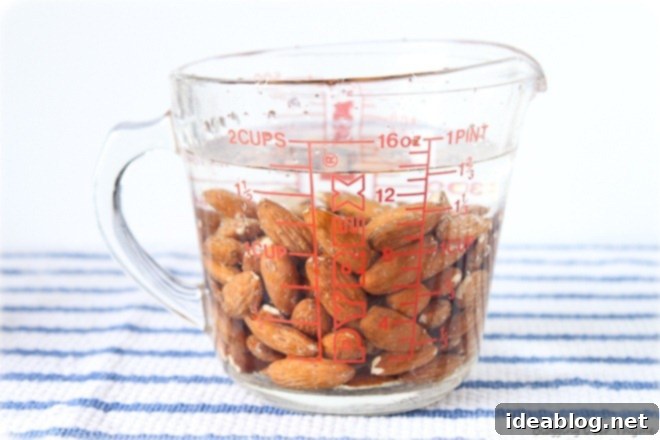
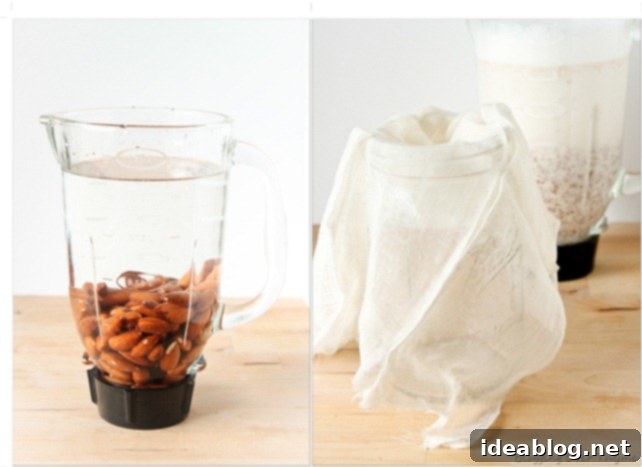
Step 1: Soak the Almonds. Begin by placing your raw almonds in a blender container or a large measuring cup. Cover them completely with cold, filtered water. It’s important that the almonds are fully submerged. Let them soak for a minimum of 8 hours, or ideally, overnight, and up to 24 hours. Soaking softens the almonds, making them easier to blend into a creamy consistency and enhancing their digestibility. It also helps to activate enzymes, which some believe improves nutrient absorption. After soaking, you’ll notice the almonds have plumped up slightly.
-
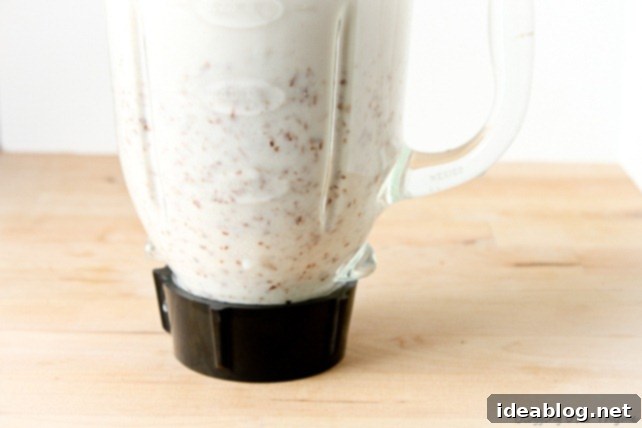
Step 2: Blend the Ingredients. Once the almonds have finished soaking, carefully drain them and discard the soaking water. Rinse the soaked almonds thoroughly under cold running water, then transfer them back into your blender. Now, add 4 to 5 cups of fresh cold water, depending on your desired thickness (use 4 cups for a creamier milk, 5 for a lighter consistency). Incorporate the pure maple syrup, vanilla extract, and a pinch of kosher salt. Secure the blender lid tightly and blend on high speed for 1 to 2 minutes, or until the mixture is incredibly smooth and creamy. You should see a uniform white liquid with no visible chunks of almond. The longer you blend, the smoother and more flavorful your milk will be, as more of the almond’s essence is extracted.
-
Step 3: Strain the Almond Milk. This step separates the smooth milk from the fibrous almond pulp. Place a nut milk bag (or a fine-meshed sieve lined with a few layers of clean cheesecloth) over a large container, ensuring the container is at least one quart in size to prevent spills. Slowly pour the blended almond mixture into the nut milk bag. Allow the liquid milk to drip naturally into the container below. Once most of the liquid has drained, gather the top of the nut milk bag and gently squeeze to extract any remaining milk. Work slowly and patiently to get as much milk out as possible. Be careful not to squeeze too aggressively, as this can force tiny pulp particles through the bag, making your milk less smooth.
-
Step 4: Chill and Store. Once strained, your homemade maple vanilla almond milk is ready! Transfer the finished milk into an airtight glass bottle or container. Chill it in the refrigerator for at least an hour before serving to allow the flavors to meld and for it to reach a refreshing temperature. Homemade almond milk is best enjoyed within 2 to 3 days. Always remember to shake the bottle well before each use, as natural separation can occur due to the absence of emulsifiers.
What To Do with Leftover Almond Pulp?
After the straining process, you’ll be left with almond pulp. Instead of simply composting or discarding it, consider repurposing this nutritious byproduct! It’s a fantastic ingredient that can add fiber and flavor to various recipes.
- Dehydrate for Almond Flour Alternative: If you have a dehydrator, spread the almond pulp thinly on trays and dehydrate until completely dry and brittle. Once dry, you can process it into a coarse “almond flour” using a food processor. This can be used in gluten-free baking, though it will have a slightly different texture than commercial almond flour.
- Bake into Crackers or Granola: Almond pulp makes an excellent base for savory crackers or crunchy granola. Mix it with herbs, spices, seeds, or other grains and bake until crispy.
- Add to Smoothies or Oatmeal: For an extra boost of fiber and nutrients, simply add a spoonful or two of fresh almond pulp to your morning smoothie or cooked oatmeal.
- Create Energy Bites or Raw Desserts: Combine almond pulp with dates, nuts, cocoa powder, and other ingredients to form delicious energy balls or raw dessert crusts.
- Enhance Baked Goods: Incorporate the moist pulp directly into muffins, cookies, or bread dough to add texture and a subtle almond flavor.
Experimentation is key! You’ll be surprised at how many delicious uses you can find for this seemingly leftover ingredient, further reducing waste and getting the most out of your almonds.
Homemade Maple Vanilla Almond Milk
Pin
Review
SaveSaved!
Ingredients
- 1 cup (140g) raw whole almonds
- 2 tablespoons pure maple syrup (optional, adjust to taste)
- 1½ teaspoons pure vanilla extract (optional, for flavor)
- pinch kosher salt
Instructions
-
Place the raw almonds in a blender container or large measuring cup and cover generously with cold water. Allow them to soak overnight for at least 8 hours, and up to 24 hours, to soften fully. This step is crucial for creamy milk and optimal nutrient release.
-
After soaking, strain the almonds and discard the soaking water. Rinse the soaked almonds well under cold running water, then transfer them back to the blender. Add 4-5 cups of fresh cold water (use less water for a creamier milk, more for a thinner consistency), the maple syrup, vanilla extract, and kosher salt. Secure the lid tightly and blend on high speed until the mixture is exceptionally smooth and creamy. The milk should be uniformly white, and the almonds should be finely pulverized.
-
Position a nut milk bag (or a fine-meshed sieve lined with cheesecloth) over a large clean container (ensure it is at least one quart in capacity). Slowly pour the blended almond mixture into the nut milk bag, allowing the creamy liquid to drip into the container, effectively separating it from the almond pulp.
-
Gently press down on the nut pulp with a spatula or squeeze the nut milk bag to extract any remaining milk. This step maximizes your yield and ensures a rich, smooth beverage. Chill the finished almond milk immediately and store it in an airtight container in the refrigerator. It is best consumed within 2 to 3 days. Remember to shake well before each use.
-
The leftover almond pulp can be composted, discarded, or saved for future use. Consider dehydrating it to create a byproduct perfect for various baked goods like crackers, energy bites, or as an addition to smoothies.
Customizing Your Homemade Nut Milk Experience
One of the greatest advantages of making your own almond milk is the endless possibilities for customization. Don’t be afraid to adjust the recipe to suit your dietary needs or flavor preferences. Here are a few ideas:
- Sweeteners: While maple syrup provides a wonderful depth, you can substitute it with other natural sweeteners. Dates (soaked with the almonds and blended), agave nectar, or even a touch of stevia can be used. For an unsweetened version, simply omit the maple syrup entirely.
- Flavor Boosts: Beyond vanilla, consider adding a pinch of cinnamon, cardamom, or nutmeg to the blender for a spiced almond milk. A tablespoon of cocoa powder can transform it into a chocolate almond milk, perfect for a treat. A few drops of almond extract can intensify the almond flavor, though use sparingly as it can be potent.
- Consistency: The amount of water you add directly impacts the milk’s thickness. For a richer, creamier milk ideal for coffee or cooking, use closer to 4 cups of water per cup of almonds. For a lighter, more refreshing drink, increase the water to 5 or even 6 cups.
- Other Nuts: This recipe works beautifully with other nuts! Try raw cashews for an exceptionally creamy, almost indistinguishable-from-dairy milk that requires no straining. Macadamia nuts offer a rich, buttery flavor, while pecans can give a unique, robust taste.
Embrace the freedom to experiment and discover your favorite combinations. Your homemade almond milk can become a signature beverage that perfectly caters to your palate.
Enjoying Your Freshly Made Almond Milk
Now that you’ve mastered the art of making homemade maple vanilla almond milk, it’s time to enjoy the fruits of your labor! The applications are truly endless. Pour it over your favorite cereal or granola for a wholesome breakfast. Use it as the base for vibrant fruit smoothies or nourishing protein shakes. Its delicate flavor makes it an excellent addition to coffee or tea, providing a creamy, dairy-free alternative.
Beyond beverages, this almond milk can elevate your culinary creations. It’s a fantastic substitute for dairy milk in most baking recipes, from pancakes and waffles to muffins and quick breads. In savory cooking, use it to add creaminess to soups, stews, or curries, especially in recipes that call for coconut milk for a lighter touch. Its versatility makes it a valuable staple in any health-conscious kitchen.
Conclusion: The Simple Joy of Homemade Goodness
Making your own maple vanilla almond milk from scratch is a rewarding experience that combines simplicity with incredible taste and health benefits. You gain full control over the ingredients, ensuring a pure product free from unwanted additives and preservatives found in many commercial varieties. The process itself is straightforward, requiring just a few basic tools and a bit of patience for soaking. The resulting milk is not only fresher and more flavorful but also a testament to the joys of homemade goodness.
We encourage you to embark on this culinary adventure. Once you’ve tasted the superior quality of homemade almond milk, you might find yourself wondering why you ever bought it from the store. So grab your almonds, get soaking, and prepare to enjoy a truly delightful and wholesome dairy-free beverage. Share your homemade almond milk creations with us, and let us know your favorite ways to enjoy this simple, delicious staple!
