Mastering Homemade Hazelnut Milk: A Creamy & Delicious Dairy-Free Recipe Guide
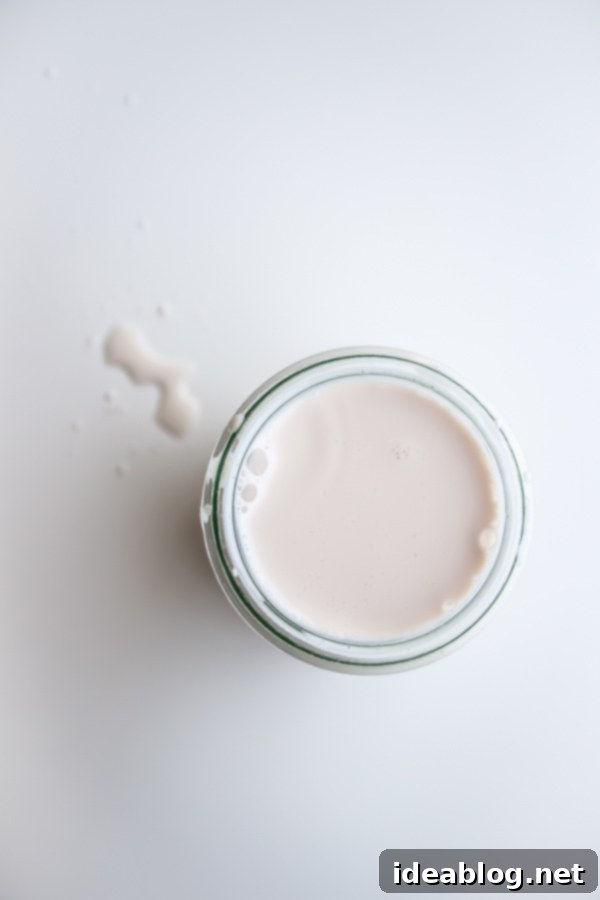
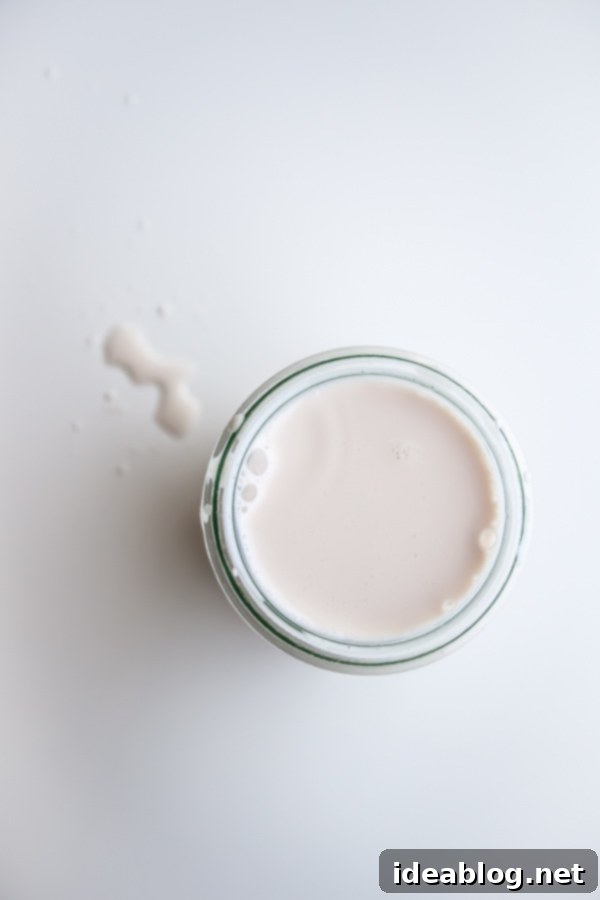
There’s a special satisfaction that comes with crafting something from scratch, especially when it’s as nourishing and delightful as homemade nut milk. While I’ve taken a break from making my own plant-based milks, the return to this simple ritual has been nothing short of inspiring. Today, we’re diving into the wonderful world of hazelnut milk – a true game-changer in the realm of dairy-free alternatives.
For those new to the concept of homemade nut milks, the process might seem a little unconventional at first. You’ll hear terms like “nut milk bags,” which are simply straining tools designed to separate the liquid from the pulp. But don’t let any unfamiliar terminology deter you; the method is incredibly straightforward and yields a product far superior to most store-bought options.
Over the years, I’ve always considered myself a traditionalist when it comes to milk, often gravitating towards regular dairy. However, this journey into making hazelnut milk has opened my eyes and taste buds to something truly exceptional. It has quickly ascended to the top of my list of favorite plant-based milks, and for very good reasons.

The Irresistible Charm of Homemade Hazelnut Milk
What makes hazelnut milk so captivating? It’s its unparalleled creaminess and rich, full-bodied texture. Unlike some other nut milks, particularly almond milk, which can sometimes carry a slight bitterness, hazelnut milk offers a naturally sweet and smooth profile. It’s so inherently delicious that it’s perfect for simply drinking chilled, straight from a glass.
While hazelnuts can be a bit more expensive than some other nuts, the indulgent quality of the milk makes it a worthwhile “special occasion” treat, or even a regular staple if your budget allows. Think of it as a premium plant-based beverage that elevates your morning coffee, cereal, or smoothie to a gourmet experience.


One of the best ways to enjoy this luscious creation is by transforming it into a luxurious chocolate hazelnut milk. A simple addition of cocoa powder and a natural sweetener like Medjool dates can whip up a rich, dairy-free chocolate drink in no time. Beyond beverages, this versatile milk also holds incredible potential in culinary applications. I haven’t fully explored its use in baked goods yet, but its creamy texture and rich flavor suggest it would be an excellent substitute in many recipes, adding a subtle nutty depth. And let’s not forget the leftover hazelnut pulp – a fantastic byproduct with its own array of uses (check the recipe notes for brilliant ideas!).
Why Choose Homemade Nut Milk?
In a world overflowing with plant-based milk options on supermarket shelves, you might wonder why bother making your own. The answer lies in freshness, purity, and customization. Store-bought nut milks often contain stabilizers, emulsifiers, and added sugars, which can dilute the natural flavor and nutritional value. When you make it yourself, you control every ingredient, ensuring a pure, additive-free product. This homemade version boasts a vibrant, authentic hazelnut flavor that simply can’t be replicated by mass-produced alternatives. Plus, the satisfaction of creating something so wholesome and delicious in your own kitchen is truly unmatched.
The Nutritional Power of Hazelnuts
Beyond their delightful taste, hazelnuts are packed with beneficial nutrients. They are an excellent source of healthy monounsaturated and polyunsaturated fats, which are good for heart health. Hazelnuts also provide a good amount of dietary fiber, protein, and a range of vitamins and minerals, including Vitamin E, B vitamins, magnesium, and manganese. Incorporating hazelnut milk into your diet is a flavorful way to boost your nutrient intake, making it a smart choice for anyone seeking a wholesome, plant-based lifestyle.

Homemade Hazelnut Milk
Pin
Review
SaveSaved!
Equipment
-
Vitamix 5200 Blender (or any high-speed blender)
-
Nut Milk Bag, Cheesecloth, or Coffee Filters
-
Large Bowl or Container
-
Fine-Meshed Sieve (if using coffee filters or cheesecloth)
Ingredients
Homemade Hazelnut Milk:
- ¾ cup raw hazelnuts
- 3½ cups (840 mL) cold filtered water
- ¼ teaspoon pure vanilla extract (optional, for flavor enhancement)
- Pinch sea salt (optional, to bring out flavor)
Optional: For Chocolate Hazelnut Milk:
- 1 cup (240 mL) homemade hazelnut milk from recipe above
- 1 heaping tablespoon (8 g) unsweetened cocoa powder
- 1-2 Medjool dates pitted, adjust to desired sweetness
Instructions
-
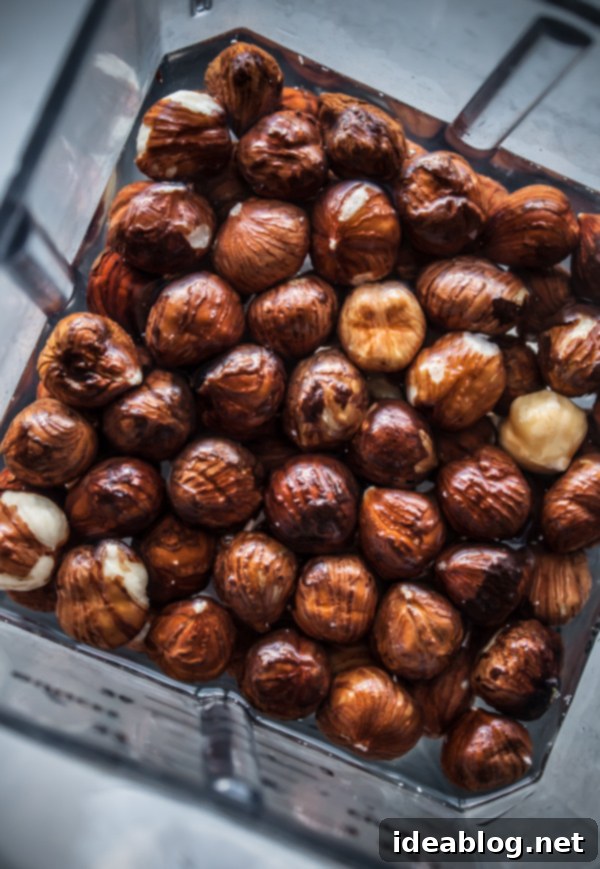
1. Prepare the Hazelnuts (Soaking): Begin by placing the ¾ cup of raw hazelnuts in a bowl or directly into your blender container. Add 3½ cups of cold filtered water, ensuring the hazelnuts are fully submerged. Cover the container and allow the hazelnuts to soak in the refrigerator for at least 8 hours, or ideally, overnight. Soaking is a crucial step as it softens the nuts, making them easier to blend into a smooth milk, and can also help improve digestibility.
-
2. Blend the Ingredients: After the hazelnuts have soaked adequately, transfer them, along with the soaking water, to a high-speed blender. Add the ¼ teaspoon of vanilla extract (if using) and a pinch of sea salt (optional). Secure the lid tightly and blend on high speed for 1-2 minutes, or until the mixture is incredibly smooth, creamy, and appears uniformly white. You should see no large chunks of hazelnuts remaining. A high-quality blender is key here for the creamiest result.
-
3. Strain the Hazelnut Milk: Prepare your straining setup. Line a fine-meshed sieve with a nut milk bag, several layers of cheesecloth (secured with a rubber band around the rim of the sieve), or a large coffee filter. Position this setup over a large bowl or container to catch the milk. Slowly pour the blended hazelnut mixture into the lined sieve. Allow the milk to drain naturally. If using a nut milk bag or cheesecloth, gently squeeze the bag/cloth to extract all the liquid, ensuring you get every last drop of creamy hazelnut goodness. If using a coffee filter, this step may take 30 minutes or longer, requiring patience for a clear, smooth milk. The leftover solids in the filter or bag are your hazelnut pulp (refer to the notes for fantastic ways to repurpose this!).
-
4. Store and Serve: Pour the freshly strained hazelnut milk into a clean, airtight covered container or glass bottle. Chill it in the refrigerator for at least an hour before serving to enhance its refreshing taste. Homemade hazelnut milk will stay fresh for up to 2 to 3 days. Remember to shake it well before each use, as some separation is natural due to the absence of emulsifiers.
-
5. Optional: Make Chocolate Hazelnut Milk: For a delightful twist, combine 1 cup of your cold homemade hazelnut milk with 1 heaping tablespoon of unsweetened cocoa powder and 1-2 pitted Medjool dates (adjust quantity based on your desired sweetness) in a blender. Puree until the mixture is completely smooth and no date pieces remain. Serve this rich, chocolatey treat immediately and enjoy!
Tips for Success:
- Quality Hazelnuts: Start with high-quality, fresh raw hazelnuts for the best flavor.
- Don’t Skip Soaking: Soaking softens the nuts, leading to a creamier milk and better nutrient absorption.
- High-Speed Blender is Best: While any blender can work, a high-speed blender like a Vitamix will achieve the smoothest consistency.
- Straining Method: A dedicated nut milk bag provides the smoothest result and is generally easiest for squeezing out all the liquid. Multiple layers of cheesecloth or a clean tea towel also work well. Coffee filters will yield a very fine, pulp-free milk but can take significantly longer to drain.
- Sweeteners: Adjust sweetness to your preference. Besides Medjool dates, you can add a touch of maple syrup or agave nectar directly into the blender with the vanilla.
- Flavor Variations: Experiment with other spices like cinnamon or a tiny pinch of cardamom for an aromatic twist.
- Leftover Hazelnut Pulp: Don’t discard it! This versatile byproduct can be dried in a dehydrator or a low oven to make hazelnut flour. It can also be incorporated into baked goods like muffins, cookies, or energy bites, added to smoothies for extra fiber, or even used in savory applications like a binder in veggie burgers.
- Storage: Always store homemade nut milk in an airtight container in the coldest part of your refrigerator. It separates naturally, so a good shake before each use is essential.
Creative Ways to Enjoy Your Homemade Hazelnut Milk
Once you’ve made your fresh batch of hazelnut milk, the possibilities are endless! Its rich flavor and creamy texture make it incredibly versatile. Here are some popular and innovative ways to incorporate it into your daily routine:
- Coffee and Tea: Forget your usual creamer. A splash of hazelnut milk in your morning coffee or tea adds a luxurious depth and a hint of nutty sweetness. It froths beautifully, making it perfect for lattes and cappuccinos.
- Cereal and Oatmeal: Elevate your breakfast by pouring hazelnut milk over your favorite cereal or using it as the liquid base for a creamy bowl of oatmeal. The natural hazelnut flavor complements grains wonderfully.
- Smoothies and Shakes: Boost the flavor and creaminess of your smoothies. Combine it with bananas, berries, cocoa powder, or a scoop of plant-based protein for a nutrient-packed and delicious drink.
- Baking and Desserts: Substitute regular milk with hazelnut milk in recipes for cakes, muffins, pancakes, and waffles. It adds a subtle nutty undertone and keeps baked goods moist. It’s also fantastic in dairy-free puddings, custards, and ice cream bases.
- Savory Dishes: While primarily a sweet ingredient, don’t shy away from using it in savory applications! A touch of hazelnut milk can add richness to creamy soups, sauces, or even a vegan béchamel.
- Hot Chocolate: Beyond the chocolate hazelnut milk recipe provided, simply warm up some hazelnut milk and whisk in your favorite cocoa powder and sweetener for an incredibly comforting and indulgent hot chocolate.
The Art of Soaking and Straining
Soaking the hazelnuts is more than just softening them; it kickstarts the “activation” process, which can make the nutrients in the nuts more bioavailable and easier for your body to digest. It also ensures that the nuts are perfectly hydrated, allowing them to release their full flavor and create a truly creamy liquid when blended. For the best results, always use cold water for soaking and keep the nuts refrigerated, especially if soaking for longer periods.
When it comes to straining, patience is a virtue. While a nut milk bag offers the most efficient and least messy way to separate the milk from the pulp, using cheesecloth or coffee filters also works effectively. If opting for cheesecloth, make sure to use at least 2-3 layers to prevent fine pulp from passing through. For coffee filters, gravity will do most of the work, but it’s a slower process. Regardless of your chosen method, resist the urge to rush. A well-strained milk will be smooth, consistent, and free of any gritty texture.
Conclusion
Making homemade hazelnut milk is a rewarding culinary experience that offers a fresh, pure, and incredibly delicious alternative to dairy and store-bought plant milks. With its creamy texture, rich flavor, and versatility, it’s sure to become a staple in your kitchen. Whether you enjoy it plain, in your coffee, or as a base for a decadent chocolate drink, this recipe provides a simple path to a gourmet plant-based beverage. So, gather your ingredients, follow these easy steps, and prepare to be amazed by the deliciousness of freshly made hazelnut milk!
