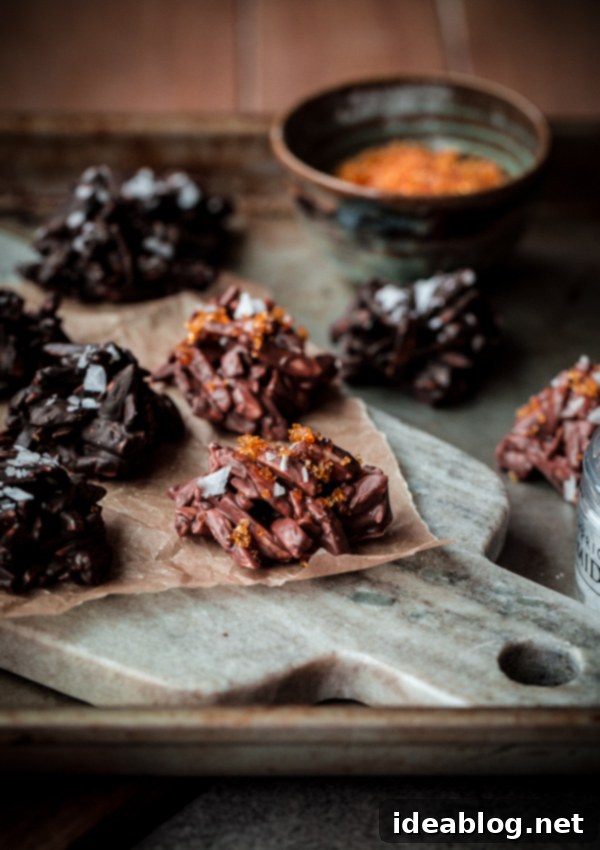
Homemade Chocolate Rochers: The Ultimate Guide to Easy, Gourmet Almond Clusters with Caramel Sugar and Sea Salt for Holiday Gifting
Delight your senses with these exquisite homemade chocolate rochers – perfectly crafted chocolate-covered almond clusters, elevated with a sprinkle of crunchy caramel sugar and delicate flaky sea salt. These gourmet treats are not just incredibly delicious but also surprisingly simple to make, making them the ideal gift for family and friends throughout the holiday season, or a luxurious addition to any dessert table.
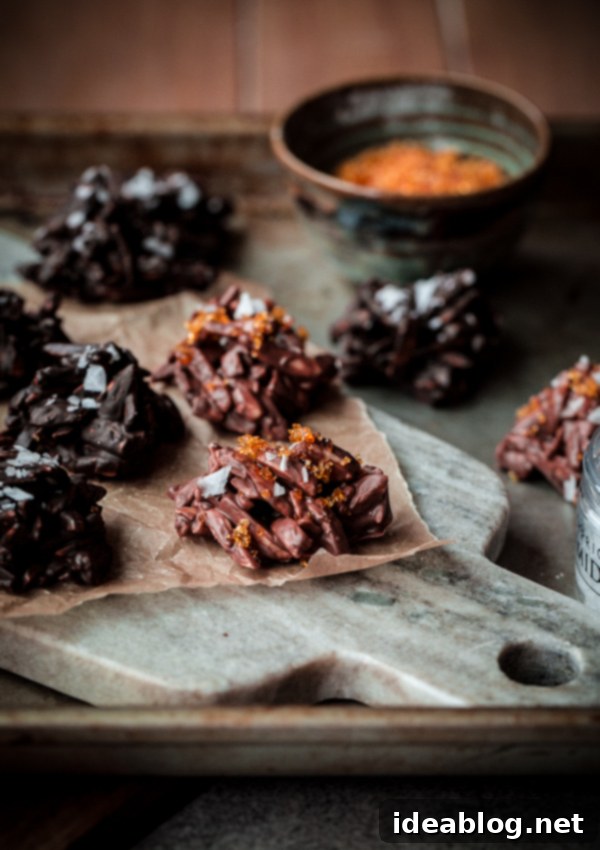
Are you searching for that perfect homemade treat or a special candy to share with loved ones during the holidays? Look no further! These irresistible chocolate rochers are exactly what you need. They possess an elegant, sophisticated appearance that might suggest a complicated preparation process, but in reality, they are astonishingly easy and straightforward to create. With just a handful of high-quality ingredients – namely melted dark chocolate and milk chocolate, flaky sea salt, sugar, and perfectly dry-toasted slivered almonds – you can whip up a batch of these delectable confections in no time.
What Exactly Are Chocolate Rochers?
You might be wondering, what exactly are rochers? (Pronounced: RO-SHAY). The word “rocher” is a sophisticated French term meaning ‘boulder’ or ‘rock.’ If you observe their slightly irregular, rustic shape, you can easily see the charming resemblance! In the culinary world, “rocher” can refer to a variety of desserts. However, this particular and popular variation consists of delightful clusters of nuts generously coated in rich, melted chocolate.
My first encounter with rochers dates back to my time working on the pastry station in a bustling restaurant, shortly after completing culinary school. We would meticulously prepare countless batches of these small chocolate treats to serve as complimentary petit fours to our esteemed guests. I was always captivated by their inherent simplicity, especially considering the elegant impression they made. The concept is truly minimalist: high-quality melted chocolate paired with perfectly toasted slivered almonds. It truly doesn’t get much easier than that for such a gourmet-tasting confection.
Why Choose Homemade Chocolate Rochers for Your Holiday Season?
In a world of mass-produced sweets, homemade treats carry a special charm and warmth. Making your own chocolate rochers isn’t just about the delicious outcome; it’s about the joy of creation, the quality you control, and the thoughtful touch you add to every gift. These rochers are exceptionally customizable. You can adjust the chocolate type, the nut variety, and the toppings to suit any preference or dietary need, unlike store-bought options. During the festive season, presenting a box of these handcrafted delicacies speaks volumes, conveying effort, care, and genuine affection to those you share them with. Plus, the aroma of melting chocolate and toasted almonds filling your kitchen is a holiday bonus in itself!
Choosing Your Ingredients: The Key to Exceptional Rochers
When a recipe calls for so few ingredients, the quality of each component becomes paramount. For these chocolate rochers, investing in good quality chocolate and fresh almonds will truly make a difference in the final flavor and texture.
- The Chocolate: This recipe brilliantly features both milk and dark chocolate, allowing for a delightful contrast in flavor and appealing to various palates. We recommend using a high-quality chocolate couverture or fine chocolate bars. Avoid standard chocolate chips, as they often contain stabilizers (like soy lecithin or vegetable oils) that prevent them from melting smoothly and can result in a less desirable texture in your finished rochers. If you have a strong preference for either dark or milk chocolate, feel free to adjust the quantities to your liking, using 7 ounces (200g) of a single chocolate type instead of splitting it.
- The Almonds: Dry-toasted slivered almonds are essential. Toasting the almonds enhances their natural nutty flavor and adds a satisfying crunch that complements the smooth chocolate beautifully. Raw almonds simply won’t offer the same depth of flavor. See the recipe notes below for simple toasting instructions. While slivered almonds are traditional for rochers, you could experiment with other nuts like hazelnuts or pecans for different flavor profiles.
- The Sea Salt: To truly elevate these chocolate rochers, a sprinkle of flaky sea salt is non-negotiable. Maldon sea salt, with its distinctive pyramid-shaped crystals, is perfect for this. It provides a delightful textural crunch and a burst of briny flavor that wonderfully cuts through the sweetness of the chocolate and caramel, creating a balanced and sophisticated taste experience.
- The Sugar for Caramel: Simple granulated sugar is all you need to create the magical caramel sugar topping.
How to Make Chocolate Rochers: A Simple Step-by-Step Guide
The beauty of this recipe lies in its straightforward process, allowing even novice bakers to achieve professional-looking results. The main steps involve preparing the caramel sugar, melting the chocolate, coating the almonds, and then assembling and decorating the clusters.
- Prepare Your Caramel Sugar: This step, while optional if you prefer a simpler rocher, truly sets these treats apart. You’ll combine sugar and water, then gently cook it until it transforms into a beautiful medium-amber caramel. The key is patience and *no stirring*! Once caramelized, spread it thinly to cool and harden. After it’s brittle, you’ll pulverize it into shimmering, golden crystals. This unique topping adds an unparalleled depth of flavor and textural crunch.
- Melt the Chocolate: Divide your high-quality milk and dark chocolate into separate microwave-safe bowls. Melt each type individually in short 20-30 second bursts, stirring thoroughly after each interval, until silky smooth. This gentle melting process prevents the chocolate from seizing or burning, ensuring a perfect coating. Alternatively, a double boiler method works wonderfully for controlled melting.
- Combine with Almonds: Once your chocolate is perfectly melted, divide your toasted slivered almonds equally between the milk and dark chocolate bowls. Stir gently with a spoon, ensuring every almond is thoroughly coated in the luxurious chocolate.
- Form the Clusters: This is where the “boulder” comes to life! Using a small spoon and your fingers (gloves are recommended to keep things tidy), scoop roughly a tablespoon of the chocolate-coated almonds. Gently press and form them into small, relatively tight clusters. Don’t worry about perfect uniformity; their slightly jagged, rustic size and shape are part of their charm and inherent beauty. Place them about an inch apart on a parchment-lined baking sheet.
- Decorate and Chill: Immediately after forming each cluster, sprinkle the tops generously with the homemade caramel sugar and flaky sea salt. This ensures the toppings adhere beautifully to the still-soft chocolate. Once all rochers are decorated, transfer the baking sheet to the refrigerator, uncovered, and allow the chocolate to chill and set completely. This step is crucial for firm, stable rochers that are easy to handle and package.
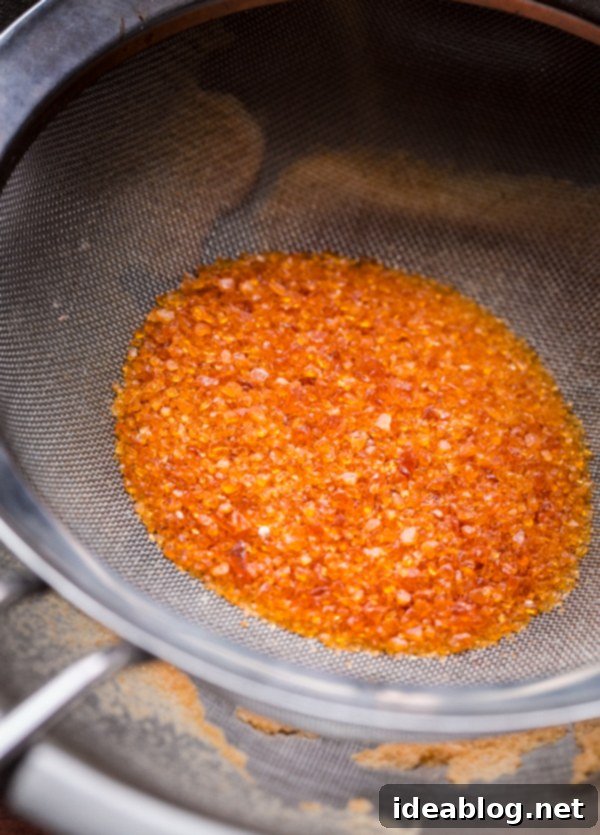
The Magic of Homemade Caramel Sugar
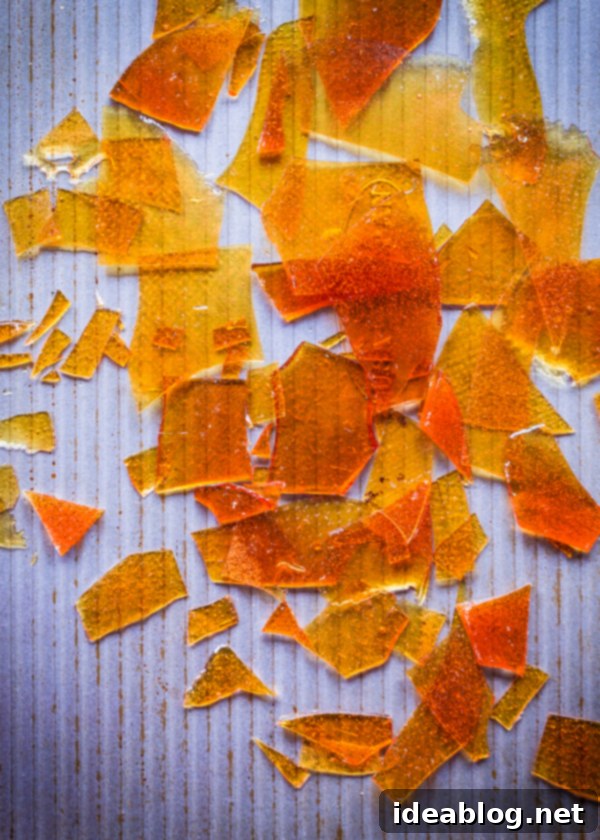
Homemade caramel sugar is precisely what it sounds like, yet its impact on these rochers is nothing short of magical. It’s essentially cooked sugar (water and granulated sugar brought to a medium-amber caramel stage) that is then hardened and broken into beautiful, glistening shards. These shards are then pulverized into fine, golden-hued sugar crystals, similar in texture to sanding or demerera sugar. This exquisite topping single-handedly transforms simple chocolate almond clusters into edible works of art, adding a delightful bitter-sweet, deeply caramelized flavor and an irresistible crunchy texture to each bite.
A crucial consideration for caramel sugar is its natural propensity to absorb moisture from the air. Because of this hygroscopic quality, I strongly advise against making or storing the caramel sugar significantly in advance of preparing these rochers. If made too far ahead, it has a tendency to clump together, lose its distinct crystalline structure, and become chewier rather than crisp. However, once the caramel sugar is sprinkled onto the chocolate rochers and the chocolate has set, it stores remarkably well. The chocolate coating acts as a protective barrier, keeping the caramel sugar fresh and crunchy, whether stored at room temperature or in the refrigerator.
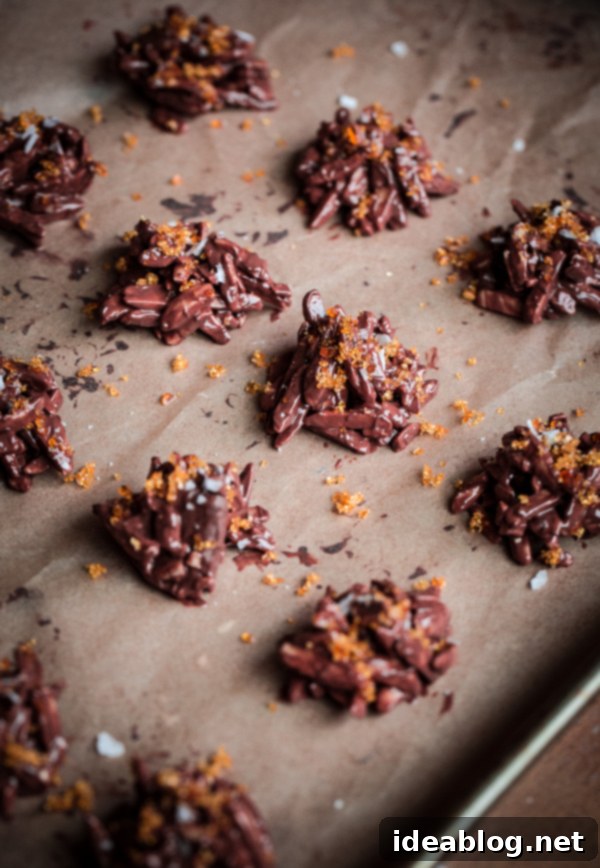
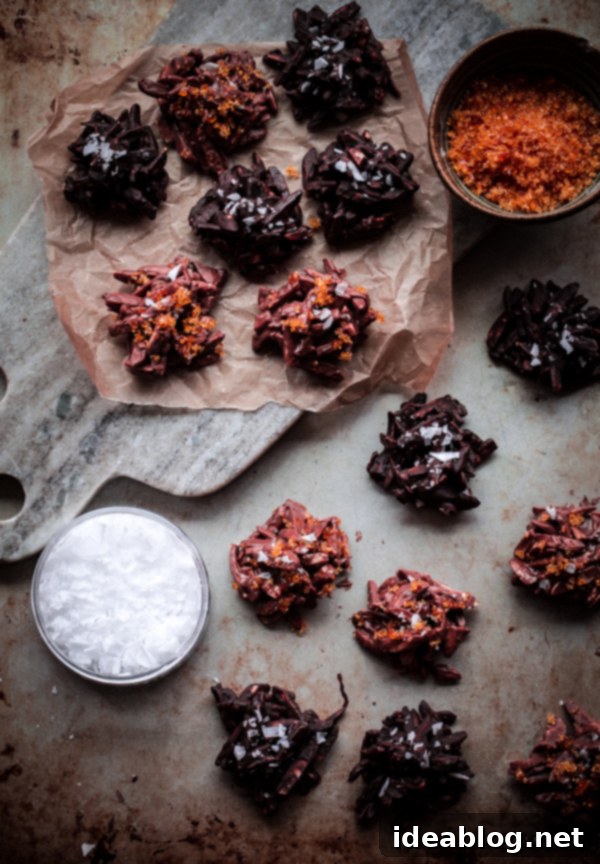
These chocolate-covered almond clusters, adorned with shimmering caramel sugar and bright flaky sea salt, are a symphony of textures and flavors. The harmonious blend of smooth, rich chocolate, crunchy toasted almonds, crisp caramel, and a hint of briny salt creates an unforgettable experience. You will undoubtedly impress everyone with these sophisticated treats, and the best part is, no one will ever guess how incredibly simple they were to throw together. This effortless elegance and homemade charm are precisely why I cherish the holiday season – it’s the perfect time for such heartwarming and delightful culinary creations.
Gifting and Storing Your Homemade Chocolate Rochers
Once your chocolate rochers are set, they become the perfect candidate for thoughtful holiday gifting. Arrange them in a beautiful box lined with parchment or wax paper, tie it with a festive ribbon, and you have a truly personalized present that shows you care. For larger gatherings, they make an impressive centerpiece on a dessert platter.
When it comes to storage, since these rochers are not made with tempered chocolate, they are best kept in a cool, dry place to prevent the chocolate from blooming (developing a grayish film) or becoming soft. An airtight container, with layers separated by wax paper, is ideal. They can be stored at cool room temperature for up to a week, or in the refrigerator for up to two weeks. If storing in the fridge, allow them to come to room temperature for a few minutes before serving for the best texture and flavor experience.
Flavor Variations to Explore
While the classic almond and caramel sugar rocher is a masterpiece, feel free to experiment with different flavor combinations to suit your palate or occasion:
- Nutty Alternatives: Swap slivered almonds for toasted hazelnuts, pecans, or walnuts. Each nut brings its unique flavor profile.
- Spice It Up: Incorporate a pinch of cinnamon or a hint of cayenne pepper into the dark chocolate for a warming kick.
- Fruity Twist: Add finely chopped dried cranberries, candied orange peel, or a touch of citrus zest to the chocolate mixture.
- Tropical Vibes: Mix in toasted shredded coconut for a macaron-like crunch.
- White Chocolate Wonders: For a sweeter, creamier option, use white chocolate and pair it with pistachios and dried cherries.
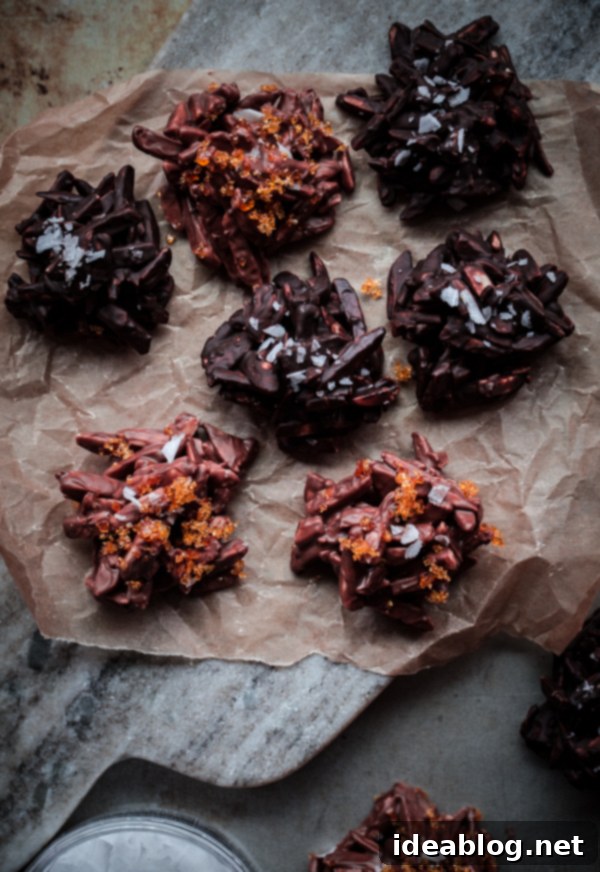

Homemade Chocolate Rochers with Caramel Sugar and Sea Salt
Pin
Review
SaveSaved!
While the temptation to prepare ahead is strong, it’s not recommended to make or store the caramel sugar in advance. Due to its hygroscopic nature, it tends to clump and become chewier over time. However, once the caramel sugar is sprinkled onto the freshly made rochers and the chocolate has set, it stores beautifully at both room temperature and in the fridge.
Ingredients
For the Homemade Caramel Sugar:
- ⅓ cup (67 g) granulated sugar
- 2 tablespoons (30 mL) water
For the Milk and Dark Chocolate Rochers:
- 12 ounces (340 g) dry-toasted slivered almonds divided (see recipe notes below for detailed toasting instructions)
- 3½ ounces (100 g) high-quality milk chocolate coarsely chopped
- 3½ ounces (100 g) high-quality bittersweet chocolate coarsely chopped
For Decoration:
- Maldon flaky sea salt
- freshly made homemade caramel sugar (prepared as per instructions above)
Instructions
-
1. Prepare Caramel Sugar: Begin by lining a rimmed half sheet pan with a silicone mat or parchment paper; set this aside. In a small, heavy-bottomed saucepan, combine the granulated sugar and water. Place the pan over medium-low heat. Cook the sugar syrup *without stirring*. Observe it closely as it transforms, cooking until it reaches a beautiful medium-amber color. Immediately remove the pan from the heat. With extreme caution (as hot caramel is very dangerous), carefully pour the hot caramel onto the prepared lined sheet pan, spreading it into an even, thin layer. Allow the caramel to cool completely until it has fully set and is very hard and brittle. Once solid, break the sheet of caramel into smaller shards. Transfer these shards to the bowl of a large food processor. Pulse the caramel until it is thoroughly pulverized into very small, uniform pieces, resembling coarse sanding sugar or demerera sugar. Place this pulverized sugar in a fine-meshed sieve set over a clean bowl. Sift the caramel sugar to separate the desired crystals from any very fine sugar powder (you can discard this powder or reserve it for another recipe). Set aside the finished caramel sugar while you proceed with preparing the chocolate rochers.
-
2. Prepare Chocolate Rochers: Line a second half sheet pan with a silicone mat or parchment paper and set it aside. Place the coarsely chopped milk chocolate in one microwave-safe bowl and the bittersweet chocolate in another. Working with one chocolate type at a time, melt the chocolate in the microwave. Heat in short 20 to 30-second intervals, stirring thoroughly with a spatula after each interval, until the chocolate is smooth and evenly melted without any lumps. Repeat this process with the remaining chocolate. Once both chocolates are melted, add 6 ounces (170 grams) of the dry-toasted slivered almonds into each bowl of melted chocolate. Stir well with a spoon to ensure all the almonds are completely and evenly coated in the chocolate.
-
3. Form and Decorate: Using a small spoon (approximately a tablespoon size) and your fingers (wearing food-safe gloves is recommended for cleanliness and ease), portion the chocolate-coated almonds into small, compact clusters. Place these clusters about an inch apart on your lined baking sheet. Embrace their natural, slightly jagged, and rustic size and shape – this is part of their homemade charm. Immediately after forming each cluster, generously sprinkle the tops with the prepared homemade caramel sugar and flaky sea salt. This ensures the toppings adhere to the still-soft chocolate. Once all rochers are formed and decorated, place the baking sheet in the refrigerator, uncovered. Allow the chocolate to chill and set completely, which usually takes about 15-20 minutes, before serving, packaging, or storing.
Tips for Success and Storage:
- How to Dry-Toast Slivered Almonds: Preheat your oven to 350°F (176°C). Spread raw slivered almonds in a single layer on a large baking sheet. Toast for 5 to 10 minutes, stirring halfway through, until they are lightly golden in color and fragrant. Keep a close eye on them to prevent burning. Transfer the toasted almonds to a large bowl and allow them to cool completely before incorporating them into the chocolate. This cooling step is essential to prevent the chocolate from seizing.
- Chocolate Quality Matters: Using high-quality chocolate couverture or baking bars (not chocolate chips) is crucial for the best flavor and texture, as they melt more smoothly and have a superior mouthfeel.
- Avoiding Water Contamination: When melting chocolate, ensure that no water or steam comes into contact with it, as even a tiny drop can cause the chocolate to seize and become lumpy.
- Storage: Rochers can be stored in an airtight container, layered with wax paper or parchment paper to prevent sticking, in a cool, dry place. Alternatively, they store wonderfully in the refrigerator. Since the chocolate used in this recipe is not tempered, it’s best to avoid storing them in warm environments, which can cause the chocolate to soften or bloom. They will keep fresh for up to a week at cool room temperature or up to two weeks in the fridge.
