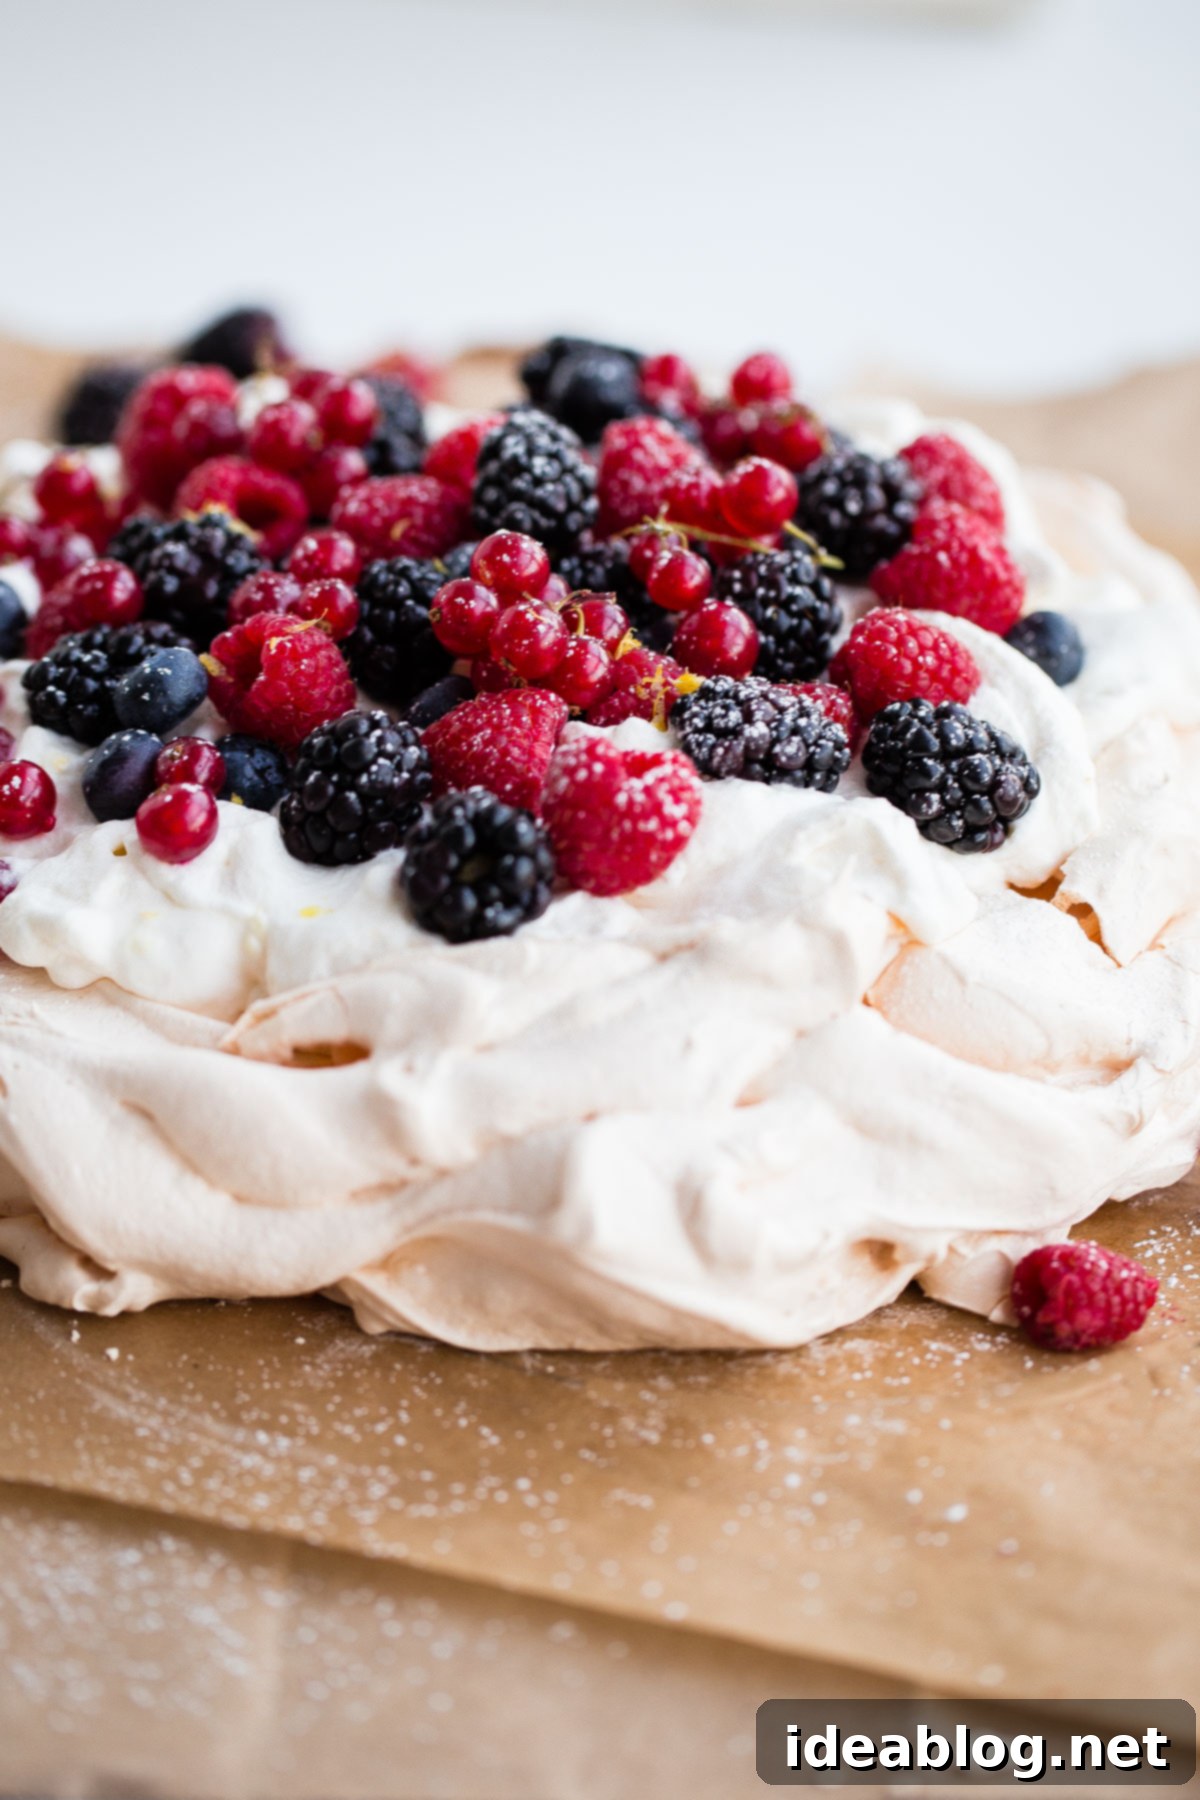
Delicious Lemon Berry Pavlova: The Ultimate Elegant & Easy Summer Meringue Dessert
This classic berry pavlova recipe is a true showstopper, featuring a perfectly crisp yet wonderfully soft meringue shell, an incredibly easy and lusciously tart lemon whipped cream filling, and a vibrant medley of assorted summer berries. This beautiful, rustic, yet undeniably elegant dessert is a fantastic choice for any gathering, whether it’s a warm summer celebration or an impressive treat to brighten a meal year-round.
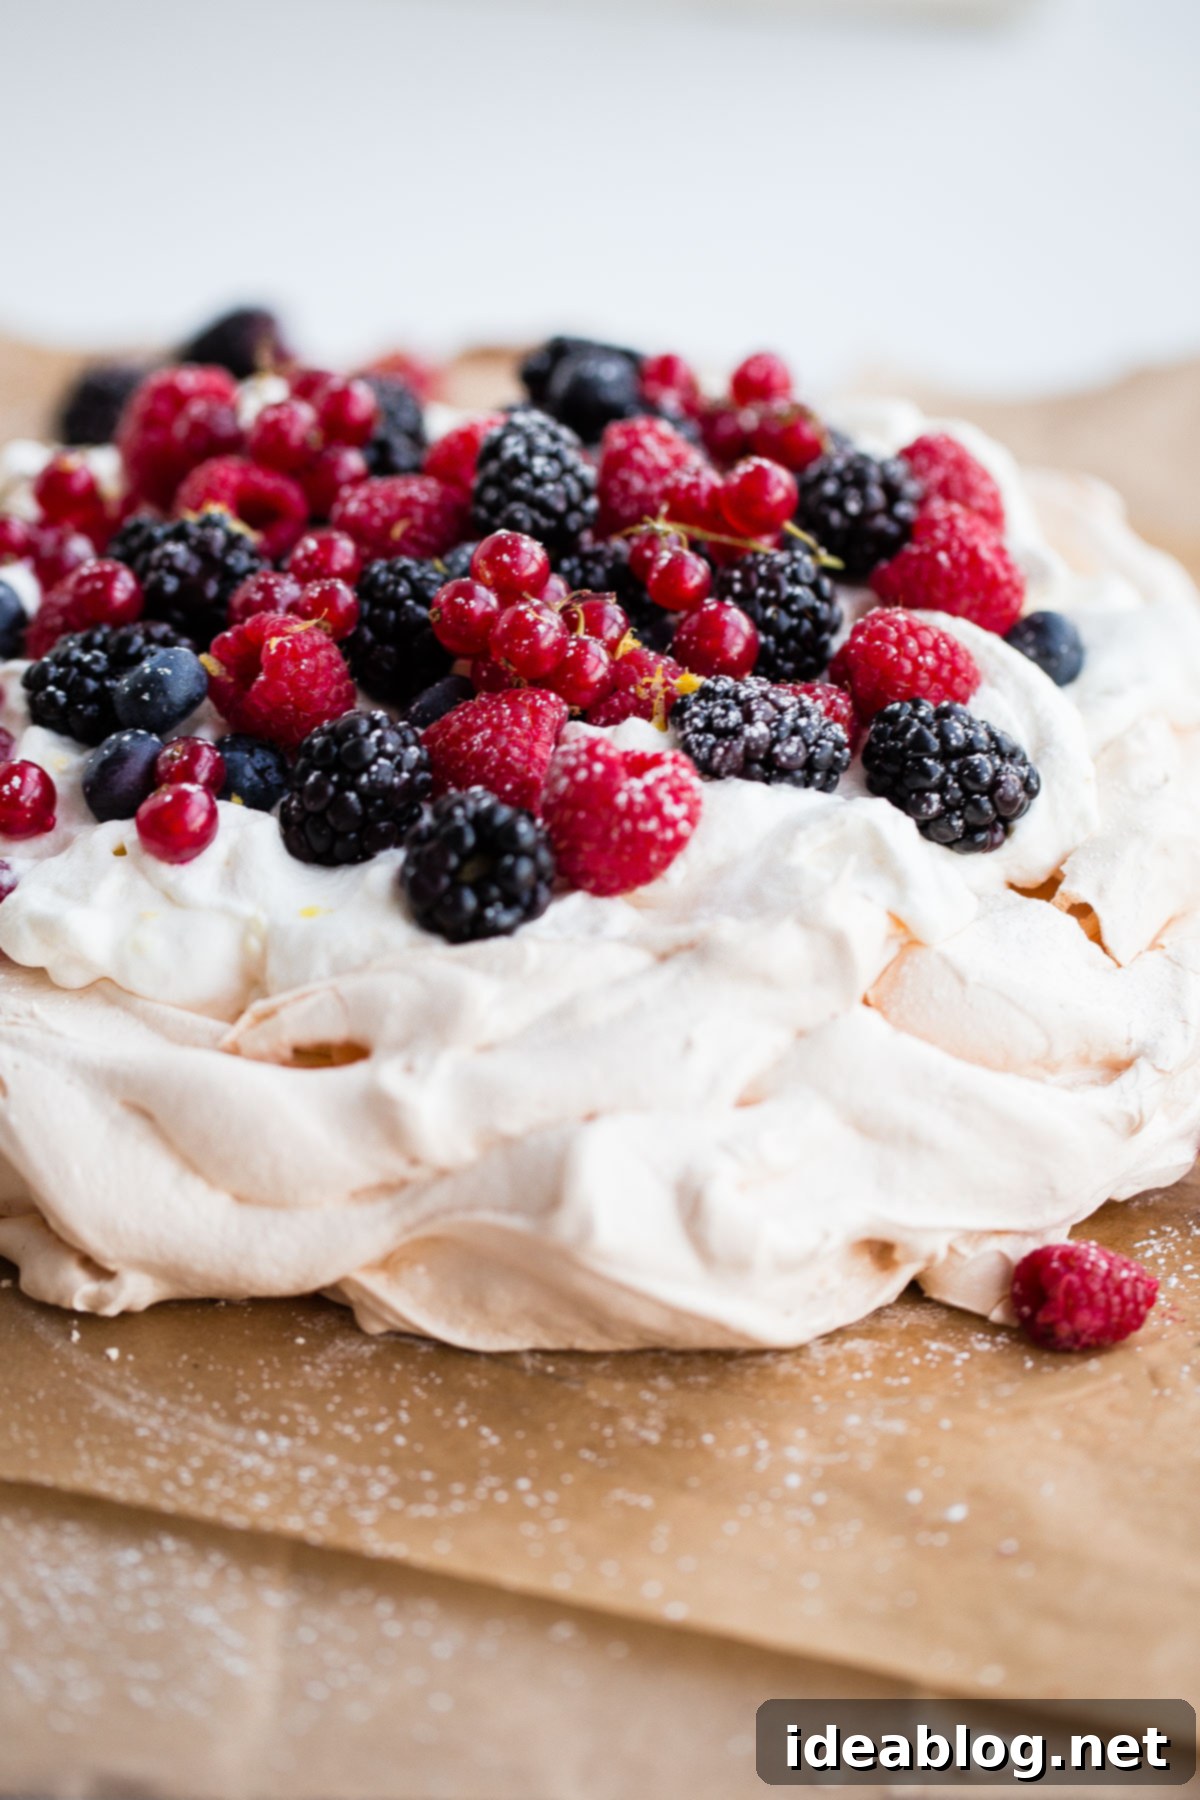
Today, we’re diving into the delightful world of dessert, and I couldn’t be more thrilled! I’ve been holding onto this lemon berry pavlova recipe, eagerly waiting for the perfect moment to share its magic. It’s a creation brimming with an assortment of juicy berries and the most heavenly (and truly effortless) lemon whipped cream filling you could imagine. This dessert isn’t just a recipe; it’s a burst of sunshine on a plate, guaranteed to lift spirits and impress guests.
Despite the calendar still hinting at spring’s embrace, this dessert has me leaping straight into summer. Living in Chicago, we’ve had our fair share of wet and dreary days lately, and this fluffy pavlova recipe has become my ultimate remedy for the gloom. It brings a touch of brightness and a promise of warmer, happier days ahead. As an added bonus, this pavlova would make an exquisite centerpiece for your Easter weekend menu, adding a sophisticated yet approachable touch to your holiday spread. Sometimes, the best way to beat those lingering end-of-winter blues is with a generous helping of fresh, vibrant berries – even if you have to seek out the best ones available out-of-season!

What Exactly is a Pavlova?
For those who have followed my culinary adventures for a while, you’ll know I have a particular fondness for pavlovas and other meringue-based desserts. I’ve previously delighted in sharing recipes for heart-shaped meringue cups, rhubarb meringue cups, and a divine raspberry curd pavlova, just to name a few of my favorites. There’s an undeniable allure and magic to a classic pavlova that sets it apart.
While a pavlova might not boast the same architectural grandeur as a multi-layered cake or the precise elegance of a classic citrus tart, it compensates with an abundance of character, whimsy, and sheer deliciousness. Named after the famed Russian ballerina Anna Pavlova, this dessert is gracefully simple in its fundamental concept: a delicate, crisp meringue shell that yields to a wonderfully soft, marshmallowy interior, generously topped with an array of fresh fruit, and a sumptuous dollop of whipped cream filling. Unlike many other desserts that demand meticulous precision and can be quite finicky, pavlovas are remarkably adaptable and customizable, allowing for creative freedom with toppings and fillings.
Originating from either Australia or New Zealand (a culinary debate that continues to this day!), pavlova has become a beloved staple in both cuisines, particularly during festive seasons and summer holidays. Its light, airy texture and refreshing fruit toppings make it an ideal dessert for warm weather, but its impressive appearance ensures it’s a hit all year round. The beauty of the pavlova lies not only in its taste and texture but also in its forgiving nature – a few cracks in the meringue only add to its rustic charm!
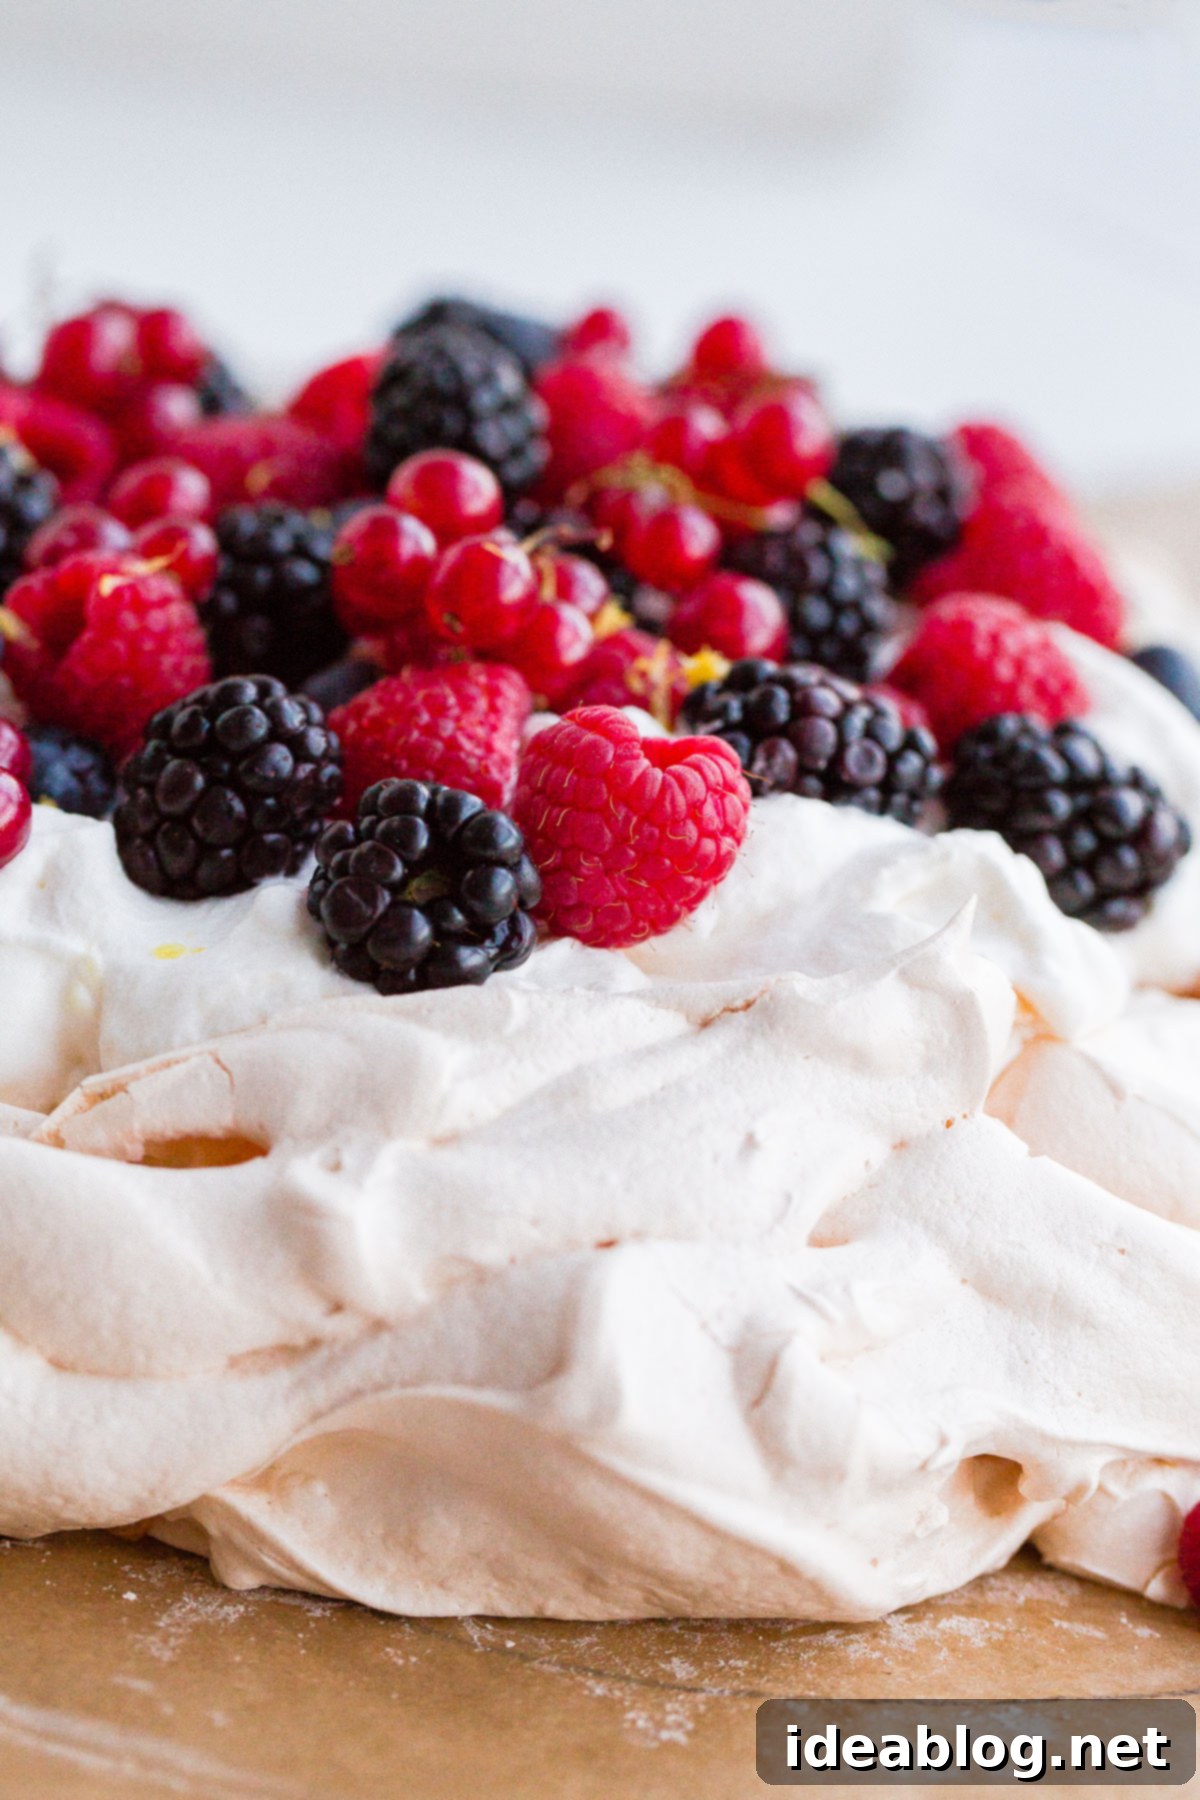
Essential Tips for Pavlova Success: Crafting the Perfect Meringue Shell
Achieving that iconic crisp-on-the-outside, soft-on-the-inside meringue for your pavlova shell requires attention to a few key details. Whenever you embark on making classic baked meringues, remember these crucial tips to ensure a spectacular outcome:
- **Cleanliness is Key:** Always ensure your mixing bowl and whisk attachment are impeccably clean and completely dry before you begin. Even the tiniest speck of fat or grease can prevent your egg whites from whipping up properly, acting as meringue’s biggest foe. A quick wipe with lemon juice or vinegar on a paper towel can help remove any unseen residue.
- **Room Temperature Egg Whites:** For maximum volume and the fluffiest meringue, use egg whites that are at room temperature. However, here’s a pro-tip: separate the eggs when they are cold, straight from the refrigerator. Cold egg yolks are firmer and less likely to break, making separation significantly easier and preventing any yolk-breakage contamination. Once separated, let the whites sit out for 30 minutes to an hour to come to room temperature.
- **Fine Sugar for Smoothness:** If you have it on hand, opt for caster sugar (also known as superfine sugar) or a fine granulated sugar like Baker’s Special. The finer granules dissolve more quickly and evenly into the egg whites, resulting in an ultra-smooth, silky meringue with no undesirable graininess. Gradually adding the sugar, one tablespoon at a time, while continuously whisking on high speed, is vital for a stable and glossy meringue.
- **The Role of Acid and Starch:** The addition of a small amount of lemon juice (or cream of tartar) helps stabilize the egg whites, making the meringue stronger and less prone to weeping. Cornstarch, on the other hand, contributes to that signature marshmallowy interior and crisp exterior, preventing the meringue from becoming too brittle.
- **Proper Baking and Cooling:** Don’t be tempted to open the oven door during the baking process, especially in the first hour, as this can cause the meringue to crack excessively or collapse. Once baked, the meringue should be crisp, pale golden, and dry to the touch. The most critical step for a stable pavlova is to allow it to cool completely inside the oven with the door propped open. This gradual cooling prevents thermal shock, which can lead to cracking and shrinking, ensuring your pavlova holds its beautiful shape.
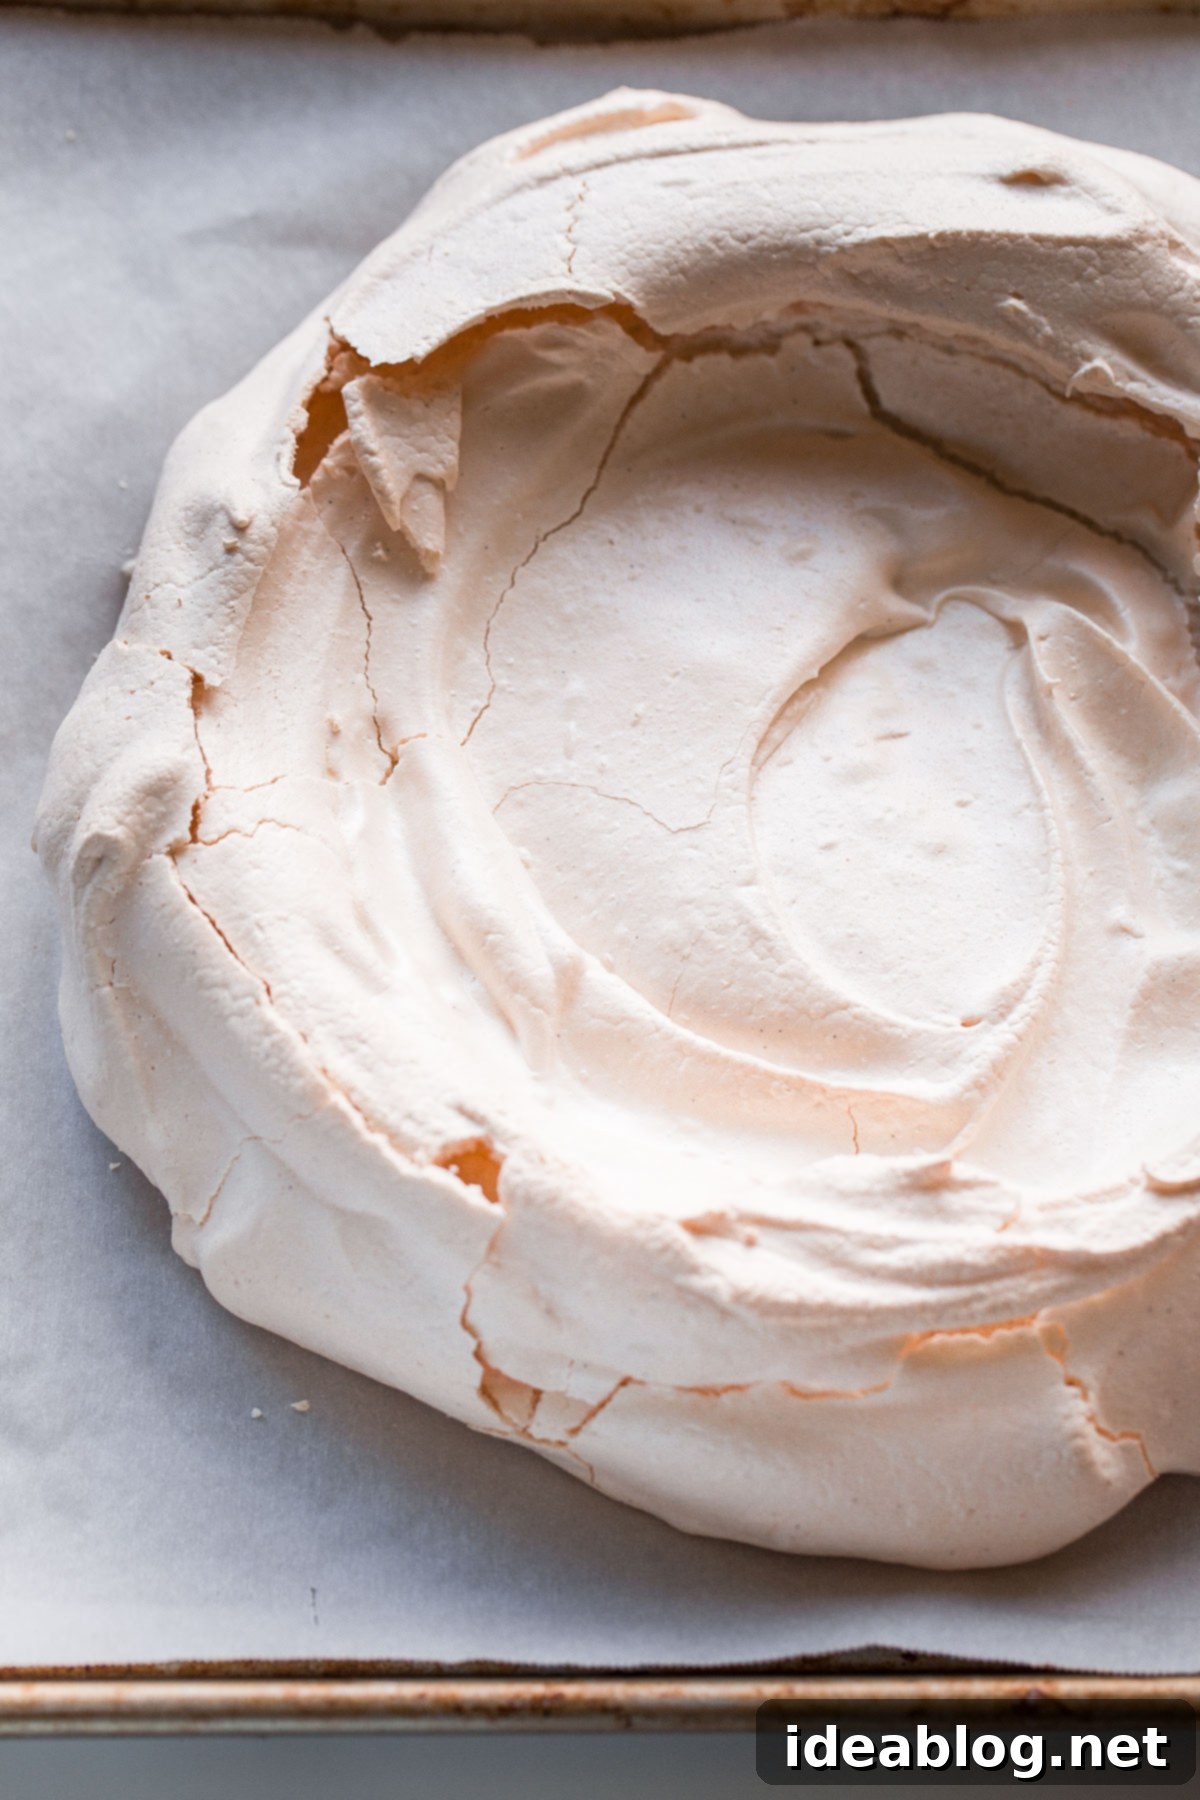
Once perfectly baked and cooled, your meringue shell will boast a gloriously crisp, delicately golden, and beautifully cracked exterior, while retaining a wonderfully soft, chewy, and marshmallow-like interior. This exquisite contrast in texture is truly one of the defining delights of a pavlova!
Crafting the Easiest Lemon Whipped Cream Filling: A Zesty Delight
To complement the sweet lightness of the meringue, this berry pavlova is generously filled with a bright, zesty lemon whipped cream. This filling is a testament to simplicity and flavor, combining lightly sweetened whipped cream with a secret weapon for maximum ease: high-quality store-bought lemon curd. While I often rave about homemade, for this particular application, a good store-bought option like Wilkin & Sons (or Stonewall Kitchen) truly shines. To further enhance its vibrant flavor profile and add an extra layer of freshness, I incorporate a touch of freshly squeezed lemon juice and aromatic lemon zest.
While the thought of making homemade lemon curd from scratch is undeniably appealing – and, admittedly, often superior to even the finest store-bought varieties – this recipe only calls for a modest three tablespoons. In my humble opinion, this small quantity doesn’t quite justify the time and effort involved in making it from scratch, especially when an excellent store-bought option is readily available. However, if you’re a purist or simply enjoy the process, please feel free to make your own; the results will be even more sublime! When choosing a store-bought lemon curd, be vigilant and carefully scrutinize the ingredient list. Many commercial curds are unfortunately laden with unnecessary fillers and artificial ingredients, which can detract from the natural, bright lemon flavor we’re aiming for.
Choosing Your Perfect Berry Topping and Assembling Your Pavlova
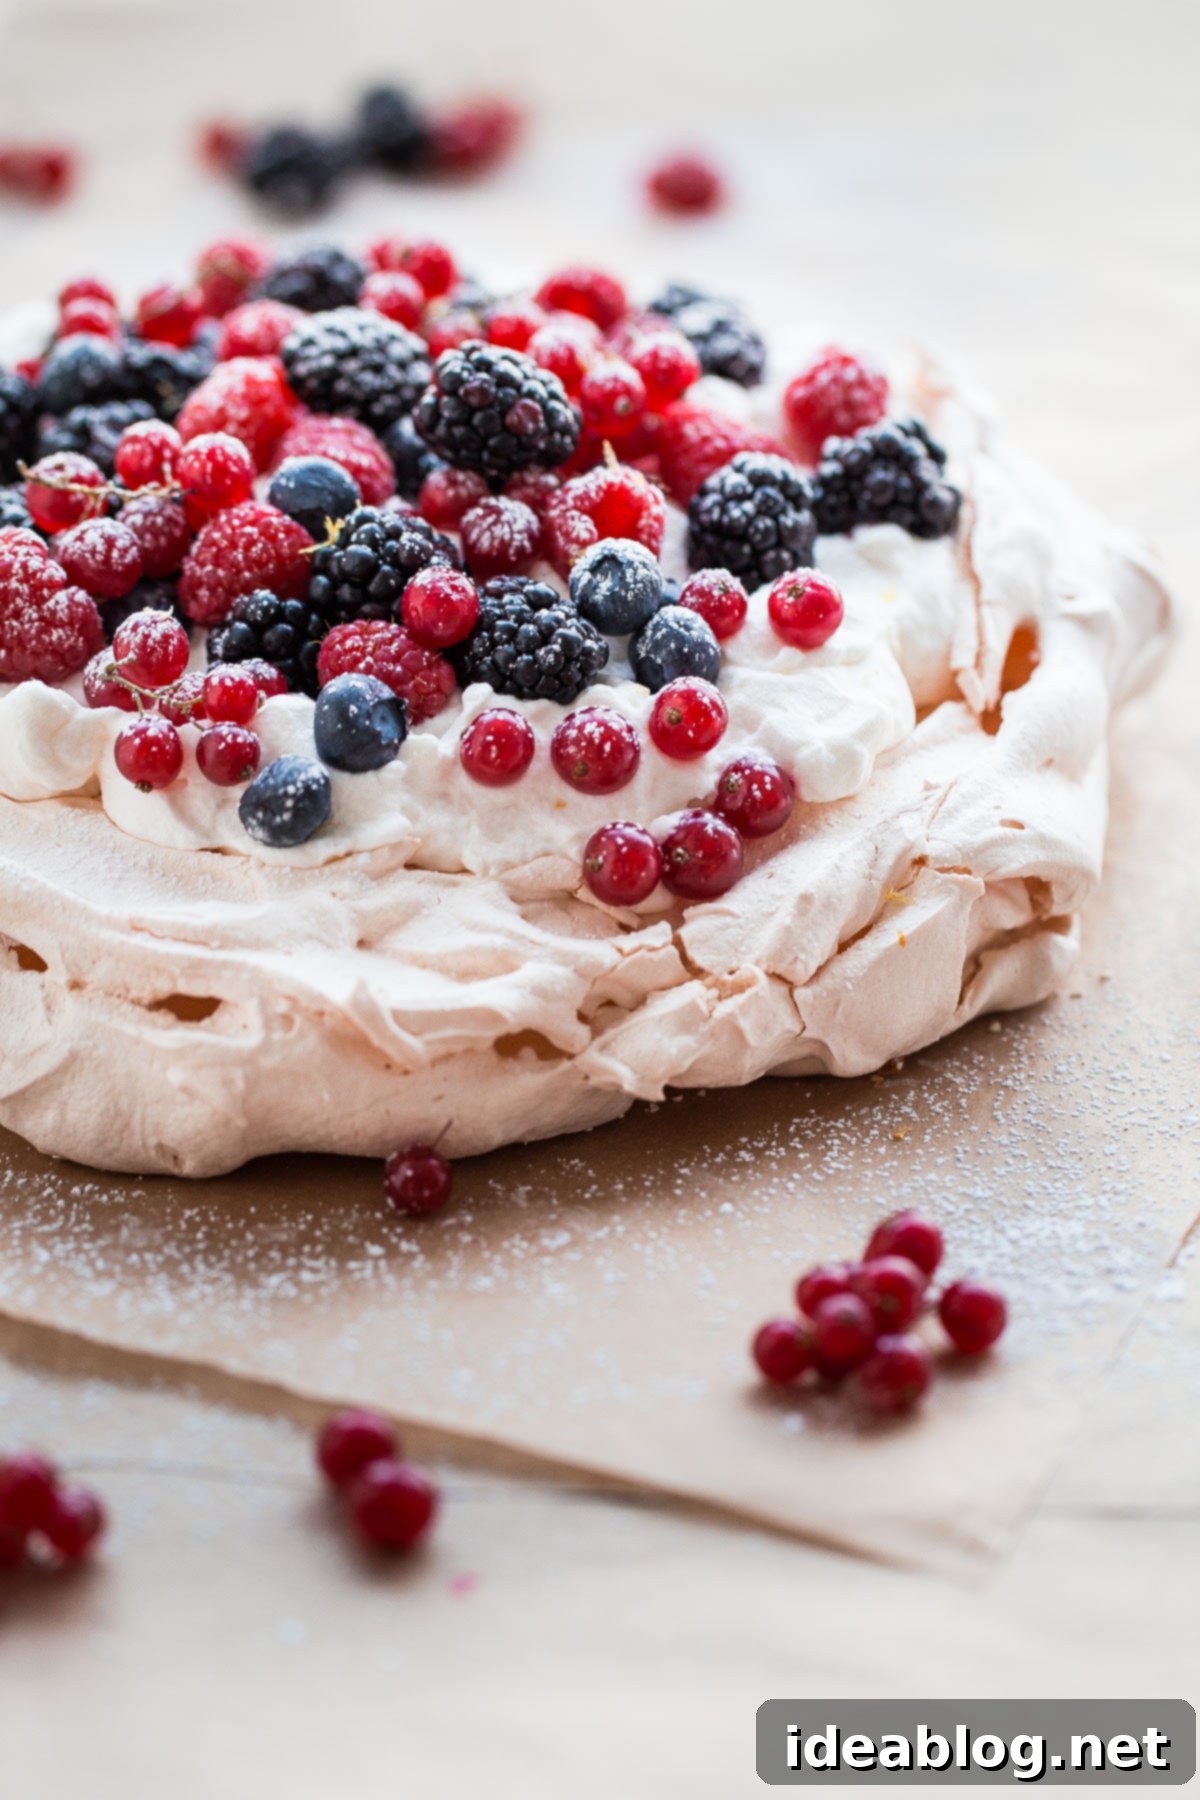
For the fruit topping, I gravitate towards a delightful assortment of naturally sweet and tart berries, such as plump blueberries, juicy blackberries, and tangy raspberries. These offer a wonderful balance of flavors and textures. The key is to select the freshest, ripest berries you can find, as their quality significantly impacts the final taste. If berries aren’t your preference or in season, feel free to substitute them with other seasonal fruits. However, I generally recommend avoiding fruits that tend to be overly watery or “weep” excessively, as their moisture can soften the crisp meringue shell too quickly, leading to a soggier dessert. Fruits like sliced kiwi, passionfruit pulp, or even roasted rhubarb can make fantastic alternatives, offering different flavor dimensions.
If I’m lucky enough to spot them at the market, I never pass up a small carton of fresh red currants. Their vibrant color and intense burst of tartness in every bite beautifully cut through the natural sweetness of the meringue and cream, creating a perfectly balanced flavor profile that is truly irresistible. The visual appeal of these jewel-like berries also adds an extra touch of elegance to the finished pavlova.
Assembling the pavlova is the final, satisfying step. Remember that the meringue shell is delicate, so handle it with care. Placing it on a flat serving platter is ideal. Then, generously spoon the lemon whipped cream into the hollowed center of the meringue, creating a lush, creamy bed for your chosen berries. Artfully arrange your fresh mixed berries on top of the cream, perhaps adding a final flourish with a dusting of confectioner’s sugar for a touch of ethereal beauty. This dessert is truly at its peak when enjoyed on the day it’s made, ensuring the meringue retains its delightful crispness. While leftovers can be covered and refrigerated for up to two days, the meringue will gradually absorb moisture and lose some of its signature crunch. So, gather your loved ones, prepare this magnificent pavlova, and savor every light, zesty, and fruity bite!
Berry Pavlova with Lemon Whipped Cream
Pin
Review
SaveSaved!
Equipment
-
KitchenAid 5 Qt. Artisan Stand Mixer
-
Half Sheet Pan
-
Natural Parchment Paper
Ingredients
Meringue:
- 4 large egg whites room temperature
- pinch of kosher salt
- 1 cup (200 g) fine caster or granulated sugar
- ½ teaspoon pure vanilla extract
- 2 teaspoons cornstarch
- 1 teaspoon freshly squeezed lemon juice
Lemon Berry Filling:
- 1¼ cups (300 mL) heavy whipping cream cold
- 3 tablespoons high-quality store-bought or homemade lemon curd *I prefer Wilkon & Sons or Stonewall Kitchen
- 1 teaspoon freshly squeezed lemon juice
- zest of 1 lemon
- 2 cups fresh mixed berries such as raspberries, blueberries, blackberries, and red currants, if available
- confectioner’s sugar for garnishing (optional)
Instructions
-
Prepare the Meringue Shell: Preheat your oven to 275°F (135°C) with a rack in the center position. Line a sheet pan with parchment paper. Trace an 8-inch diameter circle on the parchment paper (using an 8-inch cake pan or plate) with a pencil. Flip the parchment paper over, so that the pencil side is facing down.
-
Place the room temperature egg whites and salt in the clean bowl of a stand mixer, fitted with a whisk attachment. Whisk over medium speed until the egg whites form soft peaks, about 3 minutes. Increase the speed to high. Slowly add the sugar, sprinkling it one tablespoon at a time, and continue beating for roughly 3 minutes. Scrape the bottom of the bowl with a spatula and continue to whisk over high speed until the meringue mixture reaches stiff, glossy peaks, an additional 3 to 5 minutes.
-
Add the vanilla extract, cornstarch, and lemon juice, and whisk at high speed for an additional minute until well combined. Fold gently with a spatula to ensure that all the ingredients are incorporated well.
-
Using a spatula, gently transfer the meringue to the center of the traced circle on the parchment-lined sheet pan. Using a small offset spatula or knife, smooth the meringue into a thick disk, using the edges of the circle as a rough guide. Use the offset spatula to create a slight dip in the center to hold the cream and berries. The meringue should be roughly about 2½ to 3 inches tall.
-
Bake the meringue until crisp, pale in color, and dry to the touch, roughly 1 hour and 15 minutes. If the meringue is not crisp or dry to touch, bake it for an additional 10 to 15 minutes. Turn off the oven and use a heat-proof utensil to prop open the oven door. Allow the meringue to cool completely inside the oven, about 1 to 1½ hours. It should be crisp, dry to the touch, and have a slightly cracked appearance once cooled.
-
Prepare the Lemon Berry Filling: Just before serving, place the chilled heavy cream in a clean bowl of a stand mixer, fitted with a whisk attachment – or alternatively, use a hand-held mixer. Beat the cream, starting at a low speed and gradually increasing to high, until it reaches soft peaks. Using a spatula, gently fold in the lemon curd, lemon zest, and lemon juice until just combined. Be careful not to overmix.
-
Assemble: Carefully transfer the cooled meringue shell to a flat serving platter; meringues are very fragile, so you may want to use the parchment paper to assist, or alternatively, serve it directly on the sheet pan if preferred. Top the meringue with the lemon curd cream, followed by the fresh mixed berries, and dust lightly with powdered sugar, if using, for a beautiful finish.
-
Serve in large, generous scoops. Pavlova is best enjoyed the day it is baked to preserve its ideal crisp-soft texture. Meringue will gradually gain moisture and lose its crispness with time; however, any leftovers can be covered with plastic wrap and stored in the refrigerator for up to 2 days.
Tips for Success:
Whenever making classic baked meringues (or meringue shells), always make sure to do the following:
- be sure to wash and dry your mixing bowl and whisk attachment well before using; fat and grease are meringue’s biggest enemies
- use room temperature egg whites (note: however, separate the eggs cold from the fridge which will make this as it significantly more easy and prevent yolk-breakage) for maximum volume
- if you have it on hand, use caster or fine granulated sugar (such as Baker’s Special) for ultra smooth, silky meringue without any graininess
