Mastering Flour Measurement: Your Ultimate Guide for Perfect Baking Results
A comprehensive guide on how to measure flour accurately, exploring both volume and metric methods, and revealing how your chosen technique profoundly impacts your baking success.
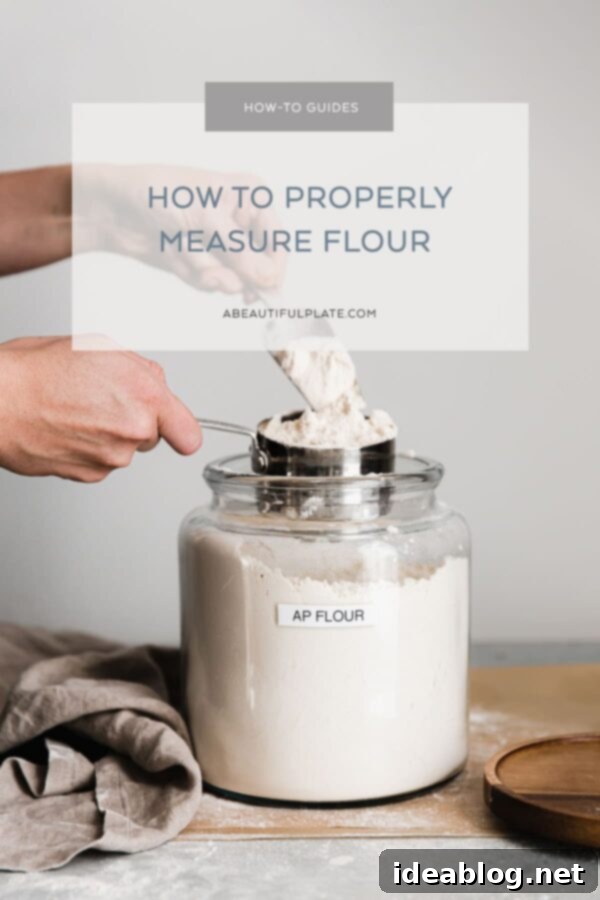
As we delve deeper into the joy of baking, especially during peak seasons, one fundamental skill stands above many others: how to accurately measure flour. This seemingly simple task is, in fact, one of the most critical steps in any baking recipe, directly influencing the texture, consistency, and overall success of your baked goods.
If you’ve ever experienced frustratingly inconsistent results – perhaps your cakes turned out dense, your cookies too dry, or your bread failed to rise properly – the culprit might very well be your flour measuring technique. Baking is often described as a science, a precise art where ratios and measurements are paramount. Unlike cooking, where a pinch of this or a dash of that often works, baking demands accuracy. Understanding *why* your measuring method matters is the first step toward unlocking truly powerful knowledge that will transform your kitchen endeavors.
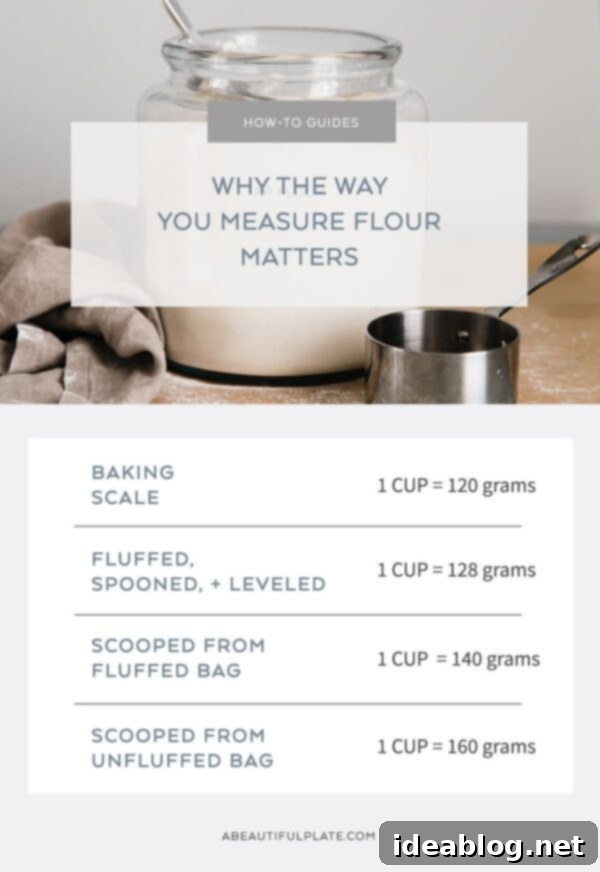
Over-measuring flour is an incredibly common pitfall, particularly when relying on volume measurements like traditional measuring cups. It’s arguably one of the most frequent mistakes even seasoned home bakers make, leading to a cascade of undesirable outcomes. This is because flour, despite its powdery appearance, can be easily compressed, meaning a “cup” of flour can vary significantly in actual weight depending on how it’s handled.
Consider the impact of inadvertently adding an extra 1/4 cup, or even a full 2/3 cup, of all-purpose flour to your beloved raspberry roll cake, your delicate almond sugar cookies, or your flaky cranberry orange scones. Would it alter the final texture and outcome? Absolutely! An excess of flour introduces too much dry ingredient into your dough or batter, absorbing moisture and altering the gluten development. The likely result? Your cherished treats will emerge from the oven dry, dense, heavy, and potentially crumbly, far from the light, tender, and moist perfection you envisioned.
Common Pitfalls: Mistakes When Measuring Flour By Volume
It is surprisingly easy and incredibly common to inadvertently over-measure flour when using volume measurements, such as standard measuring cups. These seemingly minor inaccuracies can have a magnified effect, especially when a recipe calls for larger quantities of flour, leading to significant deviations from the intended outcome.
THE INCORRECT METHODS TO AVOID WHEN MEASURING FLOUR:
- Scooping Directly into the Flour Bag: Dipping your measuring cup straight into a bag or storage container of flour, particularly if the flour has settled or been packed down, is a recipe for disaster. This action forcefully compacts the flour into the cup, resulting in a much greater quantity by weight than what is truly intended for one “cup.”
- Tapping or Packing Flour into the Cup: After scooping, resist the urge to tap the measuring cup against the counter or press the flour down with a spoon. Both actions further compact the flour, adding extra weight and density to your measurement.
*These common methods will invariably yield extremely inaccurate and inconsistent flour amounts. The excess flour introduced will significantly alter the hydration balance of your dough or batter, directly impacting the texture, rise, and overall quality of your finished baked goods, often making them dry, tough, or dense.
ADDITIONAL FACTORS INFLUENCING ACCURACY:
- The Brand and Quality of Your Measuring Cups: Not all measuring cups are created equal. Inexpensive or novelty sets can often be poorly calibrated, leading to inconsistent measurements. The material and design (e.g., plastic vs. metal, narrow vs. wide opening) can also affect how easily flour is scooped and leveled.
- Type of Measuring Cup: Always use dry measuring cups for flour. Liquid measuring cups, with their pour spouts and measurements below the rim, are designed for liquids and will give inaccurate readings for dry ingredients.
- If you frequently use volume measurements, I strongly recommend investing in a good-quality set of measurement cups. Look for sturdy, clearly marked metal cups. Steer clear of decorative mugs or uncalibrated souvenir cups for serious baking – they are not designed for precise measurements and will hinder your baking consistency.
The Gold Standard: How to Properly Measure Flour by Volume
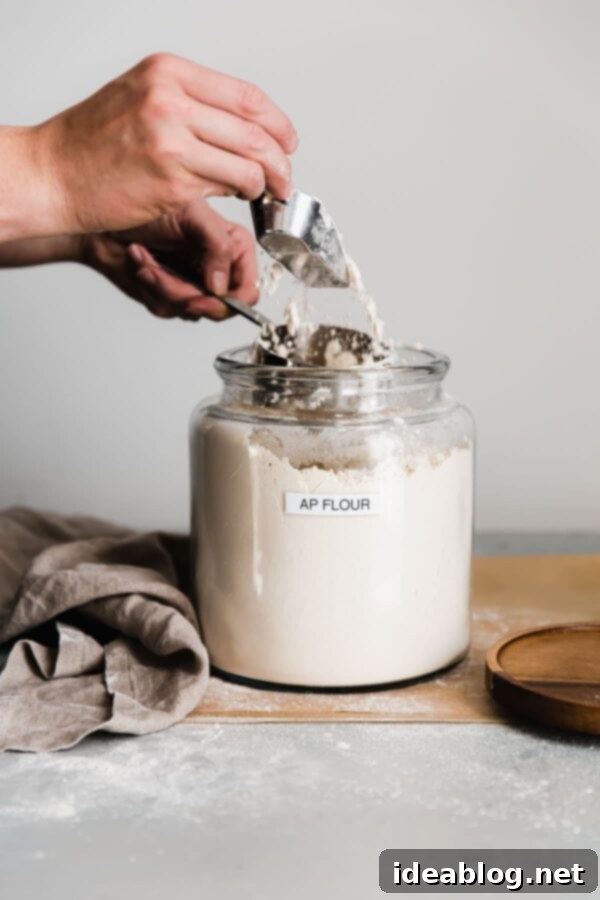
While the ultimate standard for precision in baking undeniably involves using metric weights, there is indeed a *correct* and widely accepted method for measuring flour by volume that minimizes inaccuracies. This technique is universally known as the fluff, spoon, and level method.
This method isn’t just a suggestion; it’s the industry standard embraced by most professional recipe developers, reputable cookbook authors, and leading food websites. When executed correctly, the fluff, spoon, and level method will produce the *closest* equivalent (typically within +/- 5 grams) to a perfectly scaled cup of all-purpose flour, which is generally accepted as 120 grams. This consistency is crucial for achieving predictable and delicious results every time.
To put the importance of this method into perspective, consider this: when flour is measured incorrectly by scooping and compacting (as discussed above), one single cup of flour can easily be over-measured by as much as 1/3 cup by weight. If a recipe calls for 2 to 3 cups of flour, that seemingly small error can accumulate, leading to the equivalent of adding a staggering 2/3 cup to 1 full cup of extra flour to your recipe. This massive excess drastically alters the delicate balance of ingredients, resulting in a noticeably drier, tougher, and less appealing final product.
THE CORRECT WAY TO MEASURE FLOUR BY VOLUME: THE FLUFF, SPOON, AND LEVEL METHOD
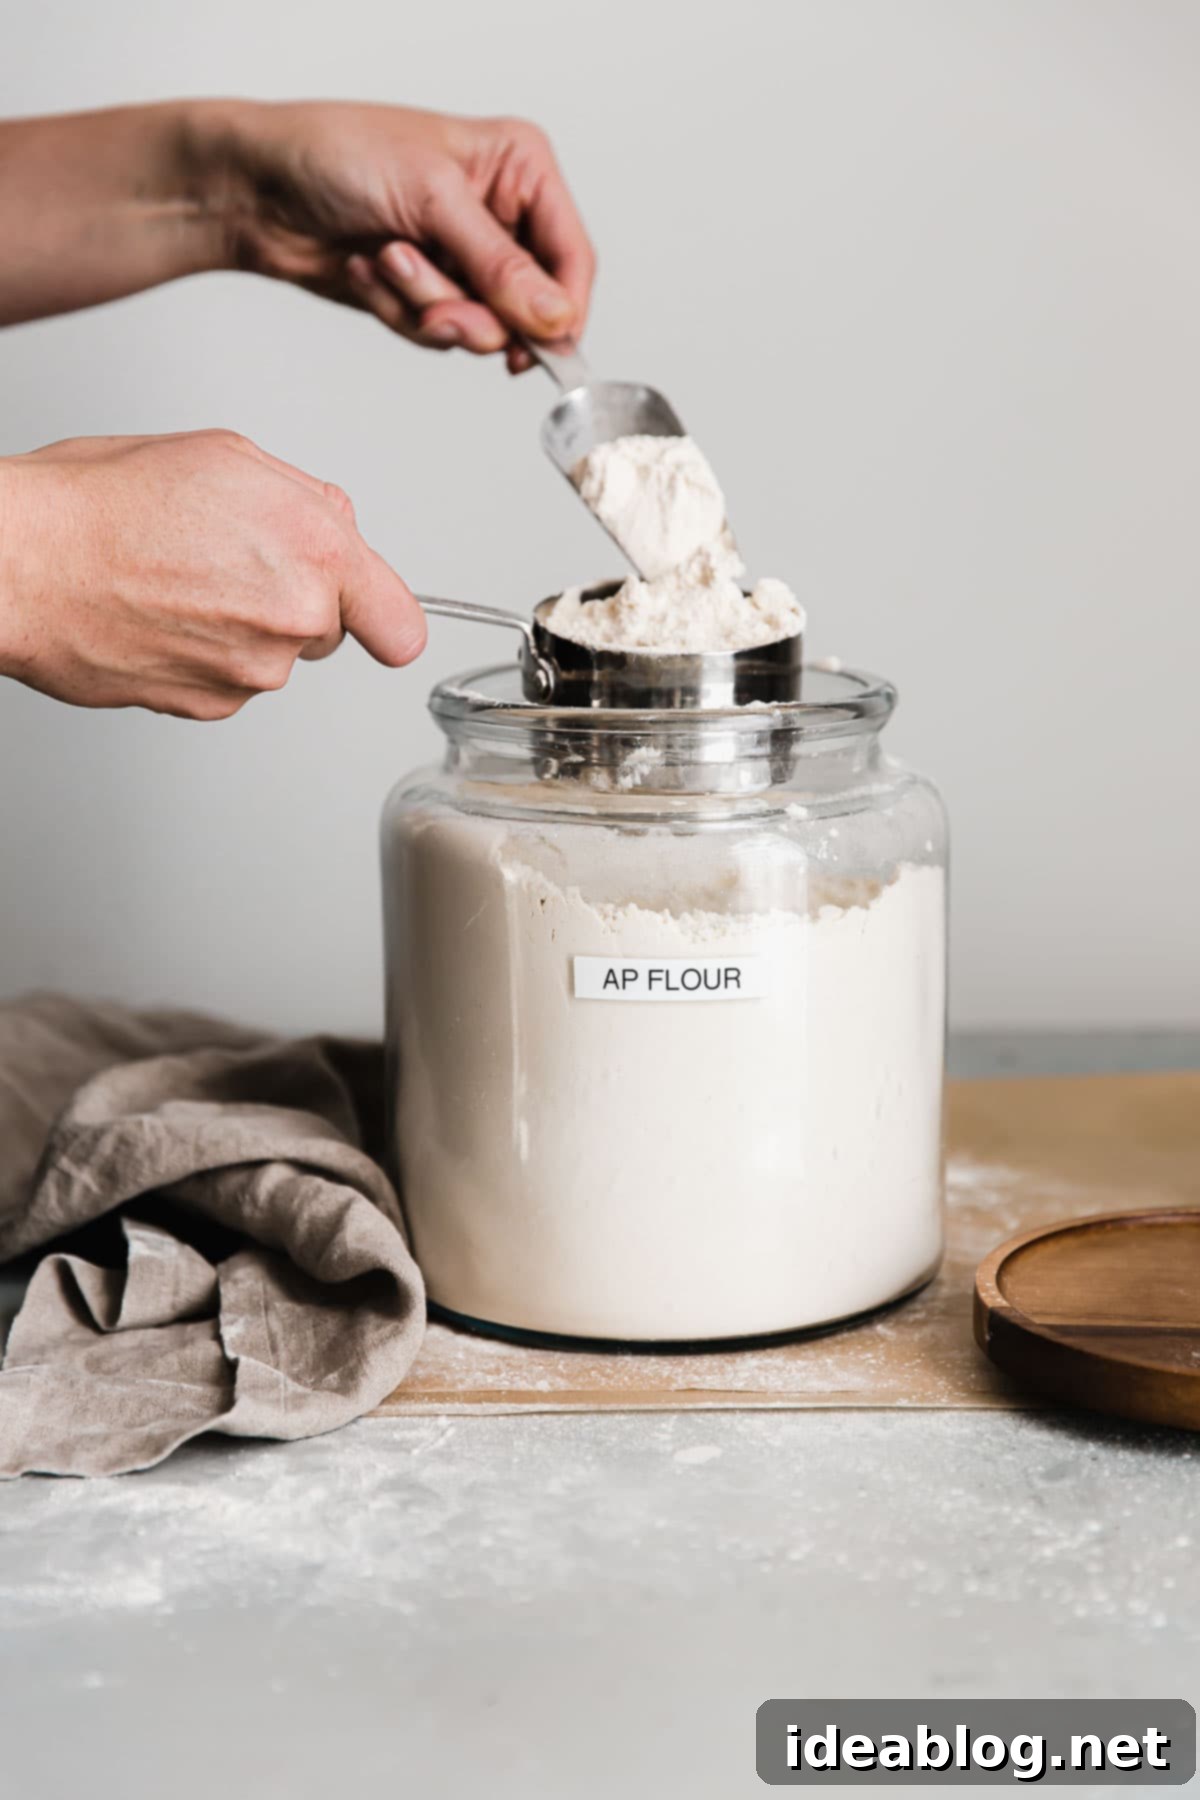
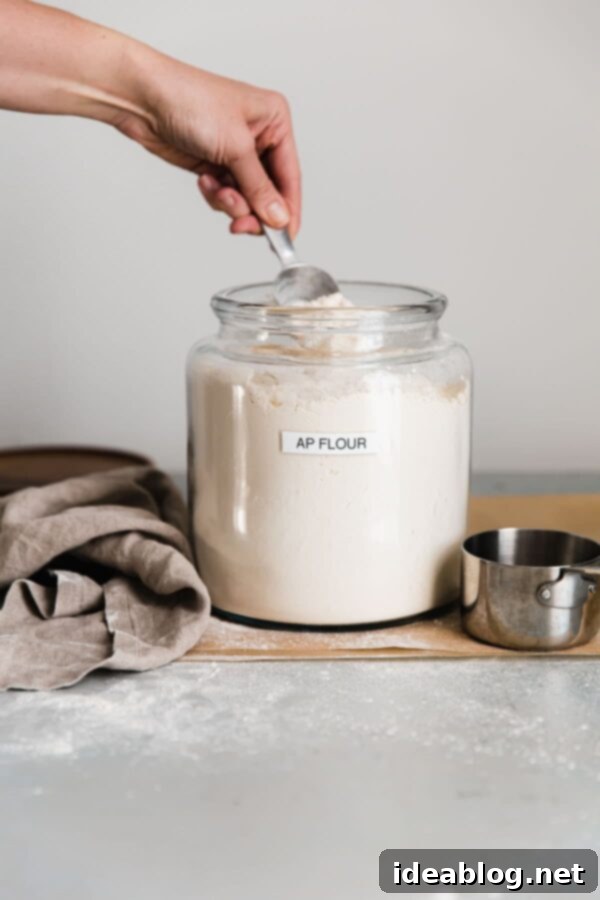
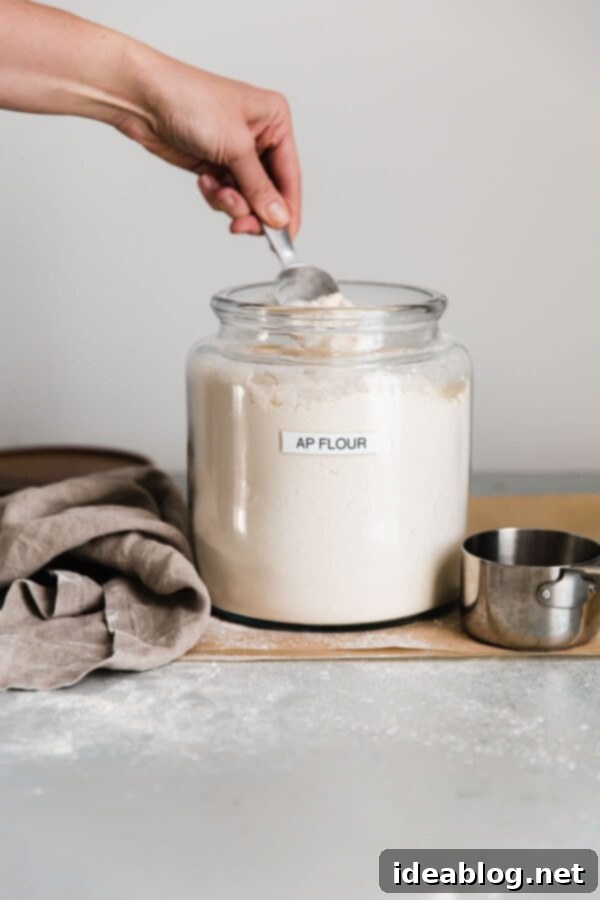
- 1. Fluff: Begin by thoroughly aerating your flour. Whether your flour is in a bag or a container, use a spoon or a small scoop to gently stir and lift the flour, breaking up any compaction. You want the flour to feel light and airy, not dense or packed down. This step introduces air, mimicking the natural state of freshly milled flour.
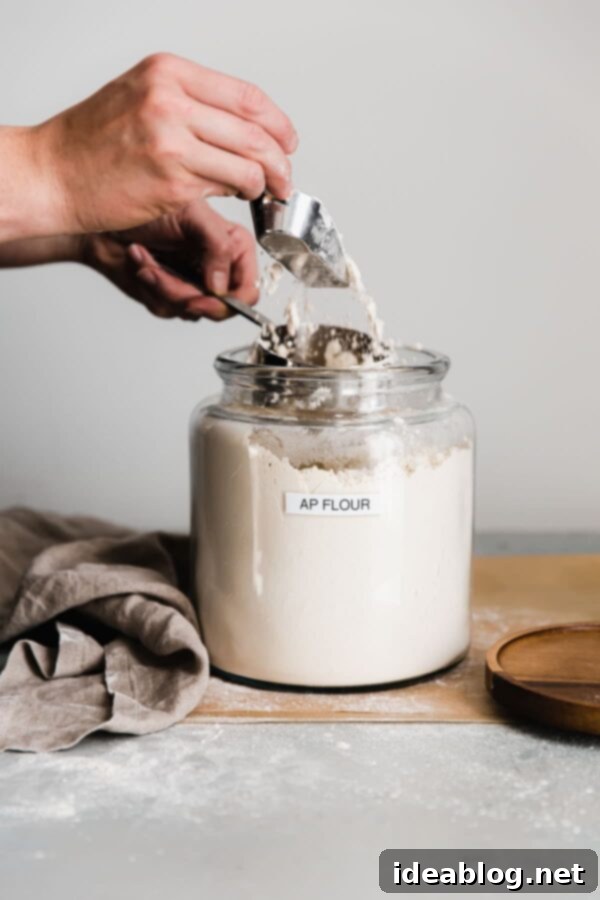
- 2. Spoon: Once fluffed, gently spoon the aerated flour into your dry measuring cup. Do not scoop directly with the measuring cup itself, as this will compact the flour again. Pile the flour lightly into the cup, allowing it to overflow slightly. Avoid pressing or shaking the cup.
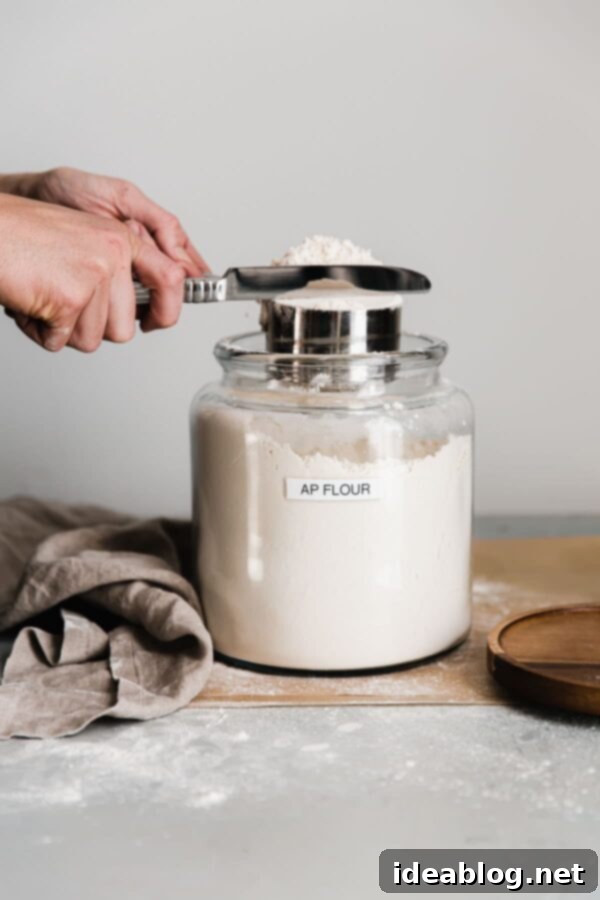
- 3. Level: Using the straight edge of a knife, a metal spatula, or a similar utensil, gently sweep across the top of the measuring cup to level off the excess flour. Ensure you do not press down on the flour while leveling; simply allow the straight edge to remove the loosely piled surplus.
- For a visual demonstration and more guidance, refer to the step-by-step process photos provided below, or watch this helpful video lesson.
Flour, like many dry goods, will naturally settle and pack down over time, whether it’s sitting on a grocery store shelf or stored in your pantry. This compaction removes the air pockets that contribute to its light, fluffy texture. Fluffing the flour thoroughly with a spoon or scoop prior to measuring is essential because it reintroduces this aeration, ensuring that you’re measuring a consistent volume of flour with the appropriate amount of air, rather than a dense, heavy block. The flour should feel light and airy, not solid or tightly packed, making it easier to spoon into your measuring cup accurately.
STORAGE TIP: To maintain optimal freshness and make measuring easier, I always recommend transferring flour from its original paper bag to a large airtight container. Not only will flour store longer and better in such a container, protecting it from moisture and pests, but it will also be much easier to fluff and aerate consistently each time you need to measure. My personal favorites for flour storage include Glass Anchor Containers or the highly convenient OXO Pop Containers.
The Most Accurate Way to Measure Flour: Embracing the Baking Scale
Can I make a heartfelt confession? Despite growing up with traditional measuring cups, I now personally despise using them for flour. While I will always thoughtfully include volume measurements in my baking recipes to cater to all home bakers, I wholeheartedly and strongly encourage everyone who bakes regularly to invest in a basic, affordable digital baking scale and wholeheartedly embrace metric weights for measuring dry ingredients, especially flour.
Metric weights offer unparalleled accuracy and are nearly foolproof, which is precisely why the vast majority of professional pastry chefs, bakers, and culinary instructors universally prefer and recommend their use over imprecise volume measurements. The fundamental difference lies in measuring mass (weight) versus volume. Volume is affected by factors like compaction, humidity, and even the type of ingredient, whereas weight remains constant. A gram is always a gram, regardless of how fluffy or packed your flour might be.
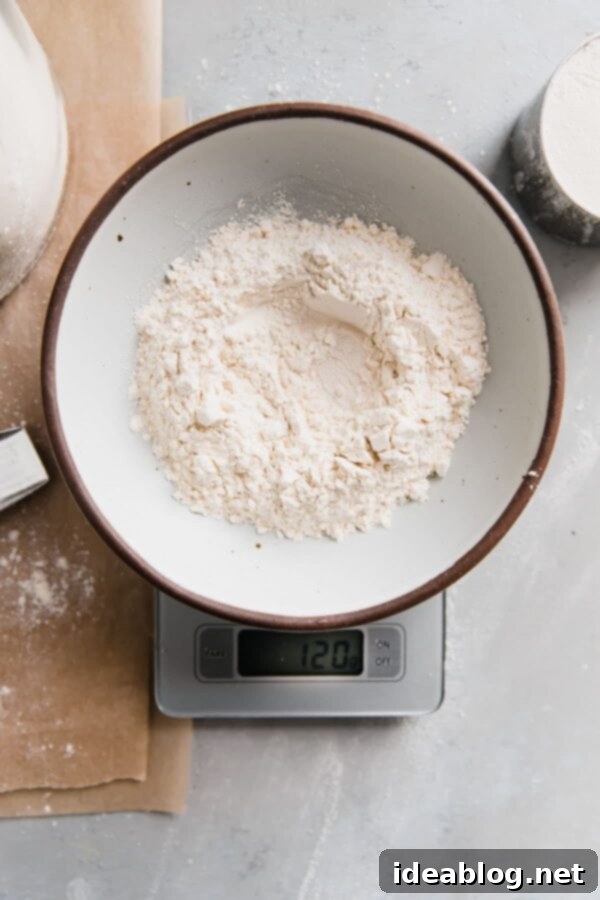
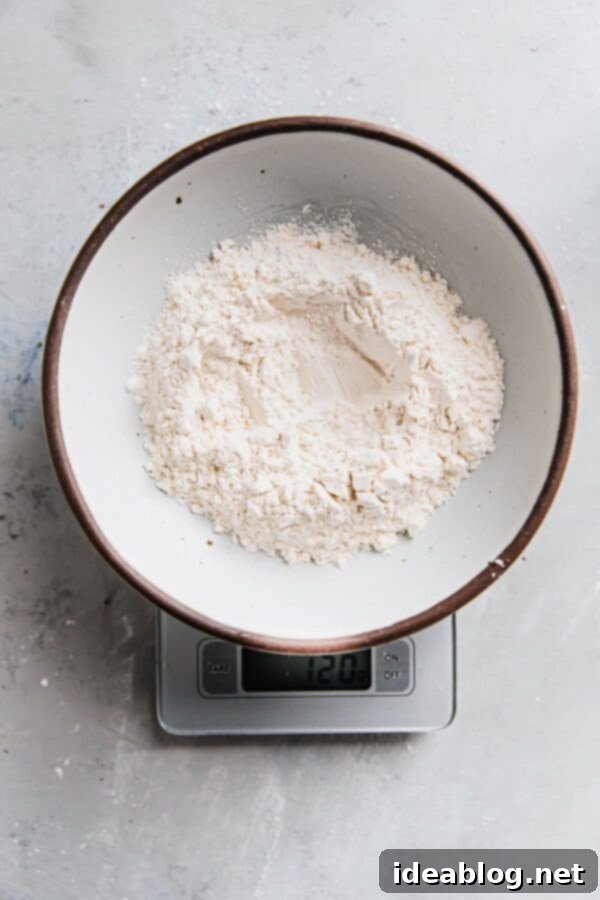
For standard all-purpose flour, a common and widely accepted baking conversion is: 1 cup = 120 grams. While this is a fairly standard guideline, it’s worth noting that this conversion can vary slightly from baker to baker, recipe to recipe, or even based on the specific type and brand of flour. This is why it’s crucial: if a cookbook, website, or chef specifically provides metric weights for their ingredients, *always use them*. Following their precise gram measurements will consistently yield superior, more predictable results, aligning perfectly with the recipe developer’s intention.
The absolute best part about transitioning to a baking scale? The unwavering consistency. 120 grams will always be 120 grams, every single time, without question or variability due to technique. This eliminates the guesswork and inconsistency inherent in volume measurements, allowing you to replicate recipes with exact precision time and again, leading to truly professional-level results in your home kitchen.
SIGNIFICANT BENEFITS OF USING A BAKING SCALE FOR FLOUR:
- Extreme Accuracy & Consistent Results: This is the paramount benefit. Scales measure mass, which is unaffected by how densely an ingredient is packed or how fine its texture. This guarantees that you’re adding the exact amount of flour intended, leading to perfectly balanced recipes and consistent outcomes every single time you bake.
- Time-Saving Efficiency: While it might seem like an extra step, using a scale often speeds up the measuring process. Instead of needing multiple measuring cups and spoons for different ingredients, you can often add several dry ingredients to the same bowl, taring the scale back to zero between each addition. This eliminates the need to wash numerous measuring tools.
- Less Clean Up and Fewer Dishes: Following on the time-saving point, using a scale drastically reduces the number of measuring cups and spoons you’ll dirty. You can often measure directly into your mixing bowl, minimizing dishes and making post-baking cleanup a breeze.
- Recipes Easily Scaled Up or Down: When dealing with weights, scaling recipes becomes incredibly straightforward. Want to double a recipe? Double the grams. Half it? Halve the grams. There are no messy fractions or complex conversions, ensuring proportional accuracy regardless of batch size.
- Simplifies Baking Ratios: For advanced bakers, understanding and applying baking ratios (e.g., how much flour to sugar, or fat) becomes intuitive with weights. This foundational understanding can empower you to confidently adapt and create your own recipes.
- Reduced Ingredient Waste: Precise measurement means fewer baking failures, which in turn means less wasted flour and other ingredients due to inconsistent results.
HOW TO ACCURATELY WEIGH FLOUR USING A DIGITAL KITCHEN SCALE:
- Place Your Container: Start by placing the empty bowl, mixing bowl, or container you plan to use for your flour directly onto the platform of your digital baking scale. Ensure the scale is on a flat, stable surface.
- Tare the Scale: Press the ‘TARE’ button (sometimes labeled ‘ZERO’). This crucial step resets the scale’s reading to zero, effectively subtracting the weight of your empty container. This ensures that only the weight of the flour you add will be measured, guaranteeing accurate results.
- Add Flour to Desired Weight: Begin adding flour into the container until the digital display on your scale reaches the precise metric weight specified in your recipe (e.g., 120 grams for 1 cup of all-purpose flour, 240 grams for 2 cups, and so forth). Take care to add flour gradually to avoid overshooting your target weight. If you accidentally add too much, you can gently scoop a small amount back out. That’s truly it – simple, precise, and highly reliable!
Remember that while 1 cup of all-purpose flour is commonly 120 grams, other types of flour like whole wheat, bread flour, or cake flour can have slightly different gram-per-cup conversions due to differences in density. Always follow the specific gram measurements provided in your recipe for the best results, as the recipe creator has likely tested these precise weights for their particular formulation.
By mastering proper flour measurement, whether through the diligent fluff, spoon, and level method or by upgrading to the superior accuracy of a digital kitchen scale, you are setting yourself up for consistent baking success. Say goodbye to dry, dense bakes and hello to perfectly textured, delicious treats every time!
If you found this guide helpful, be sure to explore these other insightful baking and cooking science articles to further elevate your culinary skills:
- Flour 101: Different Types of Baking Flours and How to Use Them
- Kitchen Salts: Why The Type and Brand You Use Matters
