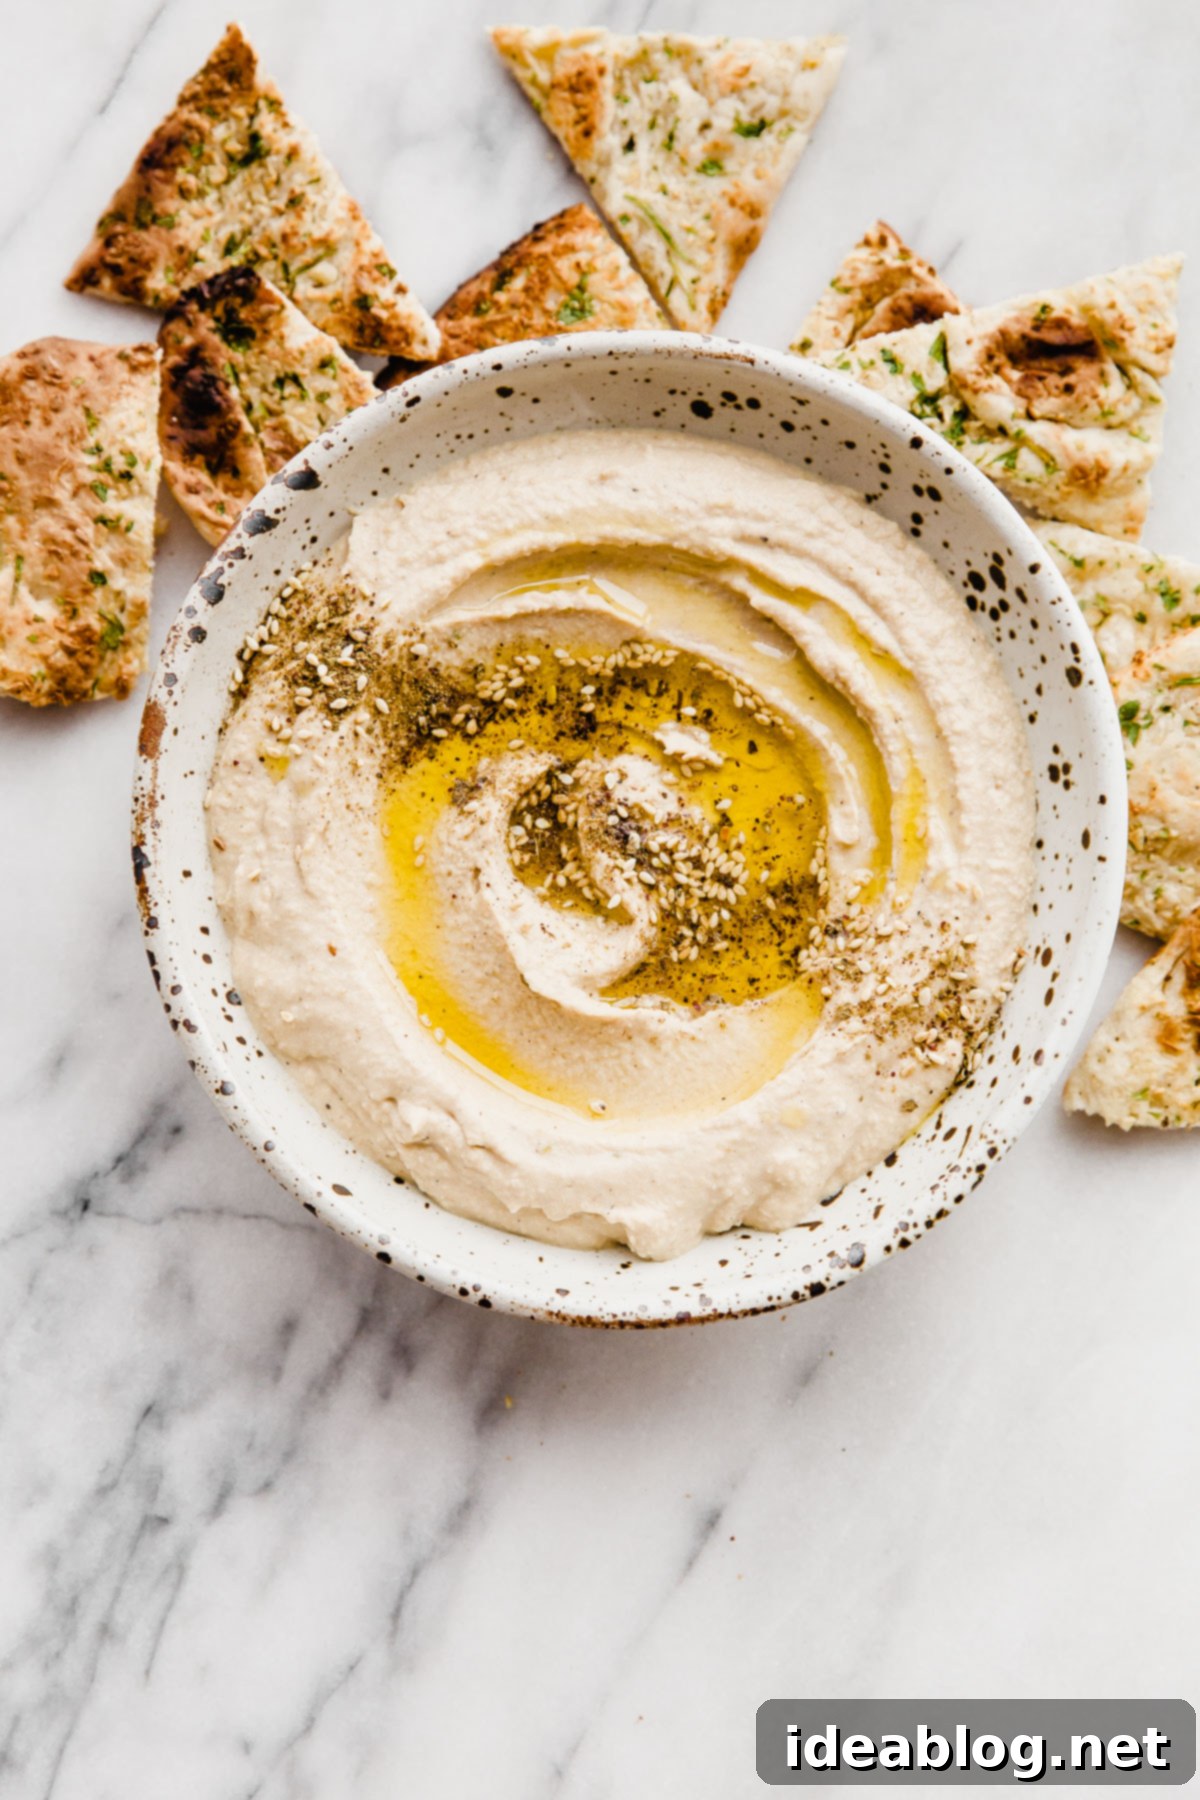
Effortless Homemade Hummus: Creamy, Velvety, and Ready in Minutes with Canned Chickpeas
Discover the secret to making the world’s easiest and most delicious homemade hummus! This recipe is designed for speed and simplicity, utilizing canned chickpeas to deliver a supremely creamy, flavorful dip in just minutes. Plus, we’ll dive into my favorite recipe variation: a smoky, subtly spicy roasted garlic serrano chile hummus that will elevate your appetizer game to new heights.
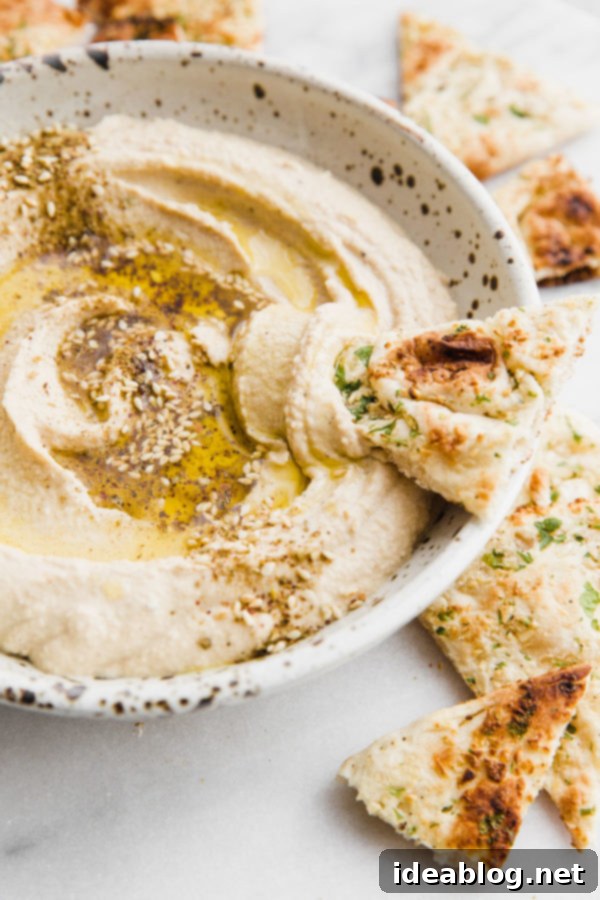
Hummus has long been a staple in kitchens around the globe, cherished for its smooth texture, rich flavor, and incredible versatility. While store-bought options are readily available, nothing quite compares to the fresh taste and vibrant profile of homemade hummus. It’s not just a dip; it’s a healthy, satisfying appetizer, a perfect spread for sandwiches, or a wholesome addition to any meal. And the best part? It’s remarkably simple to prepare, making it an ideal recipe for busy weeknights or impromptu gatherings.
My version focuses on keeping things incredibly straightforward without compromising on taste or texture. Forget the lengthy process of soaking and cooking dried chickpeas; we’re embracing the convenience of canned garbanzo beans, proving that exceptional hummus is achievable with minimal effort. This recipe has become a consistent favorite in our home, often disappearing from the fridge faster than I can make it!
If you’re seeking a reliable, crowd-pleasing snack that’s both healthy and bursting with flavor, this homemade hummus recipe is a must-keep. Its inherent goodness and impressive taste make it my go-to appetizer choice, perfect for entertaining friends and family or simply enjoying a wholesome treat yourself.
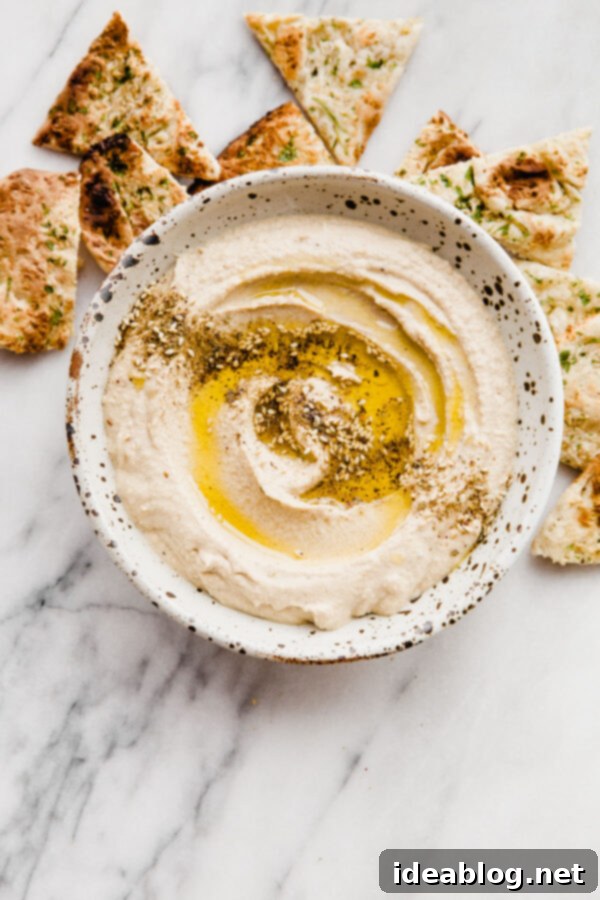
Why Choose Homemade Hummus? Beyond the Basics
While I’m certainly not opposed to the convenience of store-bought hummus, there are compelling reasons to make your own. For starters, homemade hummus is significantly more affordable, especially when you consider how often you might enjoy it. Furthermore, it takes less than 10 minutes to whip up a batch, making it a quick and satisfying kitchen project. The ultimate advantage, however, lies in its customizability. When you make hummus from scratch, you have complete control over the ingredients, allowing you to tweak and perfect the flavors to suit your exact preferences. You can also get creative with various add-ins, transforming a classic dip into something truly unique.
Unleash Your Creativity: Make Your Own Hummus Flavors
This recipe provides a fantastic base for experimentation. You can keep it classic and simple, or venture into exciting flavor profiles. My personal favorite twist involves dry-roasted garlic and serrano chile, which introduces a delightful touch of heat and a complex smokiness that perfectly complements the creamy chickpeas.
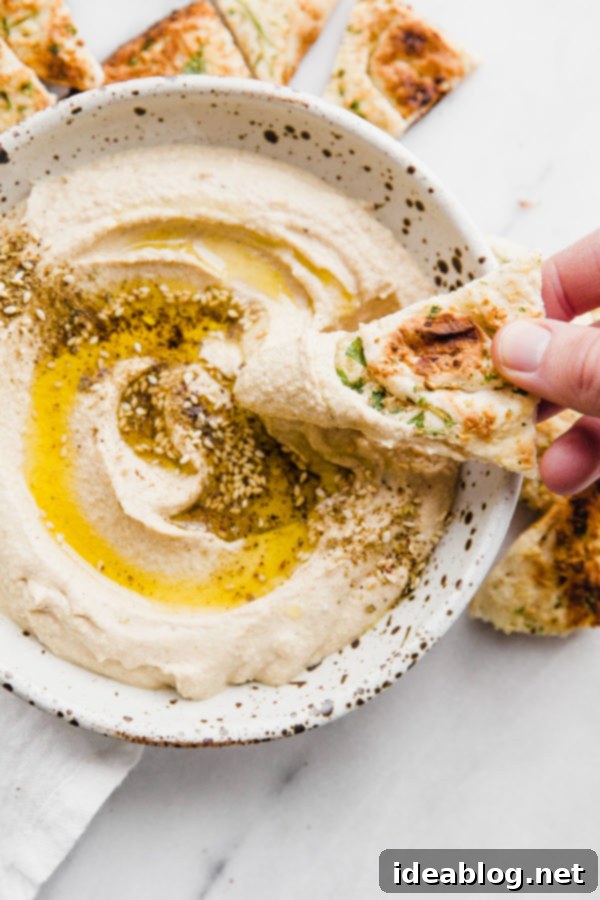
Dry roasting is a simple technique where you char ingredients in a dry skillet on the stovetop. For this variation, we’ll be charring unpeeled garlic cloves (the skin protects them from burning) and a whole serrano chile. This process, while adding an extra 10 to 15 minutes to your prep time, is incredibly rewarding, infusing the hummus with unparalleled depth of flavor. The roasted garlic becomes sweet and mellow, while the serrano chile offers a gentle warmth. To finish, I love a generous drizzle of high-quality extra virgin olive oil and a sprinkle of vibrant za’atar spice, which adds an authentic Middle Eastern aromatic touch.
Below, you’ll find the detailed instructions for both the classic, simple hummus recipe and the ingredients and steps for my beloved roasted garlic-serrano chile variation. Get ready to impress your taste buds!
The Essentials: How to Make Truly Smooth Hummus
Crafting this delicious hummus requires only a handful of common ingredients, most of which I always keep stocked in my pantry. This convenience means I can whip up a batch at a moment’s notice, without the need for an extra trip to the grocery store. It’s the ultimate grab-and-blend recipe for healthy snacking.
As mentioned, for this recipe, we deliberately bypass soaking or cooking dried chickpeas from scratch. While traditionalists might argue that cooking dried chickpeas yields a slightly superior texture, it’s not always practical for everyday life. Modern living calls for recipes that can be effortlessly thrown together with minimal planning or extensive effort. Rest assured, canned chickpeas are an excellent, time-saving alternative that still produce wonderfully creamy and flavorful hummus.
Key Ingredients for the Perfect Hummus:
- Canned Chickpeas (Garbanzo Beans): The foundation of our hummus. Always drain and rinse them thoroughly to remove excess sodium and improve the overall flavor. This step is crucial for a fresh taste.
- Pure Tahini Paste: This is arguably the most vital component for authentic hummus. Tahini, a paste made from ground sesame seeds, provides that characteristic nutty depth and silky richness. Do not skimp on quality here! I highly recommend keeping a good jar of tahini in your fridge; it’s also fantastic for salad dressings and sauces, such as my easy lemon tahini sauce, which pairs beautifully with almost everything. Soom is an excellent brand known for its smooth texture and rich flavor, but any high-quality tahini will work.
- Fresh Garlic: Depending on your preference, use raw or dry-roasted garlic. Raw garlic offers a pungent, sharp kick, while dry-roasted garlic becomes mellow, sweet, and smoky, as described in our variation.
- Fresh Lemon Juice: This brightens the flavor profile of the hummus, adding a necessary tang and balance. Adjust the amount to your liking; some prefer a more lemon-forward hummus, while others prefer a subtler hint.
- Extra Virgin Olive Oil: Essential for both flavor and richness. It contributes to the luxurious mouthfeel and helps to emulsify the ingredients for a smoother blend. A good quality olive oil can make a significant difference.
- Kosher Salt and Freshly Ground Black Pepper: These basic seasonings are critical for enhancing all the other flavors. Always taste and adjust as you go.
- Ice Cold Water: This is the secret weapon for achieving an exceptionally smooth, airy, and traditional hummus texture without needing to peel the chickpeas. The cold water helps to emulsify the tahini and chickpeas, creating a wonderfully light and creamy consistency. It truly makes a noticeable difference in the final product.
The Great Debate: Is Peeling Chickpeas Truly Worth It?
For a long time, I was a firm believer that peeling chickpeas was a non-negotiable step for achieving the silkiest hummus. This meticulous process involves gently rubbing the cooked chickpeas between your fingers to remove their thin, papery skins, which can indeed contribute to a slightly grainier texture if left on. Many traditional recipes advocate for this labor-intensive step, promising a superior creamy result.
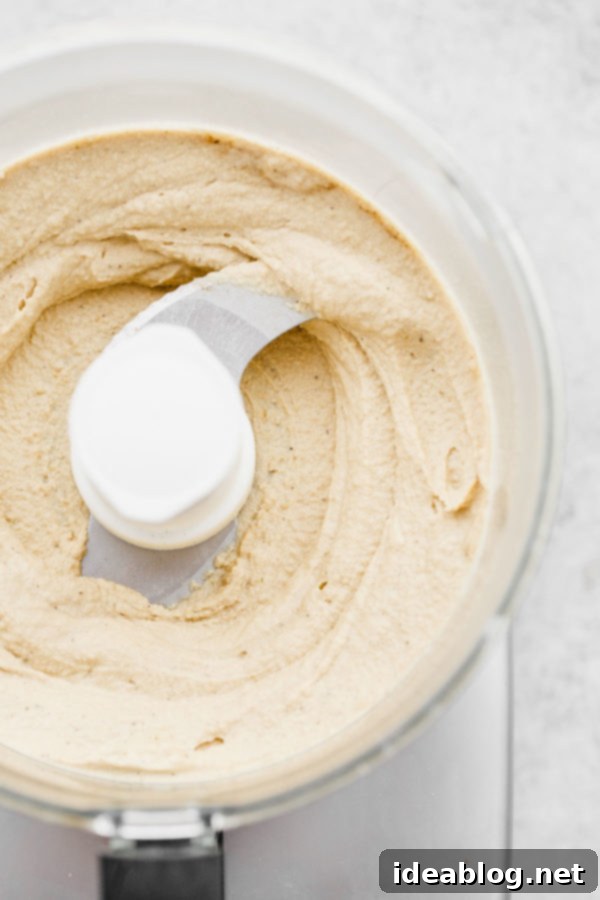
However, after extensive experimentation, I’ve discovered a much simpler and equally effective method: the power of ice-cold water. By incorporating ice-cold water during the blending process, you can achieve an exceptionally smooth and luscious hummus without the tedious task of peeling each individual chickpea. This technique helps to create a stable emulsion and prevents the hummus from becoming too thick or pasty, resulting in that desirable airy, creamy texture. It saves a significant amount of time and effort, making homemade hummus a truly quick and convenient option. Plus, leaving the skins on means you retain all the beneficial fiber found in chickpeas, making your dip even healthier!
Essential Equipment for Smooth Hummus
To prepare this recipe, you will need a good-quality food processor or a high-powered blender, such as a Vitamix. These appliances are essential for breaking down the chickpeas and tahini into a perfectly smooth and creamy consistency. A sturdy food processor is usually my preferred tool for hummus, as it handles the thick texture with ease, but a powerful blender can also achieve excellent results.
Creative Serving Ideas for Your Homemade Hummus
Once your fresh, creamy hummus is ready, the serving possibilities are endless! It’s fantastic with classic accompaniments like fresh raw vegetables (carrots, celery, bell peppers, cucumbers), crunchy rice crackers, or warm, toasted naan and pita bread. Beyond these traditional pairings, consider using your homemade hummus as:
- A base for vibrant hummus avocado toast.
- A flavorful filling for Greek-Style potato skins.
- A delicious dip for homemade falafel bites.
- A spread for wraps and sandwiches, adding moisture and protein.
- A dollop in grain bowls or salads for extra creaminess and flavor.
- A unique sauce for grilled chicken, fish, or roasted vegetables.
- A creative base for mini pizzas or flatbreads.
No matter how you choose to enjoy it, homemade hummus is a versatile and healthy addition to any meal or snack.
How to Make Hummus
Pin
Review
SaveSaved!
Equipment
-
Magimix Food Processor (or any high-quality food processor or high-powered blender)
Ingredients
Optional Flavor Boosters:
- 3 medium garlic cloves, unpeeled optional for dry-roasting (*if not dry-roasting, substitute with only 1 finely grated fresh garlic clove)
- 1 serrano pepper optional, for a subtle heat and smoky flavor
For the Hummus:
- 1 can (15-ounce) garbanzo beans (chickpeas) drained and rinsed exceptionally well
- ⅓ cup high-quality tahini paste I highly recommend a smooth, good-quality brand like Soom for the best flavor and texture
- 3-4 tablespoons fresh lemon juice adjust to your desired tartness and taste preference
- 1 tablespoon extra virgin olive oil adds richness and helps create a smooth consistency
- ¾ teaspoon kosher salt or to taste
- ¼ teaspoon freshly ground black pepper or to taste
- 2-3 tablespoons ice cold water crucial for achieving an extra smooth and airy texture; add gradually as needed to reach your preferred consistency
For Serving & Garnish:
- extra virgin olive oil for a final, generous drizzle
- 1 teaspoon za’atar spice blend or sumac for sprinkling on top, adding authentic flavor and color
- toasted sesame seeds optional, for added crunch and sesame flavor
Instructions
-
(Optional: If making the roasted garlic and serrano pepper variation): Begin by placing the unpeeled garlic cloves and the whole serrano chile in a small, dry skillet. Place the skillet over medium heat on your stovetop. Allow the garlic cloves and chile to dry roast for approximately 10 to 12 minutes. You’ll notice changes starting around the 5-minute mark. Flip them once or twice during this time until they develop distinct charred black spots on their skins. Carefully remove the serrano chile from the skillet and transfer it to a cutting board. Continue dry roasting the garlic cloves for an additional 3 to 5 minutes, or until they are well-charred in spots and begin to feel noticeably soft when pressed. Once done, transfer the garlic cloves to the cutting board with the chile and let them cool slightly, making them easier to handle.
-
Once cooled, trim off the stem of the serrano chile and slice it in half lengthwise. Using a spoon or the tip of a knife, gently scrape out and discard the seeds and ribs (refer to the notes section for more on adjusting heat). For the garlic, simply remove and discard the charred skins from the cloves. The roasted garlic cloves should now be beautifully charred, intensely fragrant, and soft enough to easily mash.
-
Prepare the Hummus: In the bowl of a large food processor (or high-powered blender), combine the well-drained and rinsed chickpeas, the peeled roasted garlic cloves (or 1 finely grated fresh garlic clove if you’re making the classic version), the roasted serrano chile (if using), tahini paste, fresh lemon juice, extra virgin olive oil, kosher salt, and ground black pepper.Process all the ingredients until they form a thick, relatively smooth paste. Stop occasionally to scrape down the sides of the bowl with a spatula, ensuring all ingredients are evenly incorporated and blended. Continue processing, and while the machine is running, gradually add the ice-cold water, one tablespoon at a time. Blend until your desired texture is reached. I personally prefer a looser, more traditional hummus that’s incredibly creamy and airy. Taste the hummus and adjust the seasoning as needed, adding more salt, pepper, or lemon juice to balance the flavors.
-
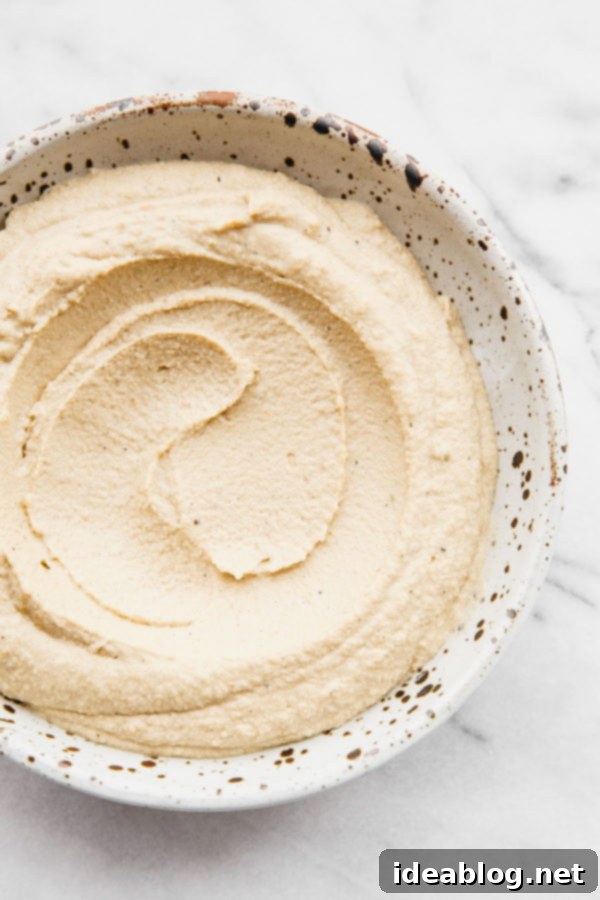
To Serve: Spoon the freshly made hummus into a wide, shallow serving bowl. Use the back of a large spoon to create an inviting swirl or a slight divot on the surface of the hummus – this not only looks appealing but also provides a perfect little well for the olive oil drizzle. Just before serving, generously drizzle with additional extra virgin olive oil and sprinkle with a vibrant dusting of za’atar spice blend or sumac for authentic flavor and visual appeal. If desired, you can also sprinkle with toasted sesame seeds for an extra nutty crunch. Serve immediately with your favorite dippers.
Storage: Any leftover hummus can be stored in an airtight, covered container in the refrigerator for up to 5 days. It’s normal for hummus to thicken slightly in the fridge; if you prefer a looser consistency upon serving, simply stir in a small splash of cold water or a tiny bit of olive oil until it reaches your desired texture. Always re-season with a pinch of salt if needed after adjusting the consistency.
Making homemade hummus is a rewarding culinary experience that offers superior flavor, cost savings, and endless possibilities for customization. With this easy recipe and my secret tip for achieving silky smoothness using ice-cold water, you’ll be creating restaurant-quality hummus in your own kitchen in no time. Whether you opt for the classic version or venture into the smoky, spicy delight of the roasted garlic serrano chile variation, this versatile dip is sure to become a beloved favorite in your home. Gather your ingredients, fire up your food processor, and get ready to enjoy the freshest, most delicious hummus you’ve ever tasted!
