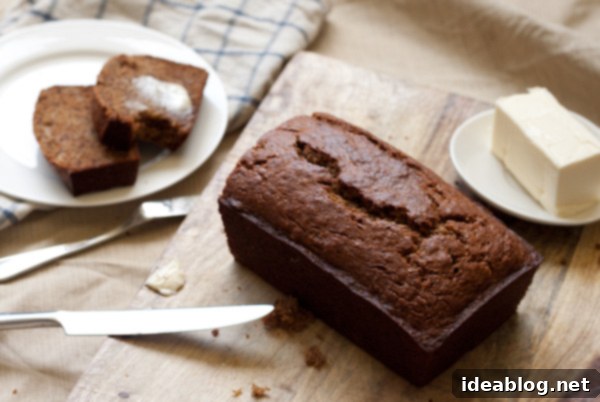
Irresistibly Flavorful Brown Butter Banana Bread: A Healthier, Simple Recipe
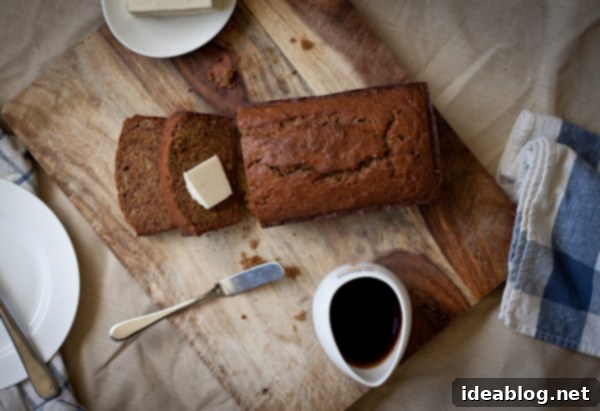
There’s nothing quite like the comforting aroma of freshly baked banana bread wafting through your home. This particular recipe takes that classic comfort to a whole new level with the addition of rich brown butter, alongside the wholesome goodness of whole wheat and almond flour. It’s simple to make, yet incredibly rewarding, offering a depth of flavor and a touch of added nutrition that makes it stand out from your everyday loaf.
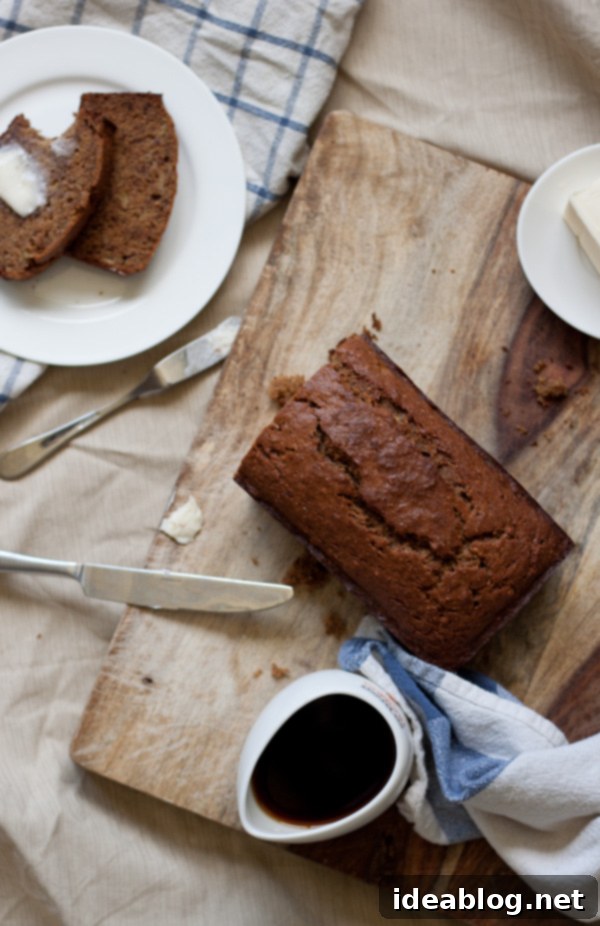
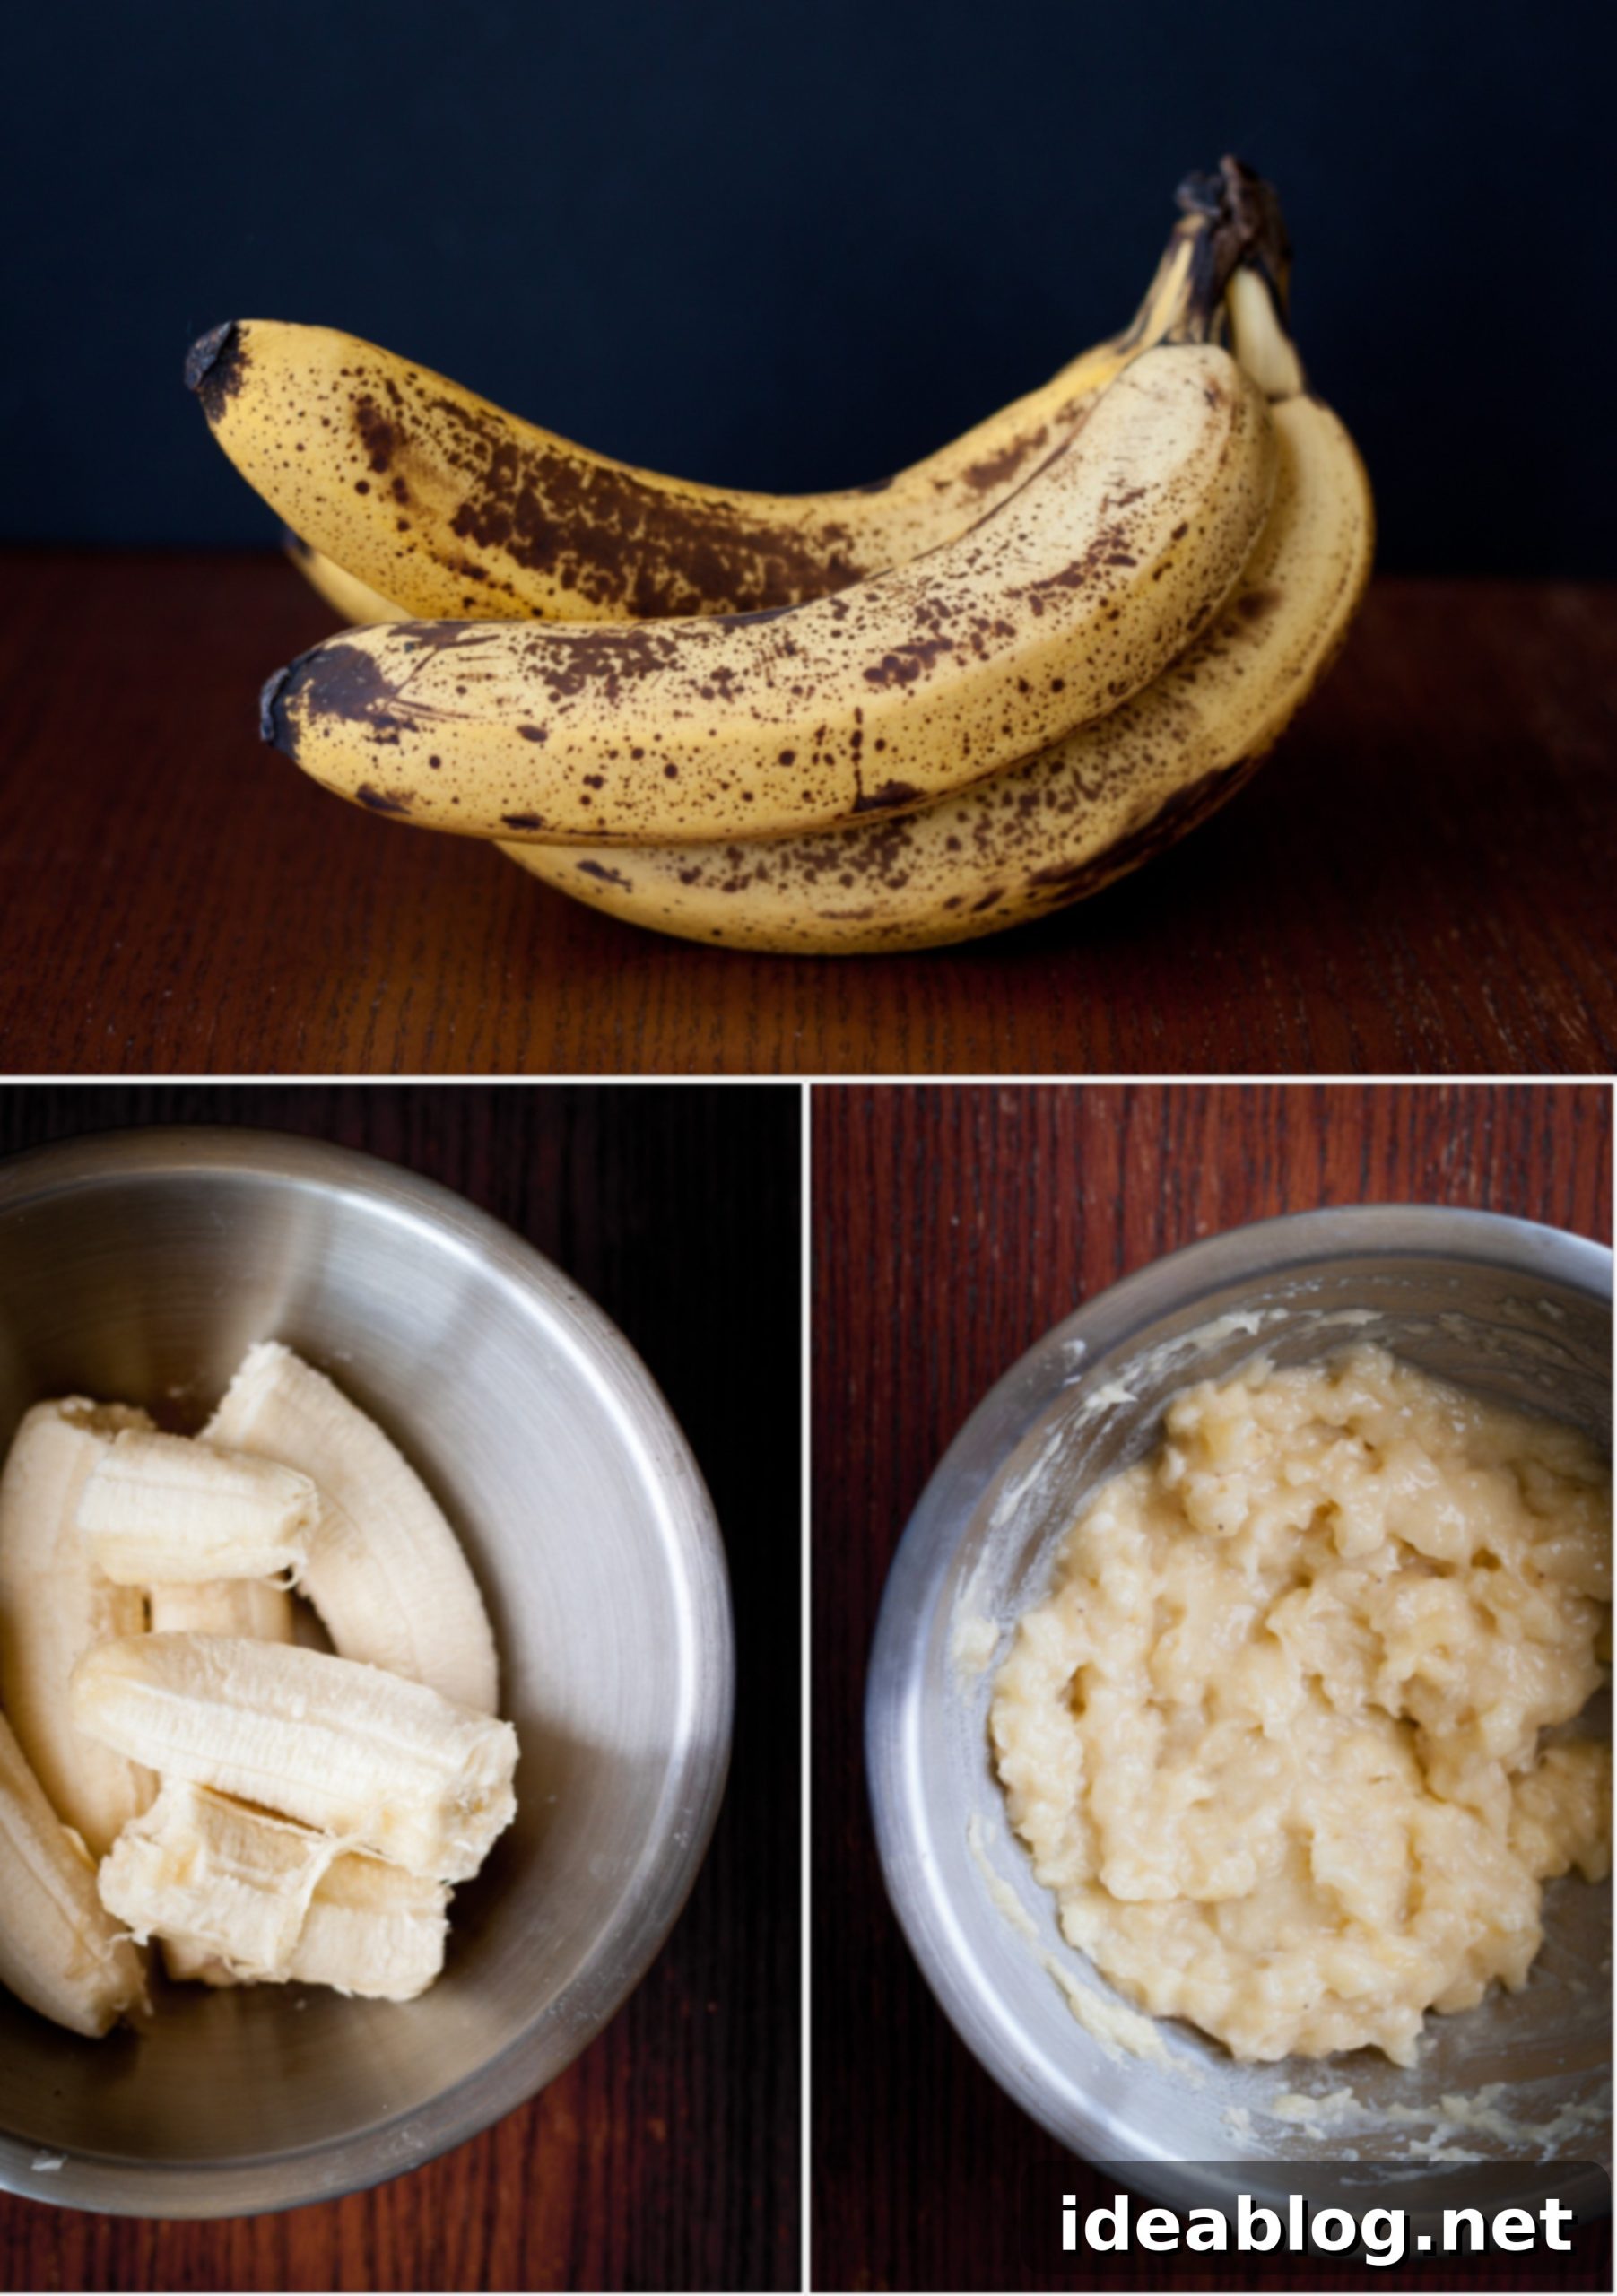
Do you ever find yourself with a mountain of overripe bananas, wondering what on earth to do with them all? My pantry seems to have a mind of its own lately. My partner, Connor, and I have been experiencing a peculiar case of grocery store amnesia, consistently picking up a new bunch of bananas each week, only to return home and discover our fruit bowl is practically overflowing. Before you know it, those perfectly yellow bananas transform into speckled, deeply browned beauties – ideal for baking, but demanding a creative outlet!
While frozen banana smoothies are a wonderful way to utilize excess fruit, there’s a limit to how many you can enjoy before the baking urge kicks in. And honestly, it’s hardly a “tough life” when it leads to delectable treats like this moist, flavorful banana bread. It’s a sweet problem with an even sweeter solution!
The Secret Ingredient: Brown Butter Magic
This brown butter banana bread isn’t just another banana bread recipe; it’s an elevated version of a beloved family classic. It’s a simple yet ingenious twist on the healthy banana bread my mom used to bake for us all the time when I was growing up. The secret to its unparalleled flavor lies in one magical ingredient: brown butter. If you’ve never experienced the transformative power of brown butter, prepare to have your world (and your baking) changed forever.
Let’s demystify butter for a moment. Butter is composed of three primary elements: fat, milk solids, and water. Most standard American butter contains about 80% pure butterfat, while European butters often boast a slightly higher percentage, typically around 83-84%. This higher butterfat content is often preferred by pastry chefs for its superior performance and flavor. The remaining 20% of butter is made up of water and those all-important milk solids. When you make clarified butter (ghee), you essentially evaporate the water and separate out these milk solids, which are responsible for butter burning easily at relatively low temperatures.

Brown butter, or *beurre noisette*, takes things one delicious step further. Instead of removing the milk solids, you intentionally allow them to cook. As the butter melts and the water evaporates, these milk solids sink to the bottom of the pan and begin to caramelize and brown. This browning process develops an incredible depth of flavor that is truly unique. It imparts a nutty, toasted, almost caramel-like aroma and taste that is incredibly fragrant and complex. It’s a flavor enhancer that can elevate countless dishes, from savory to sweet.
However, there’s a crucial distinction to be made: the delicate line between perfectly browned butter and sadly burnt butter. Trust me, you’ll know the difference the moment you smell it. During my culinary school days, I regrettably had to discard many a pot of butter that had crossed that line, usually when my attention wandered for just a moment too long. The key is constant vigilance and a keen eye. The moment those milk solids turn a rich, golden brown and release that unmistakable nutty fragrance, remove the pan from the heat immediately and transfer the brown butter to a separate bowl to stop the cooking process. The reward for your attentiveness will be a batch of butter infused with an extraordinary, rich flavor that will transform your banana bread into something truly special.
Wholesome Grains and Nutty Goodness
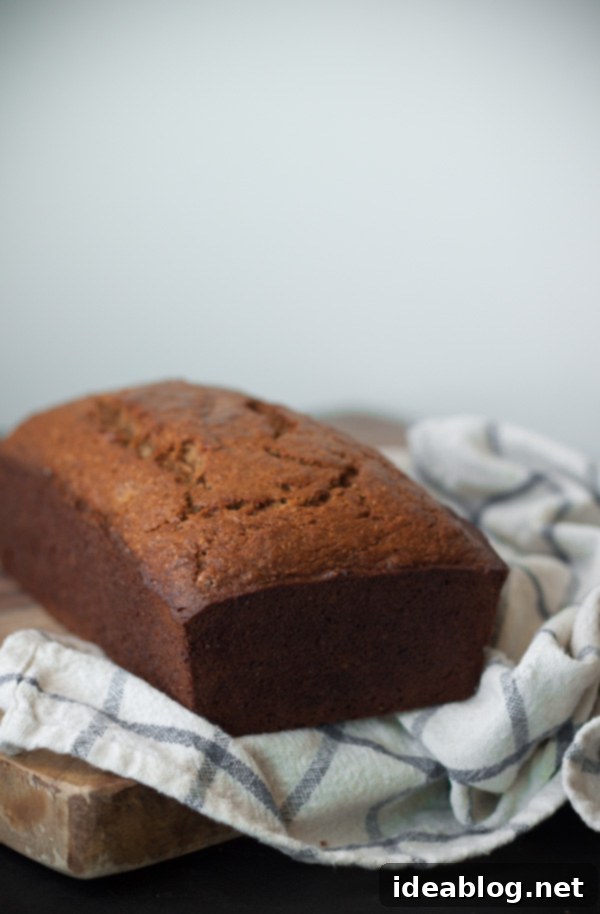
Beyond the brown butter, what truly makes this banana bread recipe shine, both in flavor and nutrition, is the thoughtful combination of flours. We’re using a blend of whole wheat flour and fine almond flour. This isn’t just an arbitrary choice; each flour plays a significant role in creating the perfect loaf.
Whole wheat flour brings a hearty, wholesome texture and a deeper, more complex flavor profile than traditional all-purpose flour. It’s packed with fiber and nutrients, making your banana bread a little more virtuous without sacrificing deliciousness. Its slightly coarser texture also provides a satisfying bite that complements the moistness of the bananas.
Almond flour, on the other hand, contributes a wonderful tenderness and subtle nutty flavor that harmonizes beautifully with the brown butter. It also adds healthy fats and protein, further boosting the nutritional value of the bread. Its fine texture helps to keep the crumb light and moist, preventing the loaf from becoming too dense, which can sometimes happen with 100% whole wheat recipes. Together, these flours create a perfectly balanced banana bread that’s rich in flavor, delightful in texture, and offers a healthier spin on a beloved classic.
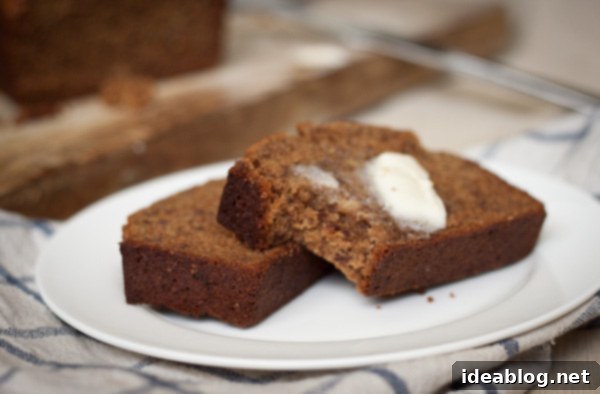
To truly elevate this brown butter banana bread to an unforgettable dessert, consider drizzling it with a simple brown butter glaze once it has cooled. The glaze will echo the nutty notes of the butter within the bread, adding an extra layer of sweetness and sophistication. It’s an optional step, but one that is highly recommended for those who love an extra touch of indulgence.
Baking Tips for the Perfect Loaf
Achieving the perfect loaf of banana bread is simpler than you might think, especially with a few key considerations. First and foremost, the bananas themselves are crucial. You want bananas that are very ripe – we’re talking about skins that are heavily speckled with brown or even almost entirely black. The riper the banana, the sweeter it will be, and the more intense that natural banana flavor will become, resulting in a more flavorful and moist bread. Don’t be shy about letting your bananas get truly past their prime for this recipe!
When it comes to mixing, resist the urge to overmix. Once the wet and dry ingredients are combined, mix just until no streaks of flour remain. Overmixing can develop the gluten in the flour too much, leading to a tough, dense bread rather than a tender, moist one. Gentle folding ensures a perfectly soft crumb.
Baking time can vary slightly depending on your oven, so always rely on the toothpick test. Insert a toothpick into the center of the loaf; if it comes out clean or with only a few moist crumbs attached, your bread is done. If it comes out with wet batter, continue baking for a few more minutes and retest. Overbaking can dry out your banana bread, so keep a close eye on it during the final minutes.
Finally, don’t rush the cooling process. Allow the loaf to cool in the pan for 5 to 10 minutes before carefully inverting it onto a wire rack. This initial cooling in the pan helps the bread to firm up slightly, preventing it from breaking apart when removed. Letting it cool completely on a wire rack allows steam to escape, preventing a soggy bottom and ensuring the perfect texture throughout. Patience is a virtue, especially when the reward is a slice of this irresistible brown butter banana bread.
Serving and Storage Suggestions
This brown butter banana bread is fantastic on its own, perhaps with a cup of coffee or tea. But don’t hesitate to get creative! As mentioned, a brown butter glaze is a magnificent addition. You could also stir in some chocolate chips or chopped nuts (walnuts or pecans are excellent choices) to the batter before baking for extra texture and flavor. A sprinkle of flaky sea salt on top before baking can also enhance the sweetness and nutty notes.
For storage, once completely cooled, wrap your banana bread tightly in plastic wrap or aluminum foil. It will stay fresh at room temperature for up to 3-4 days. For longer storage, it freezes beautifully! Wrap individual slices or the entire loaf tightly in plastic wrap, then again in foil, and freeze for up to 3 months. Thaw at room temperature or gently warm slices in the microwave or oven for a fresh-baked taste experience.
Whether you’re looking for a delightful breakfast, an afternoon pick-me-up, or a comforting dessert, this brown butter banana bread is sure to become a cherished recipe in your collection. Its unique flavor profile and simple preparation make it a perfect treat for any occasion.
Brown Butter Banana Bread
Pin
Review
SaveSaved!
Ingredients
- 8 tablespoons (115g) unsalted butter
- ¾ cup (150g) granulated sugar
- 1¼ cups mashed very ripe banana about 3 medium-sized bananas
- 2 large eggs room temperature
- 1 cup (120g) whole wheat flour
- ½ cup (60g) unbleached all purpose flour
- ½ cup (55g) fine almond flour
- 1 teaspoon baking soda
- 1 teaspoon ground cinnamon
- ½ teaspoon kosher salt
- ¼ teaspoon ground nutmeg
- ⅓ cup (80 mL) boiling or very hot water
Instructions
-
How to Brown Butter: Place the unsalted butter in a small, light-colored saucepan, which will help you monitor the color changes easily. Place it over low to medium-low heat. The butter will first melt, then begin to foam and bubble. Continuously swirl the pan and stir the butter with a whisk or a heat-proof spatula. Keep a close watch; this stage can transition quickly! As the water evaporates, the milk solids will sink to the bottom and begin to caramelize, turning golden brown. Once the butter becomes deeply fragrant with a nutty, toasted aroma and you observe golden-brown specks at the bottom of the pan, remove it from the heat immediately. Transfer the brown butter, including the delicious browned bits, to a small, heatproof bowl to prevent further cooking. Allow it to cool until it reaches lukewarm or room temperature before using in the recipe.
-
Prepare Banana Bread: Preheat your oven to 350°F (175°C) and ensure an oven rack is positioned in the center. Lightly grease a 9 x 5-inch loaf pan with butter or cooking spray, then dust with a little flour if desired. Set aside.
-
In the bowl of a stand mixer fitted with a whisk attachment (or using a large mixing bowl and a hand mixer), combine the cooled brown butter, granulated sugar, and mashed very ripe banana. Mix on medium speed until the ingredients are mostly smooth and well combined. Next, with the mixer running on medium speed, add the large eggs one at a time, beating well after each addition until fully incorporated and the mixture is light and fluffy.
-
In a separate, medium-sized mixing bowl, thoroughly whisk together the whole wheat flour, unbleached all-purpose flour, fine almond flour, baking soda, ground cinnamon, kosher salt, and ground nutmeg. With the stand mixer on low speed, gradually add the dry flour mixture to the wet ingredients in three additions, alternating with two additions of the very hot water. Allow the dry ingredients to be absorbed fully and just combined with each addition, being careful not to overmix. Once all ingredients are added, remove the bowl from the stand mixer. Use a rubber spatula to scrape down the sides and bottom of the bowl, ensuring all ingredients are evenly incorporated and no pockets of dry flour remain.
-
Carefully transfer the banana bread batter into the prepared and greased loaf pan. Use your spatula to gently smooth the surface of the batter. Bake for approximately 55 to 60 minutes, or until a wooden skewer or toothpick inserted into the very center of the loaf comes out clean. If the top begins to brown too quickly, you can loosely tent it with aluminum foil. Once baked, remove the pan from the oven and set it on a wire rack. Allow the banana loaf to cool in the pan for 5 to 10 minutes. This cooling period helps the bread to set before you attempt to remove it. After this time, gently remove the loaf from the pan and allow it to cool completely on the wire rack before slicing and serving for the best texture and flavor.
