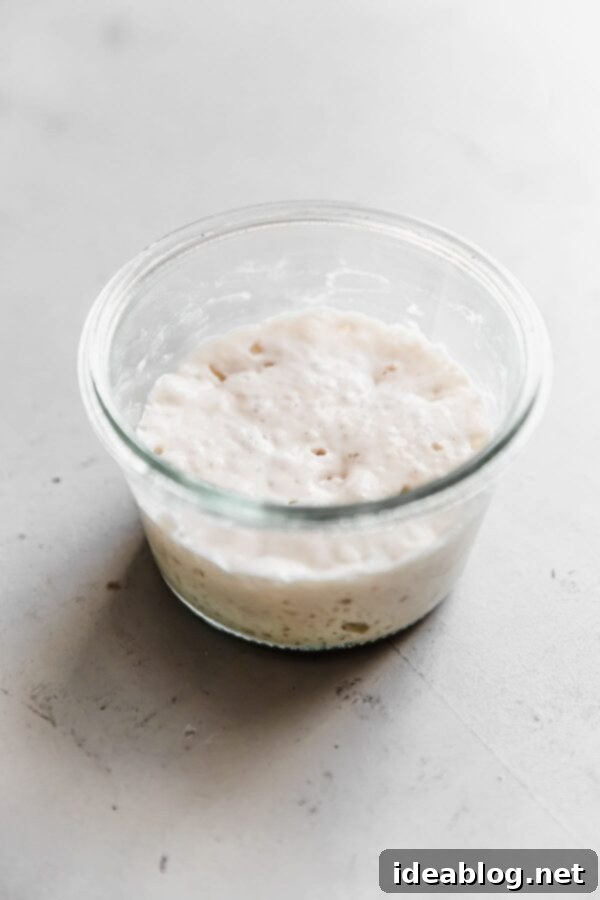
Reviving Dried Sourdough Starter: Your Comprehensive 5-Day Guide to a Bubbly, Active Culture
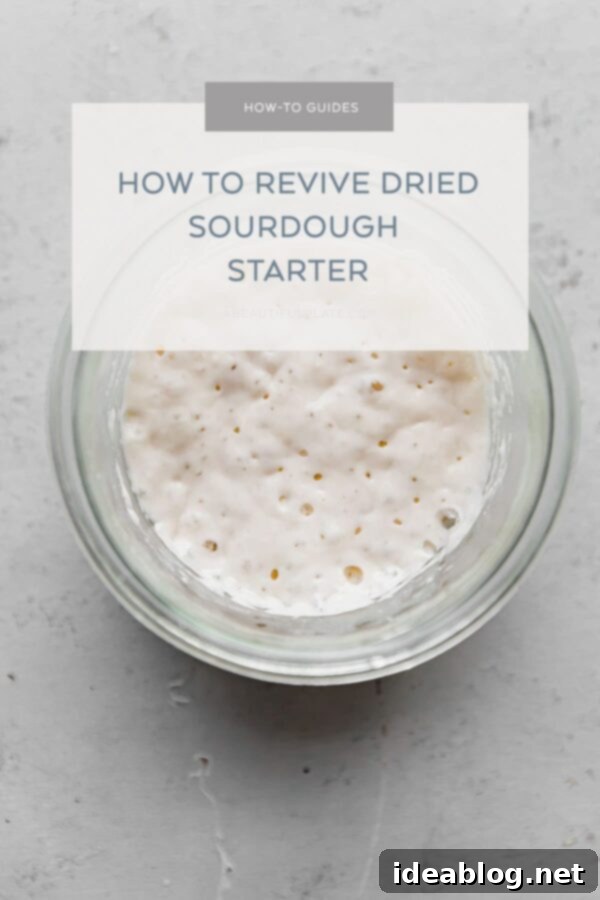
So, you’ve mastered the art of drying your sourdough starter for long-term storage, travel, or to share with fellow baking enthusiasts. Fantastic! But the journey doesn’t end there. The next crucial step is learning how to successfully revive that dormant, dried starter back to its vibrant, bubbly, bread-making glory.
This comprehensive, step-by-step guide is designed to walk you through the entire rehydration process, transforming your dried sourdough starter into a robust, full-strength culture in less than a week. We’ll meticulously detail each day’s actions, providing invaluable observation notes and helpful photographs to ensure your success. You’ll find a printable summary of the guide towards the end of this article for easy reference in your kitchen.
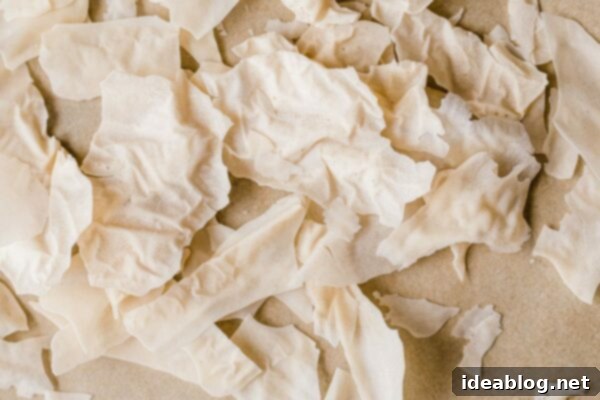
To minimize waste and manage the process effectively, this guide utilizes very small quantities of dried sourdough starter, flour, and water. Precision is key, so make sure to have a reliable basic kitchen scale on hand before you begin.
Once your starter has been successfully rehydrated and has regained its full strength, you can easily scale up its quantity by maintaining the same feeding ratios. This flexibility allows you to prepare as much active starter as you need for your baking projects. For any unexpected challenges or questions along the way, our sourdough starter troubleshooting guide offers additional insights and solutions.
Essential Equipment for Reviving Your Sourdough Starter
Having the right tools makes the revival process smooth and efficient. Here’s what you’ll need:
- Glass Jar(s) with Lid(s): Opt for clear glass jars to easily observe the starter’s activity. Smaller jars are ideal for this low-waste method. (*I highly recommend 10 oz Weck jars for their perfect size and secure lids.)
- Small Spatula: A flexible spatula is perfect for mixing the starter, ensuring all ingredients are thoroughly combined and scraped down the sides of the jar.
- Basic Kitchen Scale: This is non-negotiable for accurate measurements, especially when working with small quantities of starter, flour, and water. Consistency in ratios is vital for successful revival.
Key Ingredients You’ll Need
The quality of your ingredients directly impacts the health and vitality of your revived starter:
- Dried Sourdough Starter: The star of the show! Ensure it’s been properly dried and stored.
- Unbleached Bread Flour: This type of flour provides the necessary nutrients for your starter to thrive. Unbleached varieties are generally preferred as they retain more natural enzymes. (*I consistently recommend King Arthur brand for its reliability and high protein content, which is excellent for sourdough.)
- Filtered Water: Tap water can contain chlorine or chloramine, which can inhibit yeast and bacterial activity. Filtered or spring water is ideal for providing a clean, hospitable environment for your starter. Aim for room temperature or slightly warm water (around 76°F/24°C) for most feedings, unless specified otherwise.
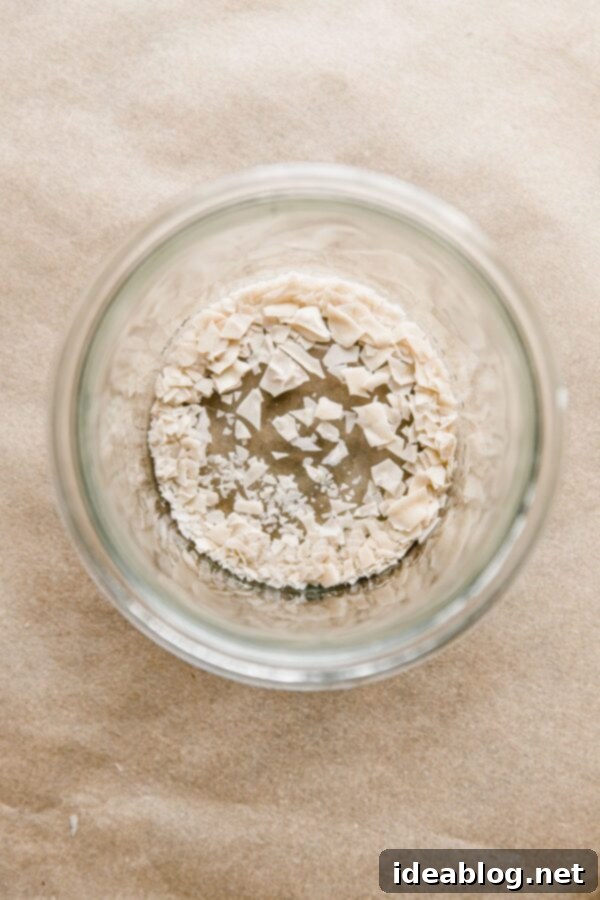
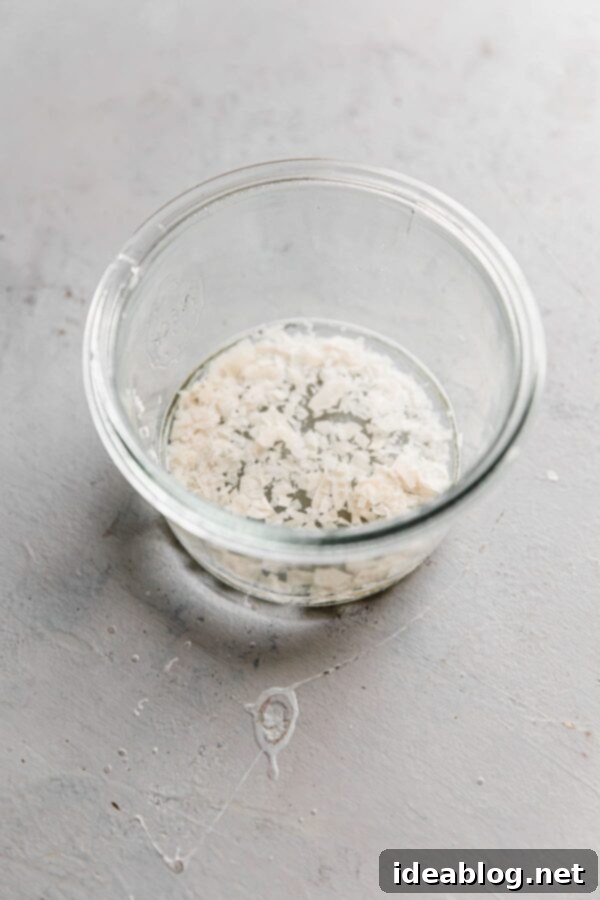
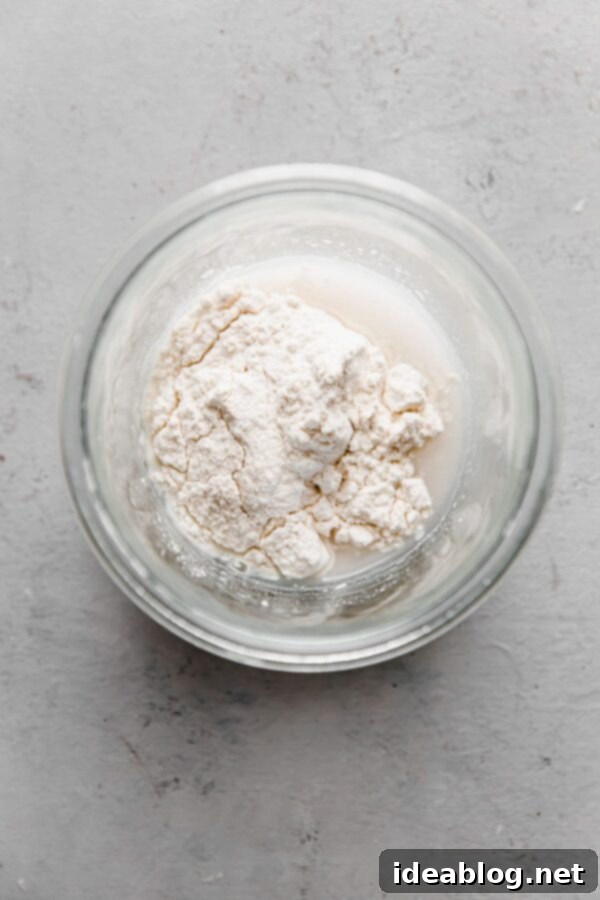
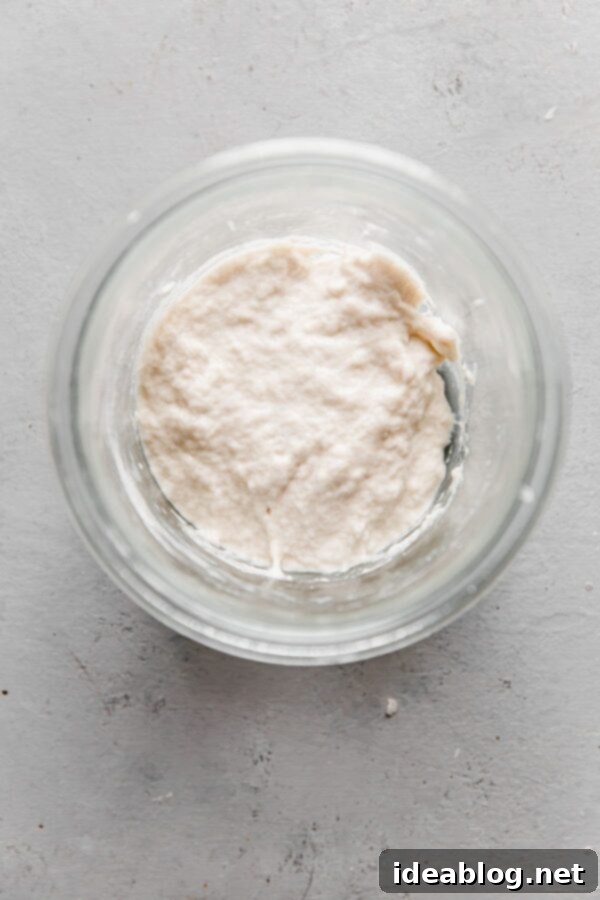
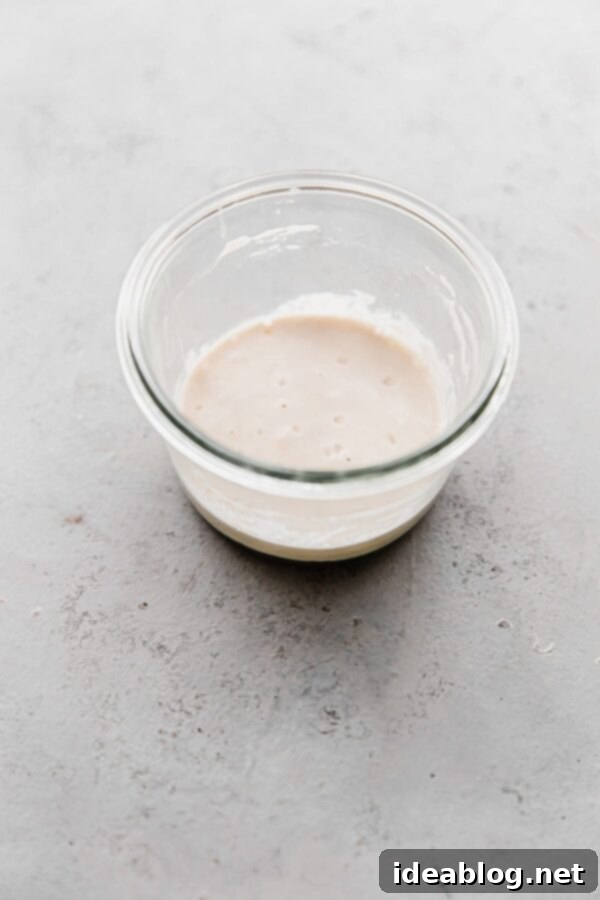
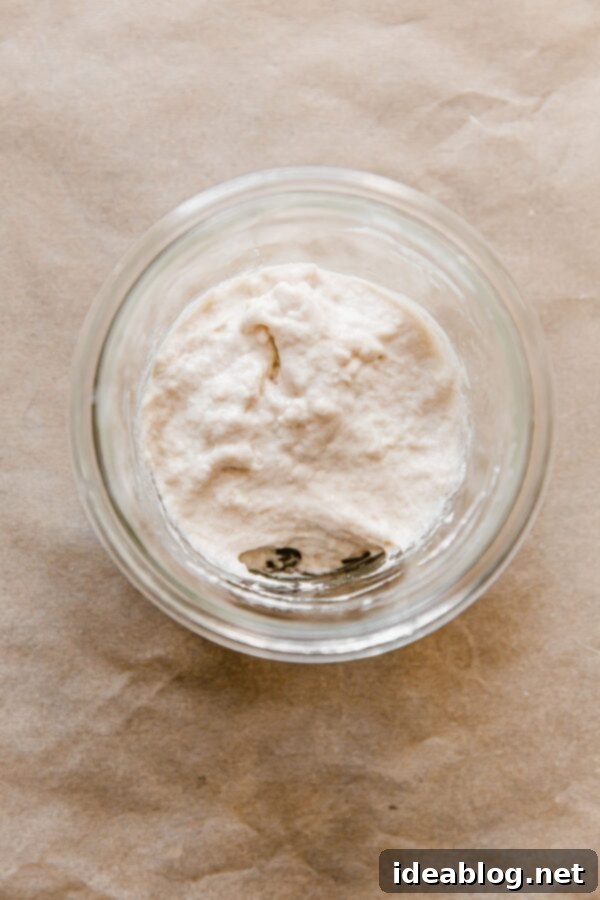
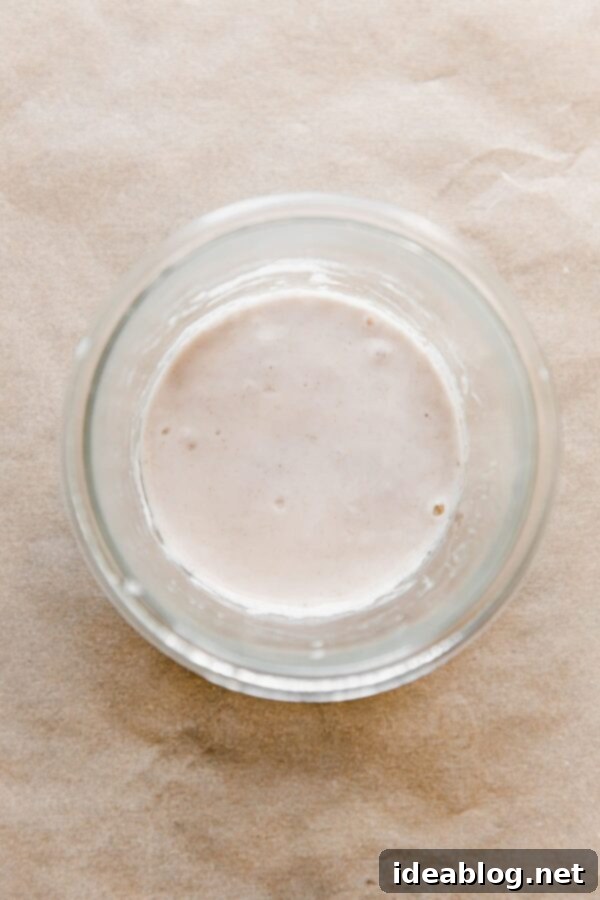
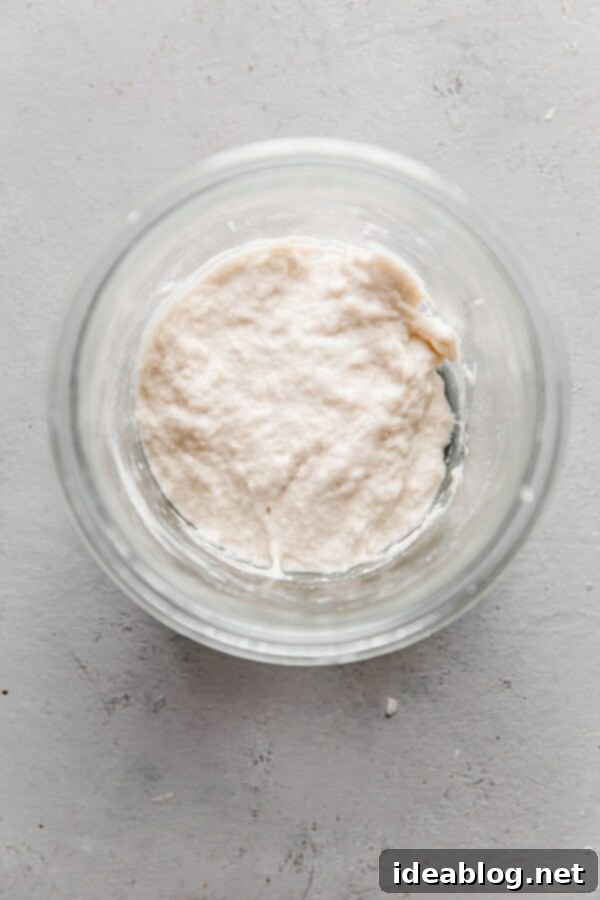
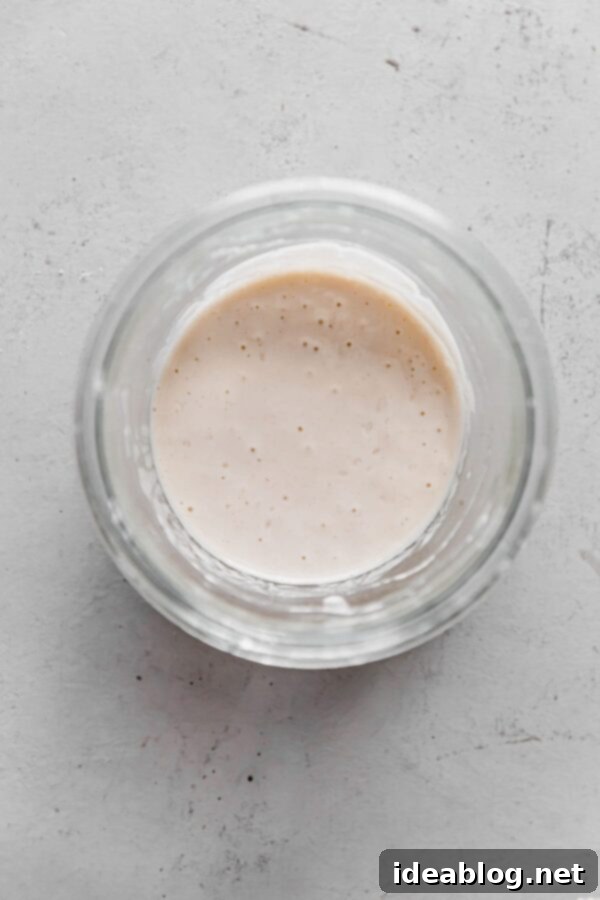
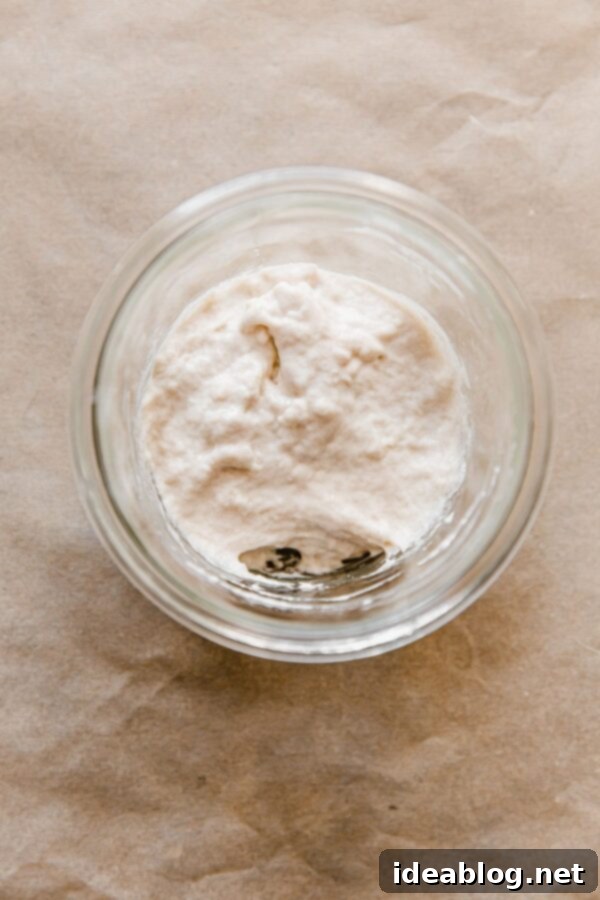
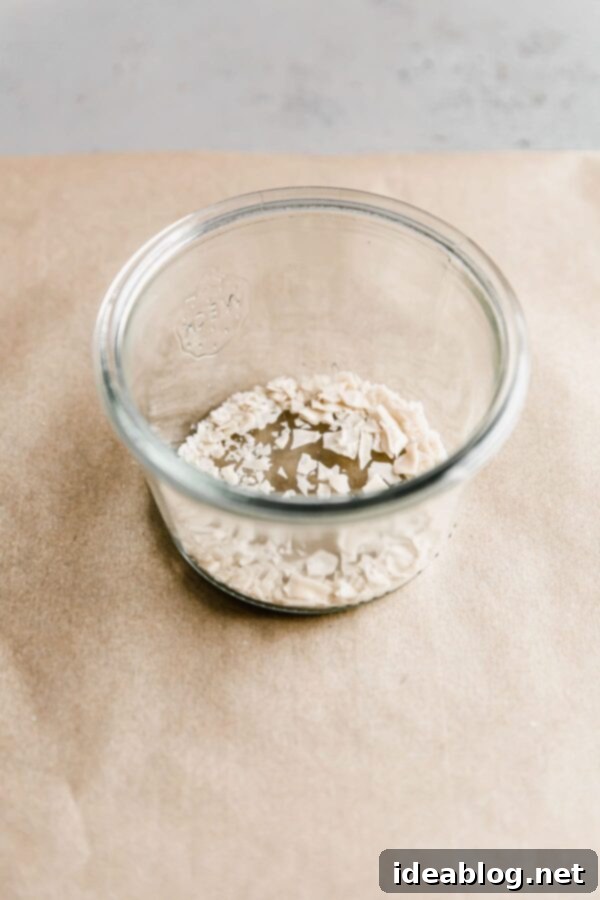
Understanding the state of your dried starter and the initial rehydration process is crucial. The following images provide visual context for the early stages of revival.
Day One – Morning: The Initial Rehydration
This is where the magic begins! Your goal for day one is to gently reawaken the dormant yeasts and bacteria in your dried starter.
- Combine: Measure out 5 grams of finely crumbled dried sourdough starter into a small glass jar. Crumbling it finely helps with quicker rehydration.
- Add Water: Pour in 25 grams of filtered water, ideally warmed to 100°F (38°C). The slightly warm water helps to gently coax the dormant microorganisms back to life.
- Mix: Stir the mixture thoroughly until all the dry starter is completely submerged and dissolved in the water. It should resemble a milky, thin paste.
- Initial Rest: Cover the jar with a lid (not airtight, just resting on top) and let the mixture sit for one hour at approximately 76°F (24°C), or simply at a warm room temperature. This initial soak gives the dried starter time to fully absorb the water.
After this initial rehydration period, it’s time for the first feeding to provide essential nutrients.
- First Feeding: After the hour-long soak, add 20 grams of unbleached bread flour (King Arthur brand is highly recommended) to the mixture.
- Combine: Use your small spatula to stir until the flour is completely incorporated and no dry streaks remain. The mixture will be quite thin at this stage. Note: We are intentionally using slightly more water than flour in this first feeding. A thinner, more hydrated starter provides an optimal environment for the reawakening yeast and bacteria to become active.
- Storage: Cover the jar again with a lid and store it at 76°F (24°C) or a consistent warm room temperature for the next 24 hours. A warmer environment aids faster microbial activity.
Day Two – Morning: Observing the First Signs
Patience is a virtue in sourdough baking, especially during revival. Don’t be discouraged by minimal activity at this stage.
- Observations: When you check on your starter, it will likely appear very smooth and still quite dormant. Expect little to no visible bubbles on the surface or sides of the jar. This is perfectly normal; the microorganisms are just beginning to re-establish themselves and consume the new food.
- Second Feeding: Discard all but 10 grams of your starter mixture. This step is crucial for managing the volume of your starter and ensuring that the newly added food goes to a concentrated, active portion, preventing the accumulation of too much acidic waste.
- Add Ingredients: To the remaining 10 grams, add 25 grams of unbleached bread flour and 25 grams of room temperature filtered water.
- Mix & Store: Stir thoroughly with a spatula until well combined. Cover loosely with a lid and store at 76°F (24°C) or room temperature for another 24 hours. Maintaining a consistent temperature is key to encouraging steady growth.
Day Three – Morning: Glimmers of Life
By day three, you might start seeing subtle hints of activity, a promising sign that your starter is waking up.
- Observations: The mixture will still look predominantly smooth, but its texture might be slightly thinner due to some initial enzymatic activity. You might observe a few small bubbles forming on the surface, or perhaps clinging to the sides of the jar. While it won’t be a bubbly powerhouse yet, any sign of bubbles indicates progress.
- Third Feeding: Once again, discard all but 10 grams of your starter mixture. This consistent feeding schedule with discards helps to strengthen the desirable yeast and bacteria populations.
- Add Ingredients: Combine the remaining starter with 25 grams of unbleached bread flour and 25 grams of room temperature filtered water. This maintains a 1:2.5:2.5 ratio (starter:flour:water) which is optimal for a balanced culture.
- Mix & Store: Stir well with your spatula until thoroughly combined. Cover the jar and store it at 76°F (24°C) or a stable room temperature for another 24 hours. Consistency in temperature and feeding is paramount for a successful revival.
Day Four – Morning: Building Momentum
You’re nearing the peak of activity! Consistency in care will pay off today.
- Observations: The changes from Day Three morning might still seem subtle. You might notice a slightly increased number of small bubbles on the surface and sides of the jar, indicating growing activity within the culture. The texture should still be relatively smooth, but don’t be alarmed if it’s still not dramatically risen. Remember, every starter is unique, and patience is your best friend. Keep going!
- Fourth Feeding: For this feeding, take 10 grams of the starter mixture. While the original guide mentions discarding the rest, if your starter is showing good progress and you wish to build volume, you can adjust this. However, for consistent revival, sticking to 10g is recommended to focus the feeding.
- Add Ingredients: Introduce 25 grams of unbleached bread flour and 25 grams of room temperature filtered water. This maintains the optimal feeding ratio.
- Mix & Store: Stir thoroughly until completely combined. Cover with a lid and store at 76°F (24°C) or a warm room temperature. This time, we’ll check on it earlier in the evening.
Day Four – Evening: The Awakening!
This is often the moment of truth where significant activity becomes evident.
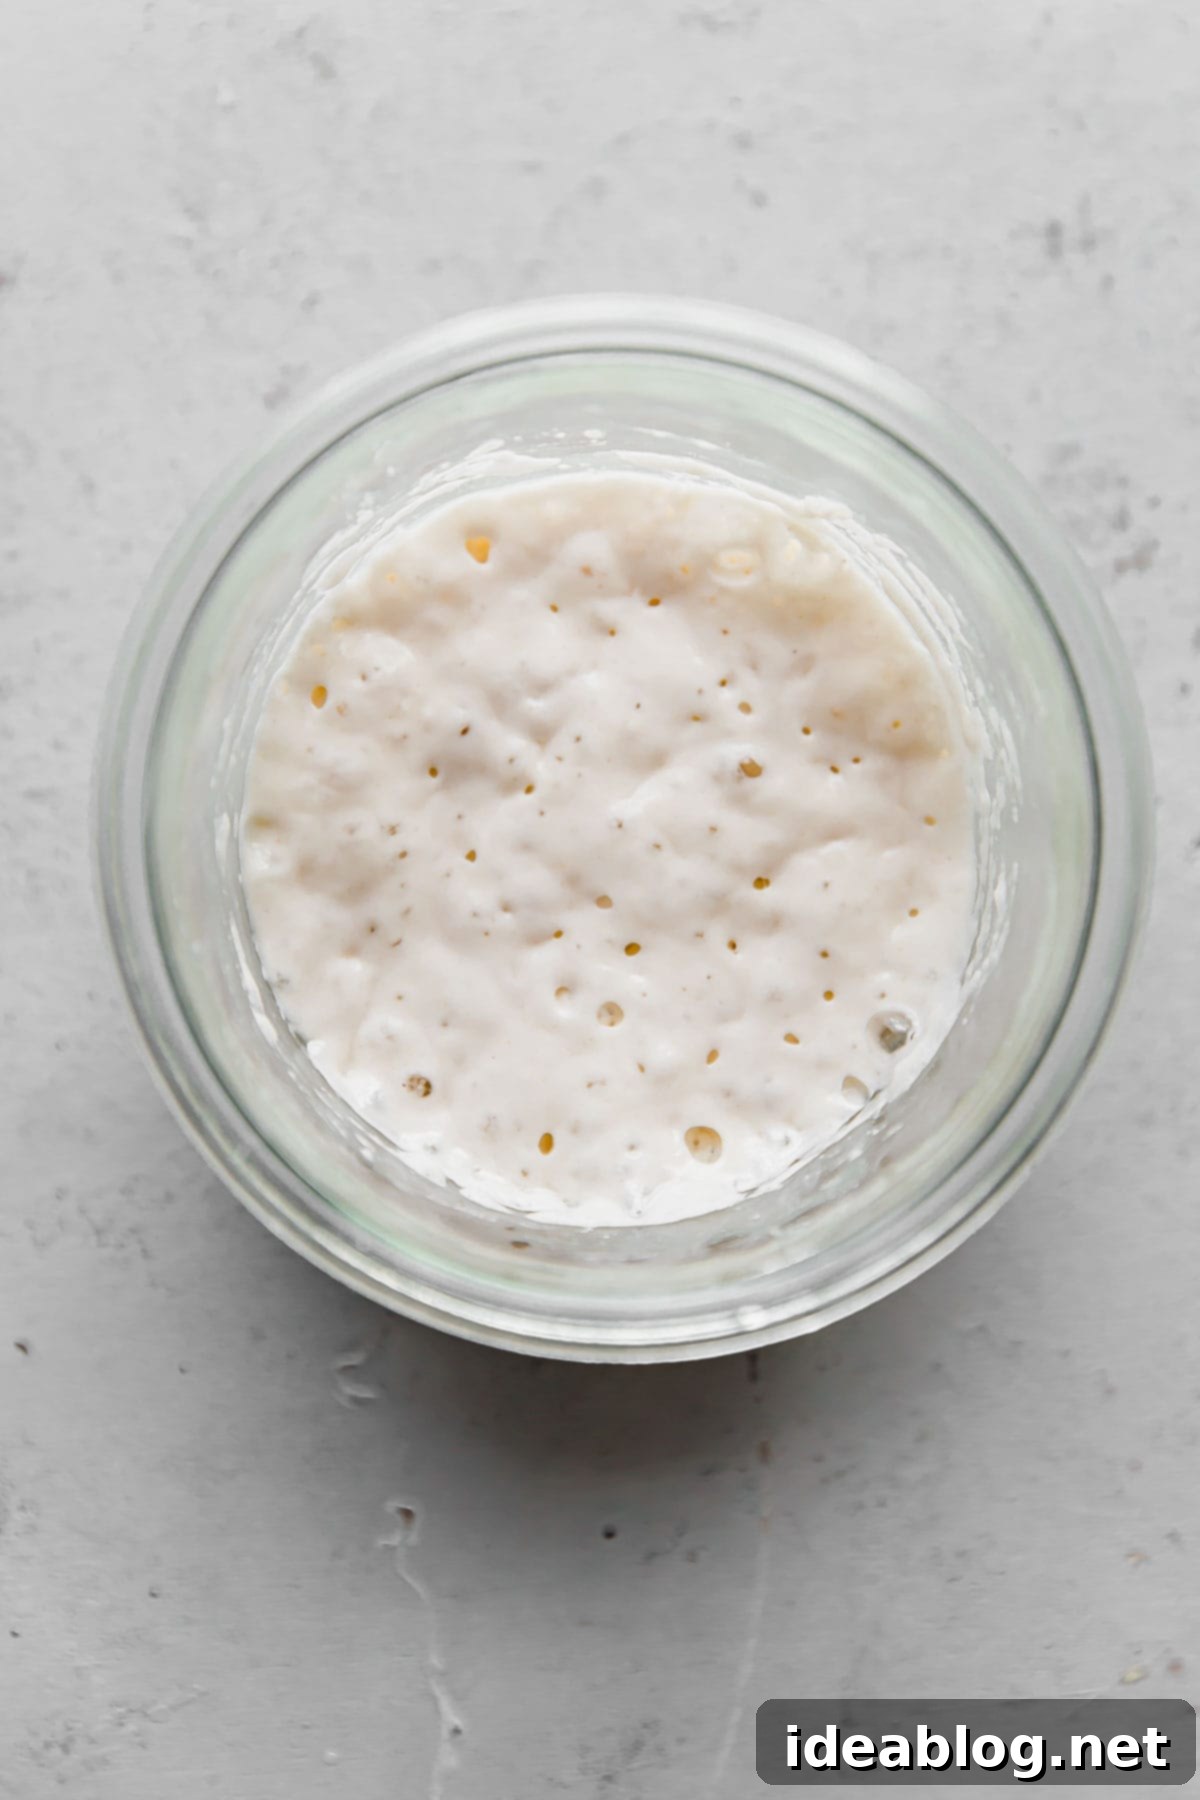
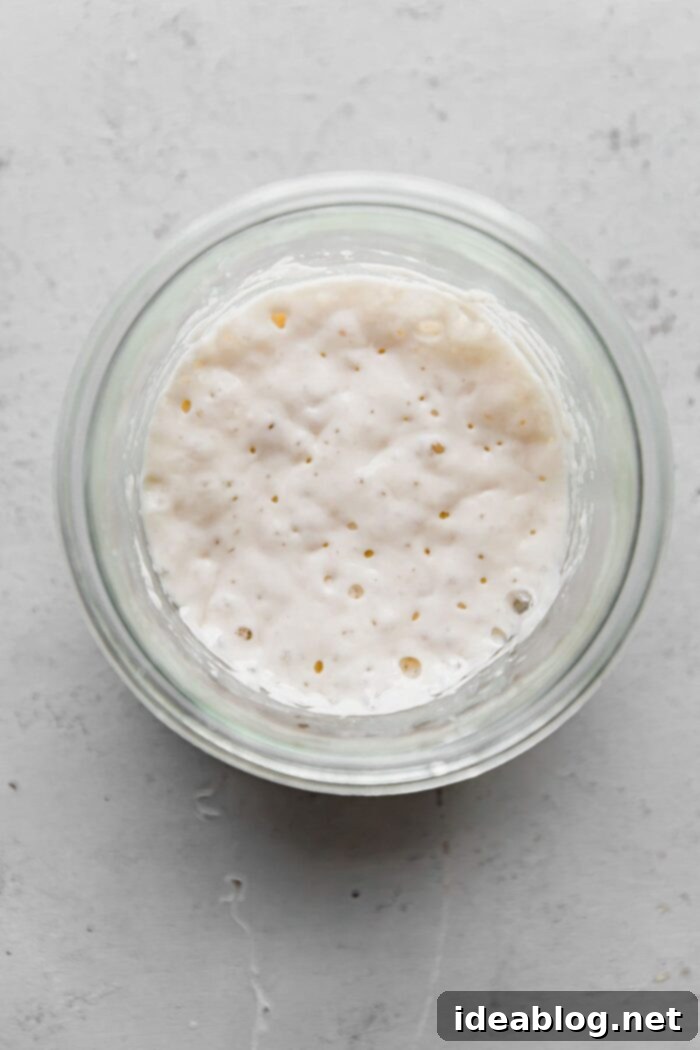
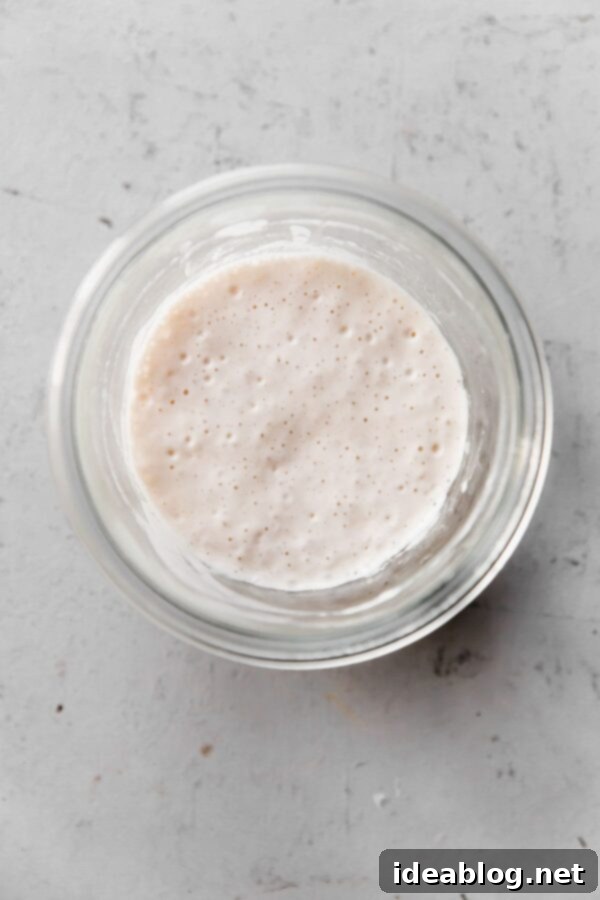
- Observations: Approximately 12 hours after your morning feeding, you should observe a dramatic increase in activity! Look for many small bubbles forming on the surface, and crucially, clinging to the sides of the glass jar. You should also see clear signs that your starter is slowly rising in the jar. It might not have doubled yet, but the upward movement indicates that the yeast is actively producing carbon dioxide. This is a very positive sign that your culture is successfully reactivating.
- Continue Storage: Keep the starter at your consistent warm temperature of 76°F (24°C) or room temperature. No further feeding is needed until the next morning, allowing the current feeding to be fully metabolized.
Day Five – Morning: Full Strength and Ready to Bake!
Congratulations! By day five, your dried sourdough starter should be fully revived and ready for baking.
- Observations: Upon inspection, your starter should have nearly doubled (or even more) in volume since the previous evening. The mixture will be riddled with both small and large bubbles, indicating a highly active and vigorous culture. It should also have a pleasant, slightly sour aroma. This level of activity means your starter has reached its “peak activity” – the ideal time to use it for baking, or to begin regular maintenance feedings.
- Ready to Bake: If your starter exhibits these signs of peak activity, you are now ready to resume baking your favorite sourdough recipes, such as this Artisan Sourdough Bread!
- Initiate Regular Feedings: To maintain your now-active starter, begin a routine of daily feedings. Combine 5 to 10 grams of your active starter mixture, 25 grams of unbleached bread flour, and 25 grams of room temperature filtered water in a clean glass jar.
- Mix & Store: Stir with a spatula until thoroughly combined. Cover loosely with a lid and store the mixture at 76°F (24°C) or a consistent room temperature until the starter again reaches peak activity (typically 4-12 hours, depending on conditions). Repeat this process daily.
Remember that you’ll want to adjust these feeding ratios and quantities as needed to best suit your kitchen’s environment, your preferred feeding schedule, and the specific activity level of your unique starter. Environmental factors like ambient temperature and humidity can influence how quickly your starter ferments. For deeper insights into maintaining a healthy starter and resolving common issues, make sure to reference my comprehensive sourdough starter troubleshooting guide.
Further Sourdough Baking Resources
Now that your starter is alive and kicking, delve deeper into the world of sourdough with these helpful resources:
- How to Dry Sourdough Starter: Master the art of preserving your starter for future use.
- Sourdough Starter Troubleshooting Guide: Essential tips for maintaining a healthy and active starter.
- Sourdough Bread Baking Troubleshooting Guide: Solve common issues encountered during the bread baking process.
- Artisan Sourdough Bread Recipe + Step-By-Step YouTube Video: Bake a perfect loaf every time.
- Favorite Sourdough Bread Tools and Resources: A curated list of recommended equipment.
- How to Store, Freeze, and Refresh Bread: Maximize the shelf life and freshness of your homemade loaves.
How to Revive Dried Sourdough Starter
Pin
Review
Save
Yield: 1 Sourdough Starter
Prep: 5 minutes
Cook: 5 days
Total: 5 days 5 minutes
A detailed guide on how to revive dried sourdough starter to full strength in less than a week.
Ingredients
- 5 grams dried sourdough starter
- 120 grams unbleached bread flour, divided *I highly recommend King Arthur brand
- 125 grams filtered water room temperature
Instructions
- Please reference the photos and observation notes in the article above before proceeding.
- Day One Morning: Combine 5 grams finely crumbled dried sourdough starter in a small glass jar. Add 25 grams (100°F/38°C) filtered water. Stir until the dry starter is completely submerged in the water. Cover with a lid and allow mixture to sit for one hour at 76°F/24°C or room temperature.
- After an hour, add 20 grams bread flour (I recommend King Arthur brand for this guide) and stir with a spatula until thoroughly combined. Note: We’re using slightly more water than flour in this first feeding – a thinner, more hydrated starter allows for increased activity for yeast and bacteria. Cover with a lid and store at 76°F/24°C (or room temperature) for 24 hours.
- Day Two Morning: Combine 10 grams starter mixture (discard the rest), 25 grams bread flour, and 25 grams room temperature filtered water in a glass jar. Mix with a spatula until thoroughly combined. Cover with a lid and store at 76°F/24°C (or room temperature) for 24 hours.
- Day Three Morning: Combine 10 grams starter mixture (discard the rest), 25 grams bread flour, and 25 grams room temperature filtered water in a glass jar. Mix with a spatula until thoroughly combined. Cover with a lid and store at 76°F/24°C (or room temperature) for 24 hours.
- Day Four Morning: Combine 10 grams starter mixture, 25 grams bread flour, and 25 grams room temperature filtered water in a glass jar. Mix with a spatula until thoroughly combined. Cover with a lid and store at 76°F/24°C (or room temperature) – check back in about 12 hours time (see below).
- Day Four Evening: Roughly 12 hours later, you’ll notice many small bubbles on the surface and sides, and the starter should shown signs that it is slowly rising. Continue storing at 76°F/24°C (or room temperature).
- Day Five Morning: At this point, the mixture should have nearly doubled in volume and there will be small and big bubbles throughout the mixture. Allow starter to reach peak activity before proceeding with a feeding. If everything remains on track, you can get back to baking sourdough bread again.
- Once the starter has reached peak activity, start regular daily feedings: combine 5 to 10 grams starter, 25 grams bread flour, and 25 grams room temperature filtered water in a glass jar. Mix with a spatula until thoroughly combined. Cover with a lid and store mixture at 76°F/24°C (or room temperature) until starter reaches peak activity. Repeat.
Nutrition Facts (Approximate per serving of active starter)
Serving: 1 serving, Calories: 438 kcal, Carbohydrates: 88g, Protein: 15g, Fat: 2g, Saturated Fat: 1g, Polyunsaturated Fat: 1g, Monounsaturated Fat: 1g, Sodium: 9mg, Potassium: 120mg, Fiber: 3g, Sugar: 1g, Vitamin A: 2IU, Calcium: 22mg, Iron: 1mg
Author: Laura // A Beautiful Plate
Course: Sourdough Bread
Cuisine: American
