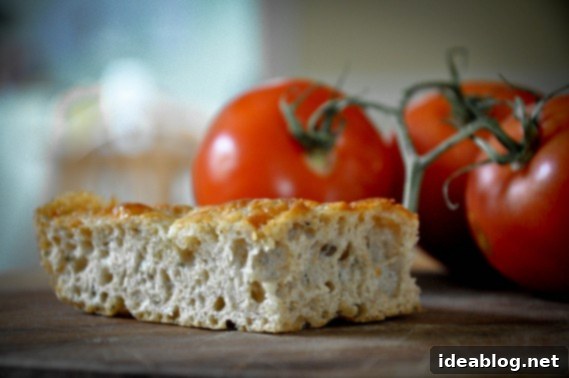
Effortless Cheesy Whole Wheat No-Knead Focaccia Bread: Your New Favorite Easy Recipe!
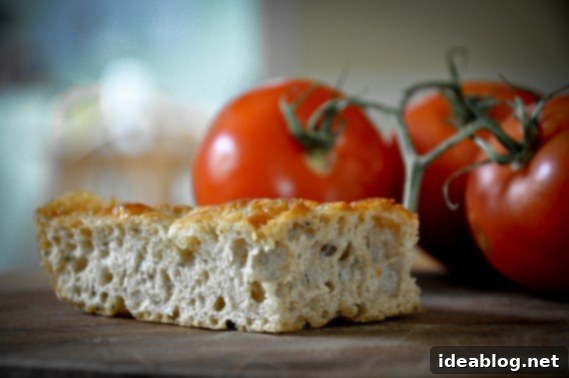
You might be surprised to find another bread recipe gracing our pages so soon, but trust me, this one is too good to keep under wraps! I’ve been eagerly waiting to share this incredibly simple Whole Wheat No-Knead Focaccia Bread with you, especially after showcasing how perfectly it pairs with a comforting bowl of Zucchini Lima Bean Soup. While my last post for Whole Wheat Biscuits was a fantastic quick bake, this focaccia takes the ease of bread making to a whole new level, requiring virtually no effort from your arms!
The Magic of No-Knead: Perfect for Beginners & Busy Bakers
Forget the intimidating world of traditional bread making that often involves lengthy kneading sessions and multiple rises. This focaccia recipe is specifically designed to be beginner-friendly and incredibly forgiving. Unlike most yeast-based breads, our no-knead method means you can prepare the dough in approximately 10 minutes flat. Yes, you read that right – just ten minutes of active preparation time! After a quick mix, the dough only needs to rise for about an hour, allowing the yeast to do all the hard work for you. It’s practically impossible to mess up, making it the perfect gateway recipe for anyone new to baking yeast breads or those simply looking for a stress-free culinary win.
The beauty of a no-knead dough lies in its simplicity. Instead of vigorous kneading to develop gluten, this recipe relies on a longer fermentation period (the rising time) to achieve a similar structure and incredible flavor. This means you get a wonderfully airy, chewy crumb without breaking a sweat. If you’ve ever felt intimidated by homemade bread, this whole wheat no-knead focaccia is your invitation to join the delightful world of home baking with confidence.
The Whole Wheat Advantage: Flavor & Texture
Incorporating whole wheat flour into this focaccia not only adds a delightful rustic flavor but also enhances its nutritional profile. While some whole wheat breads can be dense, the no-knead method combined with the precise ratio of all-purpose flour ensures this focaccia remains light and airy on the inside, with that signature crispy crust we all crave. The whole wheat flour contributes a subtle nutty undertone, perfectly complementing the savory herbs and rich olive oil. It’s a healthier twist on a classic Italian bread that doesn’t compromise on taste or texture, offering a more complex flavor profile than its all-white flour counterparts.
Serving Suggestions & The Joy of Fresh Focaccia
This cheesy whole wheat no-knead focaccia is best enjoyed fresh from the oven on the day it’s baked. That’s when its crispy, golden crust is at its peak – a texture I personally believe is the best part of any freshly baked bread. While it certainly still tastes delicious the following day, it tends to lose some of that coveted crunch. If you do have leftovers, a quick reheat in a toaster oven or regular oven can help revive some of its crispiness. For optimal enjoyment, try to plan your baking around when you intend to serve it.
The versatility of this focaccia is truly remarkable. Serve slices alongside a hearty soup, like the Zucchini Lima Bean Soup mentioned earlier, for a complete and comforting meal. It makes an excellent accompaniment to any main course, adding a touch of rustic elegance to your dinner table. Better yet, transform it into incredible sandwiches! Imagine a warm slice layered with fresh tomatoes, creamy mozzarella, and fragrant basil, or perhaps a gourmet grilled cheese with its own built-in deliciousness. The possibilities are endless, making this easy focaccia recipe a fantastic addition to your culinary repertoire.
Scaling and Customizing Your Focaccia
If you’re cooking for a smaller household or simply want a more modest batch, this homemade focaccia recipe can easily be halved. Just remember to use a smaller baking dish, perhaps an 8×8 or 9×9 inch pan, to ensure the correct dough thickness for optimal rising and baking. Don’t be afraid to experiment with toppings beyond the sharp white cheddar cheese. Consider fresh rosemary and sea salt for a classic touch, or add sliced olives, sun-dried tomatoes, or caramelized onions for an extra burst of flavor. A sprinkle of garlic powder or a brushing of garlic-infused olive oil before baking can also elevate the taste significantly, allowing you to tailor this simple bread recipe to your personal preferences.
The Unexpected Kitchen Hack: The Shower Cap Trick!
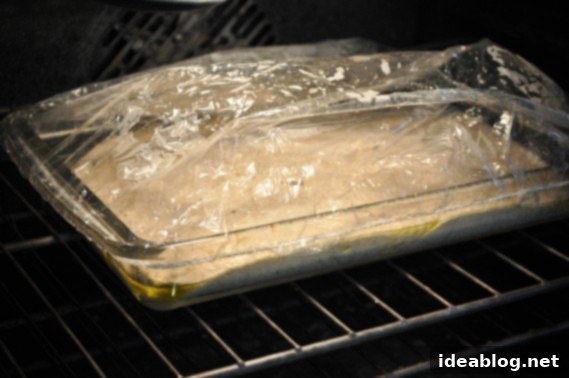
Here’s a little secret that has revolutionized my bread-making process and might just become your new favorite kitchen hack: the humble shower cap! I admit, I was never one to hoard shower caps from hotel rooms, but this ingenious trick has completely changed my perspective. My biggest pet peeve in the kitchen is when plastic wrap refuses to stick to bowls or baking dishes, constantly peeling off and exposing my rising dough to drafts. It’s a frustrating battle that often ends in wasted plastic and an imperfect rise.
Enter the shower cap. Its elastic band provides a snug, secure fit over almost any bowl or baking dish, creating the perfect environment for your dough to rise without any fuss. It’s reusable, cost-free (if you ‘borrow’ them from hotels!), and incredibly efficient. This simple hack isn’t just great for proofing dough; it’s also a fantastic way to transport dishes or baked goods in the car, preventing spills and keeping everything fresh. While some companies have started selling similar elastic plastic covers, why buy them when this perfectly effective, free alternative exists?
The Unbeatable Joy of Homemade Bread
Baking homemade bread has quickly become one of my most cherished kitchen activities. There’s an undeniable satisfaction that comes from transforming simple ingredients into a warm, fragrant loaf. Every time I browse the bread aisle at the grocery store and see the price tags – often $4-5 for a single loaf – the decision to bake my own is firmly reaffirmed. The cost savings alone are compelling, but the superior taste, fresh aroma, and wholesome goodness of artisan bread at home are truly priceless. You control the ingredients, avoid unwanted additives, and get to savor a product far superior to anything mass-produced.
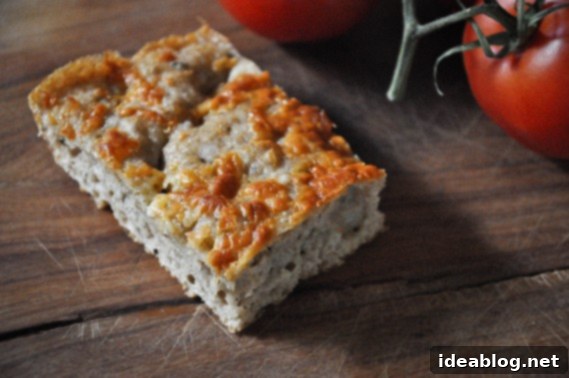
And when that homemade bread is a warm, fluffy focaccia topped with crispy, melted cheese? It really doesn’t get much better than that! The golden-brown crust, the soft and airy interior, and the irresistible salty crunch of baked cheddar combine to create a truly unforgettable experience. This cheesy focaccia is more than just bread; it’s a comforting indulgence, a testament to the simple pleasures of home cooking, and a delightful treat for family and friends. So go ahead, give this no-knead focaccia a try – you won’t regret it!

Cheesy Whole Wheat No-Knead Focaccia
Pin
Review
SaveSaved!
Equipment
-
Stand Mixer (with paddle attachment) or large mixing bowl and sturdy spoon
Ingredients
- 4 tablespoons (60 mL) extra virgin olive oil divided
- 1½ cup (360 mL) warm water 105°F-110°F (41°C-43°C)
- 2 cups (240g) whole wheat flour
- 1½ cups (180g) unbleached all-purpose flour
- 1 tablespoon instant yeast
- 1 tablespoon dried basil
- 2 tablespoons dried oregano
- 1¼ teaspoons kosher salt
- ½ cup grated sharp white cheddar cheese optional
- Maldon or other flaky finishing salt
Instructions
-
Generously grease a 9 x 13-inch (23 x 33 cm) baking dish with 2 tablespoons (30 mL) of extra virgin olive oil, ensuring the sides are also coated.
-
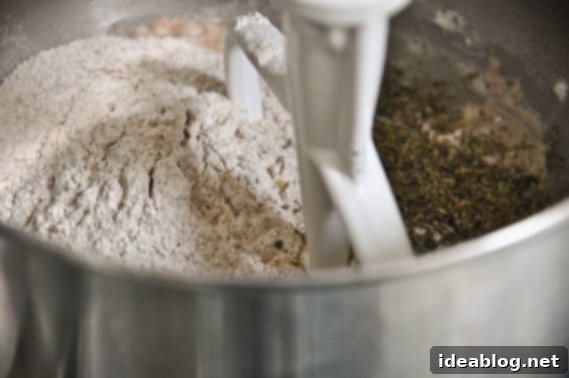
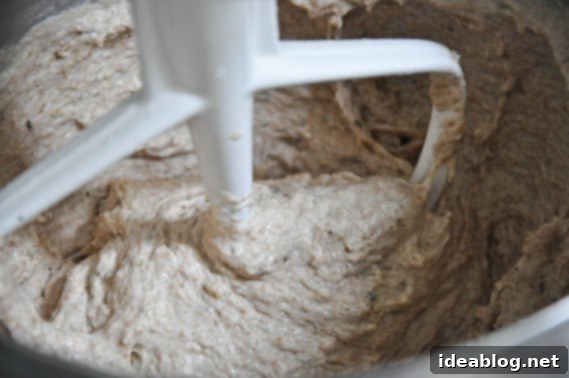
In the bowl of a stand mixer fitted with a paddle attachment (or a large mixing bowl with a sturdy spoon), combine the warm water, whole wheat flour, all-purpose flour, instant yeast, dried basil, dried oregano, and kosher salt. Beat on high speed for about 1 minute, or until all ingredients are thoroughly and evenly incorporated. The resulting dough will be notably sticky.
-
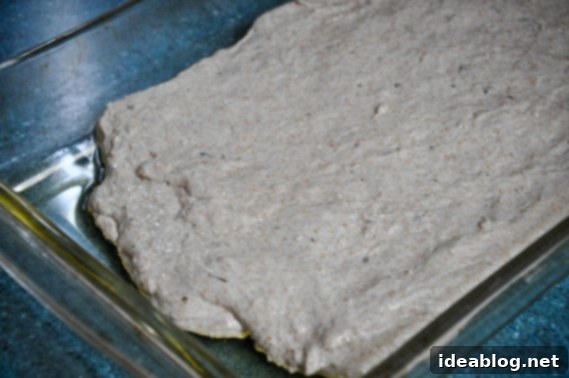
Lightly oil your hands to prevent sticking, which will make handling the dough much easier. Carefully scoop the sticky dough out of the mixer bowl and transfer it directly into the prepared baking dish. Gently press and spread the dough out to fill the bottom of the pan. Don’t worry if it doesn’t perfectly reach the corners at this stage; as it rises, it will naturally expand to fill the entire pan.
-
Cover the baking dish. A clean shower cap works wonderfully for this, or you can use plastic wrap, ensuring it’s sealed as best as possible. Place the covered dish in a warm, dry place, free from drafts, and let the dough rest and rise for 60 to 90 minutes. It should become noticeably puffy and expand to fill the edges of the pan completely.
-
While the dough is finishing its rise, preheat your oven to 375°F (190°C), positioning an oven rack in the center. Once the dough has proofed sufficiently, drizzle the remaining 2 tablespoons (30 mL) of extra virgin olive oil evenly over the top. Using your fingertips, gently poke dimples into the dough, distributing the oil and creating the characteristic focaccia texture. If you’re using it, sprinkle the grated sharp white cheddar cheese generously over the dimpled surface.
-
Bake the focaccia for approximately 35 to 40 minutes, or until it achieves a beautiful golden-brown color and the cheese is bubbly and slightly crispy. Immediately upon removing from the oven, sprinkle lightly with flaky sea salt, such as Maldon, for an extra burst of flavor and texture. Allow it to cool for a few minutes before slicing and serving warm to fully enjoy its incredible taste and crispiness.
