Achieve Perfectly Crispy Tofu: The Ultimate Waste-Free Pressing Method (No Tofu Press Required!)
Tofu, a remarkably versatile plant-based protein, serves as a culinary cornerstone in an array of dishes, from vibrant stir-fries and robust curries to delectable baked creations. While incredibly nutritious and adaptable, many home cooks often encounter a common hurdle: attaining that ideal firm texture and wonderfully golden crispiness that elevates a tofu dish from good to extraordinary. The secret to unlocking tofu’s full potential frequently lies in one crucial preparatory step – pressing it. This essential process effectively removes excess moisture, enabling the tofu to better absorb marinades and seasonings, achieve a beautiful golden-brown crust when cooked, and maintain its structural integrity throughout the cooking process.
Today, I’m absolutely delighted to share my most trusted and effective method for pressing tofu. Having experimented with tofu recipes for many years, this technique has consistently delivered the best results. What makes it truly exceptional is that it requires zero specialized equipment and generates zero waste in the form of disposable items like paper towels, relying instead on a handful of common kitchen tools you likely already own.
While some tofu preparations, particularly those where a softer texture is desired (like silken tofu in smoothies or creamy sauces), might not call for pressing, it becomes an indispensable step if you’re aiming for sautéed, shallow-fried, or extra-crispy tofu. Removing the inherent water content from tofu is key to transforming its texture, making it firmer, chewier, and capable of achieving that coveted golden, crunchy exterior.
Beyond texture, pressing also plays a vital role in flavor infusion. Excess moisture can dilute your marinades and seasonings, preventing the tofu from truly soaking up those delicious flavors. By pressing, you create a denser, more porous canvas that eagerly absorbs whatever delightful spices or sauces you introduce. This also ensures the tofu holds its shape much better during cooking, preventing it from crumbling or falling apart in your pan. Let’s dive into this game-changing technique!
Why This Tofu Pressing Method Stands Out
Many methods exist for pressing tofu, but after extensive experimentation, I’ve found this particular approach to be superior for several compelling reasons:
- Effective and Continuous Draining: This method ensures the tofu drains efficiently without ever sitting in its expelled liquid. This is absolutely crucial for optimal moisture removal and prevents the tofu from reabsorbing water, which can happen with less effective techniques. The innovative setup allows the water to collect separately, guaranteeing maximum firmness.
- Scalability and Efficiency: Whether you’re preparing a single block of tofu for a quick weeknight meal or several blocks for meal prepping or entertaining, this setup can easily accommodate your needs. You can press multiple blocks simultaneously, making it incredibly time-efficient.
- Zero Waste & No Specialized Equipment: Forget about bulky, single-purpose tofu presses that take up valuable kitchen space, or the endless consumption of paper towels. This method utilizes readily available kitchen staples, making it both environmentally friendly and incredibly cost-effective. You’ll reduce your ecological footprint while still achieving professional-level results.
Recommended Equipment for Your DIY Tofu Press:
You’ll be surprised at how simple the tools are for creating this effective tofu press. Gather these basic items from your kitchen:
- 2 Quarter-Sheet Pans (or 2 Half-Sheet Pans): These are standard baking sheets. Having two allows you to create a stable, even pressing surface. Quarter-sheet pans are ideal for a single block of tofu, while half-sheet pans offer more space for multiple blocks or larger sizes.
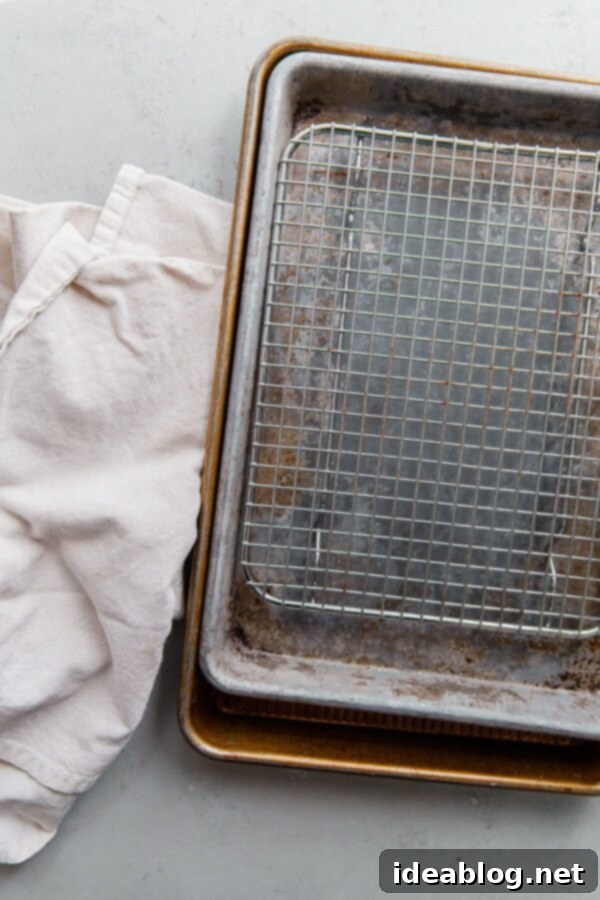
- 1 Quarter-Sheet Cooling Rack (or Half-Sheet Cooling Rack), densely-welded: A cooling rack with closely spaced wires is essential. The dense welding provides superior support, preventing the tofu from falling through and ensuring even pressure distribution. This rack acts as the elevated platform for the tofu, allowing liquid to drain freely underneath.
- Several Clean Kitchen Linens or Cloths: These absorbent cloths are placed directly on the tofu to wick away moisture. Using reusable kitchen linens eliminates the need for disposable paper towels, contributing to a waste-free kitchen. Make sure they are clean and dry.
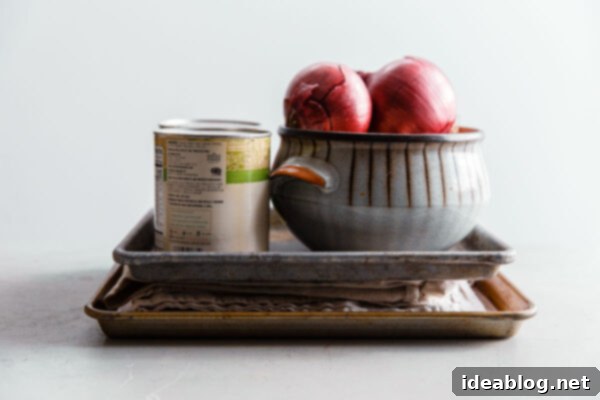
- Several Heavy-Weighted Objects: These provide the necessary pressure for pressing. Excellent choices include 28-ounce canned goods, a heavy bowl filled with fruit or onions, or even a stack of sturdy cookbooks. The key is to select items that offer substantial, stable weight.
How to Press Tofu Easily and Waste-Free: A Step-by-Step Guide
Follow these simple steps to achieve perfectly pressed tofu, ready for any recipe:
Step One: Prepare the Tofu Block
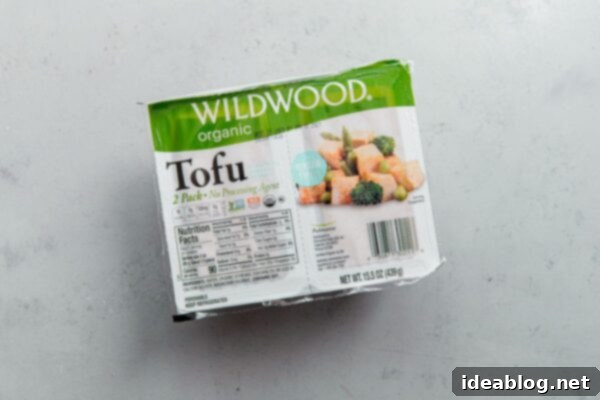
Begin by carefully draining the water from the tofu packaging. Remove the block of tofu and gently pat it dry with a clean kitchen linen. This method is specifically designed for firm and extra-firm tofu. Softer varieties like silken or medium tofu are too delicate for this heavy pressing and may crumble or break apart.
Step Two: Set Up the Draining System
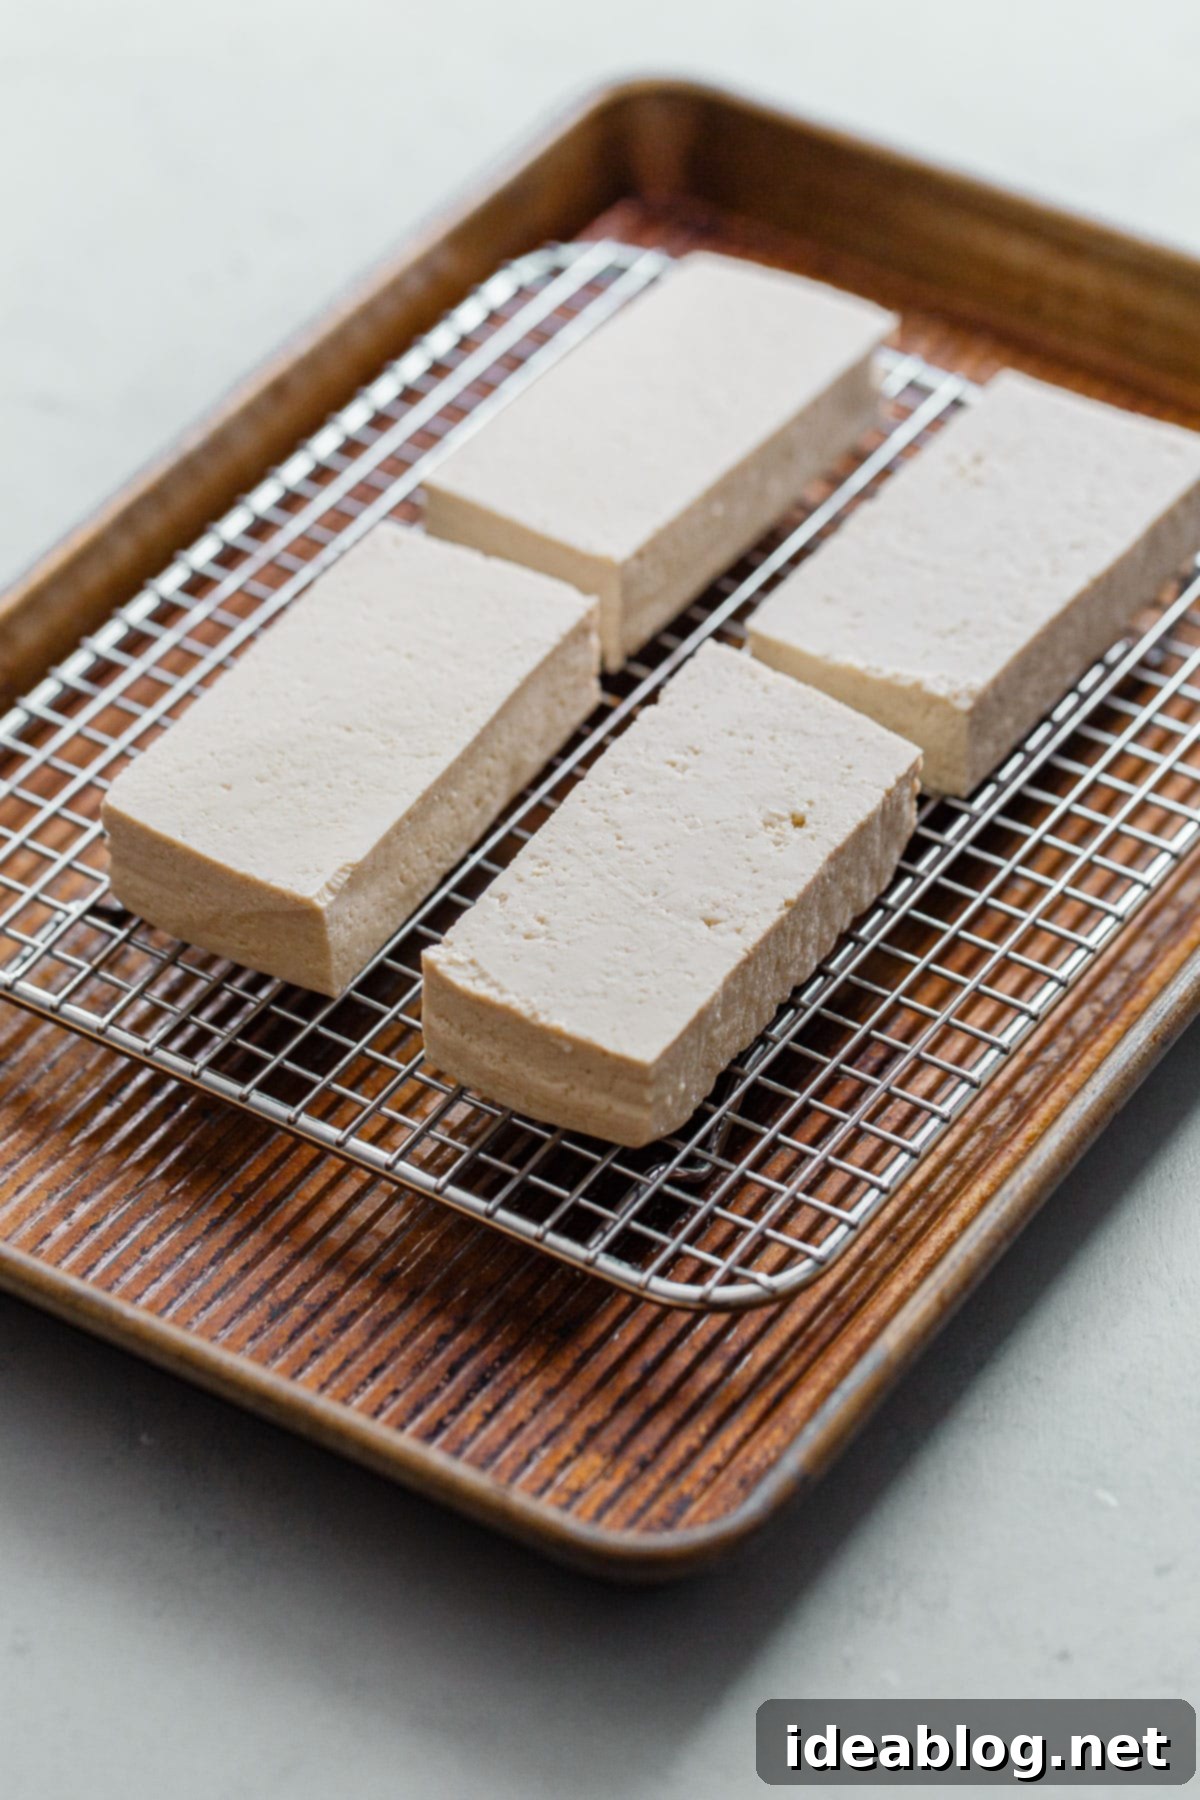
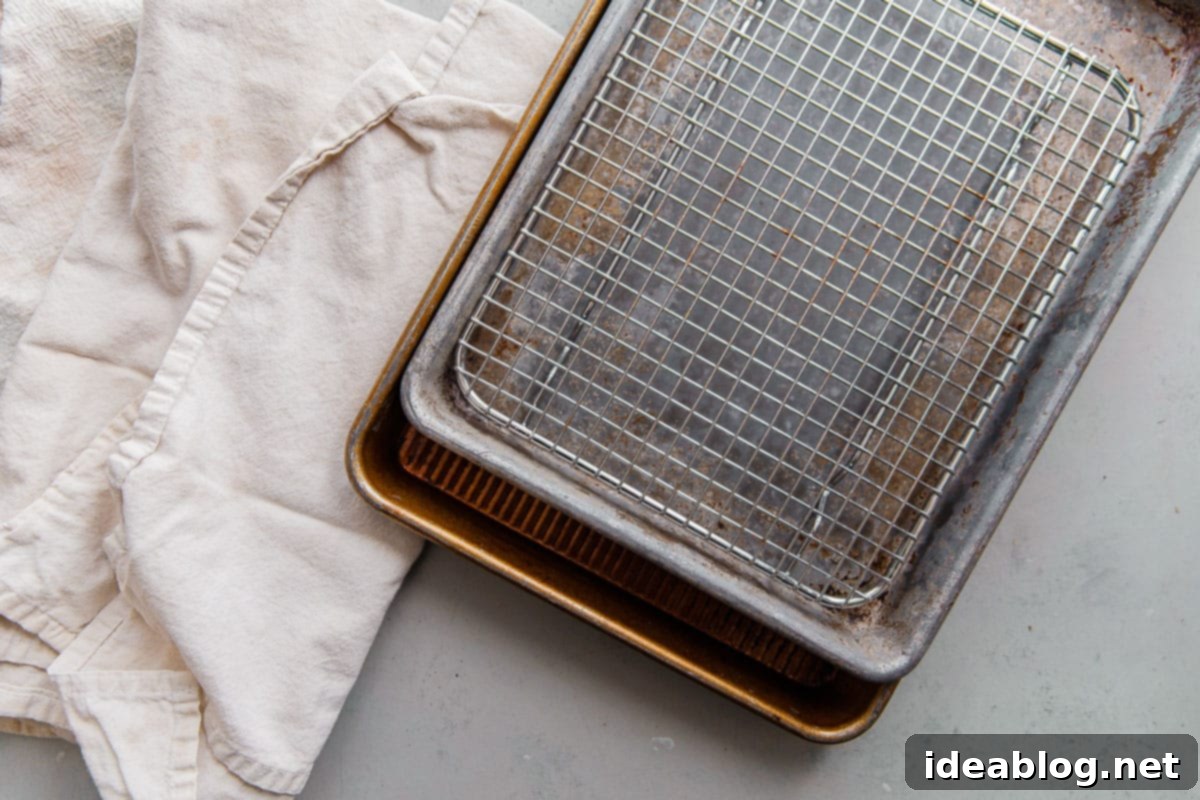
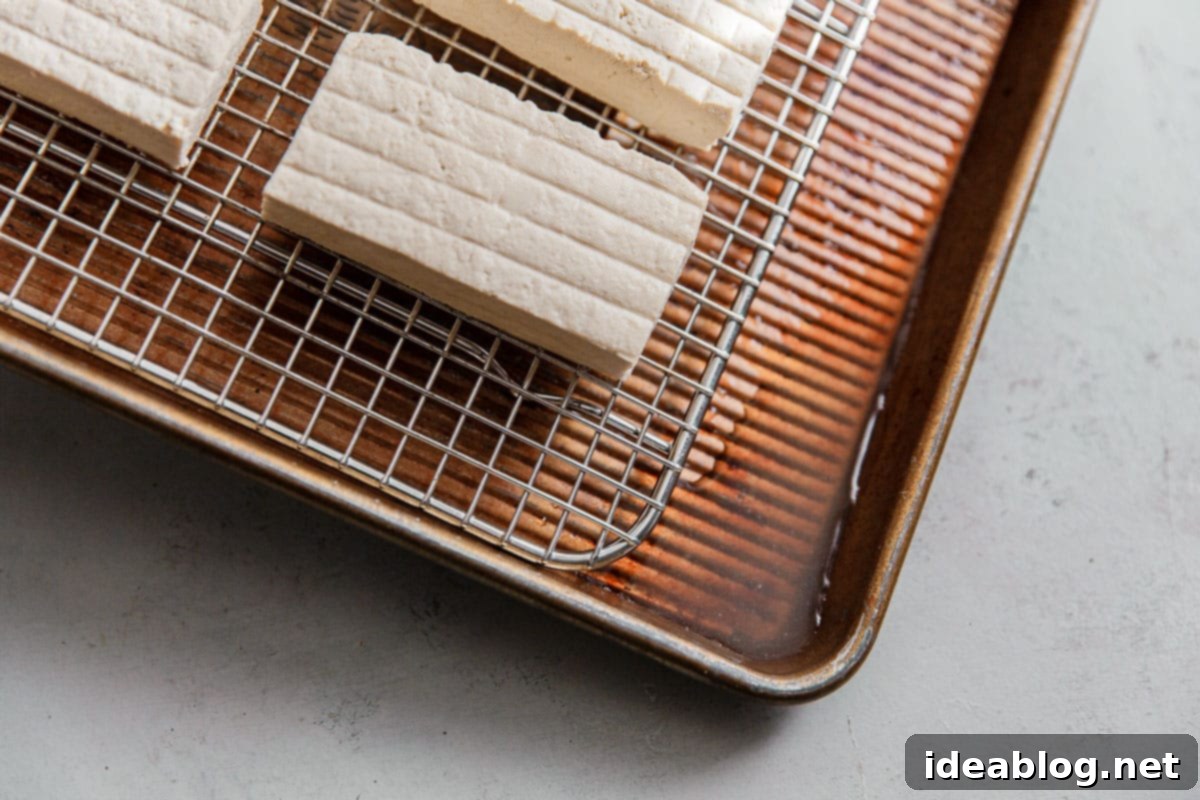
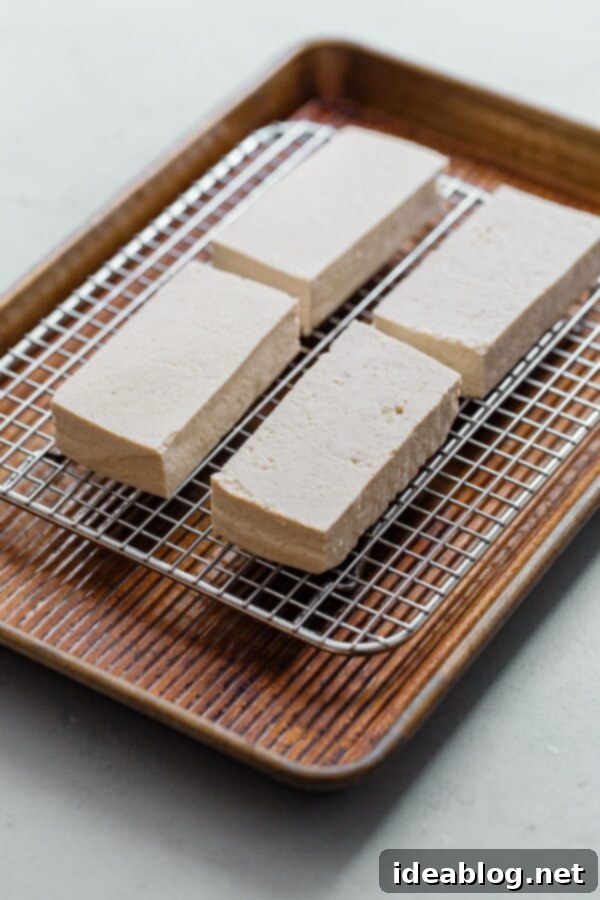
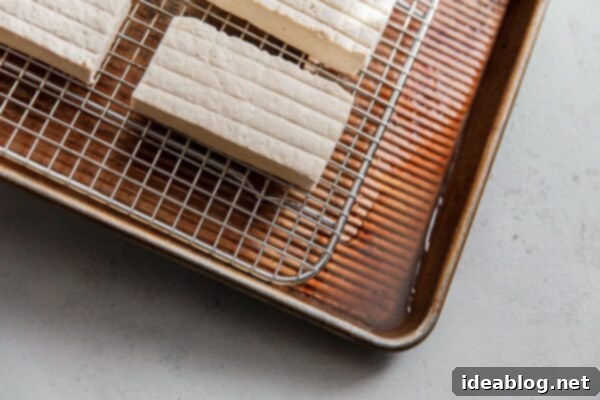
Place a densely-welded cooling rack inside one of your sheet pans. This rack will elevate the tofu, creating a crucial space underneath for the expelled water to collect without the tofu sitting directly in it. Position the tofu block (or blocks) squarely on the cooling rack. Depending on your recipe, you might find it beneficial to slice the tofu block cross-wise into several pieces at this stage. This can sometimes accelerate the pressing process and is particularly useful if you plan to cut the tofu into smaller cubes later, as shown in the instructional photos.
Step Three: Add the Absorbent Layer
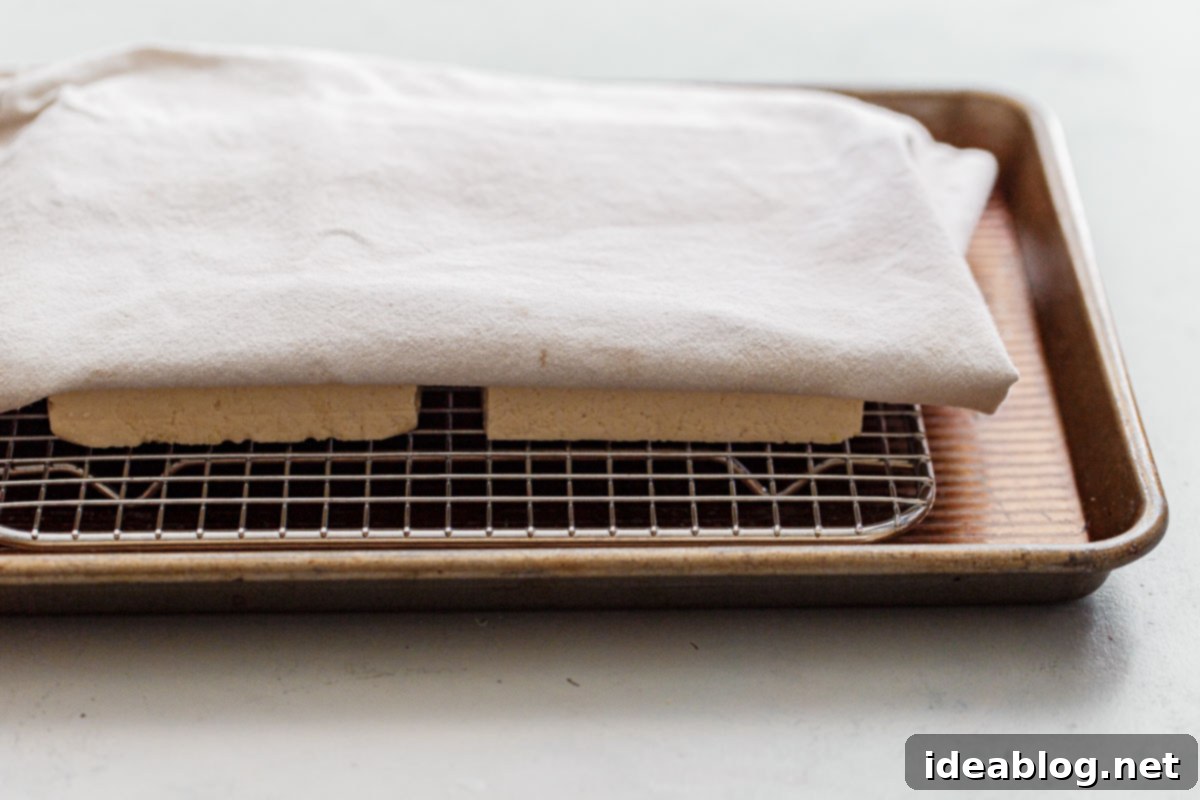
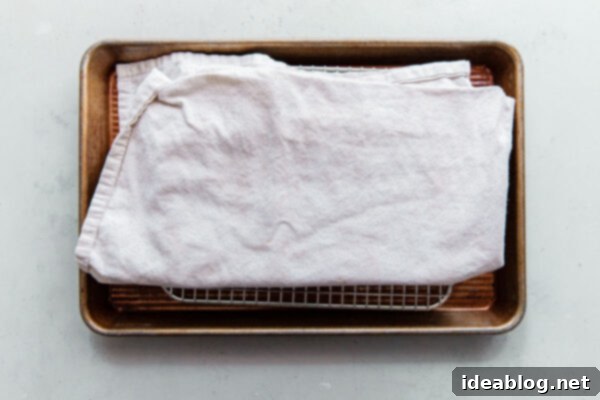
Take a clean kitchen linen or cloth and fold it several times until it forms a thick, absorbent pad. This multi-layered cloth will sit directly on top of the tofu block, effectively wicking away moisture as pressure is applied. Ensure the linen covers the entire surface of the tofu for even moisture absorption.
Step Four: Create the Pressing Platform
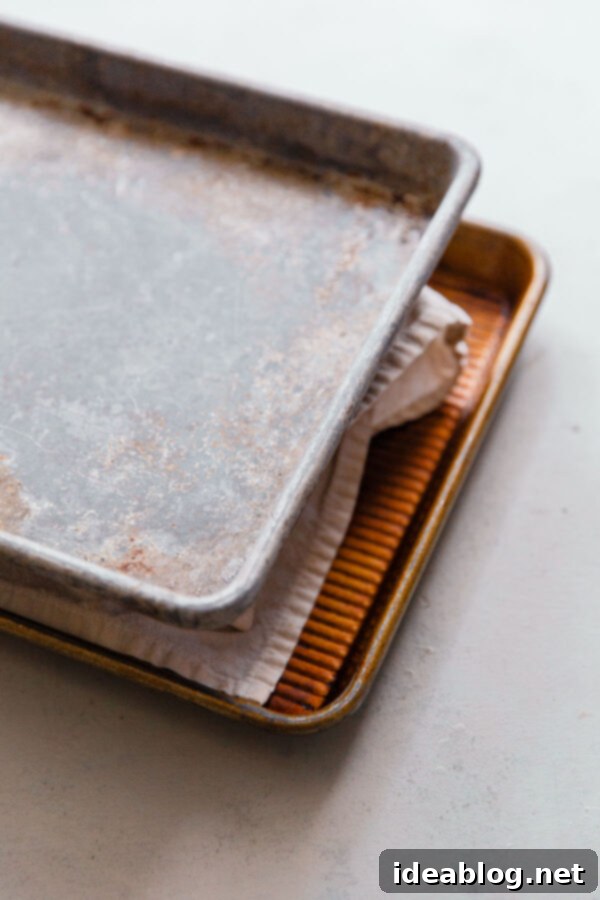
Carefully place your second sheet pan directly on top of the folded kitchen linen, ensuring it is centered and its edges align with the bottom sheet pan. This creates a stable, flat surface on which to place your weights, guaranteeing even pressure across the entire tofu block. If you don’t have a second sheet pan, a large, sturdy cutting board can serve as an adequate substitute, though a rimmed sheet pan is often preferred for its stability and containment.
Step Five: Apply Weight and Press
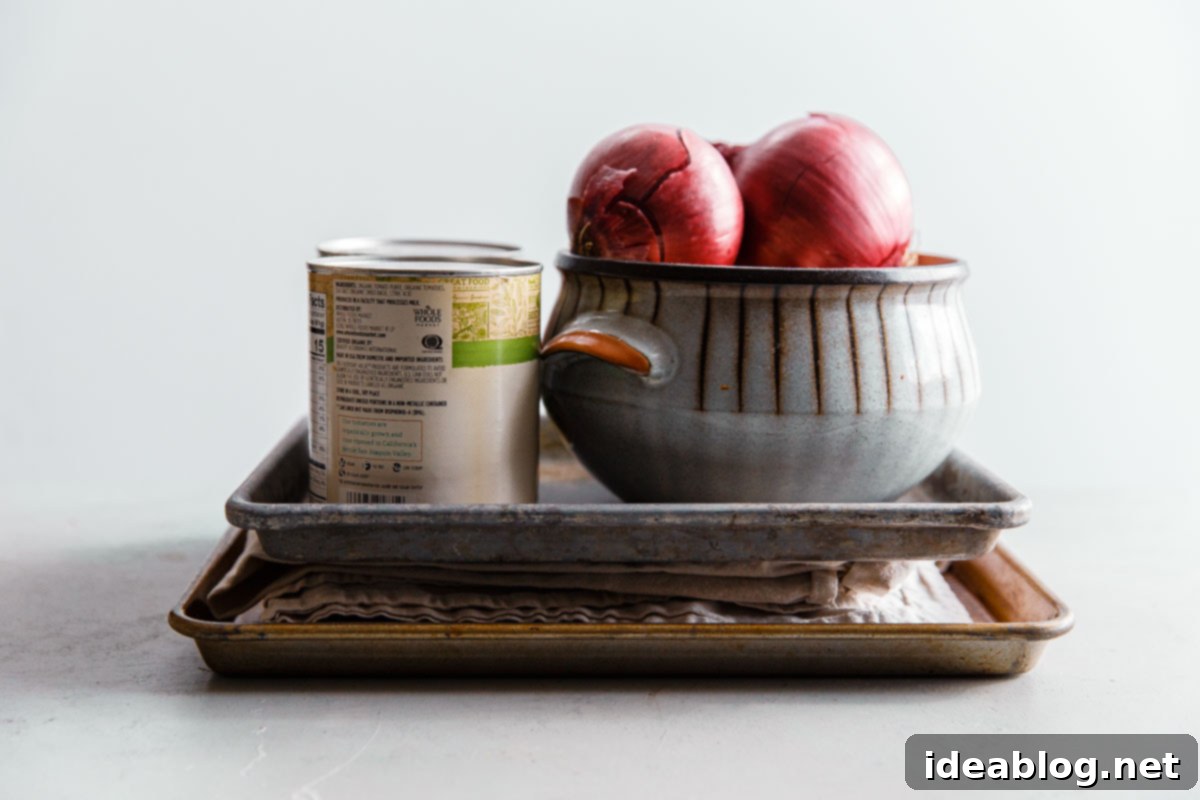
Now, it’s time to apply the weight. Place your heavy-weighted objects onto the top sheet pan. Distribute the weight as evenly as possible across the surface to ensure uniform pressing. Good options include a few 28-ounce canned goods, a heavy bowl filled with items like onions or fruit, or even a stack of your heaviest cookbooks. Aim to press the tofu for a minimum of 30 minutes, or ideally, for up to 1 hour for maximum moisture removal.
Pro Tip: About halfway through the pressing time (around the 15-30 minute mark), replace the saturated kitchen linen with a fresh, dry one. The initial pressing stage often expels a significant amount of water, and a fresh cloth will continue to absorb moisture more effectively, yielding firmer results.
Step Six: Final Assessment and Preparation
Once the pressing time is complete, remove the weights and the top sheet pan. You’ll observe that the tofu block is noticeably thinner and firmer, a clear indicator that a considerable amount of excess moisture has been successfully removed. Look into the bottom sheet pan, and you’ll find a surprising amount of water collected there – simply discard this liquid. Your perfectly pressed tofu is now ready! Proceed to prepare it as directed in your chosen recipe, whether that involves marinating, slicing, or cubing.
I genuinely hope you enjoy this easy, incredibly effective, and completely waste-free method for pressing tofu without the need for a dedicated press. It’s a simple technique that makes a huge difference in the outcome of your tofu dishes!
Can You Press Tofu Ahead of Time?
Absolutely! Pressed tofu is an excellent component for meal prep. If you’re short on time during the week or simply like to get a head start, you can press tofu in advance. Once pressed, store the block in an airtight container in the refrigerator for up to 3 days. This means it will be ready to go whenever you are, saving you valuable cooking time.
Tips for Making Extra Crispy Tofu:
Achieving truly crispy tofu is a game-changer for many plant-based meals. Here’s how to take your pressed tofu to the next level of crunch:
- Cube and Coat: After pressing, cut the tofu into uniform one-inch cubes. Transfer them to a medium bowl and toss generously with 1-2 tablespoons of cornstarch (or arrowroot powder). Ensure each piece is thoroughly coated; this creates a dry exterior that helps achieve maximum crispiness.
- Hot Pan, Thin Layer of Oil: Heat a thin layer of high-heat cooking oil (such as avocado, grapeseed, or canola oil) in a large non-stick pan or cast-iron skillet over medium-high heat. The oil should be shimmering but not smoking.
- Sear in Batches: Add the cornstarch-coated tofu cubes to the hot pan in a single layer, ensuring pieces are slightly spaced apart to avoid overcrowding. Cook for several minutes on each side, turning occasionally, until all sides are beautifully golden brown and crispy. Cook in batches if necessary to prevent the pan from cooling down, which can lead to steaming instead of searing.
- Season and Serve: Once crispy, transfer the tofu to a plate lined with a clean paper towel (or, even better for continued crispiness, a sheet pan fitted with a cooling rack) to drain any excess oil. Immediately sprinkle with a pinch of salt. Crispy tofu is incredibly versatile: add it to a vibrant vegetable stir-fry, toss it with your favorite sweet or savory sauce, or use it as a protein-packed topping for a fresh salad or a hearty grain bowl. The possibilities are endless!
Favorite Tofu Recipes:
- Thai Red Curry Tofu
- Traditional Korean Braised Tofu (Dubu Jorim)
- No-Cook Spicy Tofu
How to Press Tofu
Pin
Review
SaveSaved!
Equipment
-
2 Half Sheet Pans or 2 Quarter Sheet Pans
-
Half Sheet Cooking Rack, Densely-Welded (or Quarter-Sheet)
-
Clean Kitchen Linens or Cloths
-
Heavy Weighted Objects, such as 28-ounce canned goods, a heavy bowl of fruit, or cookbooks
Ingredients
- 1 package (14 ounces) firm or extra-firm tofu
Instructions
-
Note: For detailed step-by-step photos and additional explanations, please reference the corresponding images and text in the main article above.
-
Drain the package and carefully remove the block of tofu. Gently pat the tofu dry with a clean kitchen linen. Note: This waste-free pressing method is most effective for firm and extra-firm tofu. Avoid using it for soft or medium tofu, as these varieties are too delicate and will likely crumble under pressure.
-
Place a densely-welded cooling rack inside one of your sheet pans. Position the tofu block on the rack. If your recipe calls for smaller pieces, you can slice the tofu block cross-wise into several pieces before pressing, as demonstrated in the instructional photos. Important Note: Using the cooling rack ensures that any excess liquid drained from the tofu collects in the bottom of the sheet pan, preventing the tofu from sitting in its own expelled moisture during the pressing process.

-
Fold a clean kitchen linen several layers thick to create an absorbent pad, then place it directly on top of the tofu block. Next, place a second sheet pan directly on top of the linen, carefully aligning its edges with the bottom sheet pan to ensure it is evenly centered. Tip: While a second rimmed sheet pan is ideal for a stable, flat pressing surface, a large, sturdy cutting board can be used as an alternative if you don’t have another sheet pan.

-
Place several heavy-weighted objects onto the top sheet pan. Excellent choices for weights include a few 28-ounce canned goods, a heavy bowl filled with ingredients like onions or fruit, or even a stack of your favorite cookbooks. Be sure to distribute the weight evenly across the surface of the top pan to ensure consistent pressure on the tofu.

-
Allow the tofu to press for a minimum of 30 minutes, or ideally, for up to 1 hour for maximum moisture removal. For best results, consider replacing the kitchen linen with a new dry one approximately halfway through the pressing time, as the initial cloth will quickly become saturated.
-
After the pressing duration, carefully remove the weights and the top sheet pan. The tofu block should now be visibly thinner and much firmer, indicating that a significant amount of excess moisture has been successfully removed. Observe the bottom sheet pan, where a considerable amount of water will have collected; simply discard this liquid. Your perfectly pressed tofu is now ready to be prepared according to your recipe’s instructions.

-
How to Make Crispy Tofu: For an irresistible crunch, cut the pressed tofu into one-inch cubes. In a medium bowl, toss the cubes with cornstarch until each piece is lightly and evenly coated. Heat a thin layer of high-heat cooking oil in a non-stick pan over medium-high heat until shimmering. Add the tofu in batches, ensuring the pieces are slightly separated in the pan to allow for proper searing. Cook for several minutes on each side until they turn wonderfully crispy and golden brown. Transfer the cooked tofu to a paper-towel lined plate (or a sheet pan lined with a cooling rack for sustained crispiness) and season with salt. This crispy tofu is perfect for adding to a vegetable stir-fry, tossing with your favorite sauce, or using as a flavorful topping on a salad or grain bowl.
