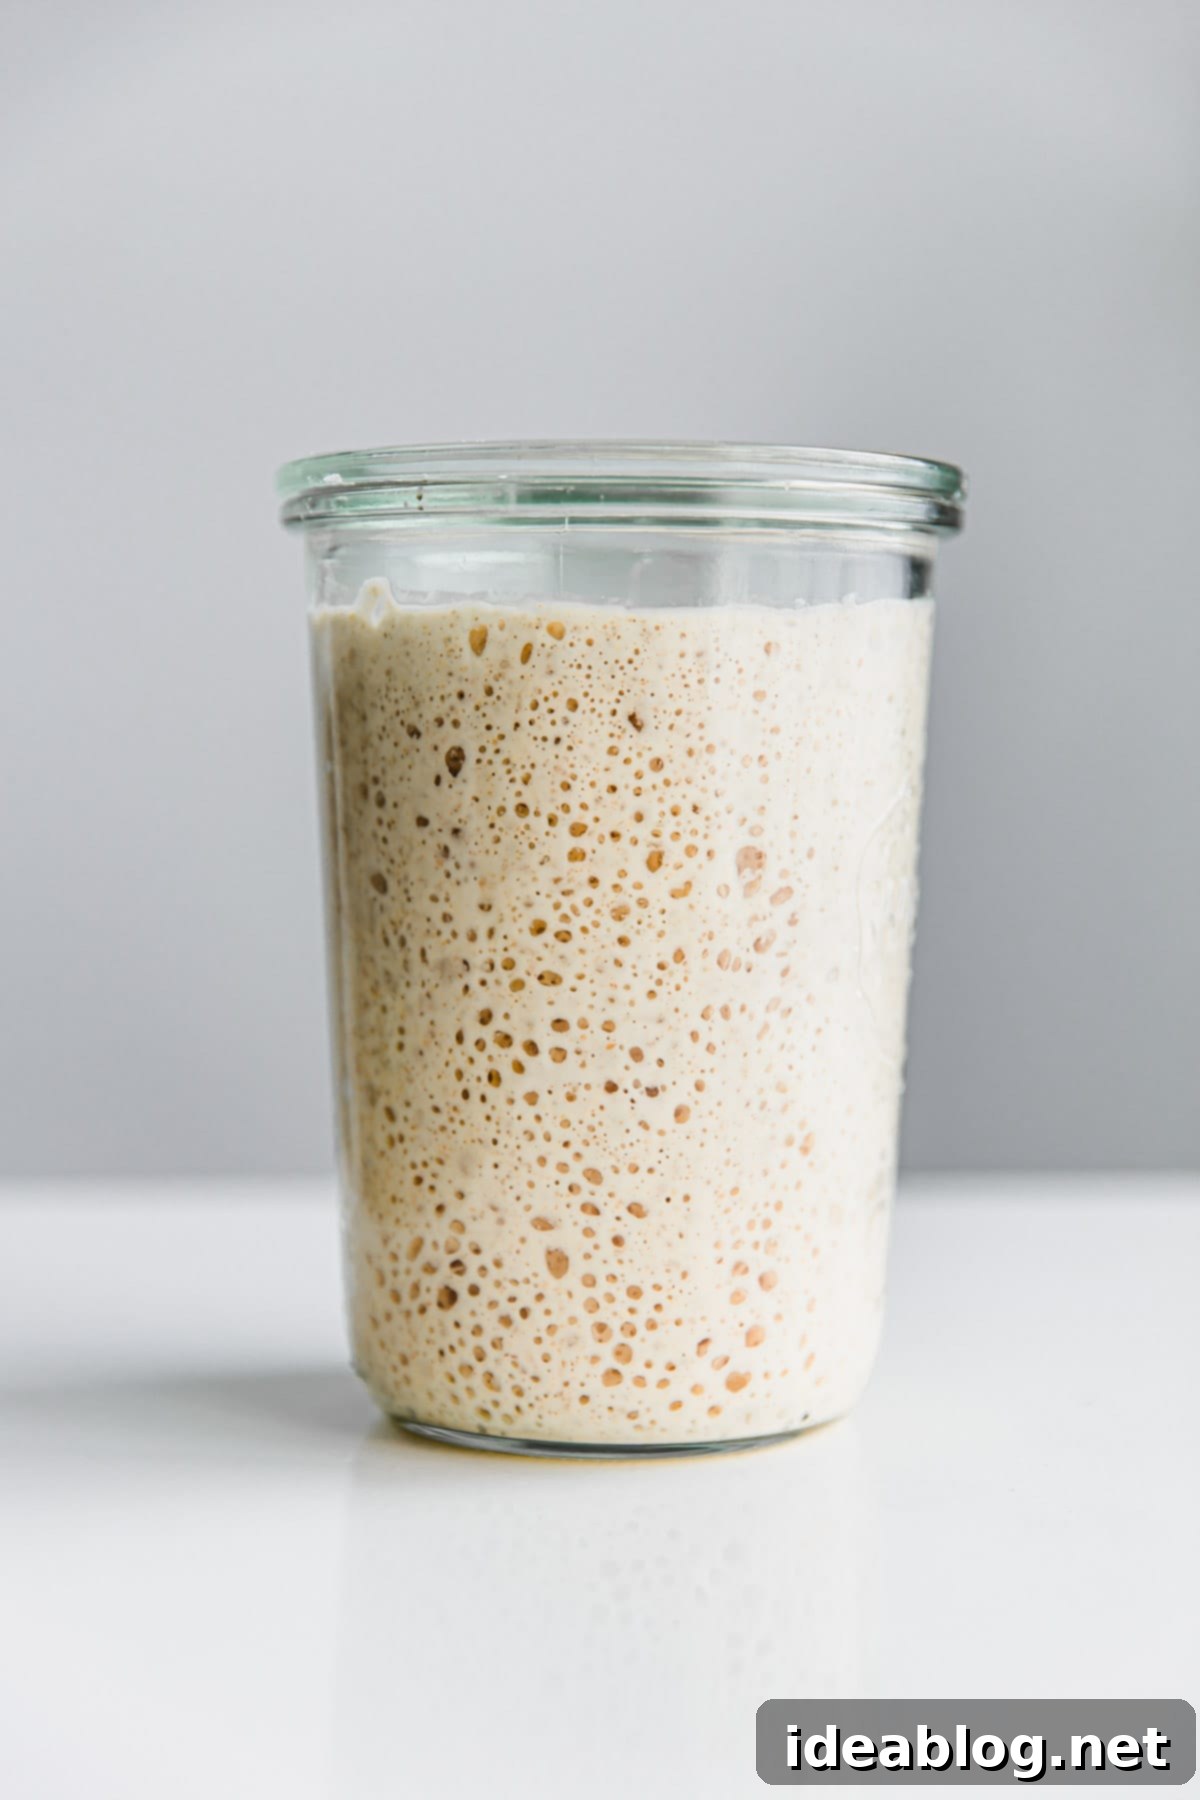
Mastering Sourdough Starter: Your Ultimate Troubleshooting Guide & FAQ
Basics & FAQ
Maintenance Tips
Baking with Your Starter
Troubleshooting Common Issues
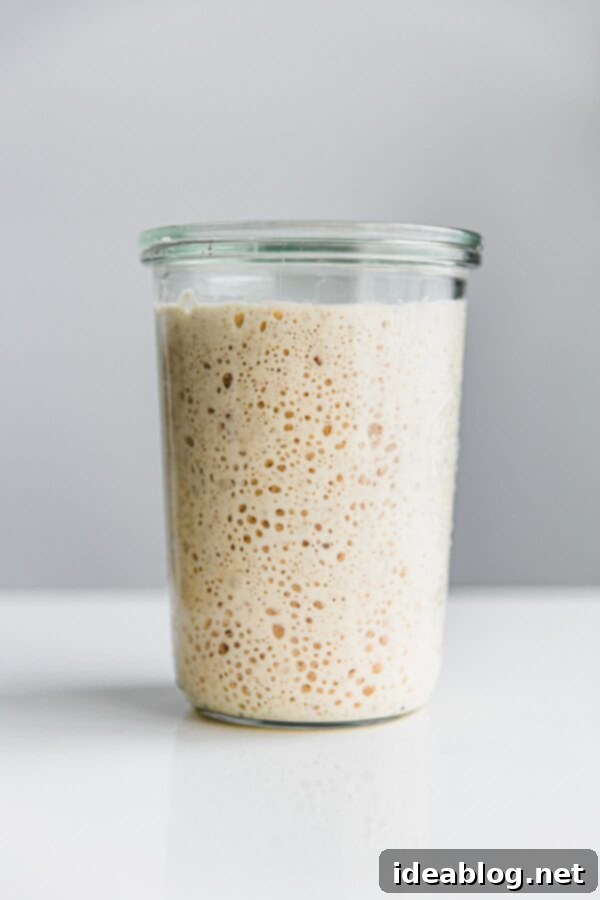
Embarking on the journey of sourdough baking is an incredibly rewarding experience, bringing the joy of naturally leavened bread right into your kitchen. Many enthusiasts are currently discovering the wonders of creating and maintaining their own sourdough starters for the very first time. It’s truly inspiring to witness so many individuals delve into a subject that ignites such passion!
Over recent months, I’ve received an extensive number of questions concerning sourdough starters, ranging from initial creation to daily maintenance and troubleshooting common problems. To address this influx and provide a comprehensive, easily accessible resource, I’ve compiled this detailed Sourdough Starter Troubleshooting Guide.
This guide is designed to empower you with the knowledge needed to cultivate a vibrant, active sourdough starter, ensuring your baking endeavors are met with success. If you’ve already established a robust starter and are facing specific challenges related to the bread baking process itself, I encourage you to consult my dedicated Sourdough Bread Troubleshooting Guide for further assistance.
Within this guide, you’ll uncover answers to frequently asked questions, practical advice, and solutions to common issues, including:
- How do I successfully create a sourdough starter from scratch?
- What are effective strategies to minimize sourdough discard and reduce flour waste?
- Which type of flour is best for feeding my starter, and what exactly is a feeding ratio?
- Why isn’t my starter as active as it should be? Should I consider starting over? When is my starter truly ready for baking?
- And much more!
Important Note: If you encounter any additional questions not addressed within these sections, please feel free to leave them in the comment section below. I am always happy to help!
Navigating the Guide: Quick Links
Basics & FAQ
Maintenance Tips
Baking with Your Starter
Troubleshooting Common Issues
Sourdough Starter Basics & FAQ
What is a Sourdough Starter and How Do I Begin?
A sourdough starter is a living, symbiotic culture of naturally occurring wild yeast and lactic acid bacteria. This dynamic ecosystem is what allows us to create naturally leavened, fermented bread without the need for commercial yeast. Think of it as a pet that requires regular care and nourishment; for optimal results, sourdough starters thrive on consistent feedings and a supportive environment.
If you’re new to the exciting world of sourdough baking and eager to create your own starter from the ground up, careful preparation is key. Before you begin, I highly recommend exploring my curated list of favorite sourdough resources and essential tools. These recommendations will set you up for success and ensure you have everything you need.
While I don’t provide a specific sourdough starter recipe here, I wholeheartedly recommend reputable guides such as The Perfect Loaf’s comprehensive starter guide or Baker Bettie’s detailed instructions. A crucial aspect of starter creation is patience. It often takes a minimum of two weeks, and sometimes even longer, to cultivate a truly active, robust sourdough starter that is consistently ready to leaven your bread.
Do I Really Need a Kitchen Scale for Sourdough Baking?
Yes, absolutely. While you might be able to get by without a scale during the initial creation of your starter, a reliable kitchen scale is absolutely vital for consistent and successful sourdough bread baking. The precision it offers cannot be overstated.
Volume measurements (cups and spoons) are notoriously inaccurate, leading to inconsistent results in baking. For instance, the way you scoop flour can drastically change its weight. To ensure predictable outcomes, especially with the delicate balance required for sourdough, weighing your ingredients in grams is essential. On that note, make sure you understand how to measure flour properly when using volume, though weighing is always preferred. I recommend this basic digital scale, but any accurate scale that measures in 1-gram increments will serve you well.
What Are the Best Jars for Sourdough Starter?
I find Weck jars to be ideal for sourdough starters because of their straight sides. This design not only makes them incredibly easy to clean but also provides an excellent visual reference for monitoring your starter’s activity level and rise. Being able to clearly see how much your starter has grown is invaluable.
If you prefer to use a different container, ensure it meets the following criteria: 1) it’s easy to clean, preventing residual buildup; 2) it’s made of glass, which is non-reactive and allows for visibility; 3) it includes a lid that can be set askew or is specifically *not* airtight, as your starter needs to breathe; and 4) it is appropriately sized to allow your starter to comfortably grow at least 3-4 times its volume at peak activity.
Is Sourdough Starter Discard Necessary? How Can I Reduce Waste?
Yes, discarding a portion of your starter is absolutely required to maintain its health and strength. This practice actually *reduces* overall waste, as it keeps your starter at a manageable size, requiring less flour for each feeding. Remember, homemade bread is inherently less wasteful and less resource-intensive than most store-bought alternatives.
When I’m not planning to bake bread frequently, I maintain a very small starter. If baking is on the horizon, I simply scale it up during the previous night’s feeding. I use the same feeding ratios but adjust the quantities to have enough starter for recipes like my Artisan Sourdough Bread or Sourdough Pizza Dough the next morning. It’s important to remember that you can *always* scale a starter up or down; the total volume of your starter does not dictate its strength or activity.
The most effective ways to minimize sourdough discard are: 1) maintaining a *small* starter, and 2) actively utilizing the discard in dedicated sourdough discard recipes or for light baking. You can also compost your discard or generously gift dried sourdough starter to friends and family, allowing them to embark on their own sourdough journey.
Tip: If you wish to use your discard but don’t bake daily, collect it in a separate jar with each feeding and store it in the refrigerator. When you’re ready to use it, bring it back to room temperature (to “wake it up”) or give it additional feedings, depending on the specific recipe requirements.
Why Do Different Sourdough Guides Recommend Various Flour Types?
Sourdough methods can vary significantly based on a baker’s preferences, experience, and specific goals. While you can create a sourdough starter with many types of flour (though *never* use bleached flour for any bread baking, as it lacks vital nutrients), whole grain flours generally yield faster and more robust results, especially during the initial stages.
Rye flour is often considered superior for starting a new culture because of its exceptionally high nutrient content. These extra nutrients act as a superfood for the wild yeast and bacteria, often accelerating the starter’s development. If rye flour isn’t available, organic whole wheat flour is an excellent next best option. Many starter guides will strategically transition flour types and adjust feeding ratios as your starter gains strength and maturity. Always ensure your flour is fresh and not spoiled, as whole grain flours, in particular, can become rancid if stored improperly or for extended periods at room temperature due to their germ and endosperm content.
What Kind of Flour Should I Feed My Mature Sourdough Starter?
Once your sourdough starter is active and well-established, you have flexibility in the type of flour you feed it. Different flours will impart distinct characteristics and flavor profiles to your starter, and consequently, to your bread. Each starter will behave uniquely based on its diet.
A good general recommendation is to feed your starter with the type of flour you plan to bake with most often. For instance, if you primarily make whole grain breads, maintaining a whole wheat (or predominantly whole grain) starter makes perfect sense. This ensures your starter is accustomed to the flour it will be fermenting.
If your baking plans lean towards bread flour or unbleached all-purpose flour, you can gradually transition your starter to these types over time. You can find more detailed guidance on transitioning to different flour types in the maintenance section below.
Can I Create a Gluten-Free Sourdough Starter?
Yes, it is absolutely possible to create a gluten-free sourdough starter! However, it’s crucial to understand that gluten-free starters behave quite differently from traditional wheat-based starters and will require a distinctly different baking approach. There are numerous gluten-free flour options to explore, so you’ll need to research and experiment to discover what works best for your specific needs and desired outcomes.
While I don’t have extensive experience with gluten-free sourdough baking personally, there are fantastic resources available for those interested in this niche. I recommend checking out guides from Vanilla and Bean, as well as King Arthur Baking Company for reliable information and recipes.
Can I Use Packaged Yeast to “Jumpstart” My Sourdough Starter?
No, absolutely not. A sourdough starter is defined by its culture of *wild* yeast and lactic acid bacteria, which are naturally present in flour and the environment. Introducing commercial or dried yeast from a packet completely defeats the fundamental purpose of a sourdough starter. It would no longer be a naturally leavened starter but rather a mixture using conventional yeast. The magic of sourdough lies in harnessing these wild microorganisms, not in using a cultivated, single-strain commercial product.
What is a 100% Hydration Starter? What Does That Mean?
In baking, “hydration” refers to the quantity of water (or other liquids) relative to the total weight of flour. A 100% hydration sourdough starter is one that is fed and maintained with equal parts flour and water by weight. For example, if you feed your starter 50 grams of flour, you would also add 50 grams of water.
This ratio is incredibly common because it provides a good balance for yeast and bacteria activity, and most sourdough bread recipes are developed with and call for this type of starter due to its consistency and ease of handling. Understanding hydration is fundamental to managing your starter’s consistency and activity.
Sourdough Starter Maintenance Tips
Can I Switch or Transition Flour Types for My Starter Over Time?
If your sourdough starter is brand new and still developing, I strongly advise against frequently switching its flour types or even brands. Frequent changes can significantly impact its activity and make it challenging to establish a consistent and reliable feeding schedule. Consistency is key during the early developmental stages.
However, once your starter is active, mature, and predictable, you absolutely can change its flour type as desired or needed. For instance, if you want to transition from rye to all-purpose flour, or from whole wheat to bread flour, I recommend doing so slowly and incrementally over the course of about a week. Gradually incorporate the new flour into your feedings. Be mindful that different flours absorb water differently and can affect the starter’s behavior, so you may need to subtly adjust your feeding schedule or hydration levels.
How Do I Scale My Starter Up or Down for Baking or Storage?
Scaling your starter up or down is a straightforward process that simply involves increasing or decreasing the quantities of starter, flour, and water in your next feeding, all while maintaining your chosen feeding ratio. This allows you to adapt your starter’s volume without affecting its inherent strength or activity.
Example of Scaling (using a 1:5:5 ratio – Starter:Flour:Water):
- Current Regular Feeding: 20 grams starter : 100 grams flour : 100 grams water
- Scaled Down Starter (e.g., for refrigeration or less frequent baking): 5 grams starter : 25 grams flour : 25 grams water
- Scaled Up Starter (e.g., to prepare for a large bake): 40 grams starter : 200 grams flour : 200 grams water
By keeping the ratio consistent, you ensure your starter’s health and activity remain stable, regardless of its total volume.
Can I Preserve My Sourdough Starter as a Backup or for Gifting?
Yes, preserving a portion of your sourdough starter is a brilliant idea, providing a safety net in case anything happens to your active starter. For long-term storage and peace of mind, I highly recommend keeping dried sourdough starter on hand. Follow this comprehensive guide on how to dry sourdough starter. This method is not only perfect for an emergency back-up but also makes for a thoughtful and unique gift for friends and family interested in starting their own sourdough journey.
Can I Refrigerate My Starter If I Don’t Bake Frequently?
Yes, absolutely. Refrigeration is an excellent strategy if you don’t bake frequently or plan to be away from home for an extended period. Cold temperatures significantly slow down the metabolic activity of yeast and bacteria, naturally extending the time your starter can go between feedings. This essentially puts your starter into a dormant state.
However, I don’t recommend continuous, long-term refrigeration as a primary maintenance strategy, as it can subtly alter the delicate balance of wild yeast and lactic acid bacteria over time, potentially leading to less consistent results when you do bake. It’s best suited for short-term breaks or reducing feeding frequency.
Before refrigerating your sourdough starter: Perform a regular feeding, making sure to discard a portion first. Allow the freshly fed mixture to sit at room temperature for approximately 1 hour to kickstart initial activity before transferring it to the refrigerator. This gives it a good “meal” before its long sleep.
To revive a refrigerated starter: When you’re ready to resume regular feedings or bake, remove your starter from the refrigerator and let it sit at room temperature (ideally between 74°F-78°F or 23°C-26°C) until it becomes noticeably bubbly and shows signs of peak activity. Continue with regular feedings at room temperature and closely observe its vigor.
Depending on how long it has been refrigerated, a dormant sourdough starter may require an additional 2 to 3 regular room-temperature feedings before it fully resumes its normal activity levels and is strong enough to reliably leaven bread, such as my Artisan Sourdough Bread or Sourdough Pizza.
What Do You Mean by Feeding Ratio? Which One Should I Use?
A feeding ratio is a precise way to indicate the relative amounts of sourdough starter, flour, and water used in each feeding, measured by weight. These ratios are crucial for managing your starter’s activity and health.
Here are common examples of feeding ratios:
- 1:1:1 ratio: This means equal amounts of sourdough starter, total flour, and total water *by weight*. (e.g., 20 grams sourdough starter : 20 grams flour : 20 grams water). This ratio results in a faster cycle of activity due to a higher concentration of starter relative to new food.
- 1:2:2 ratio: (e.g., 20 grams sourdough starter : 40 grams flour : 40 grams water). This provides more food for the starter, extending its peak activity.
- 1:5:5 ratio: (e.g., 20 grams sourdough starter : 100 grams flour : 100 grams water). This ratio offers an even longer feeding cycle, making it ideal for established, strong starters, especially if you need to extend the time between feedings or build up a larger quantity for baking.
Most sourdough starter guides typically begin with a 1:1:1 ratio for initial development, as it promotes rapid growth. As your starter matures and becomes more active (indicating a stronger population of wild yeast and lactic acid bacteria), you will generally transition to a higher feeding ratio (e.g., 1:2:2 or 1:5:5) to account for its increased vigor and to extend the time between feedings. Once your starter is consistently active and on a reliable feeding schedule, you can adapt your feeding ratio as needed to adjust for environmental factors, desired baking timelines, or specific recipe requirements.
Sourdough Starter Baking Questions
How Do I Know When My Sourdough Starter is Ready for Bread Baking?
Determining if your sourdough starter is ready for baking is crucial for successful bread. Before you attempt to bake, your starter should exhibit predictable and robust activity, consistently rising and falling on a reliable feeding schedule. If your starter appears sluggish, struggles to rise significantly between feedings, or takes an unusually long time to reach its peak activity, it is most likely *not* strong enough to effectively leaven bread.
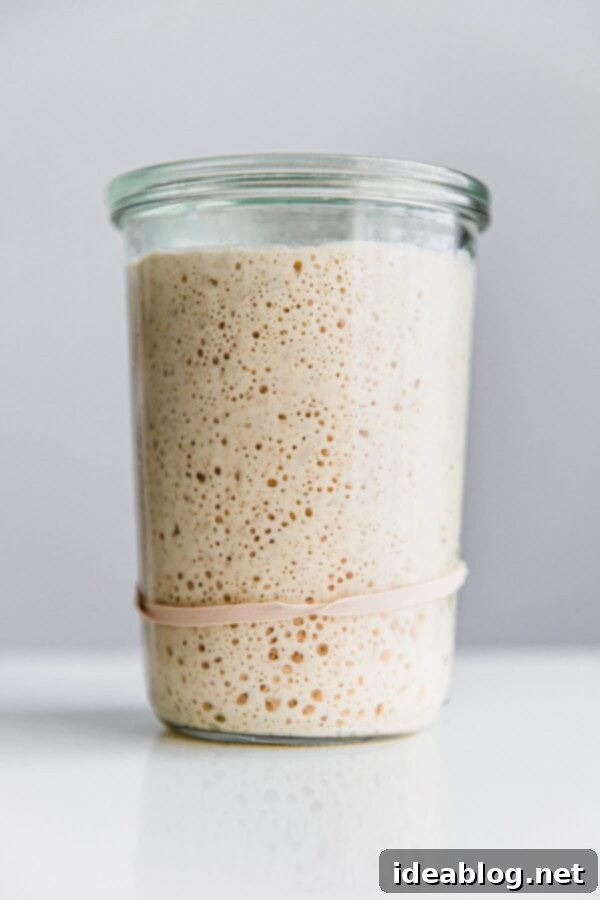
While precise timing can vary slightly depending on the type of flour you use and ambient temperatures, a strong starter should *at least* double in volume (or more) at its peak activity. A reliable indicator for many is passing the float test.
My current starter activity as an example: My two-year-old starter, consistently fed King Arthur unbleached bread flour using a 1:5:5 ratio, reliably peaks in about 10-12 hours when maintained at a temperature of roughly 75°F (24°C).
Do I Have to Use My Starter at Peak Activity? Can It Be Used Early or Late?
Once your sourdough starter is active and mature, you gain a degree of flexibility in when you use it, and this flexibility can be leveraged to introduce nuanced flavor profiles into your bread. Using a younger starter (just before its peak) tends to result in a more delicate, subtly sweet flavor in your final loaf.
Conversely, a starter used at or slightly past its peak activity, perhaps when it has just begun to fall, will have a higher concentration of acetic acid. This contributes a more pronounced sourness and tanginess to your bread, characteristic of classic sourdough flavors. I personally prefer to use my sourdough starter right at its peak activity or when it is *just* beginning its descent, as this has consistently yielded the best results for my recipes. It’s important to remember that altering these variables (when you use your starter) will directly impact your dough’s bulk fermentation times and overall characteristics, so experimentation is key to finding your preferred balance.
Sourdough Starter Troubleshooting
My Starter is Developing Mold. How Do I Know if My Sourdough Starter is Bad?
If you observe *any* signs of mold on your sourdough starter—whether it’s pink, orange, green, black, or even fuzzy white spots—you must discard it immediately. There is no safe way to salvage or fix a moldy starter, as mold can produce harmful toxins. Before starting a new batch, thoroughly check your flours to ensure they are fresh and not spoiled or rancid, as poor quality ingredients can contribute to mold growth.
My Starter Isn’t Showing Any Signs of Activity After Several Days. Did I Kill It?
It’s natural to feel concerned when your starter seems sluggish, but don’t panic! The most important advice here is: be patient. Sourdough starters often take longer to activate than many online guides suggest. Try placing your starter in a consistently warmer area of your home; an ambient temperature between 76°F-80°F (24°C-27°C) is generally ideal for robust yeast activity. In the very early stages, use your nose as a guide—a pleasant, slightly yeasty or sweet smell can be a better indicator of underlying activity than visual bubbles. Treat recipes and timelines as general guidelines, not strict mandates. If your starter shows signs of peaking, feed it. If it’s sluggish, simply wait longer and give it more time and consistent warmth.
Many guides optimistically claim your starter will be active and ready for baking within less than a week. While this can happen in ideal conditions, it is *not* the common experience. Most starters require at least two weeks, and sometimes even longer, to develop the necessary strength and activity to reliably leaven bread.
My Starter Was Very Active on Day 2-3, Then Had Zero Activity. What Happened?
This is a very common scenario and completely normal! It’s typical for a new sourdough starter to exhibit an initial surge of activity during the first few days, only to then quiet down significantly. This early burst is often the result of different types of bacteria flourishing, not necessarily the wild yeast and lactic acid bacteria you’re trying to cultivate for leavening. This “flat line” period is *not* an indication that your starter has died.
Be patient and continue with your regular feeding schedule. The desired wild yeast and lactic acid bacteria will eventually increase, outcompeting other microorganisms and establishing a stable, active culture. It will pick up again with time.
My Starter is Active, But Barely Rising Between Feedings. What Should I Do?
If your starter shows some bubbling but isn’t significantly increasing in volume (doubling or more) between feedings, it means it’s still developing strength. Stay the course, be patient, and continue with your regular, consistent feedings. If you’re currently using a very small ratio of starter in your feedings (e.g., 1:5:5), consider temporarily increasing the proportion of active starter (e.g., to a 1:2:2 or even 1:1:1 ratio) for a few feedings until it gains more vigor. This provides a higher concentration of active microorganisms to jumpstart growth.
Critically, if your starter is not consistently doubling or growing substantially in volume between feedings, it is *not* strong enough to reliably leaven dough. You can certainly attempt to bake with it, but you will most likely not achieve proper fermentation, resulting in dense bread with poor rise and texture.
Why Isn’t My Starter Passing the Float Test?
The float test is a common, though not entirely foolproof, indicator of a starter’s readiness, particularly for 100% hydration sourdough starters (those fed with equal parts flour and water). A failed float test generally points to one of two main issues:
- Your sourdough starter is too young or not yet strong enough for bread baking. If it’s still inconsistent in its rise or hasn’t been active for long, it likely needs more time and consistent feedings to develop the necessary CO2 production.
- The starter is strong and active, but not quite at its peak. It might have just passed its peak, or isn’t quite there yet. Allow the starter to sit at room temperature for another 30 minutes to an hour after feeding and retest. Sometimes a slight delay is all it needs to accumulate enough gas to float.
My Ambient Kitchen is Very Cold. What Can I Do to Help My Starter?
Wild yeast thrives in warmer temperatures. If your kitchen environment is consistently cool, your sourdough starter will naturally take longer to develop initially, require more time to reach its peak activity between feedings, and your bulk fermentation times for bread baking will be considerably extended. While not a deal-breaker, it’s an important factor to be aware of and manage.
Here are several strategies to provide warmth:
- Oven with the Light On: Place your starter in your oven with just the oven light on. The heat from the bulb can create a warm, consistent environment. *Crucially, always use an ambient thermometer inside the oven to monitor the temperature*, as some ovens can become too hot and kill your starter.
- Microwave with Warm Water: Place your starter container inside your microwave next to a freshly warmed bowl of water. The enclosed space, combined with the residual heat from the water, can create a small proofing chamber.
- Dedicated Proofing Box: If you are serious about sourdough baking and frequently struggle with temperature regulation, I highly recommend investing in a bread proofing box. These devices offer precise temperature control, taking the guesswork out of maintaining ideal conditions for your starter and dough. (I personally own and love the Brod & Taylor folding proofer).
If you found this comprehensive guide helpful, be sure to explore my other valuable sourdough bread baking resources:
- Sourdough Bread Baking Troubleshooting Guide
- Artisan Sourdough Bread Recipe + Step-By-Step YouTube Video
- Kalamata and Castelvetrano Sourdough Recipe
- Sourdough Pizza Dough
- Favorite Sourdough Bread Tools and Resources
- How to Dry Sourdough Starter for Storage
- How to Store, Freeze, and Refresh Bread
