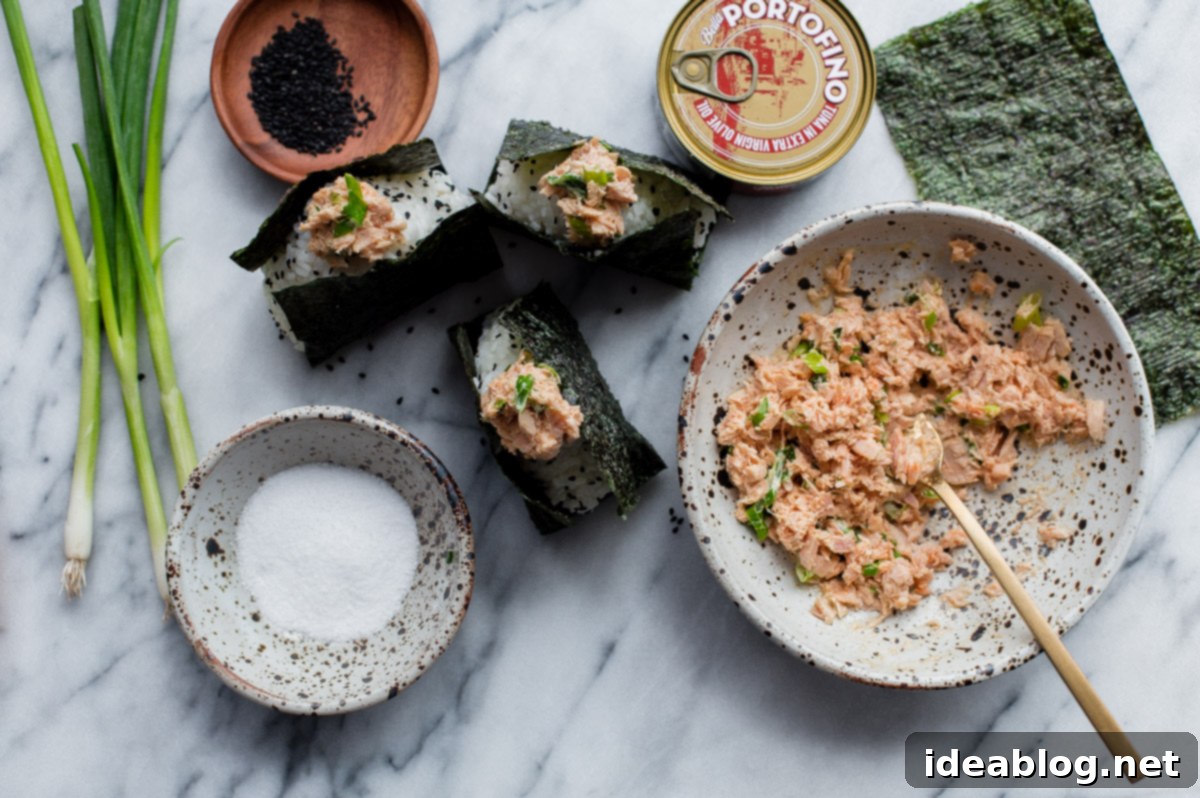
Homemade Spicy Tuna Onigiri: Your Ultimate Guide to Crafting Delicious Japanese Rice Balls
Welcome to the delightful world of homemade Onigiri! This comprehensive guide will teach you how to prepare authentic Japanese rice balls, featuring an irresistible spicy tuna filling.
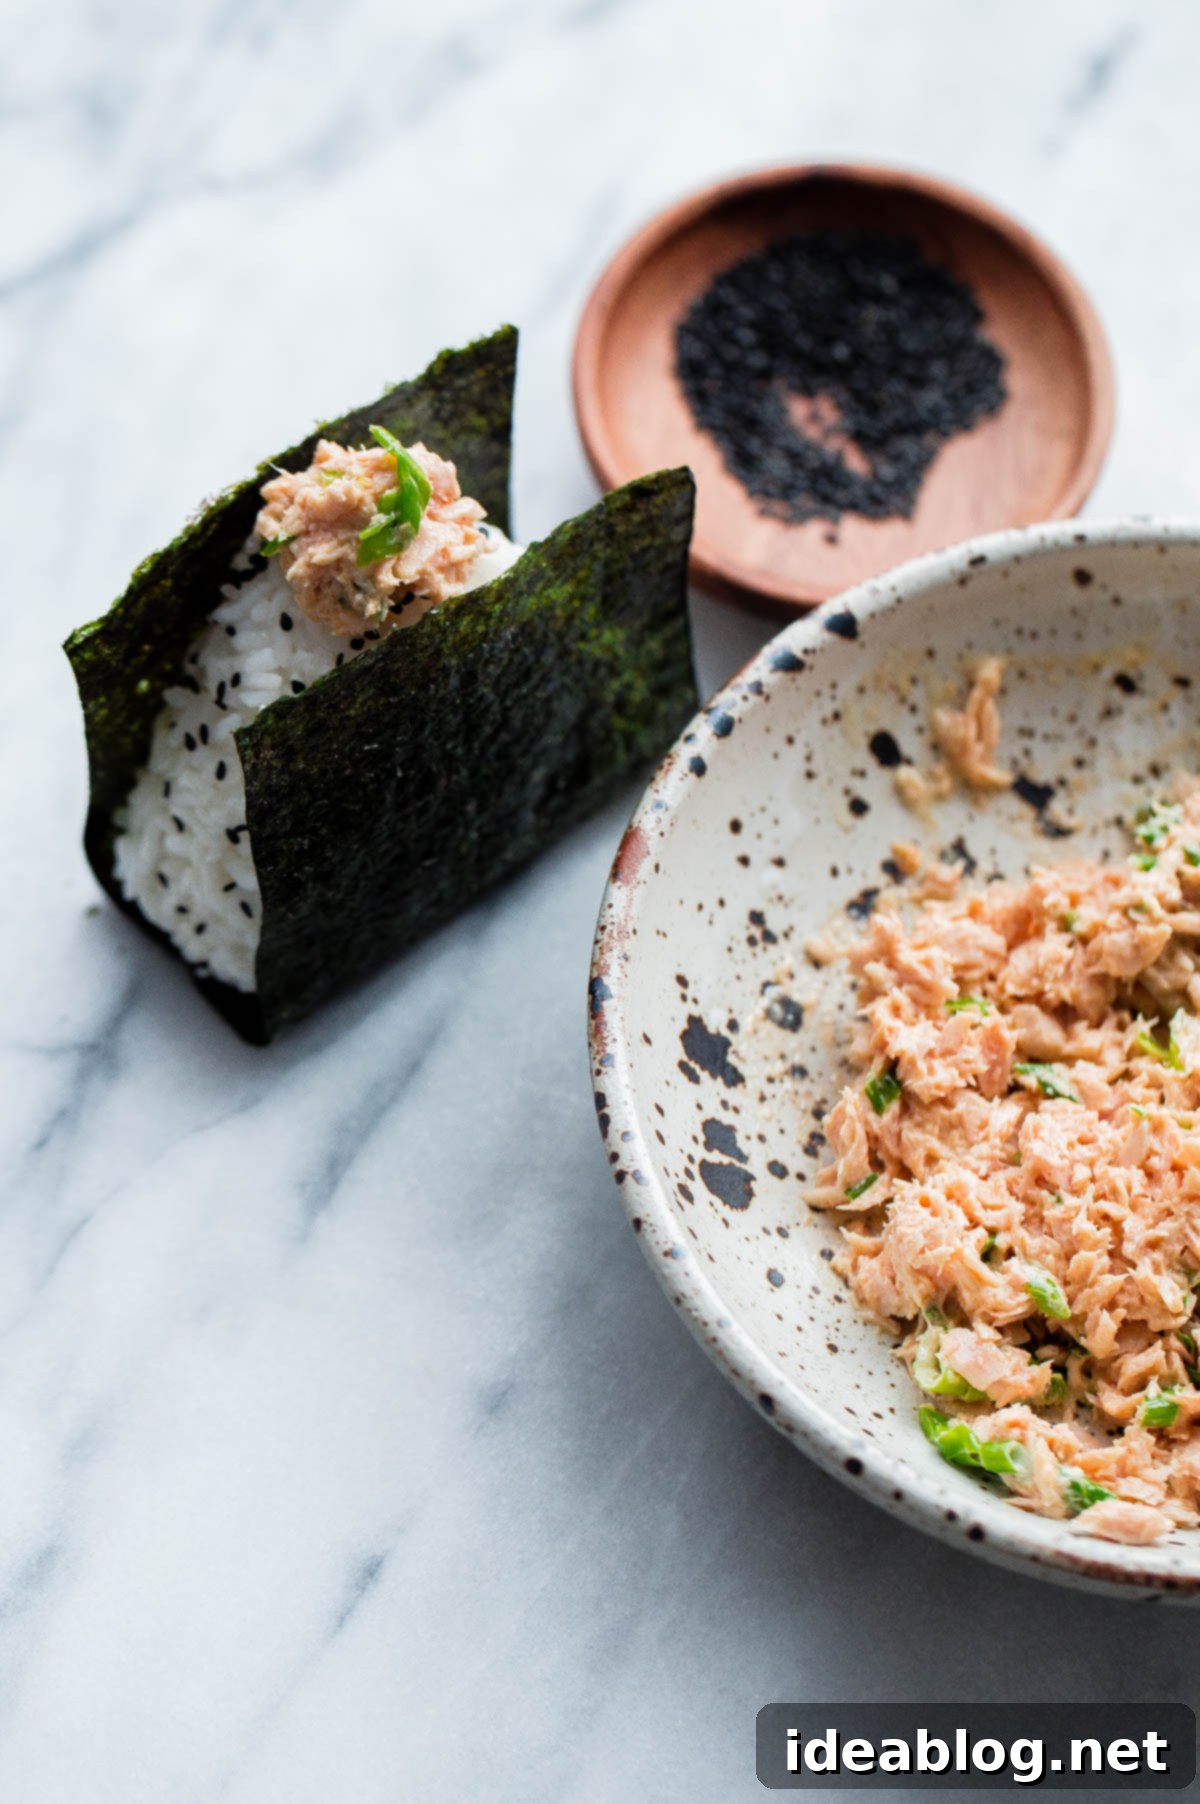
This post is brought to you by Bella Portofino.
Our unforgettable trip to Japan last April left an indelible mark on our hearts and palates. The vibrant culture, the serene landscapes, and especially the exquisite culinary experiences drew us in more than we ever anticipated. Barely a week goes by without us reminiscing about our time there, dreaming of a return visit. It’s no exaggeration to say that the food was a true highlight of our journey. The unwavering care, precision, and profound dedication that Japanese chefs demonstrate towards their ingredients is not just outstanding—it’s profoundly inspiring and utterly unforgettable.
While sushi might be the first thing that comes to mind when thinking about Japanese cuisine, it was truly just the tip of the iceberg. We discovered a treasure trove of flavors and textures, with one humble dish standing out as a surprising favorite: Onigiri.
A Memorable Encounter: Discovering Onigiri in Kyoto
One of the most unexpectedly delightful meals of our entire trip was enjoyed at Ao Onigiri, a small, single-counter restaurant nestled in the quiet outskirts of Kyoto. Like many of the culinary gems we found in Japan, it was unassuming from the outside, tucked away in a residential back alley, a true testament to the country’s hidden foodie havens. Once we confirmed we were at the right address, we ducked beneath the indigo fabric noren hanging above the door, stepping into a cozy space with just a six-seat counter.
The interior was tiny, yet every inch felt thoughtfully designed. Behind the counter, a skilled chef moved with the grace and precision of a dancer, meticulously shaping and serving onigiri with effortless efficiency. It was a remarkable one-man operation, a masterclass in culinary artistry and dedication.
We took our seats, grateful to find an English menu, and jotted down our desired onigiri fillings on a small slip of paper, which we handed to the chef. Within minutes, piping hot, perfectly formed Japanese onigiri were placed before us, ready to be devoured. Having sampled several onigiri throughout our travels in Japan, I can confidently say that these were remarkably delicious. The rice was cooked to absolute perfection, the fillings were spot-on in flavor and texture, and the nori (seaweed) was wonderfully crisp. Simply put, I adored them.
What is Onigiri? More Than Just a Rice Ball
For those unfamiliar with Japanese onigiri, they are essentially compact rice balls, most commonly shaped into appealing triangles, skillfully made from Japanese short-grain rice (often referred to as sushi rice) and typically wrapped in sheets of nori seaweed. While the classic shape is triangular, they can also be found in cylindrical, spherical, or even whimsical molds. The beauty of onigiri lies in its incredible versatility; they are often filled with an extensive array of ingredients, ranging from traditional pickled plum (umeboshi), grilled salmon, and kelp (kombu) to a variety of modern creations like spicy tuna or fried chicken. The options for fillings are truly endless, catering to every palate.
Onigiri holds a significant place in Japanese culinary culture as one of the most beloved and portable snack foods. Much like staple grab-and-go meals in other cultures (think pasties in England or empanadas in Latin America), onigiri has been a fundamental part of Japanese cuisine for centuries. Its evolution was driven by the need for an easy, self-preserved, and convenient meal that could be eaten on the go, whether for travelers, farmers, or workers. Today, onigiri can be found everywhere in Japan, from bustling train stations to every single convenience store (konbini), where they offer a surprisingly good, albeit factory-made, option for a quick bite. However, as our experience at Ao Onigiri proved, nothing quite compares to the fresh, handmade versions.
Since our trip, onigiri has quickly ascended to the top of my list of new favorite comfort foods. I was determined to recreate this simple yet profoundly satisfying dish at home, striving for a taste that would transport us back to the charming back streets of Kyoto.
In this spirit, I’ve had the pleasure of collaborating with my friends at Bella Portofino to bring you these truly delicious and incredibly comforting homemade spicy tuna onigiri. This recipe offers a modern twist on a timeless tradition, and I promise you, they are much simpler to make than they might appear!
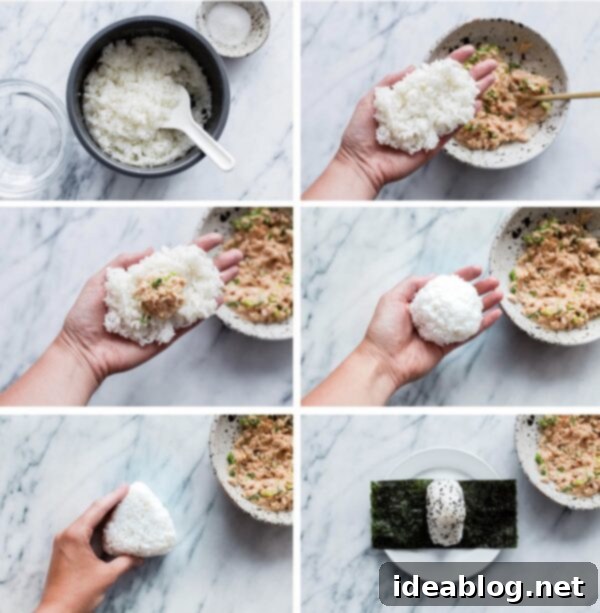
The most significant learning curve for newcomers typically involves the shaping process and, crucially, ensuring your rice is cooked to perfection. (Insider tip: a good quality rice cooker is truly your best friend for achieving ideal results here.) To guide you every step of the way, I’ve included detailed step-by-step photos further down!
What Makes a Great Onigiri Filling? The Spicy Tuna Secret
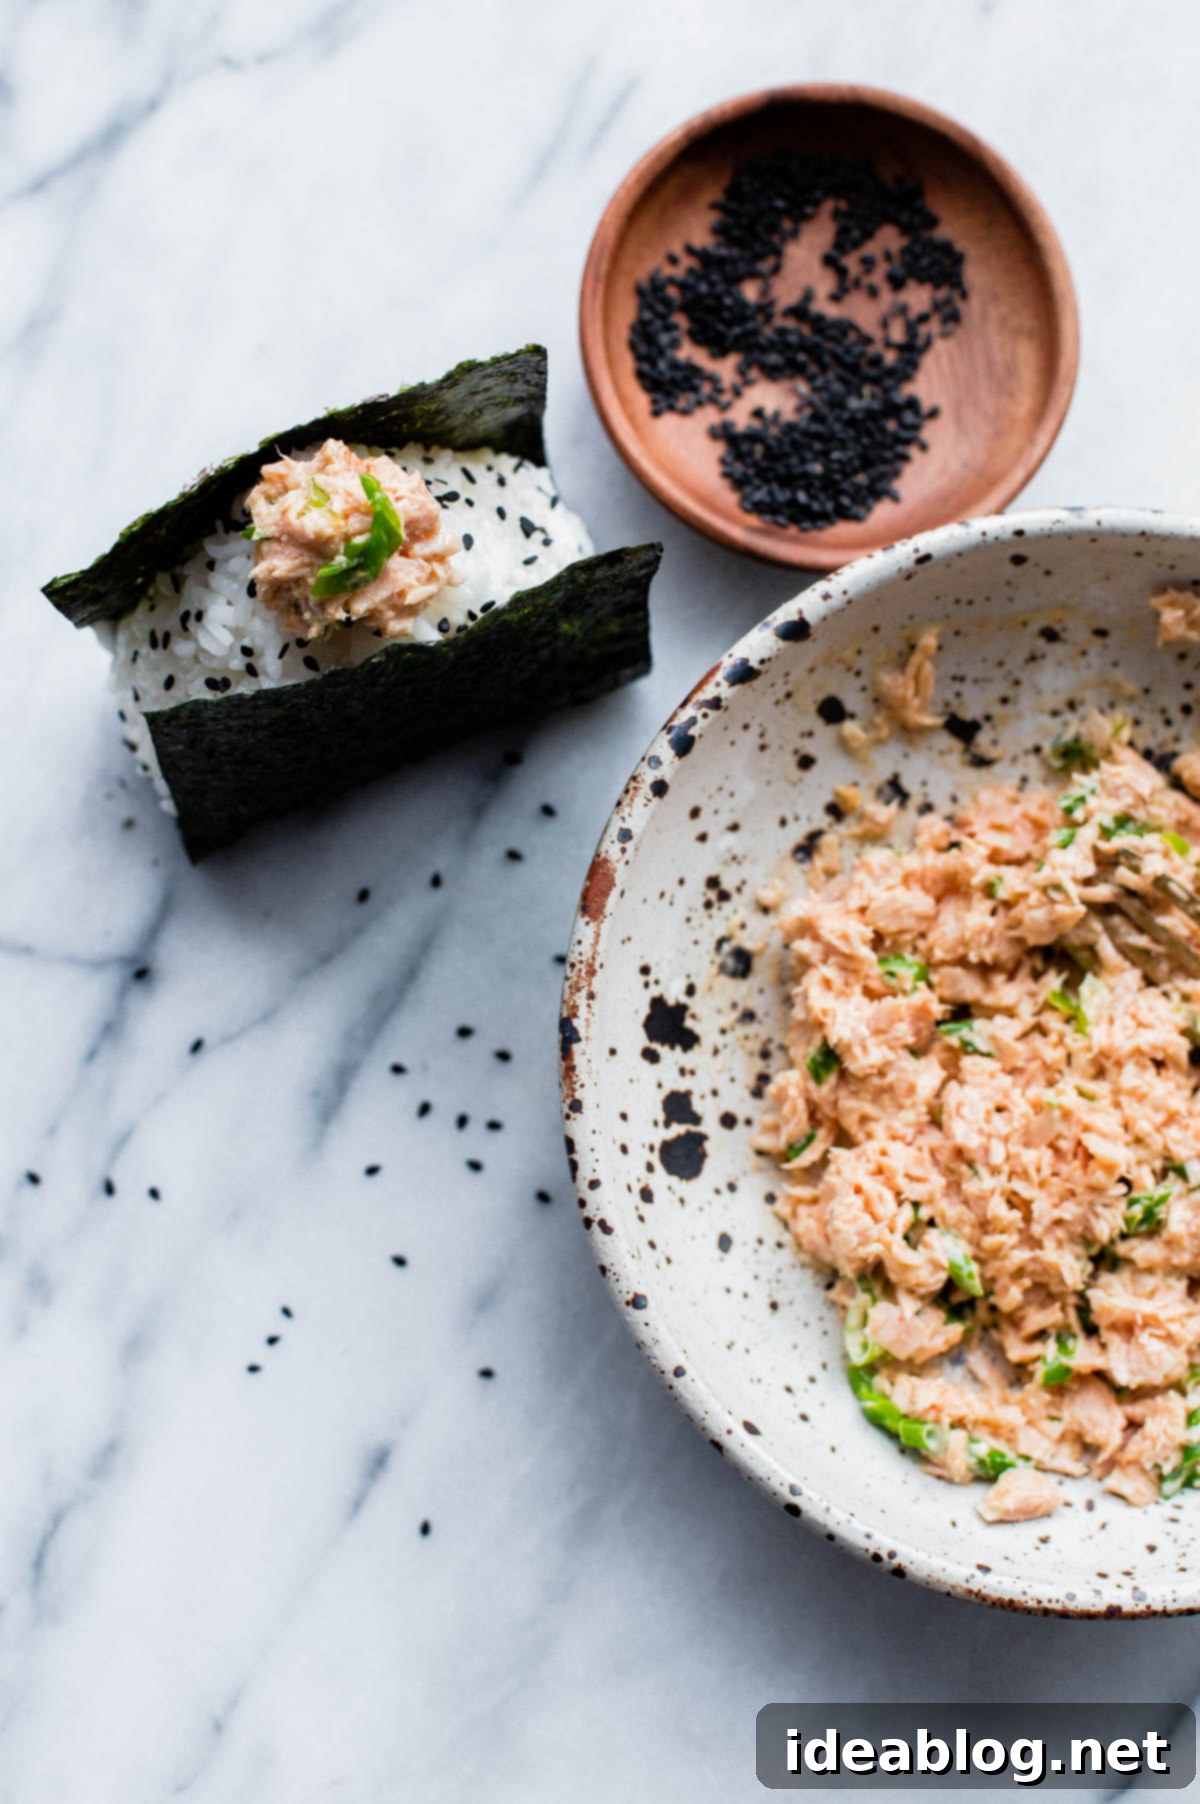
While traditional onigiri fillings are numerous, one of the most popular and increasingly modern choices is a simple yet incredibly satisfying combination of extra virgin olive oil-packed canned tuna and mayonnaise. It might sound basic, but this mixture is exceptionally flavorful, hearty, and universally loved. An added bonus is that it significantly limits the number of specialty ingredients required, making homemade onigiri accessible to everyone.
Keeping with this beloved modern tradition, I’ve put my own special spin on it. While many Japanese dishes are simple in concept, the paramount importance of ingredient quality cannot be overstated. This philosophy applies across the board, from the choice of canned tuna to the specific type of sushi rice and the quality of the nori.
Spicy Tuna Onigiri Filling Ingredients:
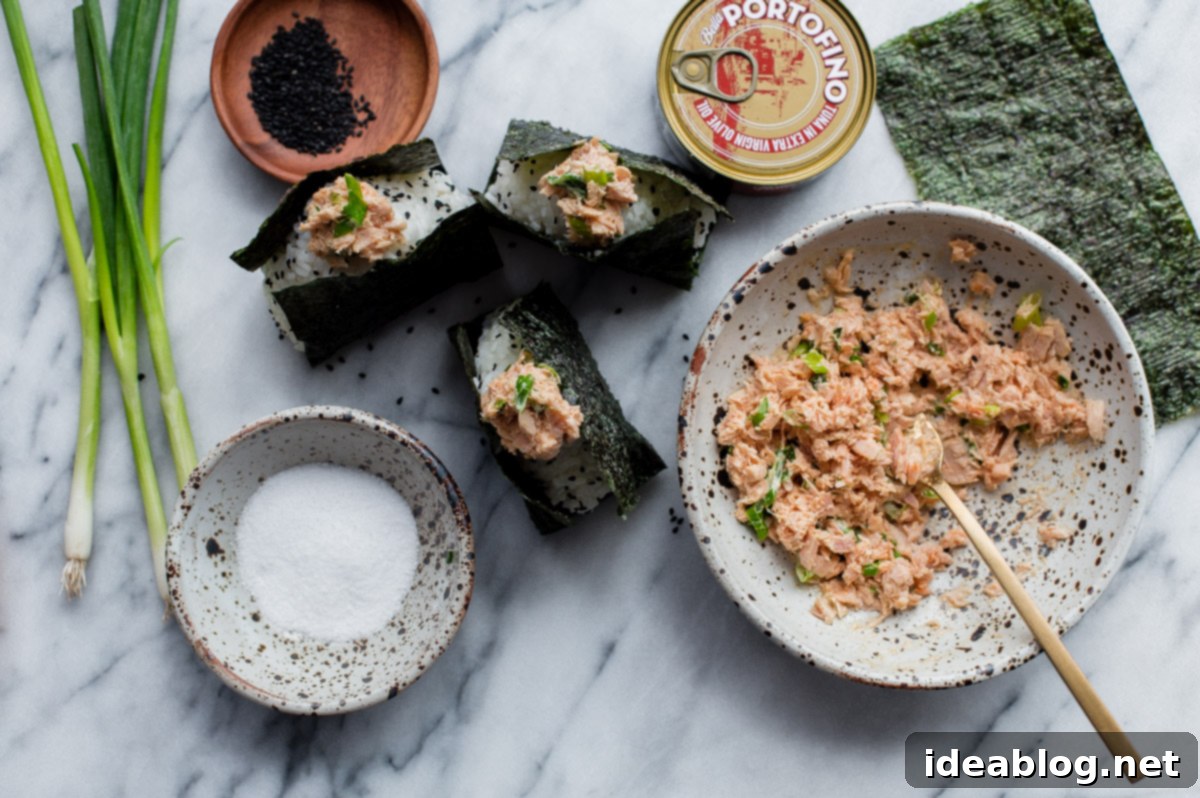
- **Extra Virgin Olive Oil Packed Albacore Tuna:** We use Bella Portofino solid albacore tuna. Its mild yet rich flavor and excellent texture make it ideal for this filling, and being packed in olive oil adds an extra layer of lusciousness.
- **Traditional Mayonnaise:** Provides creaminess and binds the ingredients together.
- **Sriracha Hot Sauce:** Adds that perfect kick of heat, customizable to your preference.
- **Sliced Scallions:** Freshness and a subtle oniony bite.
- **Rice Vinegar:** A touch of acidity to balance the richness and heat.
Truthfully, this delectable tuna mixture is so good, it would be fantastic on a sandwich or as a dip. However, its true magic shines when combined with fluffy, slightly warm sushi rice and the crisp, umami-rich embrace of nori seaweed.
The Art of Onigiri Rice: A Key Distinction
One crucial difference between onigiri and sushi lies in the rice preparation. Sushi rice is specifically seasoned with a mixture of rice vinegar and sugar, giving it its characteristic tangy-sweet flavor. For onigiri, however, the rice is simply steamed to perfection and only lightly seasoned with salt during the shaping process—nothing else. This minimalist approach allows the natural sweetness of the rice and the flavors of the filling to truly shine, creating a comforting and authentic taste experience.
While I can’t quite promise that these homemade onigiri will exactly replicate the transcendent ones we savored in Japan, I can assure you they come pretty darn close! They are a wonderful way to bring a taste of Japan into your own kitchen.
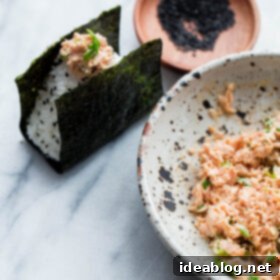
Spicy Tuna Onigiri
Pin
Review
SaveSaved!
Ingredients
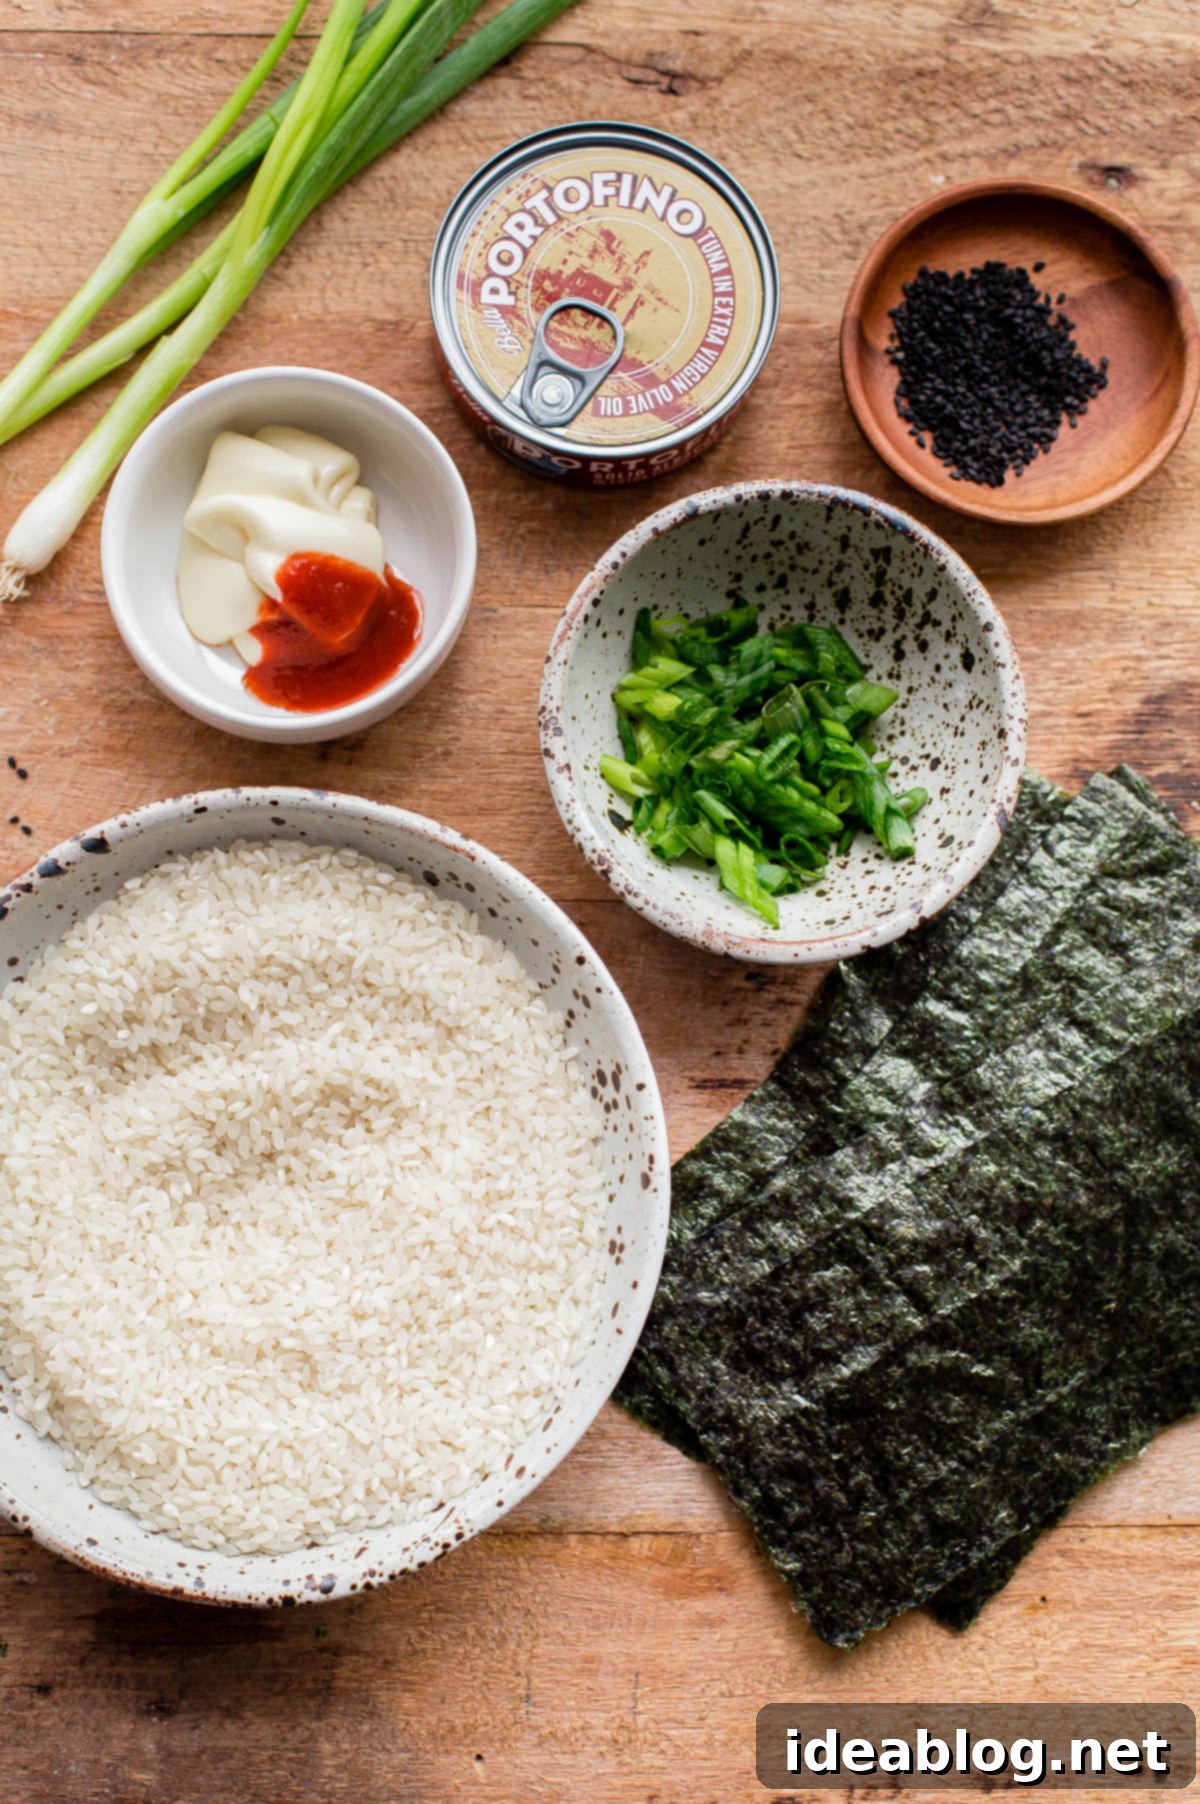
- 1½ cups Japanese short-grain rice (sushi rice) about 2 rice cooker cups
- 15 fluid ounces (440 mL) cold water
- kosher salt
- 1 (4.5-ounce) can Portofino Solid Albacore Tuna in Extra Virgin Olive Oil drained
- 1½ tablespoons mayonnaise
- 1 teaspoon sriracha hot sauce
- ½ teaspoon rice vinegar
- 1 scallion (green parts only) finely sliced
- toasted black sesame seeds for sprinkling (optional)
- 3 sheets toasted nori cut crosswise in half
Instructions
-
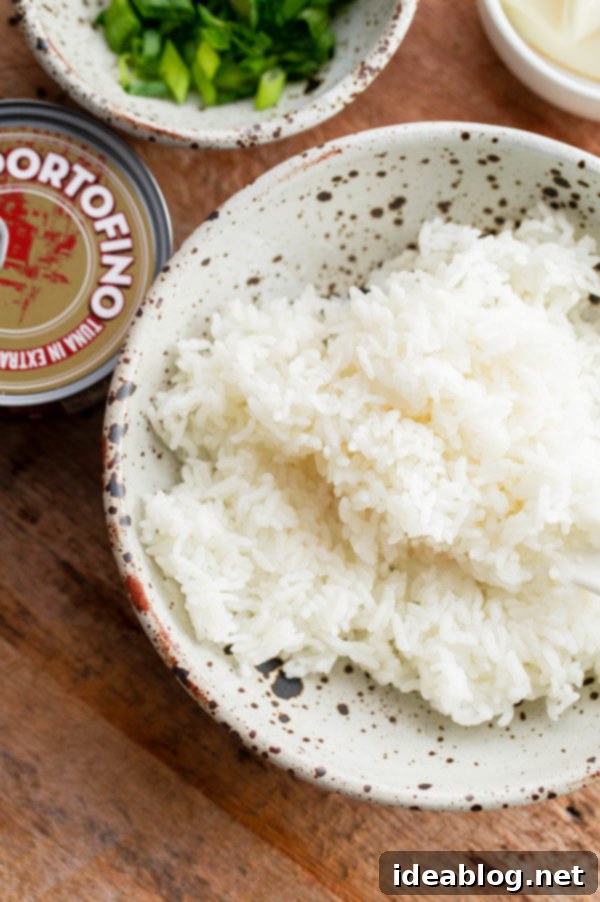
Prepare the rice: Place the rice in a fine-meshed sieve and rinse well under cold water, rubbing the grains of rice between your fingers, until the water runs clear. This helps remove any excess starch and improves the texture of the rice once cooked. Drain well.
-
Combine the rice and water, and cook in a rice cooker according to the manufacturer’s directions. This method will yield the best-textured sushi rice. If you do not own a rice cooker: Combine the rice and water in a medium (non-stick, if possible) saucepan. Bring to a boil, reduce heat to the low, and cook covered for 16 to 18 minutes or until the water has been completely absorbed. Remove from heat, gently fluff the rice with a rice paddle or wooden spoon, place a clean kitchen towel over the pot, top with the lid again, and let stand covered for 10 minutes. While the rice cools slightly, prepare the onigiri filling.
-
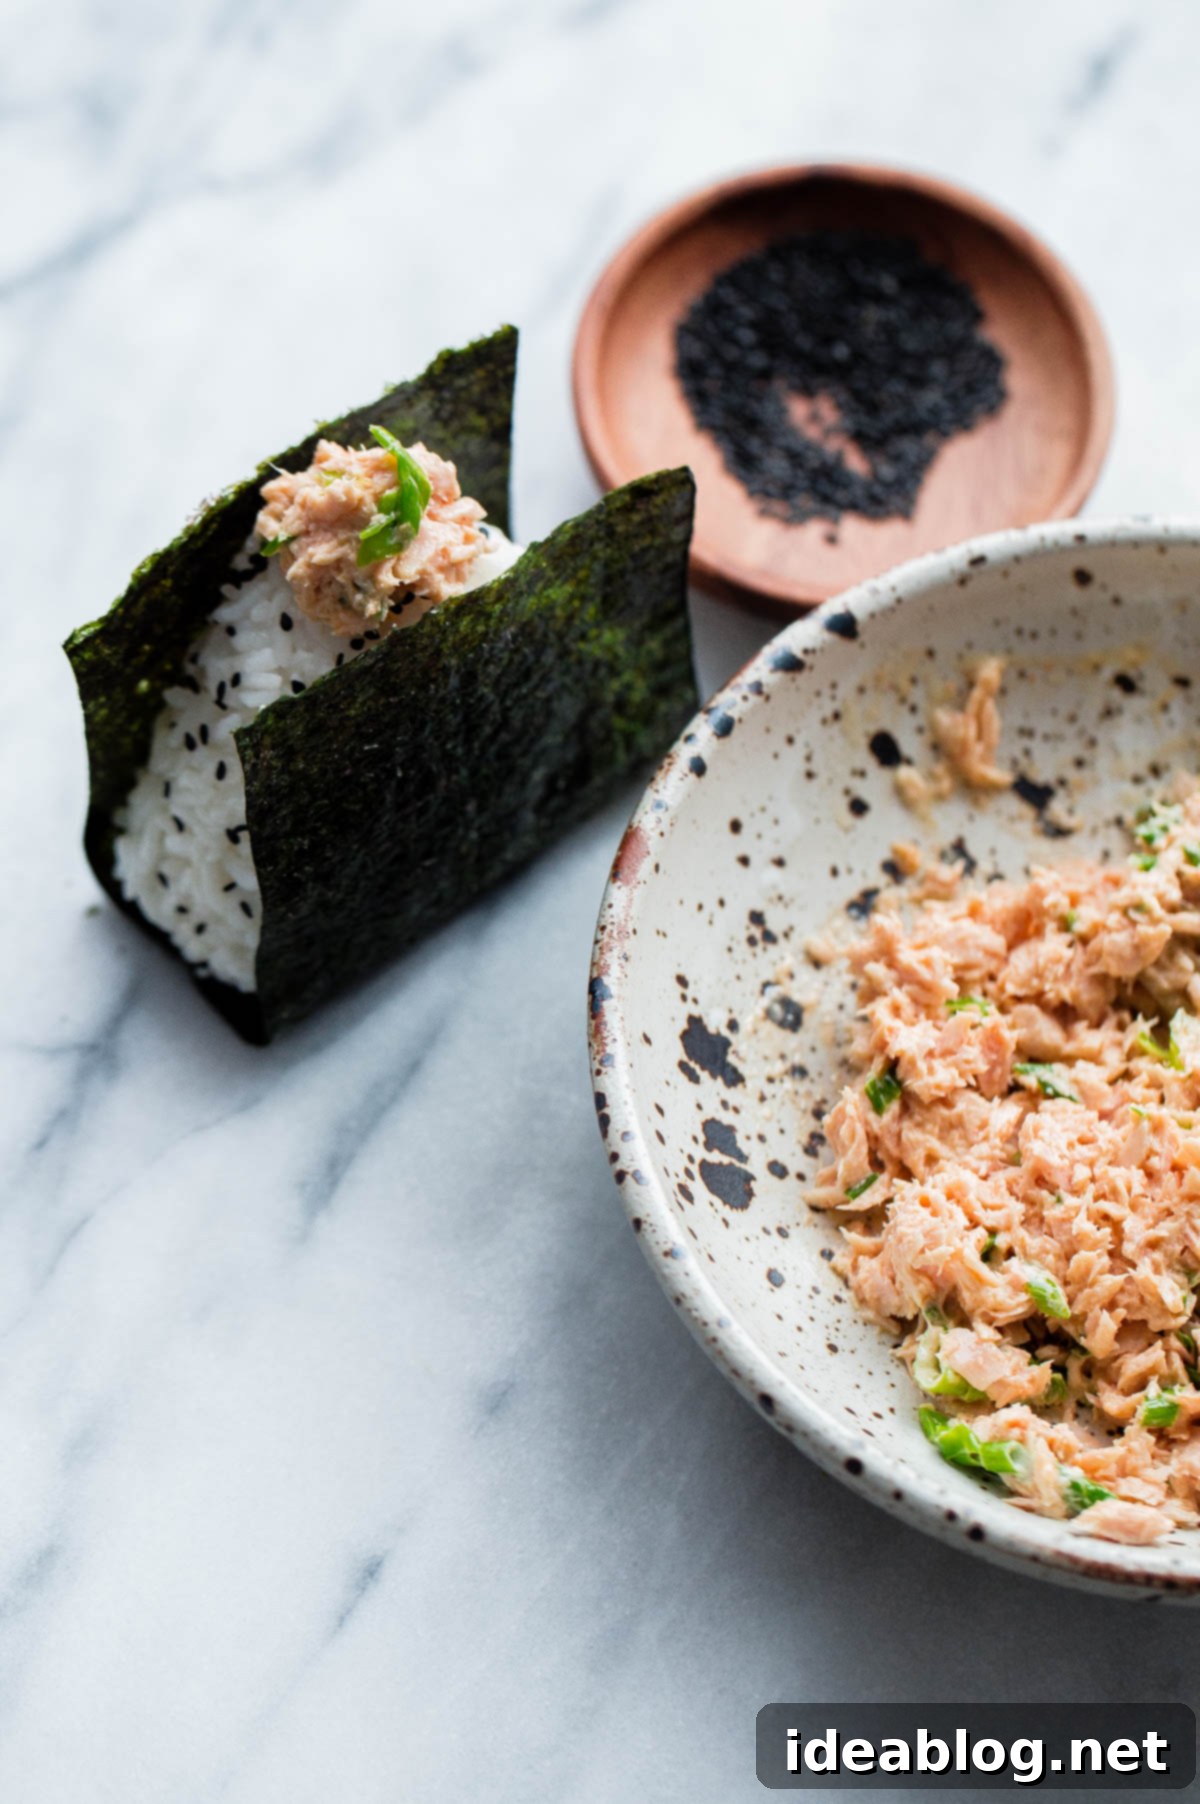
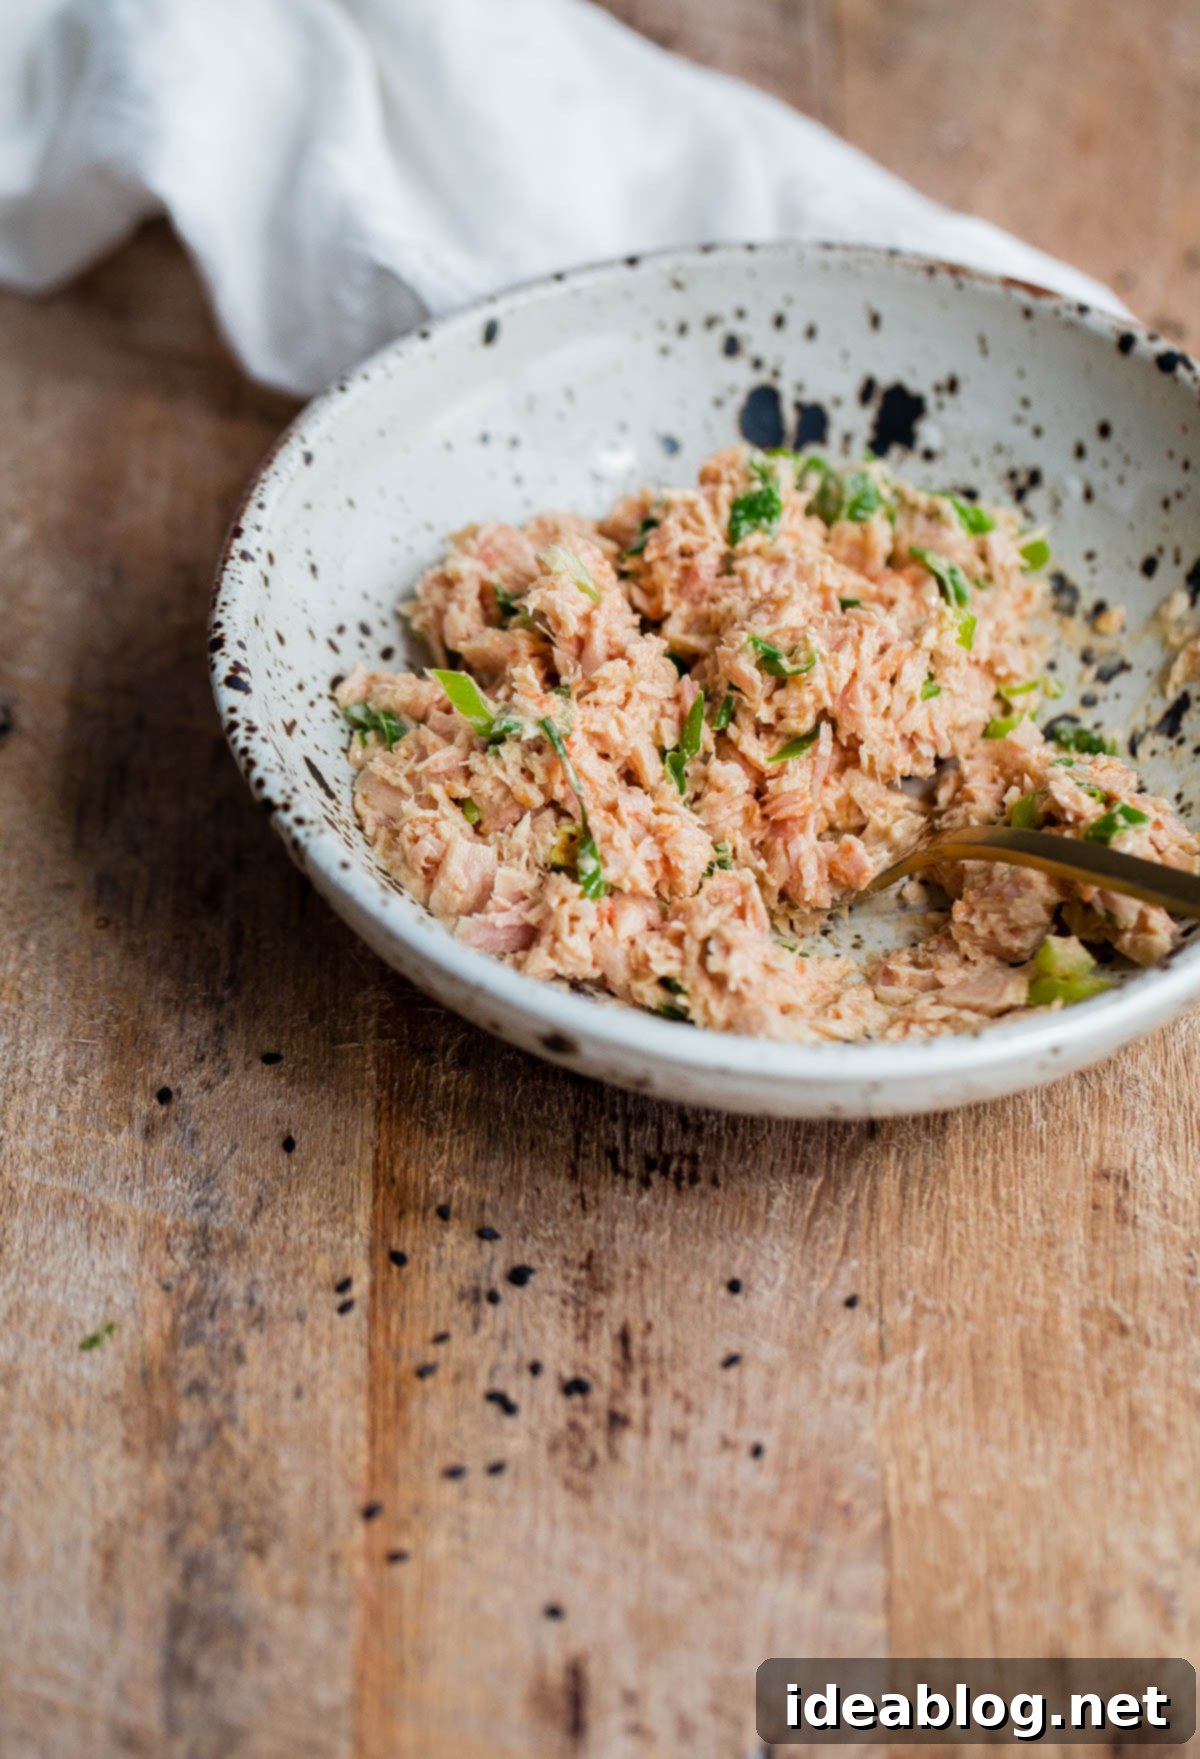
Make the filling: In a medium bowl, combine the albacore tuna, mayonnaise, hot sauce, and rice vinegar with a fork until evenly combined. Stir in the scallions.
-
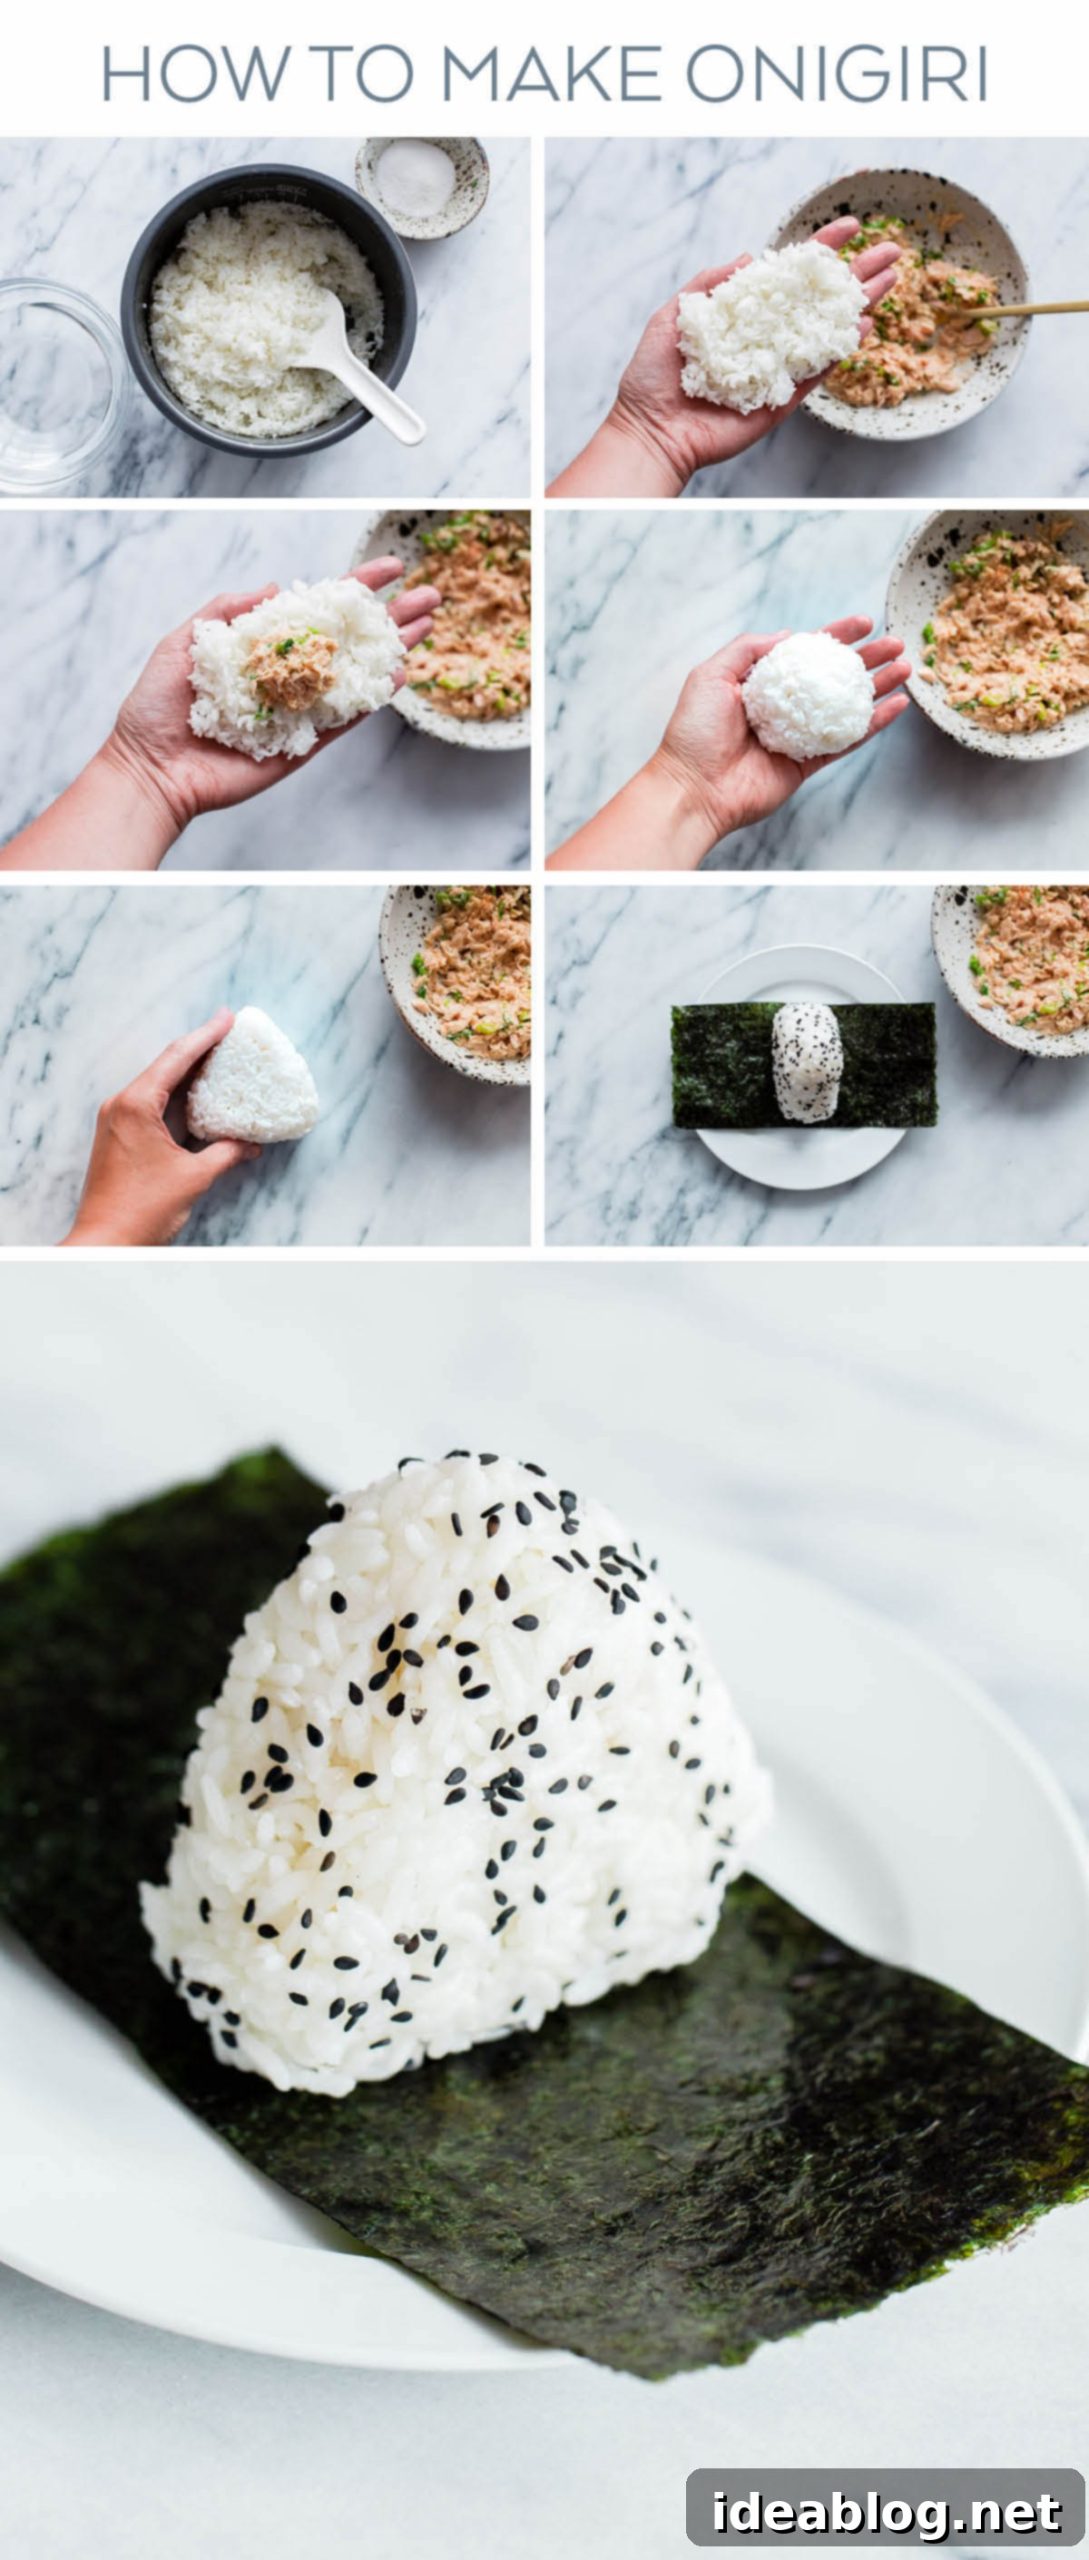
Assemble: Set aside a medium bowl of room temperature water and a small bowl of kosher salt for pinching. Once the sushi rice is cool enough to handle, start assembling the onigiri by hand.
-
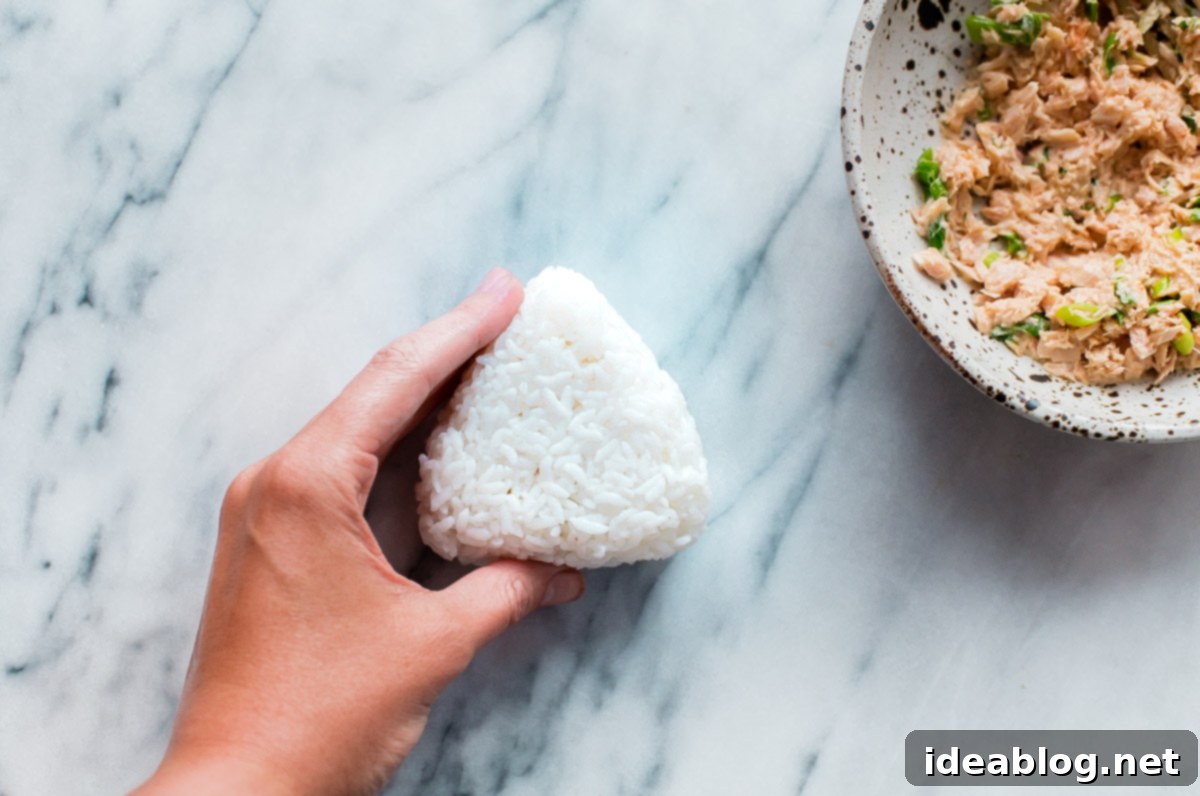
Lightly moisten your hands by dipping them in the water bowl (this will help prevent the rice from sticking to your hands during shaping). Sprinkle both of your palms lightly with kosher salt and rub them together. Grab roughly a ½ cup of sushi rice and gently press into a thick oblong shape in one palm of your hand. Add a tablespoon of the tuna filling, pinched together with your fingertips, to the center of the rice and close the rice over the filling. [If necessary, use an additional pinch or two of rice to cover the filling.]

-
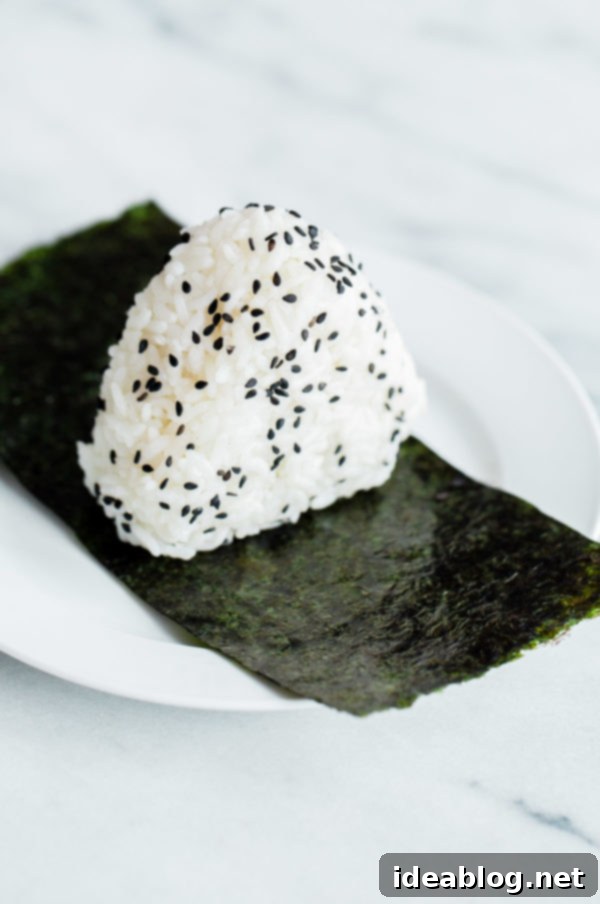
Gently shape the rice ball into a wide triangular shape using the palms of one hand and the fingers of your other hand, rotating the rice ball as you go. Avoid compressing the rice too hard, it should hold together well but be lightly packed. Sprinkle the outside of the onigiri with black sesame seeds. Wrap each onirigi in a nori sheet and place an additional small spoonful of tuna filling on the top of each onigiri. Serve immediately.

Tips for Success:
- Unlike sushi, which is prepared with sushi rice seasoned with rice vinegar and sugar, onigiri is made with steamed rice that is lightly seasoned with salt during the shaping process – nothing else.
Expert Tips for Onigiri Success
Making delicious homemade onigiri is a rewarding process, and a few key tips can elevate your results:
- Perfect Rice is Paramount: As emphasized, the rice is the star. Rinsing it thoroughly removes excess starch, ensuring a fluffy yet cohesive texture. A rice cooker offers unparalleled consistency, but stovetop methods are perfectly viable with careful attention. Don’t skip the resting phase after cooking; it allows the steam to redistribute and the grains to firm up.
- Keep Your Hands Moist and Salty: This is a non-negotiable step for shaping. Dipping your hands in room temperature water prevents the sticky rice from adhering to your palms. The light sprinkle of kosher salt not only adds a subtle seasoning to the rice but also acts as an antibacterial agent and helps create a better grip.
- Don’t Over-compress: When shaping, aim for gentle but firm pressure. You want the rice ball to hold its shape securely without being overly dense or hard. A lightly packed onigiri has a more pleasant texture.
- Experiment with Fillings: While spicy tuna is a fantastic modern choice, the world of onigiri fillings is vast! Try traditional favorites like grilled salmon flakes, umeboshi (pickled plum), tarako (salted cod roe), or kombu (simmered kelp). You can also get creative with other canned fish, cooked chicken, or even vegetarian options like seasoned tofu or roasted vegetables.
- Nori Placement: Nori serves both as a flavor enhancer and a convenient wrapper. If you’re packing onigiri for later, consider wrapping the nori separately and adding it just before eating to maintain its crispness.
- Plastic Wrap for Beginners: If you find shaping by hand a bit challenging at first, try placing your rice portion on a square of plastic wrap, adding the filling, then gathering the edges of the plastic wrap to help you form the desired shape. This keeps your hands clean and provides extra control.
Making onigiri at home isn’t just about following a recipe; it’s about embracing a culinary tradition and creating a simple, satisfying meal that brings joy. Whether it’s for a quick snack, a packed lunch, or a delightful side, these spicy tuna onigiri are sure to become a cherished addition to your recipe repertoire.
This post was created in partnership with Bella Portofino, and I received compensation for my participation. All opinions expressed are genuinely my own. Thank you for your continued support!
