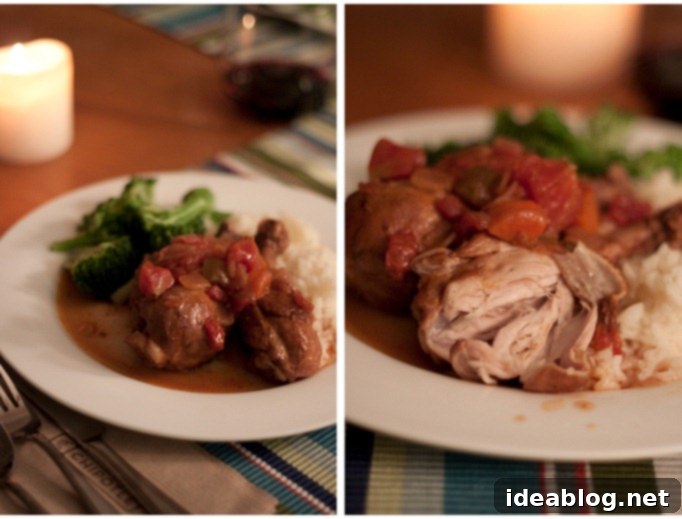
Ultimate Red Wine and Tomato Braised Chicken Drumsticks: A Cozy Comfort Food Recipe for Fall & Winter
There’s something incredibly special about a meal that simmers slowly, filling your home with enticing aromas and promising a deeply satisfying experience. This recipe for Red Wine and Tomato Braised Chicken Drumsticks delivers exactly that – a simple, yet profoundly delicious comfort food that is perfectly suited for crisp fall evenings or cold winter days. It’s a dish where humble chicken drumsticks are transformed into succulent, fall-off-the-bone tender perfection, all bathed in a rich, savory sauce infused with the robust flavors of red wine and sweet tomatoes. Prepare to impress your taste buds with minimal effort and maximum reward!
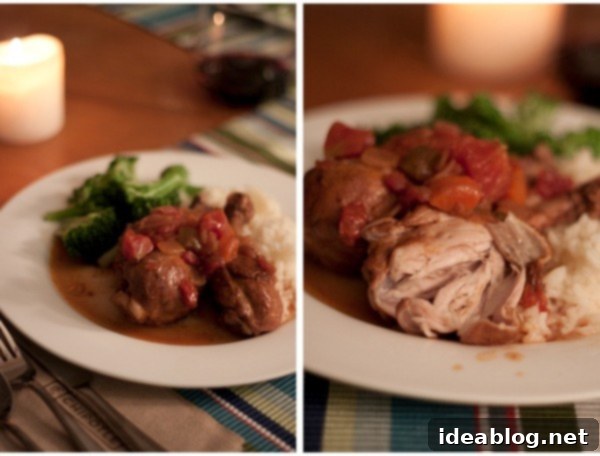
Embracing the Art of Braising: A Timeless Culinary Technique
The culinary technique of braising – a combination cooking method that involves searing food at a high temperature, then slowly simmering it in a small amount of liquid in a covered pot – is, without a doubt, one of my absolute favorite ways to cook. It’s an art form that transforms even the simplest and most overlooked ingredients into something truly spectacular. When executed correctly, braising yields meat that is unbelievably succulent and tender, while coaxing out incredible depth of flavor from every component.
Braising is ideally suited for tougher cuts of meat, which often come from the hardest-working muscles of an animal. Think cuts like beef chuck, brisket, short ribs, and shanks, or even oxtail. These cuts, rich in connective tissue like collagen, might seem daunting at first, but they are also packed with the most flavor. The magic of braising lies in its ability to slowly break down this collagen over time, converting it into gelatin. This gelatin not only makes the meat incredibly tender but also enriches the braising liquid, giving it a luxurious mouthfeel and concentrated flavor.
For this particular recipe, we turn our attention to chicken drumsticks. While chicken drumsticks aren’t inherently “tough” in the same way beef brisket is, they possess a rich dark meat and bone-in structure that greatly benefits from the braising process. Slow cooking allows their natural juiciness to intensify, and the bone imparts additional flavor into the sauce. Moreover, these cuts are typically more budget-friendly than breast meat, offering fantastic value without compromising on taste. My introduction to braising in culinary school was a revelation; it quickly became a routine, a fundamental technique we applied almost daily, demonstrating its versatility and profound impact on flavor.
Building Blocks of Flavor: Mirepoix and the Maillard Reaction
One of the most crucial elements in any braised dish is time. Rushing the process, either by cooking at too high a temperature or not allowing sufficient cooking duration, will inevitably lead to a tough, disappointing result. However, if you embrace patience, your efforts will be generously rewarded with a dish of unparalleled tenderness and flavor.
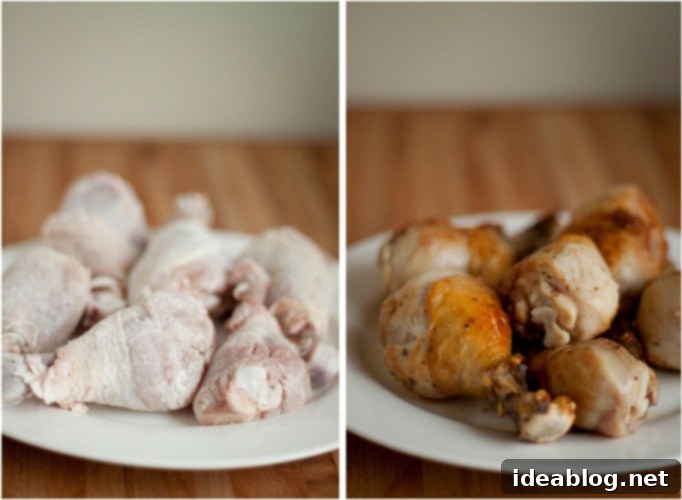
The foundation of an outstanding braise begins with searing the meat. This initial step is non-negotiable for almost any braised dish. Before searing, I like to lightly dredge the chicken drumsticks in flour. This thin coating serves a dual purpose: it aids in achieving a beautiful golden-brown crust during searing and helps to slightly thicken the braising liquid later, much like a quick roux. Searing the meat at a high temperature triggers the Maillard reaction, a complex chemical process responsible for creating those coveted deep, rich, savory flavors and appealing golden-brown color on the surface of the meat. This isn’t just about aesthetics; it’s about building layers of profound flavor that will permeate the entire dish.
Elevate Your Presentation: Frenching Chicken Drumsticks
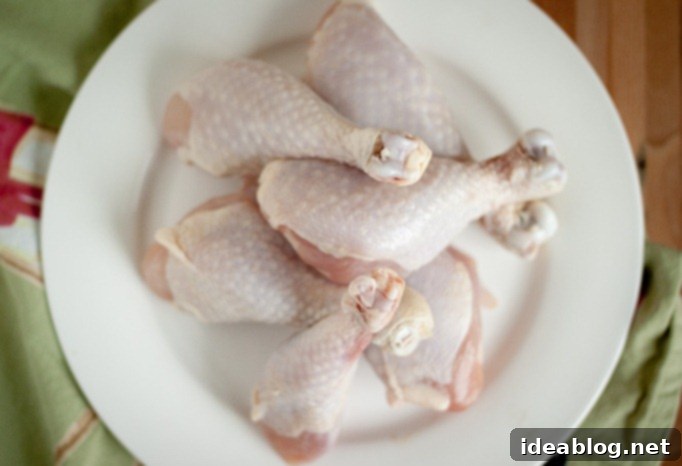
For those who enjoy a touch of elegance, consider “Frenching” your chicken drumsticks. This classic technique involves trimming the meat and skin away from the end of the bone, creating a clean, exposed “handle.” Beyond the refined presentation, Frenching offers a practical benefit: by cutting the tendons and ligaments near the knuckle, the meat tends to plump up and pull together more uniformly during cooking. In my experience, this often contributes to a more tender and appealing final texture. It adds a small extra step to the preparation, but if you’re comfortable with the knife work, I highly recommend it for both visual appeal and improved texture.
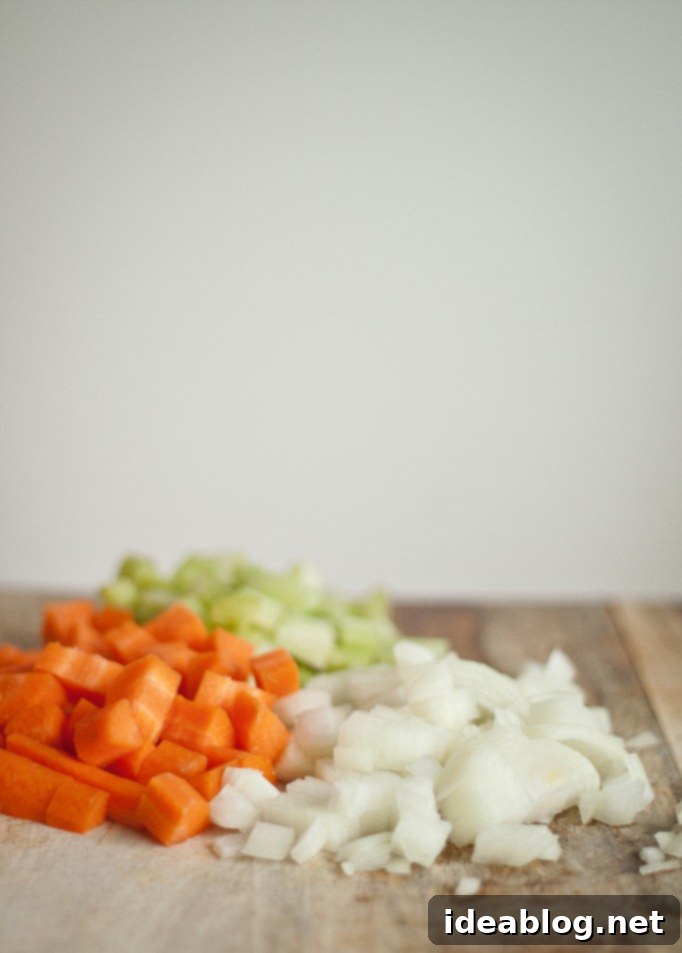
After searing, those delicious brown bits, known as “fond,” clinging to the bottom of the pan are flavor gold. The next critical step is to deglaze the pan with mirepoix (the classic aromatic base of diced onions, carrots, and celery), followed by wine and stock. As the vegetables sauté and caramelize, they pick up the fond, and then the liquid helps to scrape up and dissolve all those flavorful remnants, incorporating them into what will become your rich, savory braising sauce. This process extracts every last bit of flavor from the pan, ensuring a deeply complex and satisfying final product.
The Slow Simmer: Unlocking Tenderness and Flavor
Once the searing, mirepoix caramelization, and deglazing are complete, the final stage of the braise begins. You’ll add your stock and diced tomatoes, return the beautifully seared chicken drumsticks to the pot, and bring everything to a very low simmer. The key here is “very low” – you’re looking for just a few tiny bubbles breaking the surface every couple of seconds, not a rolling boil. This gentle, consistent heat is essential for slowly breaking down the connective tissues in the chicken without drying it out or making it tough.
Cover the pot tightly and let it cook for approximately 2 to 3 hours. It’s a journey, not a race. Check the pot every 30 minutes or so, stirring occasionally to ensure even cooking and prevent sticking. The chicken is ready when it is exquisitely tender, practically falling off the bone at the slightest touch. The long cooking time allows the flavors to meld beautifully, creating a sauce that is both robust and comforting.
Serving Your Braised Masterpiece
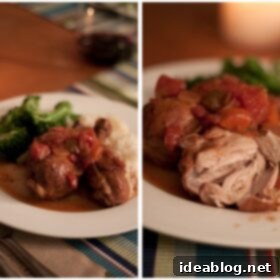
This incredible Red Wine and Tomato Braised Chicken is a meal in itself, but it truly shines when served with the right accompaniments. While a simple basmati rice pilaf is a fine choice, I find that creamy Yukon Gold mashed potatoes are the ultimate partner. Their buttery texture and ability to soak up every last drop of that rich, flavorful sauce make for an unforgettable culinary experience. You could also opt for soft polenta, crusty artisan bread, or even a hearty pasta to ensure none of that precious sauce goes to waste. Don’t forget a side of steamed or roasted green vegetables, like green beans almondine, to complete this wholesome and deeply satisfying meal. Enjoy the fruits of your patient labor!
Red Wine and Tomato Braised Chicken Drumsticks
Pin
Review
SaveSaved!
For an elevated touch, consider Frenching the chicken drumsticks. This technique involves trimming the meat and ligaments near the knuckle, which helps the meat to plump and stay together better during cooking, often leading to an even more tender result and a beautiful presentation.
Ingredients
- Unbleached all-purpose flour for dredging and thickening
- 2 lbs Chicken drumsticks (skin-on) or chicken thighs approximately 2 drumsticks per serving
- Kosher salt to taste
- Freshly ground black pepper to taste
- Vegetable oil for searing
- 1 cup Diced yellow onion roughly 1 small yellow onion
- ¾ cup Diced carrot peeled
- ¾ cup Diced celery stalks
- 1 tablespoon Tomato paste
- ⅓ cup (80 mL) Dry red wine such as Pinot Noir or Merlot
- 2 Dried bay leaves
- 2 cups (480 mL) Low-sodium chicken stock for best control over saltiness
- 1 (14.5-ounce) can Diced tomatoes undrained
Instructions
-
Remove the chicken drumsticks from the refrigerator and allow them to rest at room temperature for about 30 minutes. This helps ensure more even cooking. If desired, carefully French the drumsticks using a small, sharp knife (this involves trimming the tendon and cleaning the bone, leaving the skin on for maximum flavor and crispness).
-
Season the drumsticks generously all over with kosher salt and freshly ground black pepper. Then, lightly dredge each drumstick in all-purpose flour, shaking off any excess. This coating will help create a beautiful crust and thicken the sauce.
-
Heat a large Dutch Oven (5 to 6 Quarts) or another heavy-bottomed pot over medium-high heat. Add a small, even layer of vegetable oil to the bottom of the pot. Once the oil begins to shimmer, carefully add the floured drumsticks to the pan, ensuring they are spaced 1 to 2 inches apart to allow for proper searing. You will likely need to sear the drumsticks in batches to avoid overcrowding the pan, which would steam them instead of browning.
-
Sear the drumsticks until they are beautifully golden brown on all sides, turning them carefully with tongs (be mindful of potential oil splatters). Once each batch of drumsticks is thoroughly seared, remove them from the pot and set them aside on a large, rimmed plate. If necessary, add a touch more oil to the pot between batches to maintain searing temperature.
-
With the drumsticks removed, return the pot to medium-high heat, leaving approximately 1-2 tablespoons of the flavorful chicken fat in the pan. Add the chopped yellow onions to the pan and sauté for 3 to 5 minutes, stirring frequently, until they begin to soften and become translucent. Next, add the diced carrots and celery. Continue to cook over medium heat, stirring occasionally, allowing the vegetables to deepen in color and caramelize slightly. If the vegetables start to brown too quickly or stick excessively, add a small splash of water to deglaze the pan and add moisture.
-
Stir in the tomato paste and cook for 1 to 2 minutes, stirring constantly. This step toasts the tomato paste, deepening its flavor and enhancing its sweetness. Then, deglaze the pan with the dry red wine. Use the edge of a wooden spoon to vigorously scrape up any caramelized bits (fond) stuck to the bottom of the pan – these bits are packed with flavor! Continue to cook, stirring occasionally, until the wine has reduced significantly and the mixture in the pan is very thick, almost dry.
-
Add the bay leaves, low-sodium chicken stock, and the can of diced tomatoes (undrained) to the pot. Bring the liquid to a gentle simmer. Carefully return the seared drumsticks, along with any accumulated juices from the plate, to the pot. The braising liquid should submerge the drumsticks about one-third to halfway up their sides.
-
Cover the pot tightly and braise the chicken in a preheated oven (or on the stovetop over very low heat) for 2 to 2½ hours. The cooking liquid should maintain a very low simmer – characterized by just a few small bubbles appearing every few seconds. Check the pot every 30 minutes or so, adjusting the heat as needed to maintain the gentle simmer and stirring occasionally to prevent sticking and ensure even cooking. Continue until the meat is incredibly tender and almost falling off the bone.
-
Before serving, taste the sauce and adjust seasoning as needed with additional salt and pepper. Serve this comforting dish hot with creamy Yukon Gold mashed potatoes and a side of fresh vegetables (these green beans almondine make an excellent pairing!) for a truly wonderful and satisfying main course.
-
Chef’s Note: Never discard leftover braising liquid! It’s brimming with concentrated flavor and body (gelatin). Repurpose it as a delicious pasta sauce, a flavorful base for soups, or as a rich stock. Alternatively, you can reduce and strain it to create an exquisite pan sauce that elevates any meal.
Tips for Success:
- **Leftover Braising Liquid is Gold:** Do not throw out any leftover braising liquid! It is incredibly flavorful and rich with gelatin. It can be used as a delicious sauce for pasta, a nourishing soup base, or even as a concentrated stock. For an extra refined touch, reduce and strain it to create a luxurious pan sauce.
- **Room Temperature Chicken:** Allowing the chicken drumsticks to come to room temperature for 30 minutes before cooking promotes more even cooking.
- **Don’t Overcrowd the Pan:** When searing, work in batches to ensure the chicken truly browns and doesn’t steam, which is crucial for building deep flavor.
- **Gentle Simmer is Key:** The success of braising hinges on a very low, gentle simmer. Avoid a rapid boil, which can toughen the meat.
- **Make Ahead Magic:** Braised dishes often taste even better the next day as the flavors have more time to meld and deepen. This dish is excellent for meal prep!
