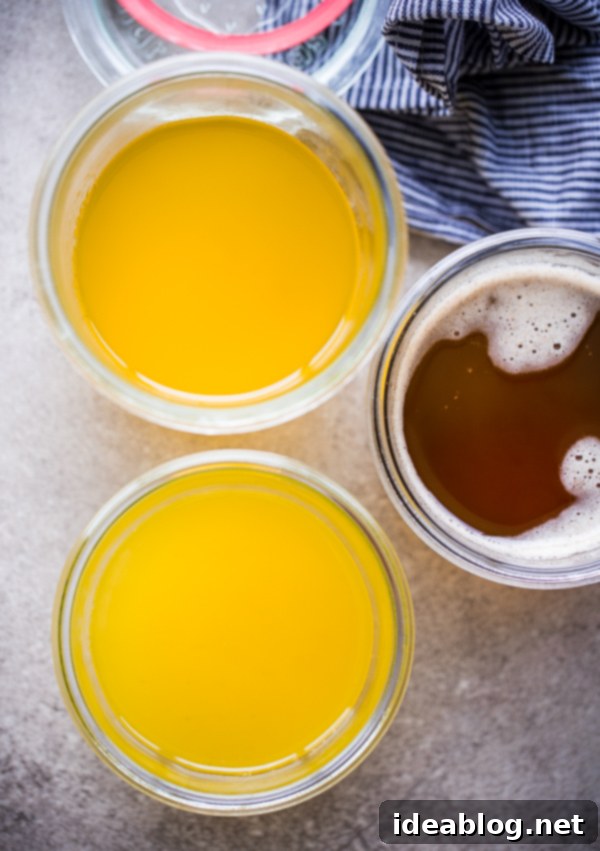
Mastering Butter: How to Make Clarified Butter, Ghee, and Brown Butter – Uses, Benefits & Key Differences
Welcome to the definitive guide on transforming ordinary butter into three extraordinary culinary essentials: clarified butter, ghee, and brown butter. This comprehensive post will demystify these versatile fats, delving into the art of making each, exploring their unique characteristics, optimal uses, and the crucial differences that set them apart. Prepare to elevate your cooking and baking with newfound knowledge!
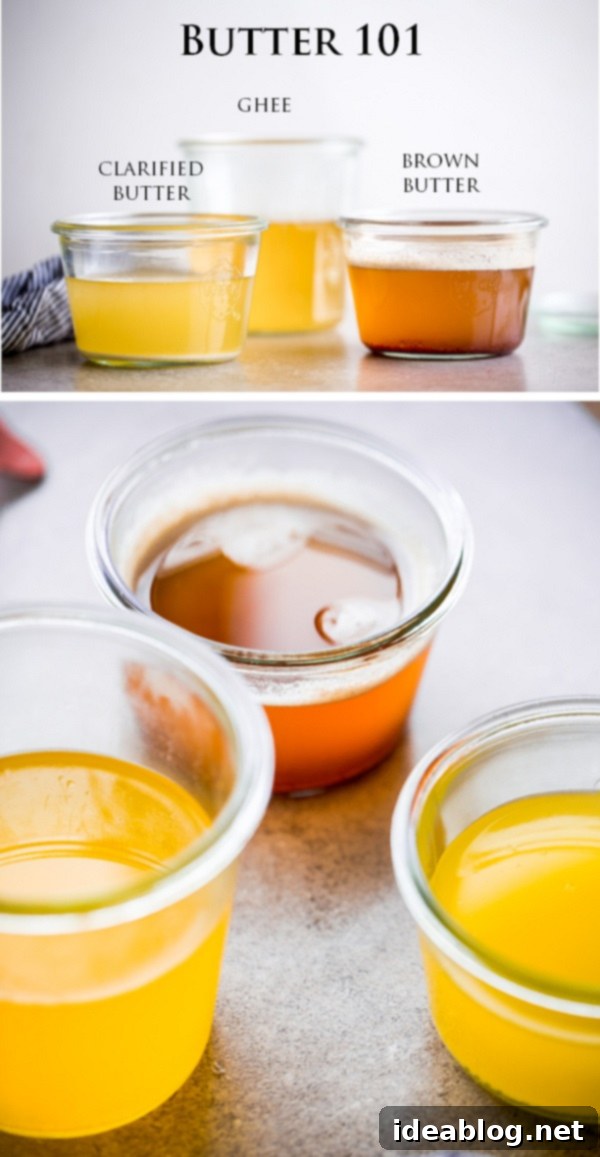
Butter is undeniably one of the most beloved and essential ingredients in kitchens worldwide. Its rich flavor and creamy texture can transform simple ingredients into delicious meals. However, regular butter, fresh from the fridge, isn’t always the ideal choice for every cooking scenario. Its composition of butterfat, water, and milk solids gives it a relatively low smoke point, meaning it can burn quickly at high temperatures and impact the final taste and appearance of your dish.
This is where clarified butter, ghee, and brown butter enter the culinary spotlight. While all three originate from a simple block of unsalted butter, each undergoes a distinct heating process that profoundly alters its properties, flavor, and best uses. Understanding these transformations opens up a world of possibilities for superior cooking and baking. Whether you’re aiming for a perfect sear, a nutty aroma, or a tender crumb, knowing which butter to use and how to prepare it is a fundamental skill. Let’s embark on this flavorful journey to uncover the secrets of these butter variations.
Clarified Butter: The Essential Fat for High-Heat Cooking
Clarified butter is a true workhorse in the professional kitchen and an invaluable asset for home cooks. Often lauded as “liquid gold,” it boasts a pure, luminous appearance and exceptional performance, especially in high-heat applications. While many associate it with delicate uses like dipping crab or lobster meat, or enriching classic French sauces such as hollandaise and béarnaise, its potential extends far beyond these traditional roles, making it a versatile and reliable cooking medium.
Understanding the Composition of Clarified Butter
To appreciate clarified butter, it helps to understand what ordinary butter is made of. Standard butter is an emulsion consisting of approximately 80% **butterfat**, 16-18% **water**, and about 1-2% **milk solids** (proteins like casein and whey). The legal requirement in the United States is around 80% butterfat, while European-style butters typically contain a minimum of 82% butterfat, contributing to their richer flavor and often preferred characteristics in baking. Clarified butter, however, streamlines this composition by removing both the water and the milk solids, resulting in nearly **100% pure butterfat**.
The Advantages of Cooking with Clarified Butter
The main reason chefs turn to clarified butter is its significantly elevated smoke point. The smoke point is the temperature at which a fat begins to break down, smoke, and can impart a harsh, burnt flavor to your food. Regular butter’s milk solids burn quickly, giving it a relatively low smoke point of about 350ºF (176ºC). This limits its utility for high-temperature cooking tasks.
By removing the milk solids and water, clarified butter achieves an impressive smoke point of **450ºF (232ºC)**. This gives you an extra 100 degrees of cooking “wiggle room,” making it perfect for:
- Sautéing and Searing: Achieve a beautiful golden-brown crust on meats, fish, and vegetables without the risk of burning.
- Frying: Ideal for shallow-frying or even deep-frying items where a buttery flavor is desired without the smoky bitterness.
- Sauces: Provides a stable base for delicate emulsions like hollandaise or beurre blanc, as it won’t break down easily.
Clarified butter’s smoke point surpasses many popular cooking fats, including coconut oil, grapeseed oil, lard, duck fat, sesame oil, canola oil, and sunflower oil. Only a handful of oils, such as safflower oil, rice bran oil, and refined olive oil (distinct from extra virgin olive oil), can boast higher smoke points. This incredible heat stability allows you to infuse dishes with a pure, rich buttery taste without any smoky off-notes.
Other notable benefits include:
- Pure Flavor Profile: It delivers the clean, unadulterated taste of butter, free from the nuances that milk solids or water might introduce.
- Extended Shelf Life: Without water and milk solids, the components most prone to spoilage, clarified butter can last for several months in the refrigerator when stored properly in an airtight container.
- Lactose and Casein-Friendly: For individuals with dairy sensitivities to lactose or casein (milk proteins), clarified butter is often a suitable alternative as these components are largely removed during the clarifying process.
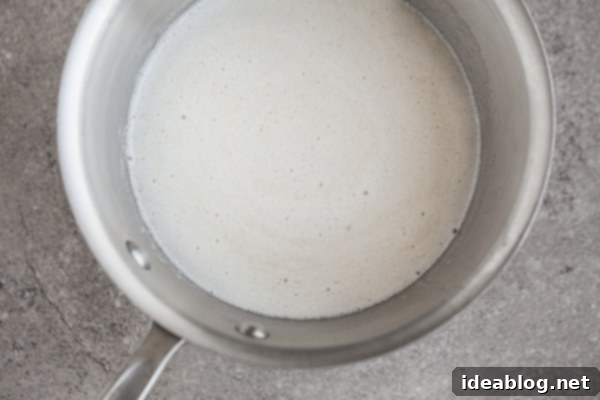
Crafting Your Own Clarified Butter: A Simple Method
Making clarified butter is a straightforward culinary technique that requires minimal ingredients but maximum attention. Given its long shelf life, it’s highly recommended to make a larger batch, such as a minimum of two sticks (1/2 lb or 230g) of unsalted butter, to ensure you always have some on hand. Keep in mind that you’ll experience a volume reduction; typically, 1 cup of butter will yield approximately 3/4 cup of clarified butter.
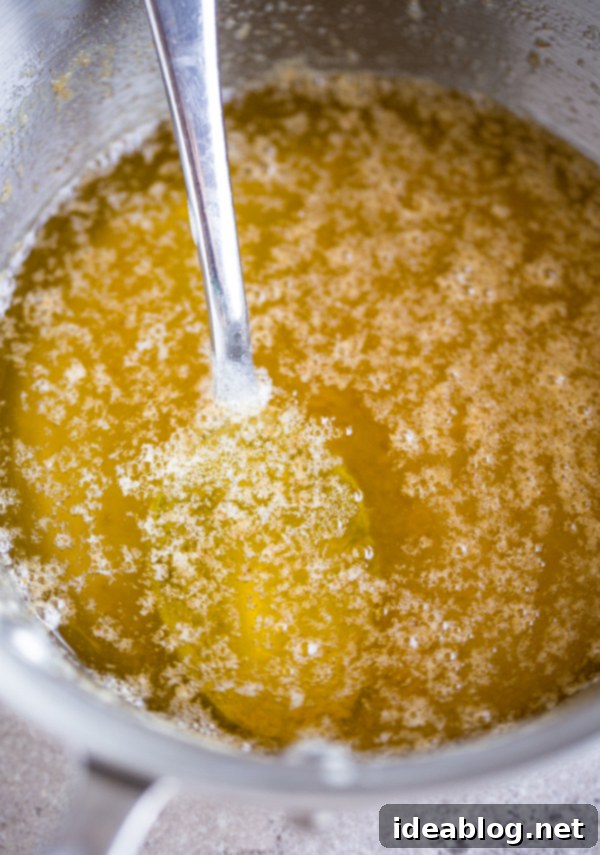
The process involves gently melting the butter, separating its components, and allowing the water to evaporate. As the butter melts and begins to heat, a foamy layer will form on the surface. This foam consists primarily of whey proteins. It’s important to carefully skim and remove this foam throughout the cooking process. You’ll also hear a gentle spluttering sound; this is the water content evaporating from the butter. As the water evaporates, the milk solids will slowly sink to the bottom of the pan.
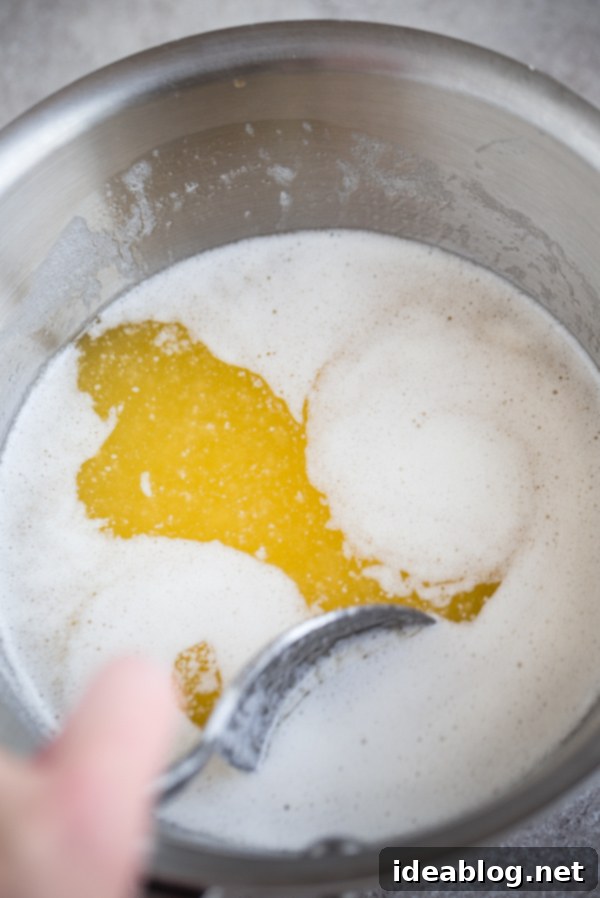
You’ll know the clarified butter is nearing completion when the spluttering largely ceases (indicating most of the water has evaporated), and the bubbles on the surface become very small and quiet. The liquid butter itself will appear remarkably clear and a light golden yellow. At this crucial stage, the milk solids at the bottom of the pan should still be white or only very lightly golden, **not browned at all**. This distinction is key to clarified butter and sets it apart from ghee.
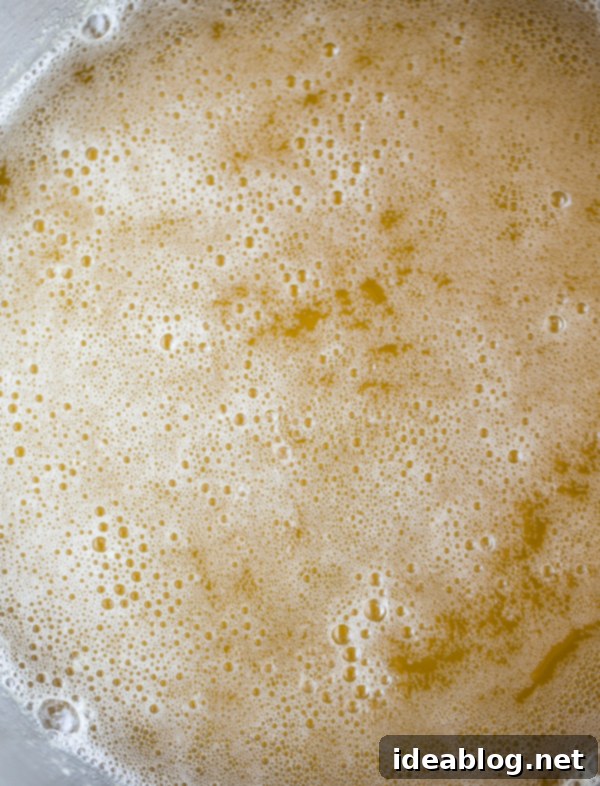
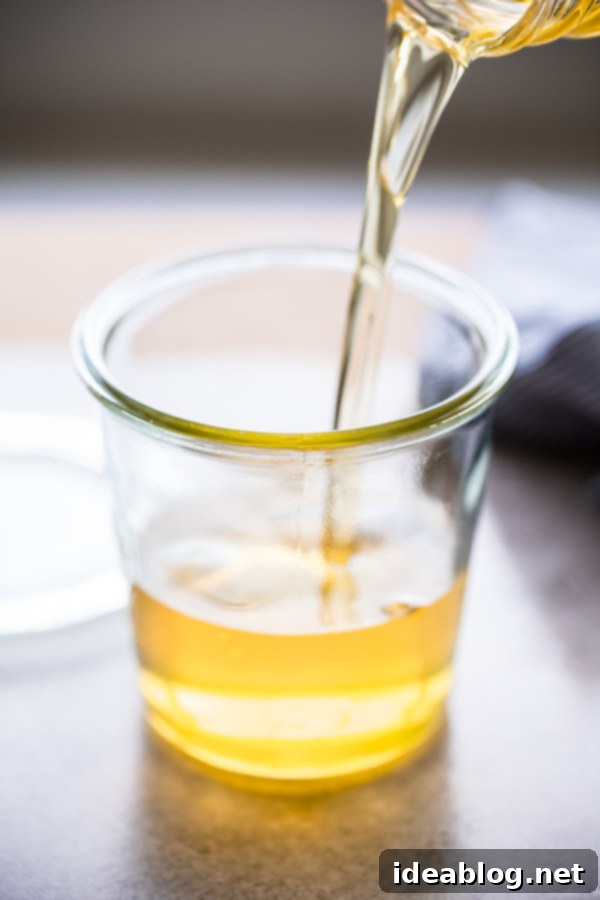
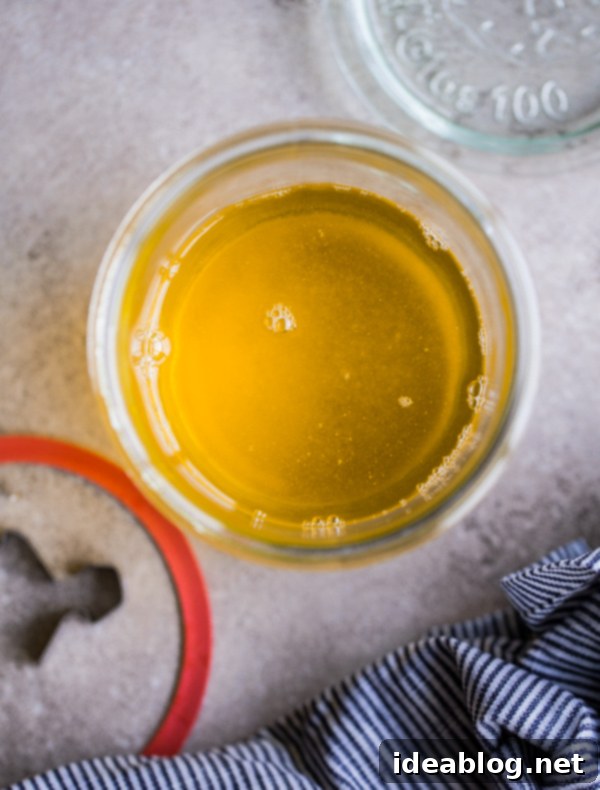
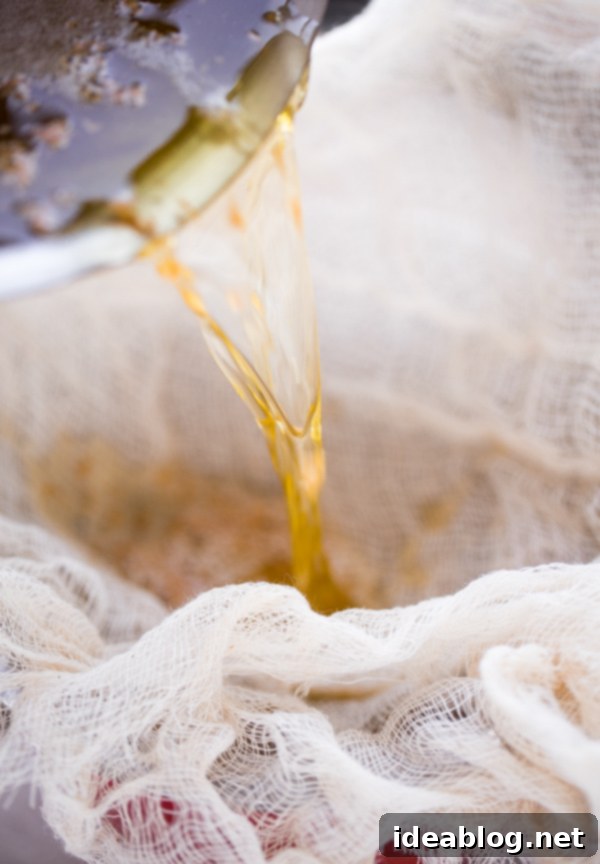
Immediately remove the pan from the heat. Allow it to rest for a few minutes, which helps any remaining solids settle to the bottom. Then, carefully pour the clear, golden clarified butter through a fine-meshed sieve that has been lined with several layers of cheesecloth. This straining step captures any lingering milk solids, ensuring a pristine end product. Discard the strained solids. Your clarified butter should be a beautiful, translucent light yellow. Allow it to cool completely before transferring it to an airtight, heatproof jar or container for storage in the refrigerator. It can be used in a myriad of dishes, from perfectly pan-seared scallops to flaky Swiss chard and feta phyllo purses, adding pure buttery richness without the risk of burning.
Ghee: The Aromatic Golden Butter from Indian Cuisine
Ghee, often referred to as “Indian clarified butter,” is a celebrated staple in South Asian and Middle Eastern cuisines, and its popularity has rapidly spread across the globe. While sharing many fundamental characteristics with clarified butter, ghee boasts a distinct and highly prized flavor profile, making it a unique and versatile fat in its own right. It’s not just butterfat; it’s butterfat with a story, steeped in aroma and tradition.
The Key Distinction: Ghee vs. Clarified Butter
The core difference between traditional clarified butter and ghee lies in one crucial step: the extended cooking of the milk solids. While clarified butter is removed from the heat as soon as the water evaporates and the milk solids separate, ghee continues to cook beyond this point. The milk solids that have settled at the bottom of the pan are allowed to gently caramelize and turn a light golden-brown. This controlled browning process is what imbues ghee with its characteristic nutty, slightly sweet, and aromatic flavor, differentiating it significantly from the milder taste of clarified butter.
Visually, ghee often presents a deeper, more vibrant golden color compared to the pale yellow of clarified butter, a direct result of the milk solids’ caramelization. Like clarified butter, ghee is virtually pure butterfat, meaning it offers an incredibly high smoke point, typically around **485ºF (250ºC)**. This makes it an exceptional choice for high-heat cooking without fear of burning. Furthermore, because the milk solids are cooked and then strained out, ghee is also largely free of lactose and casein, making it a digestible option for many with dairy sensitivities.
Culinary Applications of Ghee
Ghee’s rich, fragrant, and slightly toasted flavor makes it a prized ingredient in both traditional and modern cooking:
- Indian and South Asian Cuisine: It’s indispensable for sautéing spices, cooking curries, preparing dals, and frying flatbreads like paratha.
- High-Heat Cooking: Its superior smoke point makes it excellent for searing meats, stir-frying vegetables, or frying eggs, imparting a wonderful nutty flavor.
- Roasting: Drizzle over vegetables, poultry, or meats before roasting for a golden-brown finish and a layer of rich, complex flavor.
- Healthy Lifestyles: Popular in Ayurvedic practices and often used in “bulletproof” coffee for those following ketogenic or paleo diets due to its fat content and lack of milk solids.
How to Make Ghee at Home
The initial steps for making ghee mirror those for clarified butter: you’ll melt the butter over low heat, skim the foamy proteins, and allow the water to evaporate. The magic happens next. Once the butter has cleared and the spluttering has almost stopped, continue to cook it over low heat. Pay close attention to the milk solids at the bottom of the pan. They will transition from white to a beautiful golden-brown color, and a wonderfully nutty aroma will begin to emanate from the pan. The liquid ghee itself will also deepen in color, becoming a rich, translucent gold.
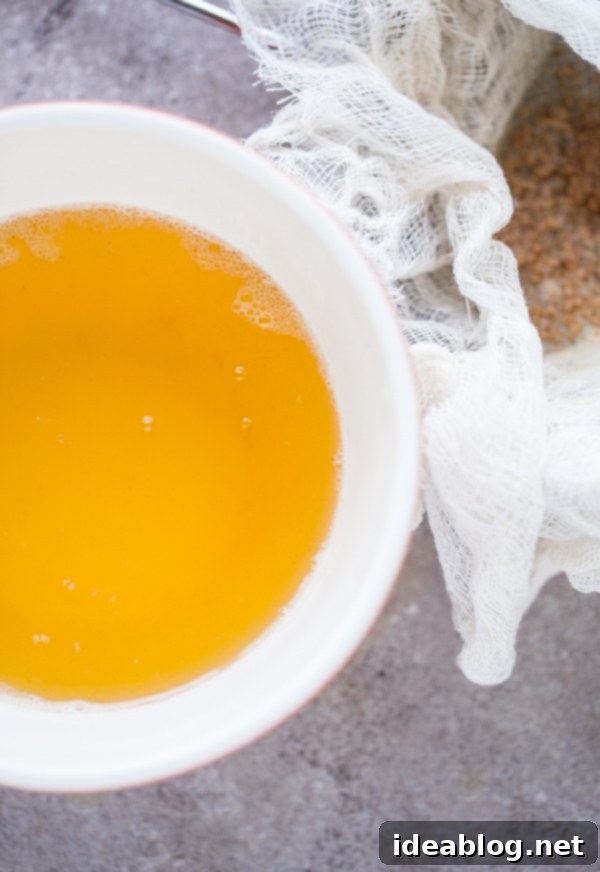
The moment the milk solids achieve this desired golden-brown hue and the ghee smells distinctly nutty, immediately remove the pan from the heat. Allowing it to cool for a few minutes helps any remaining solids settle. Then, carefully strain the liquid ghee through a fine-meshed sieve lined with several layers of cheesecloth into a clean, heatproof container. The cheesecloth will effectively capture all the browned milk solids, leaving you with pure, aromatic ghee. Once cooled and solidified, store your homemade ghee in an airtight jar in the refrigerator, where it will keep for many months, making it a convenient and flavorful staple.
Brown Butter (Beurre Noisette): The Flavorful Culinary Transformer
Ah, brown butter – or “beurre noisette” as the French exquisitely call it, meaning “hazelnut butter” – is a truly magical ingredient that transforms ordinary butter into something profoundly complex and delicious. This isn’t just about removing impurities; it’s about intentionally toasting the milk solids to create an entirely new flavor profile. If you’ve ever accidentally left butter on the stove a little too long, you might have caught a fleeting scent of its potential just before it went from perfect to burnt!

What Makes Brown Butter Unique?
The critical distinction of brown butter from clarified butter and ghee is that **the browned milk solids are intentionally kept in the final product**. These solids are essential to brown butter’s unique and highly prized flavor. As butter is gently cooked, the water evaporates, and the milk proteins and sugars undergo the Maillard reaction – the same chemical process responsible for browning meats, toast, and coffee. This reaction generates hundreds of new aromatic compounds, giving brown butter its characteristic nutty, toasted, and subtly caramel-like flavor that can dramatically enhance both sweet and savory dishes.
The transformation is visual and aromatic. The butter progresses from pale yellow to golden, then amber, and finally a rich, deep brown, simultaneously releasing an intoxicating scent of toasted nuts and toffee. This process demands your full attention, as the window between perfectly browned and tragically burned is often incredibly narrow, sometimes just a matter of seconds.
How to Create Perfect Brown Butter (Beurre Noisette)
Making brown butter is a relatively quick process, but it requires constant vigilance to ensure it doesn’t overcook. For the best results, use a light-colored saucepan; this allows you to accurately monitor the subtle changes in color as the butter browns.
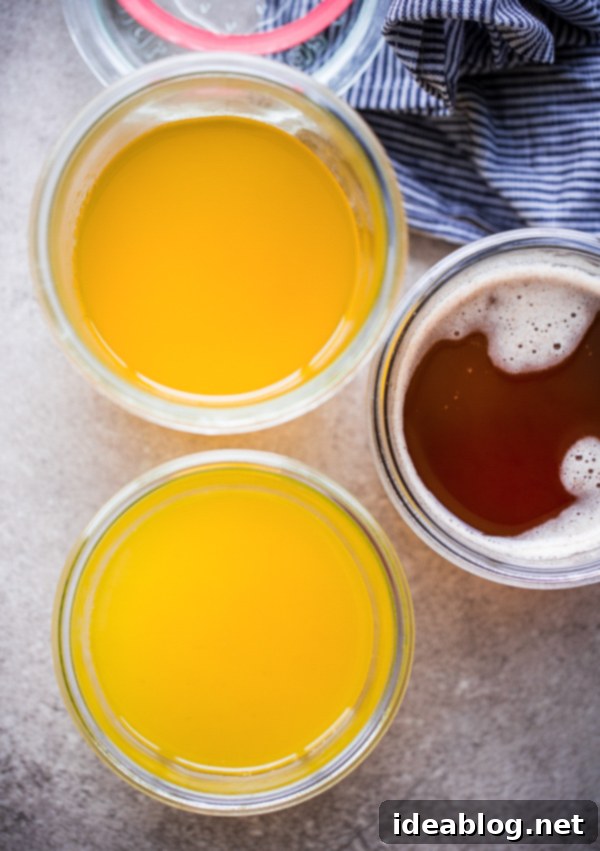
Begin by melting unsalted butter in your chosen saucepan over medium heat. The butter will melt, then foam, and then splutter as its water content evaporates. Continue cooking, stirring frequently with a rubber spatula and scraping the bottom of the pan to prevent the milk solids from sticking and burning unevenly. As the foam subsides and the spluttering lessens, you will start to see small brown bits forming and collecting at the bottom of the pan – these are your prized milk solids undergoing the Maillard reaction. Keep stirring! The butterfat itself will deepen in color from golden to a beautiful rich amber, and your kitchen will fill with an incredibly inviting nutty, toasted aroma. The very instant it reaches this desired deep golden-brown color and intoxicating fragrance, immediately remove the pan from the heat. Quickly transfer all the butter, including all the delicious browned bits at the bottom, into a separate heatproof bowl to halt the cooking process. These browned bits are the most flavorful part of brown butter!
Unleashing the Flavor: Culinary Uses for Brown Butter
Brown butter, with its exquisite depth and complexity, is a true flavor enhancer in both sweet and savory dishes:
- Baking Masterpiece: This is arguably where brown butter shines brightest. Incorporate it into recipes for cookies (especially chocolate chip!), brownies, cakes, muffins, and glazes for an unparalleled nutty, toasted, and caramel-like complexity. Imagine brown butter banana bread or an almond olive oil cake with a rich brown butter glaze.
- Elevating Sauces: Whisk it into simple pasta sauces (like a classic sage brown butter sauce for ravioli or gnocchi), drizzle it over roasted vegetables (asparagus or Brussels sprouts come alive!), or use it to finish pan-seared fish or chicken for an instant gourmet touch.
- Decadent Desserts: It’s fantastic in frostings, tarts, sweet crumbles, and even homemade brown butter banana ice cream.
Since brown butter retains its milk solids and has already been cooked to a high temperature, it has a lower smoke point than clarified butter or ghee. It’s best utilized as a finishing element or in dishes that don’t require prolonged high-heat cooking. Store brown butter in an airtight container in the refrigerator for about a week. The presence of milk solids means it has a shorter shelf life compared to pure butterfat.
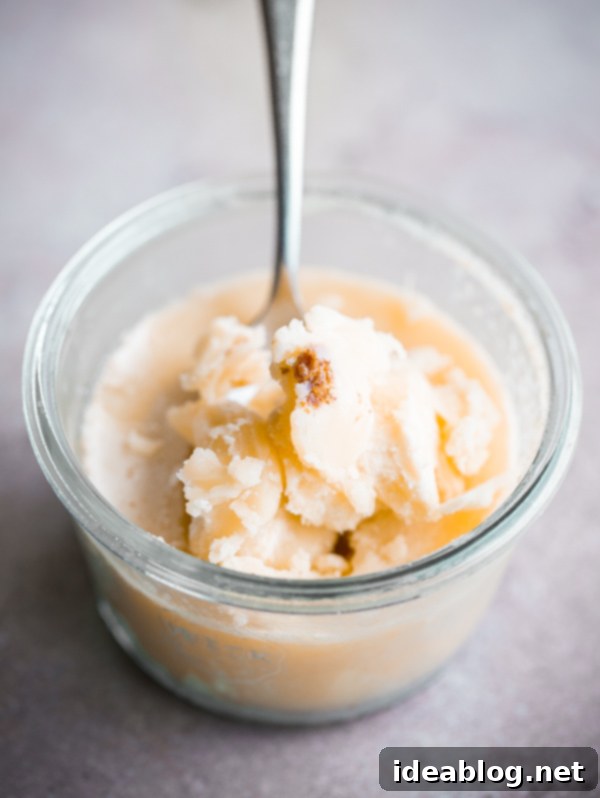
The Ultimate Butter Breakdown: Clarified, Ghee, and Brown Butter Summarized
To provide a quick recap of the distinct characteristics and uses of these fantastic butter variations:
- Clarified Butter: This is pure butterfat, completely stripped of water and milk solids. It’s characterized by its clear, light yellow appearance, neutral buttery flavor, and an exceptionally high smoke point (450°F / 232°C). It’s ideal for high-heat cooking like sautéing and searing, and is suitable for individuals with lactose or casein sensitivities.
- Ghee: Often called Indian clarified butter, ghee is made by cooking butter slightly longer than clarified butter, allowing the milk solids to gently caramelize. This process infuses it with a delightful nutty, aromatic flavor and gives it a deeper golden color. It boasts an even higher smoke point (around 485°F / 250°C) than clarified butter and is also free of lactose and casein. Ghee is perfect for high-heat cooking, especially in South Asian cuisine, and for adding depth of flavor.
- Brown Butter (Beurre Noisette): This is butter cooked until its milk solids turn a deep amber-brown, developing a rich, complex, nutty, and caramel-like flavor. Critically, the browned milk solids are **retained** in the butter, providing intense flavor but giving it a lower smoke point than clarified butter or ghee. It is primarily used for its profound flavor in finishing sauces and, most famously, in baking to add unparalleled depth.
Each form of butter offers unique qualities that can dramatically enhance your cooking and baking in different ways. By mastering these simple yet impactful techniques, you’ll gain a deeper appreciation for butter’s incredible versatility and unlock a new dimension of flavor in your culinary creations!
How to Make Clarified Butter, Ghee, and Brown Butter
Pin
Review
SaveSaved!
Ingredients
- 2 sticks (8 oz; 230 g) high-quality unsalted butter (yields approximately 1 cup of each type of butter)
Instructions
How to Make Clarified Butter:
-
1. Prepare your straining setup: Line a fine-meshed sieve with a few layers of cheesecloth and set it over a heatproof measuring cup or jar. This will be used to strain the clarified butter later.
-
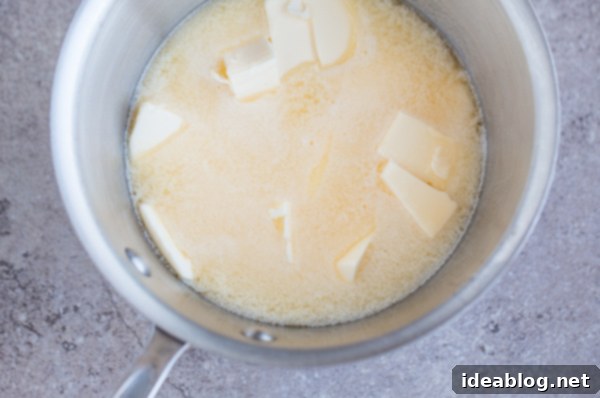
2. Melt the butter: Cut the unsalted butter into ½-inch slices for even melting. Place the butter in a medium, heavy-bottomed saucepan. Heat the butter over very low heat until it is completely melted. Avoid stirring initially.
-
3. Simmer and skim: Allow the butter to gently simmer over low heat. As it heats, foam (whey proteins) will rise to the surface. Use a metal spoon to carefully skim and remove this foam throughout the cooking process. Transfer the skimmed foam to a small separate bowl (it’s delicious and can be used in other dishes, like pasta). This skimming helps you monitor the butter more clearly and prevents the milk solids from burning. You’ll also hear the butter gently spluttering, which indicates water evaporation. Adjust the heat as needed to maintain a low, consistent simmer.
-
4. Watch for completion: Continue to cook until the foam largely dissipates, the spluttering sound significantly reduces or stops, and very small, clear bubbles form on the surface. The butter will appear clear and light yellow. At this stage, the milk solids will have settled at the bottom of the pan and should still be white or lightly golden, *not browned*. This is the crucial point for clarified butter – do not let the bottom solids brown.
-
5. Strain and store: Immediately remove the saucepan from the heat. Let it sit for a few minutes to allow any remaining solids to settle. Carefully pour the clear clarified butter through the prepared cheesecloth-lined sieve into your heatproof jar, leaving any solids at the bottom of the saucepan. Discard the solids. Allow the clarified butter to cool completely before covering and storing it in the refrigerator. It will solidify and can last for at least a month, often much longer.
How to Make Ghee:
-
1. Follow steps 1 through 3 for making Clarified Butter. Continue to cook the butter over low heat after the foam dissipates and the spluttering subsides.
-
2. Caramelize the milk solids: The key for ghee is to cook the butter *just* until the milk solids that have sunk to the bottom of the pan begin to caramelize and turn a beautiful golden brown. You will notice a distinct, nutty, aromatic fragrance developing in your kitchen. The liquid ghee itself will also deepen to a richer golden color compared to clarified butter.
-
3. Strain and store: Immediately remove the butter from the heat once the milk solids are golden brown and fragrant. Allow it to sit for a few minutes. Carefully pour the ghee through the cheesecloth-lined sieve (as prepared for clarified butter) into a heatproof jar, ensuring the cheesecloth catches all the browned milk solids. Allow the ghee to cool completely before covering and storing it in the refrigerator. Ghee solidifies and keeps for many months.
How to Make Brown Butter (Beurre Noisette):
-
1. Melt the butter: Cut the butter into ½-inch slices and place it in a medium, light-colored saucepan (this helps you see the color change). Heat the butter over medium heat until completely melted.
-
2. Simmer and stir constantly: Allow the butter to simmer, stirring continuously with a rubber spatula. Scrape the bottom of the pan frequently to ensure the milk solids cook evenly and don’t stick or burn too quickly. The butter will foam, then splutter as water evaporates.
-
3. Brown the solids: As the foam subsides and the spluttering lessens, you’ll see small bits forming at the bottom of the pan. These are the milk solids beginning to brown. Continue stirring and scraping. The butterfat will turn golden, then amber, and finally a rich, deep brown. A nutty, toasted, caramel-like aroma will fill your kitchen. This stage happens quickly, so watch carefully to prevent burning.
-
4. Stop cooking immediately: The moment the butter reaches a deep amber color and has that intoxicating nutty scent, immediately remove the pan from the heat. Transfer the brown butter (including all the delicious browned bits at the bottom of the pan) into a heatproof bowl to stop the cooking process. Allow it to cool completely before transferring to a glass jar or container. Store brown butter in the refrigerator for up to a week.
