How to Make Cultured Butter and Real Buttermilk at Home: The Ultimate Homemade Recipe Guide
Ever dreamed of crafting your own luxurious, tangy cultured butter right in your kitchen? This easy-to-follow recipe and comprehensive how-to guide will show you exactly how to make delicious cultured butter and authentic buttermilk from scratch, transforming simple cream into a culinary masterpiece.
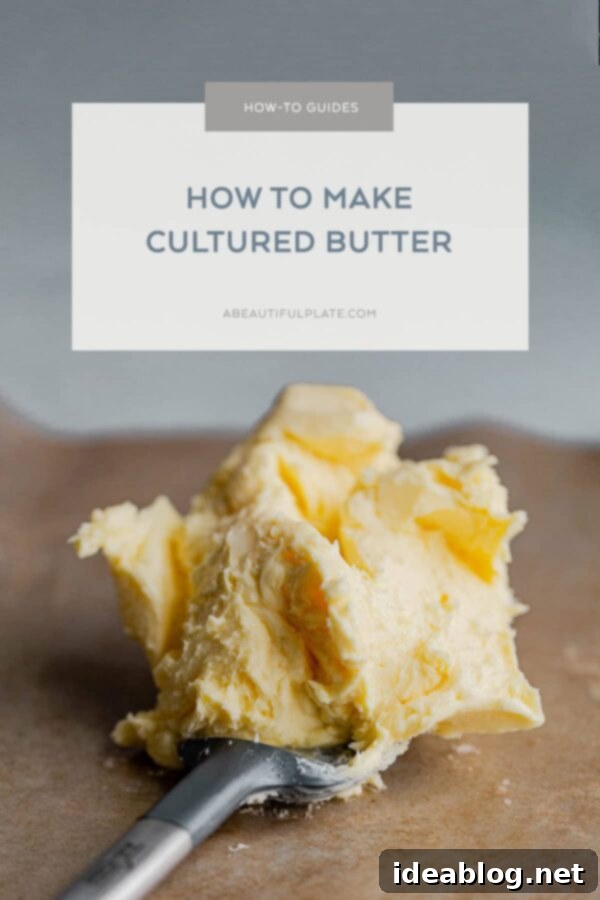
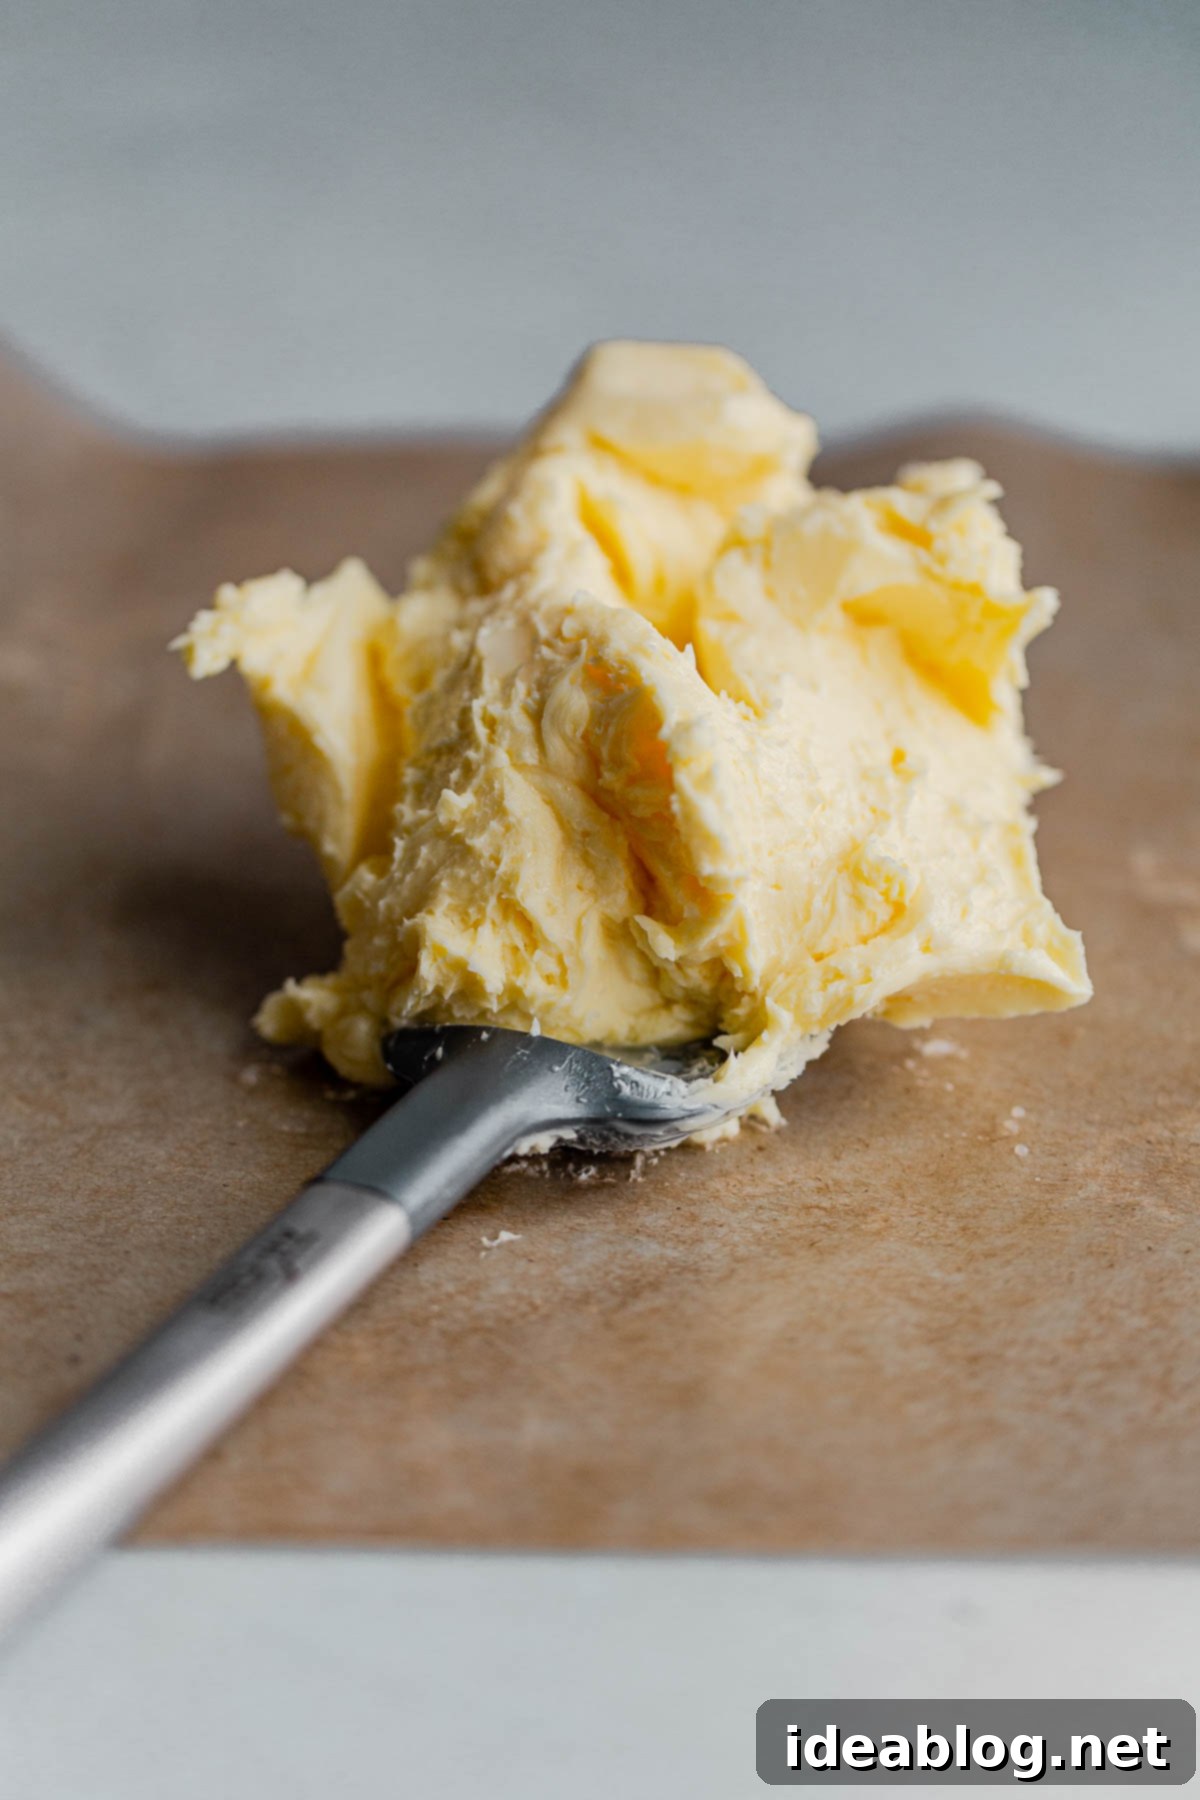
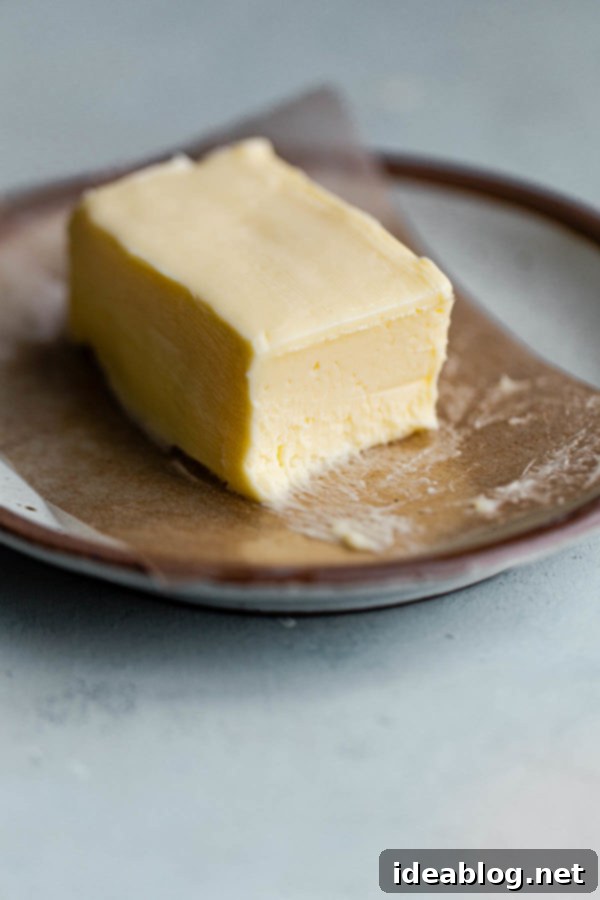
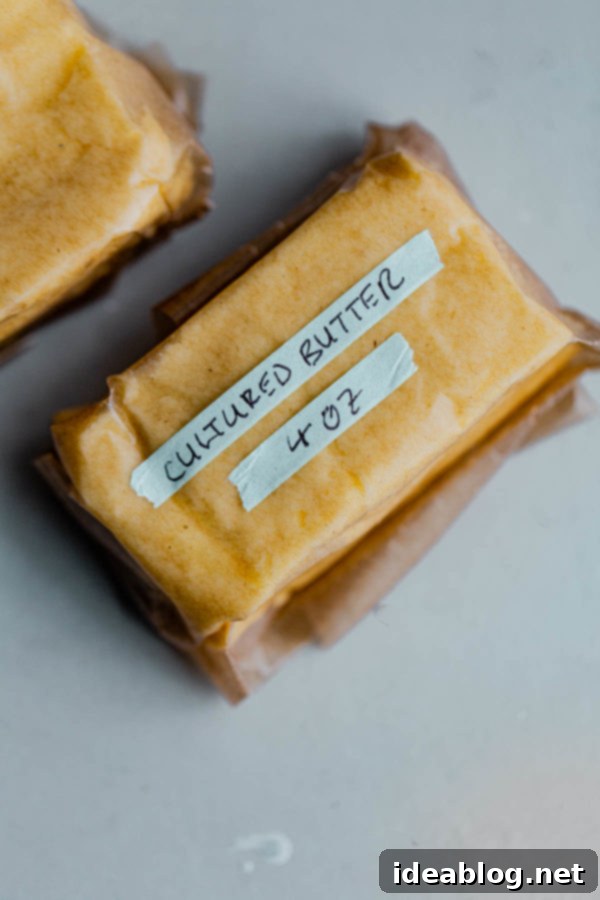
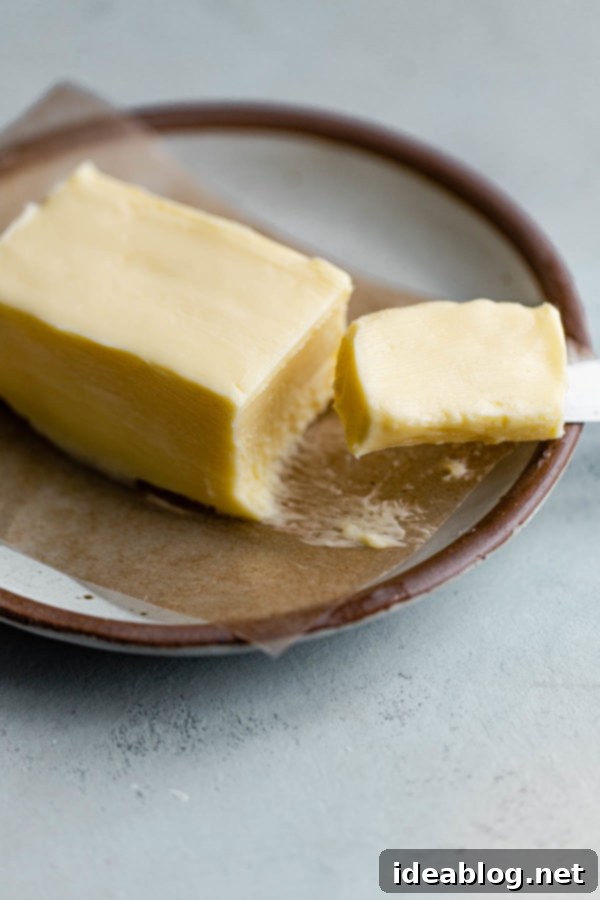
Look at that glorious slab of homemade butter! If you’ve spent any length of time on my site, you know my deep appreciation for butter in all its wonderful forms. Over the years, I’ve shared extensive guides on making clarified butter, traditional ghee, and nutty brown butter right in your kitchen. Today, we’re taking that culinary journey a delightful step further into the world of fermentation with homemade cultured butter.
Sharing these types of artisanal, scratch-made recipes is a true passion of mine because the process is often far simpler and infinitely more rewarding than many people imagine. The magical transformation of humble, high-quality ingredients into something truly extraordinary is always a joy. If you’ve never experienced the unique, complex flavor of cultured butter, prepare yourself for a delightful revelation – both literally in taste and figuratively in the satisfaction of creation!
My personal journey into making homemade cultured butter began about a year ago when I truly embarked on my sourdough bread baking adventures. The natural pairing of freshly baked, crusty sourdough with rich, tangy butter seemed irresistible and perfectly aligned with my passion for wholesome, homemade foods. After sharing some behind-the-scenes glimpses of the butter-making process on Instagram, I was overwhelmed with requests for a detailed, step-by-step guide and recipe. So, here it is – let’s get churning and discover the incredible taste of truly homemade cultured butter!
What Exactly is Cultured Butter and Why is it Special?
At its core, cultured butter is a premium butter made from cream that has been fermented with live bacterial cultures, much like how milk is turned into yogurt or kefir. This is a key distinction from “sweet cream butter” (regular butter), which is churned directly from fresh cream without prior fermentation. The culturing process, often lasting 24 hours or more, develops a complex, nuanced flavor profile that sets it apart.
The magic happens as beneficial bacteria in the culturing agent consume the lactose (milk sugars) in the cream, producing lactic acid. This natural acidity is responsible for the characteristic slightly tangy, nutty, and rich flavor that cultured butter is famous for. It’s often described as having a more pronounced, sophisticated taste compared to its non-cultured counterpart, with a delightful depth and a subtle hint of sourness that brightens dishes. This unique flavor isn’t just for spreading; it enhances almost any dish you use it in. Imagine it slathered generously on warm, crusty sourdough bread or rustic rye bread – an absolute dream! It can also be used interchangeably with regular butter in your favorite baked goods, savory sauces, or even for sautéing vegetables, adding a subtle yet distinct depth of flavor that chefs adore.
Historically, butter was often made from cream that had naturally soured over time, a process that naturally cultured the cream before churning. This is why cultured butter is considered a more traditional form of butter, especially in European cuisines. While store-bought cultured butter has become more readily available in gourmet grocery stores these days, making it at home is incredibly easy, immensely satisfying, and significantly more cost-effective. Plus, you gain the unparalleled freshness, a deeper connection to your food, and the distinct bragging rights of saying you made your own butter! It’s a wonderful project for anyone who loves cooking from scratch and appreciates high-quality ingredients.
Why Go the Extra Mile for Homemade Cultured Butter? The Benefits!
Beyond the sheer satisfaction of crafting something delicious and traditional from scratch, there are several compelling reasons to embark on your homemade cultured butter journey:
- Unmatched Flavor & Complex Texture: The culturing process is what truly differentiates homemade cultured butter. It develops a rich, complex, tangy, and slightly nutty flavor profile that simply can’t be matched by store-bought regular butter. The texture often feels silkier and more luxurious on the palate.
- Significant Cost Savings: High-quality cultured butter can be quite expensive in specialty food stores. Making it at home often costs a fraction of the price, especially if you source your heavy cream economically or in larger quantities.
- Complete Control Over Ingredients: When you make butter at home, you’re in charge. You choose the heavy cream! Opt for organic, local, or grass-fed cream to ensure the highest quality, best flavor, and superior nutritional benefits (like higher levels of Conjugated Linoleic Acid – CLA). You also have full control over the salt content, or can opt for completely unsalted butter.
- Produces Fresh, Real Buttermilk: A fantastic and often overlooked byproduct of making cultured butter is genuine, traditional tangy buttermilk. This isn’t the imitation buttermilk you often find in stores (which is typically regular milk acidified with lactic acid); it’s the actual, flavorful liquid left over after churning butter, packed with natural tang and perfect for baking. It adds an authentic touch to pancakes, biscuits, and more.
- Rewarding & Educational Experience: There’s a profound sense of accomplishment in creating staple ingredients yourself. It’s a fun, engaging kitchen project that connects you to traditional food preparation methods and offers a deeper understanding of where your food comes from.
- No Additives or Preservatives: Your homemade butter will be free from any artificial colors, stabilizers, or preservatives often found in commercial products. Just pure, wholesome goodness.
To embark on your cultured butter journey, you’ll need just two primary ingredients, plus a few simple, common kitchen tools. The simplicity is part of its charm!
Essential Ingredients for Homemade Cultured Butter
Making incredible cultured butter starts with selecting the right foundation. You’ll be delighted by how few ingredients are actually required!
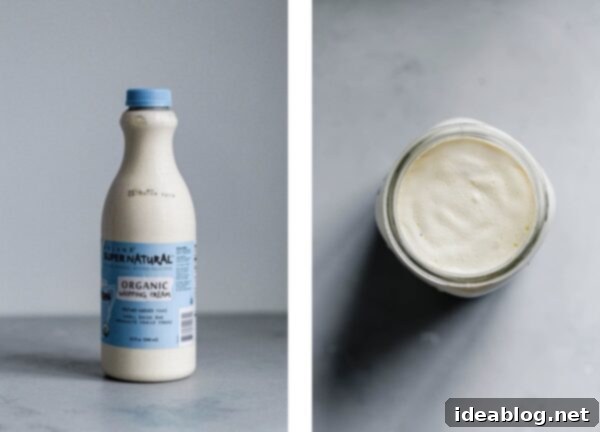
- High-Quality Heavy Cream (*not ultra-pasteurized) – This is the undisputed star of our show! You simply cannot make butter without heavy cream, and for cultured butter, the quality and processing of that cream make all the difference in the final product. It is absolutely crucial to use heavy cream that is not ultra-pasteurized (UHT). Ultra-pasteurized creams undergo intense heat treatment that alters the protein structure, making it difficult for the beneficial bacterial cultures to thrive and, more importantly, for the butterfat to properly separate during churning. Many commercial “whipping creams” may also contain thickeners and gums (like carrageenan) which can interfere with both the culturing and churning process, leading to inconsistent results. Look for cream labeled simply “heavy cream” or “heavy whipping cream” that specifically states “pasteurized” (but not “ultra-pasteurized” or “UHT”) on the label. To achieve the absolute best flavor, a vibrant yellow color, and optimal nutritional profile, I highly recommend seeking out the best quality cream you can find. Cream from 100% grass-fed cows is often superior, yielding a richer, more flavorful butter with a beautiful golden hue.
- Cultured Buttermilk – or Plain Unsweetened Yogurt with Live Cultures, Cultured Sour Cream, or Cultured Crème Fraîche – This is your essential “starter” for the fermentation process. While traditional, uncultured butter is churned directly from fresh cream, homemade cultured butter requires an initial introduction of live bacterial cultures to ferment the cream. Store-bought cultured buttermilk (always check the ingredients for “live active cultures”) is the most common and easiest culturing agent to use. However, plain unsweetened yogurt with live active cultures, cultured sour cream, or even cultured crème fraîche can work just as effectively. The key is ensuring your starter contains active, live bacteria. Feel free to use whatever you already have on hand or buy regularly! An added bonus: future batches of cultured butter can be made using a small amount of the authentic homemade buttermilk you’ll create in this process, making it a sustainable and delicious cycle.
Recommended Equipment for Butter Making:
While the process is simple, having the right tools makes the experience smooth, efficient, and enjoyable:
- Tight-lidded container: A clean glass jar or a sturdy plastic container is perfect for culturing your cream.
- Fine-meshed sieve: Essential for cleanly separating the newly churned butter from the buttermilk. While lining it with muslin or cheesecloth is an option for extra refinement, I often find it unnecessary.
- Large mixing bowl: You’ll need this for collecting the buttermilk and, crucially, for washing the butter.
- Rubber spatula or wooden spoon: Useful for gently pressing the butter and mixing.
- Stand mixer with whisk attachment: This is by far the easiest and most efficient method for churning butter. It automates the vigorous whisking required.
- Alternatively: A large food processor with a blade attachment can also churn butter effectively, though sometimes it might splatter a bit more.
- For the adventurous and strong-armed: You can even shake the cream vigorously in a tightly sealed large jar by hand for a truly old-fashioned, muscle-powered method! Be warned, this takes considerable arm strength and patience, but it’s incredibly satisfying.
How to Make Cultured Butter: Your Detailed Step-by-Step Guide
Follow these simple yet precise steps to transform plain heavy cream into luscious, tangy cultured butter and refreshing, authentic homemade buttermilk.
Step 1: Culture the Cream for Flavor Development
- Combine Ingredients: In your clean, tight-lidded container, combine the high-quality heavy cream and your chosen culturing agent (cultured buttermilk, plain unsweetened yogurt with live cultures, cultured sour cream, or crème fraîche). Stir them together gently but thoroughly to ensure the beneficial cultures are evenly distributed throughout the cream. This ensures uniform fermentation.
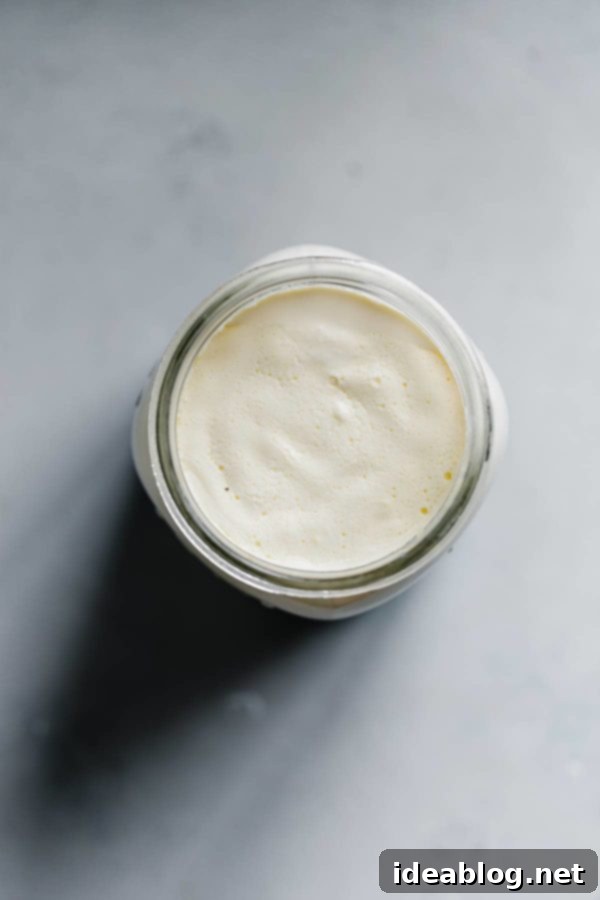
- Ferment at Room Temperature: Allow this cream mixture to sit at room temperature, ideally maintained between 70°F to 75°F (21°C-24°C), for a minimum of 24 hours. For a deeper tang and thicker texture, you can extend this period up to 48 hours or even slightly longer. During this time, the bacterial cultures will ferment the cream, thickening it and developing that signature tangy aroma and flavor. You’ll notice the mixture gradually thicken and smell pleasantly sour, similar to yogurt or crème fraîche.
- Chill Thoroughly: Once the culturing is complete to your liking, transfer the cream mixture to the refrigerator and chill for at least one hour. This crucial cooling step ensures that the butterfat solidifies sufficiently. Cold butterfat separates more cleanly and efficiently from the buttermilk during churning, preventing your butter from becoming greasy.
Step 2: Churn the Butterfat into Butter
- Prepare for Churning: Once the cultured cream is thoroughly chilled, transfer the mixture into the bowl of a stand mixer fitted with a whisk attachment. (Remember, if you don’t have a stand mixer, a large food processor with a blade attachment can work, or for a truly rustic and labor-intensive experience, shake the cream vigorously in a tightly sealed large jar!)
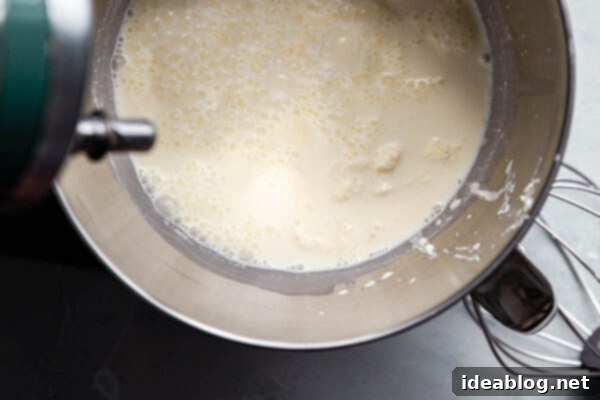
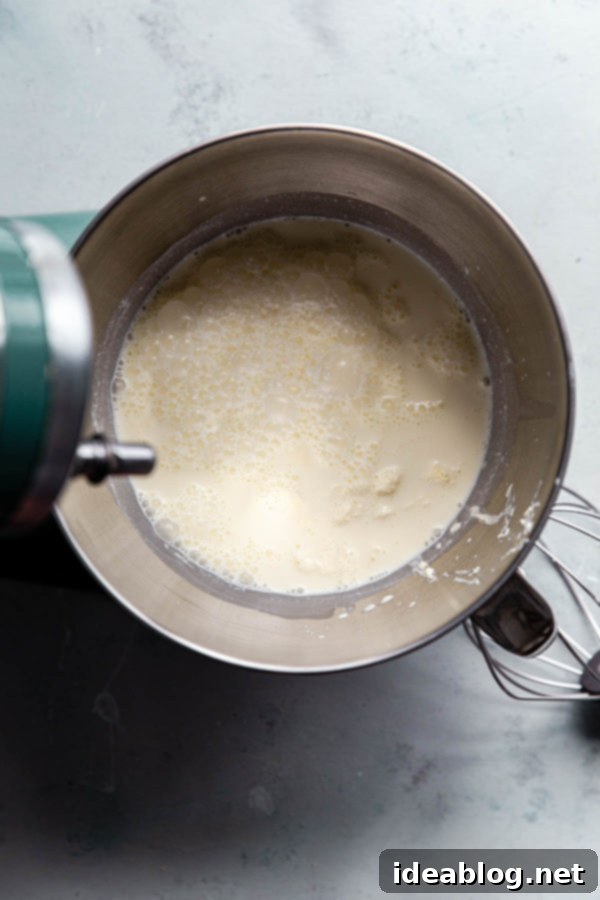
- Begin Whipping: Cover the stand mixer (or food processor) with a clean kitchen towel to catch any potential splattering – this stage can sometimes get a little messy as the cream transitions! Begin whipping the cream over medium-high speed. Initially, the cream will thicken into a luxurious soft whipped cream consistency. Continue whipping past this stage.
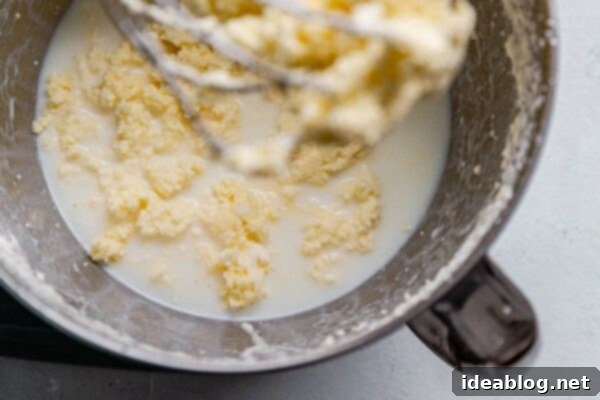
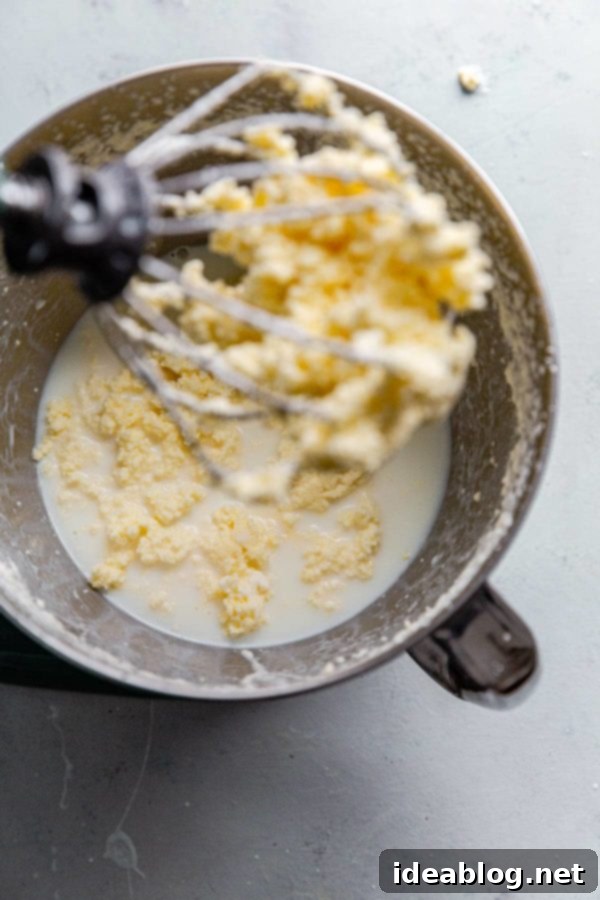
- Witness Separation: As you continue to whip, the cream will stiffen further, then quite suddenly, the liquid and solid butterfat will begin to separate. The mixture will take on a curdled, yellowish appearance, and you’ll notice small clumps forming. At this crucial point, reduce the mixer speed to medium-low to manage the separation.
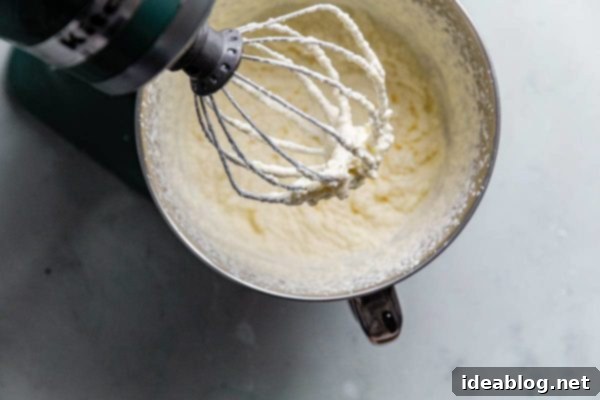
- Form the Butter Mass: Continue whipping at the reduced speed. The butterfat will rapidly clump together, coalescing into a distinct, solid mass that collects around the whisk attachment. Simultaneously, the liquid (which is now your authentic real buttermilk!) will pool at the bottom of the bowl. It’s important to keep whipping until the butterfat has clearly separated and formed a cohesive mass, leaving as much buttermilk as possible behind. The more complete the separation, the easier the subsequent steps will be.
Step 3: Strain and Collect Your Real Buttermilk
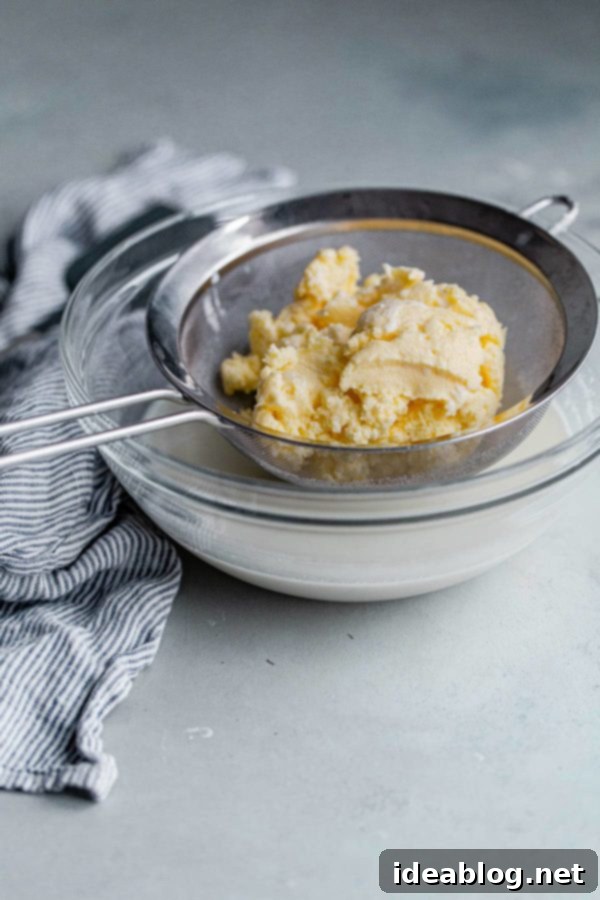
- Prepare Sieve: Place a large fine-meshed sieve over a separate, clean large mixing bowl. While you *can* line the sieve with muslin or cheesecloth for an extra-fine strain, I often find it unnecessary as the butterfat clumps quite well.
- Separate Liquid and Solids: Gently pour the entire contents of the mixer bowl (butterfat and buttermilk) over the sieve. The liquid draining into the bowl below is your delicious, authentic real buttermilk! Transfer the solid mass of butter from the sieve back into the original mixer bowl (now empty).
- Press for More Buttermilk: Using a clean spatula, gently press the butter against the sieve to release any additional liquid that might still be trapped within the butterfat, being careful not to push the butter through the sieve.
- Store Buttermilk: Pour the freshly strained buttermilk into a clean, covered container and refrigerate it immediately. This homemade buttermilk boasts an incredible, tangy flavor, far superior to most store-bought versions. It can be stored in the fridge for one to two weeks, ready to be used in baking or cooking.
Step 4: Wash the Butter Thoroughly for Longevity
This is a critical and non-negotiable step for ensuring the longevity, purity, and best flavor of your homemade cultured butter. Proper washing removes all residual buttermilk.
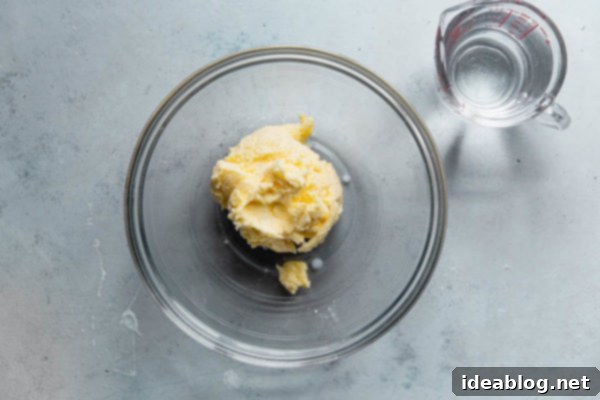
- Initial Transfer: Transfer the mass of butter back to the now empty, clean mixing bowl. We will now repeatedly wash the butter with very cold water. The primary goal here is to remove all residual buttermilk trapped within the butterfat. Any leftover buttermilk will cause your butter to spoil quickly and can develop off-flavors.
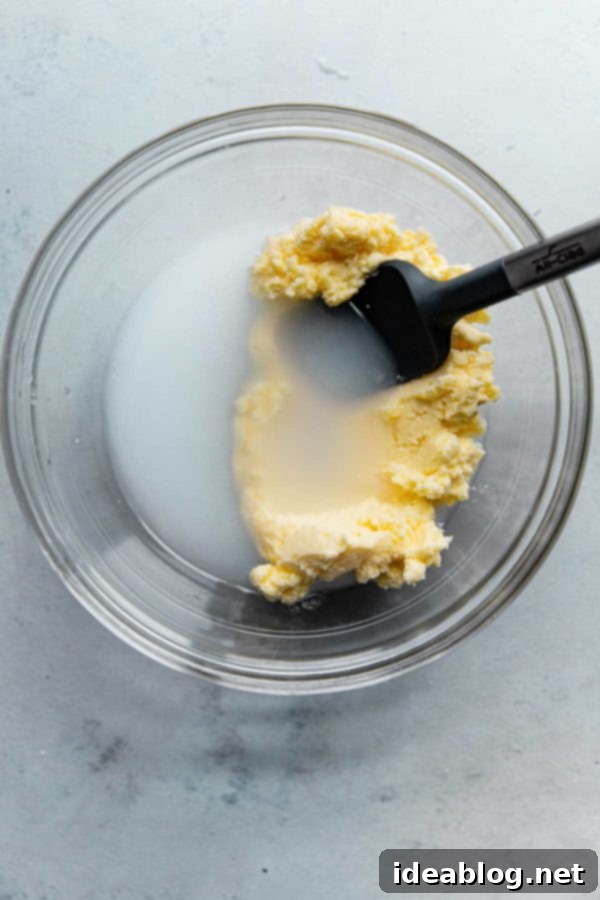
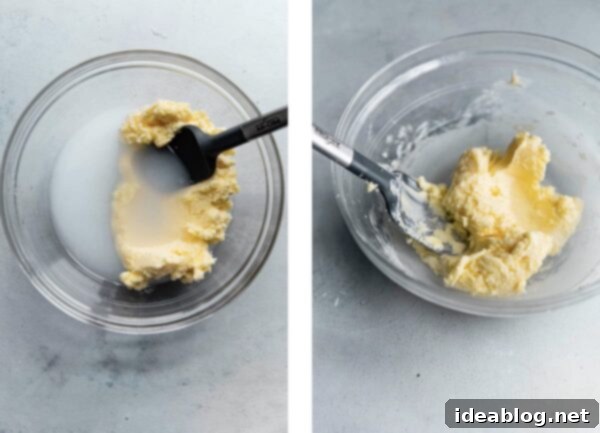
- First Wash: Pour about 1 cup (240 mL) of very cold water (ice water works best) over the butter. Using the back of your spatula or a clean hand, press and knead the butter against the edge of the bowl. You will immediately see the water turn cloudy as it extracts more buttermilk.
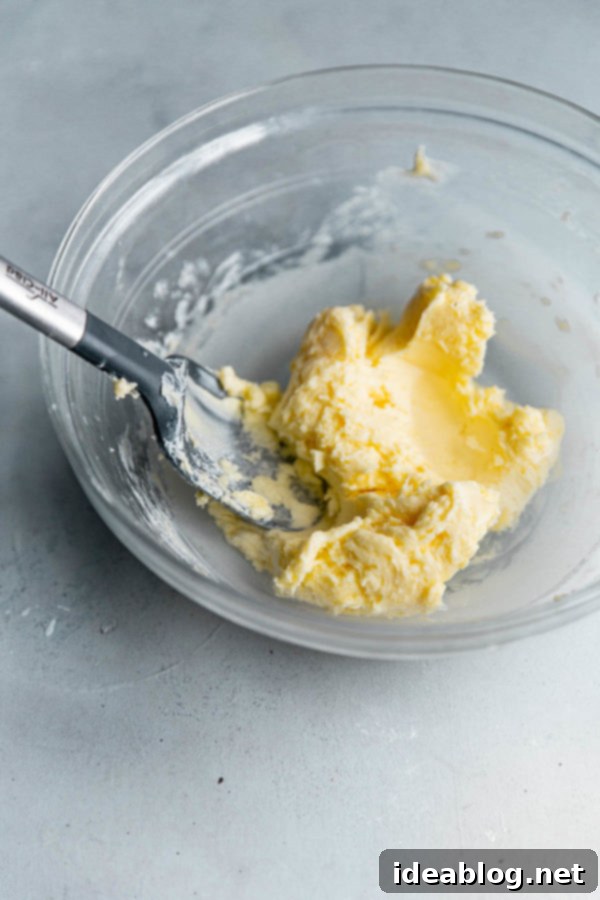
- Repeat Washing Until Clear: Drain the cloudy water, discarding it. Repeat this washing process – adding fresh cold water, pressing and kneading the butter, and then draining – until the water finally runs completely clear. This usually takes anywhere from 4 to 6 washes, but it can vary depending on how much buttermilk was initially extracted. When in doubt, err on the side of overwashing rather than underwashing.
- Final Press: Once the water is entirely clear and you have drained the final liquid, give the butter one last firm press to remove any remaining excess water. This ensures your butter is perfectly prepared for storage.
Step 5: Add Salt (Optional, but Highly Recommended for Flavor)
At this stage, your beautifully washed cultured butter is ready! If you prefer salted butter, now is the time to mix in your desired amount of fine-grained kosher salt or flaky sea salt. Approximately ¼ teaspoon of salt per 12 ounces of butter is a good starting point for a lightly salted butter, but feel free to adjust to your personal taste preferences. Mix it thoroughly into the butter until evenly distributed. Personally, I prefer not to salt my cultured butter during preparation. This allows the incredible, complex, tangy flavor of the cultured butter to truly shine as the star. I can always sprinkle a touch of flaky sea salt on top just before serving, depending on the dish I’m pairing it with, offering versatility.
Step 6: Wrap and Store Your Fresh Cultured Butter
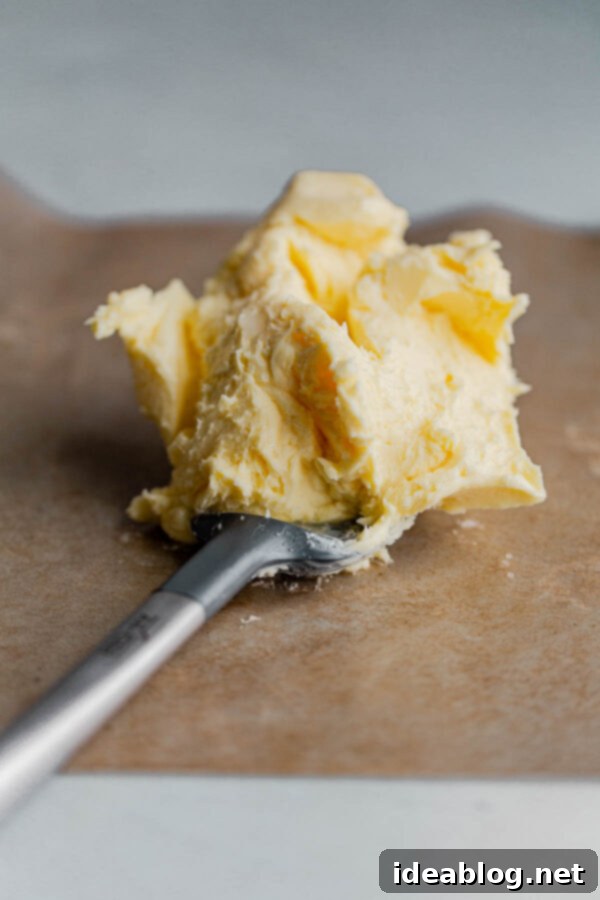
- Portion and Shape: This recipe typically yields about 12 ounces of exquisite cultured butter. Divide the butter into portions as desired – perhaps a larger block for general use and smaller ones for freezing.
- Form and Wrap: Using spatulas, traditional butter paddles, or your clean hands, gently shape the butter into logs, blocks, or whatever form you prefer. Then, wrap the shaped butter tightly in wax paper, parchment paper, or specialized butter paper. Ensure it’s well-sealed to prevent air exposure, which can cause oxidation, and to avoid absorption of any strong odors from your refrigerator.
- Storage: Store the well-wrapped cultured butter in the refrigerator. It will maintain its freshness and delightful flavor for up to a month, or even longer if it was thoroughly washed. For extended storage and to enjoy your homemade butter over a longer period, it freezes exceptionally well. Wrap it securely in freezer-safe paper or place it in an airtight container and freeze for several months; simply thaw it in the refrigerator before you plan to use it.
Delicious Ways to Enjoy Your Homemade Cultured Butter
Now that you’ve created this exquisite culinary gem, here are some delightful ways to fully appreciate its unique tangy flavor and rich texture:
- On Freshly Baked Goods: This is a classic pairing! Slather it generously on warm, crusty homemade sourdough bread, fluffy waffles, delicate pancakes, or my tender easy whole wheat biscuits. The tang complements the sweetness or yeastiness beautifully.
- Elevate Side Dishes: Fold it into creamy Yukon gold mashed potatoes for an extra layer of richness and a subtle tangy zing. It’s also fantastic melted over steamed fresh green beans, asparagus, corn on the cob, or baked sweet potatoes.
- Flavorful Compound Butters: Get creative by making homemade cultured compound butter. Infuse it with finely chopped fresh herbs like chives, dill, or parsley, minced garlic, a hint of lemon zest, cracked black pepper, or a pinch of chili flakes for an incredible flavor boost for steaks, seafood, or roasted vegetables.
- Baking & Pastry Perfection: Substitute cultured butter for traditional sweet cream butter in many of your favorite baked goods, like flaky pie crusts, delicate cookies, rich cakes, or tender scones. The inherent tang will add a subtle complexity and richness that’s truly special and professional.
- Savory Cooking & Finishing: Use it to enhance and add a touch of tang to savory dishes or sauces. It’s excellent for pan-frying delicate scallops or fish, finishing a creamy risotto, enriching a hollandaise sauce, or simply sautéing mushrooms to perfection.
- Gourmet Popcorn: Melted cultured butter tossed with freshly popped corn takes movie night to a whole new level!
Utilizing Your Fresh, Real Buttermilk: Don’t Waste a Drop!
An incredible and often celebrated bonus of making cultured butter from scratch is the production of genuine, traditional buttermilk! Its flavor is truly unparalleled – much richer, tangier, and more complex than the acidified milk often sold as “buttermilk” in stores. Don’t let a single precious drop go to waste! This homemade buttermilk is ideal for enhancing numerous recipes. Use it in classic buttermilk pancakes, fluffy waffles, tender biscuits, or any other dish where its unique acidic qualities can shine, adding moisture and a tender crumb. Here are a handful of my favorite recipes that celebrate the distinct flavor and benefits of homemade buttermilk:
- Easy Blueberry Muffins: The tanginess of buttermilk makes these muffins incredibly moist, tender, and light.
- Whole Wheat Apple Cinnamon Muffins: A healthy and flavorful treat, perfected by the subtle tang and moisture buttermilk provides.
- Easy Whole Wheat Biscuits: Buttermilk is absolutely key to achieving light, flaky, and exceptionally tender biscuits every time.
- Irish Soda Bread Scones: A traditional recipe where real buttermilk is indispensable for creating its characteristic texture and authentic flavor.
- Buttermilk Fried Chicken: Use your fresh buttermilk to marinate chicken, resulting in incredibly tender and flavorful fried chicken.
- Dressings and Dips: Homemade buttermilk is fantastic in creamy salad dressings (like ranch) or refreshing dips.
Homemade Cultured Butter Recipe
Pin
Review
SaveSaved!
Equipment
-
KitchenAid 5 Qt. Artisan Stand Mixer
-
Fine Mesh Strainers
Ingredients
- 1 quart (4 cups; 960 mL) high quality heavy cream not ultra pasteurized; no stabilizers added
- 3 tablespoons (45 mL) cultured buttermilk or plain unsweetened yogurt with live cultures, or even cultured sour cream or creme fraiche
- ¼ teaspoon kosher salt optional
Instructions
-
Culture the Cream: Combine the high-quality heavy cream and your chosen culturing agent (cultured buttermilk, plain unsweetened yogurt with live cultures, or cultured sour cream/creme fraiche) in a clean, lidded container. Stir well to combine.
-
Allow the cream mixture to sit at room temperature, ideally between 70°F to 75°F (21°C-24°C), for at least 24 hours and up to 48+ hours. The longer it cultures, the thicker and tangier it will become.

-
Transfer the cultured cream mixture to the refrigerator and chill for at least one hour. This ensures the butterfat is firm for churning.
-
Churn: Place the chilled cream in the bowl of a stand mixer with a whisk attachment (or use a food processor/shake by hand). Cover with a towel to prevent splattering and whip on medium-high speed until it passes soft whipped cream stage.

-
Reduce mixer speed to medium-low and continue whipping until the liquid and butterfat begin to separate and appear curdled. Reduce to low speed, ensuring the mixer is covered, and continue whipping until the butter forms a solid mass on the whisk.

-
Strain: Set a large fine-meshed sieve over a separate mixing bowl. Gently pour the churned mixture into the sieve to separate the real buttermilk from the butterfat. Press the butter gently with a spatula to extract more liquid. Transfer buttermilk to a covered container and refrigerate for up to 1-2 weeks.
-
Wash: Move the butter mass to the empty mixing bowl. Repeatedly wash the butter with very cold water, pressing it to release excess buttermilk. Drain the cloudy water and repeat until the water runs completely clear. This crucial step prevents spoilage and extends shelf life.

-
Pour 1 cup (240 mL) of very cold water over the butter and using the back of a spatula (or spoon), press the butter repeatedly against the edge of the bowl. Drain, discarding any liquid, and repeat until the water runs clear. This will take anywhere from 4 to 6 washes. Be sure to err on the side of overwashing. Once the water runs clear and you have drained the liquid, press the butter once more to release any excess water. If you desire, you can use clean hands to do this – but it isn’t necessary or required.
-
Add Salt (Optional): If desired, mix in ¼ teaspoon of kosher salt (or to taste). I prefer unsalted cultured butter to highlight its tangy flavor and add salt at serving.
-
Store: Divide the butter (yields approx. 12 ounces), shape it, and wrap tightly in wax paper. Store well-wrapped in the refrigerator for up to a month, or freeze for longer preservation.
Storage Tips for Homemade Cultured Butter:
- Refrigerator Storage: Once thoroughly washed and tightly wrapped to prevent air exposure and absorption of odors, your homemade cultured butter can be stored in the refrigerator for up to one month (or potentially longer, depending on how thoroughly it was washed).
- Freezer Storage: For extended freshness, homemade cultured butter freezes exceptionally well. Wrap it securely in freezer-safe paper (like parchment or foil), then place it in an airtight freezer bag or container. It can be frozen for several months. Simply thaw in the refrigerator before using.
Recipe inspired by Brod & Taylor.
Making your own cultured butter is a truly rewarding experience, offering superior flavor, unparalleled freshness, and the profound satisfaction of a handcrafted product. It’s a culinary adventure that transforms simple cream into a versatile, delicious staple. Enjoy the process, savor the exceptional results, and impress your taste buds (and your guests!) with this simple yet sophisticated homemade delight!
