From Culinary School to Home Kitchen: My Journey into Canning and Preserving
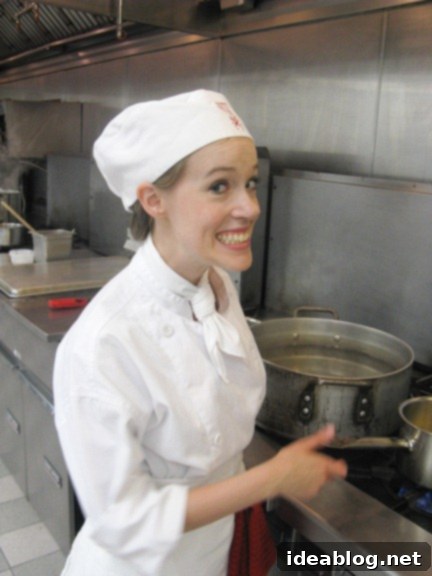
Just a couple of weeks ago, I had the incredible opportunity to return to my culinary school for a dedicated day of canning and preserving. This particular class was one of three required sessions interspersed throughout our six-month restaurant externships, designed to broaden our skillset beyond typical restaurant operations. I’m already looking forward to my next specialized class, which will focus on the intricate art of cheese-making! But for now, let’s delve into the fascinating world of food preservation.
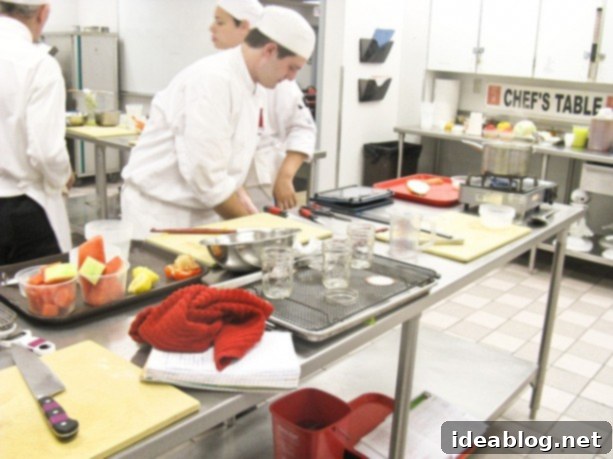
Stepping back into the familiar environment of my culinary school felt like a homecoming. Even more thrilling was the chance to reconnect with my classmates, whom I hadn’t seen in over a month. There was an abundance of joyful reunions, warm hugs, and lively discussions about our externship experiences. Despite having arrived home at 5 AM that very morning from my sister’s wedding in California, the energy and excitement of the day kept me thoroughly engaged and entertained. It was a truly delightful experience.
This class also sparked a profound new appreciation and interest in canning and preserving – a skill I previously knew very little about, beyond a few scattered facts. It’s quite serendipitous, given my well-documented obsession with mason and canning jars. It seems I was destined to learn how to fill them with homemade goodness!
Demystifying Canning: Equipment and Methods
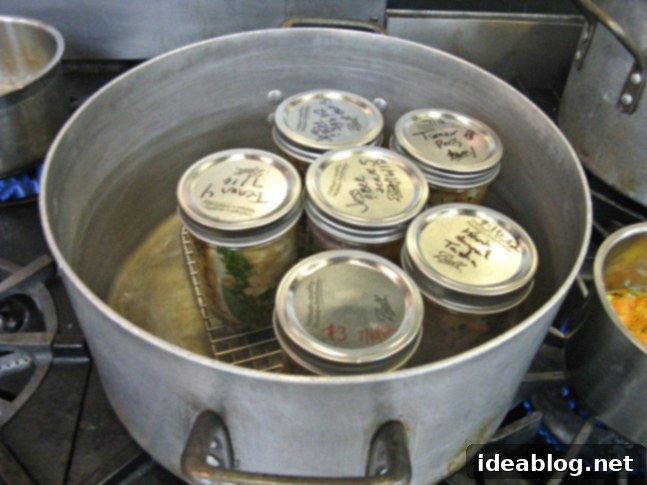
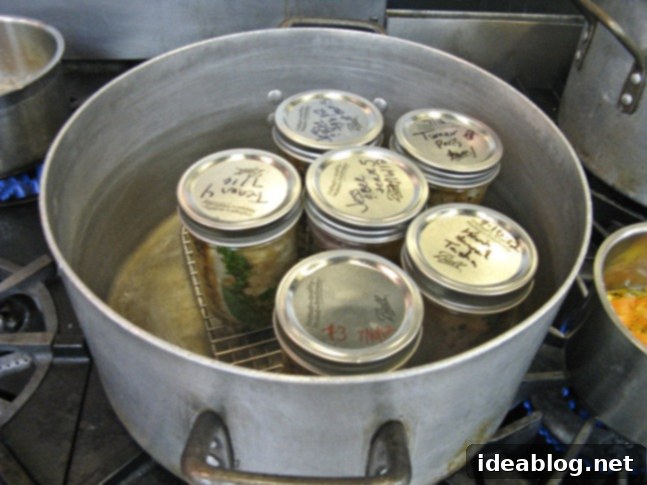
Before this intensive class, I mistakenly believed that canning and preserving required a vast array of specialized, expensive equipment. While certain advanced forms of canning, such as pressure canning, do necessitate specific tools, I was pleasantly surprised to learn that many common preservation methods can be achieved with surprisingly minimal gear. Often, all you truly need is a very large canning pot, a wire rack to keep jars off the bottom, and a collection of mason jars, all of which are readily available at most hardware stores or online retailers. This revelation instantly made the idea of home canning far more approachable.
Our class thoroughly explored the foundational principles of food preservation, focusing primarily on two distinct forms of canning: the **hot water bath method** and **pressure canning**. The choice between these two critical methods hinges entirely on the type of food you intend to preserve, primarily its acidity level. Understanding this distinction is paramount for both safety and successful preservation.
Pressure Canning for Low-Acid Foods
Low-acid foods, which encompass the majority of vegetables, meats, poultry, and seafood, absolutely require the pressure canning method. This is because low-acid environments are susceptible to the growth of Clostridium botulinum, the bacteria responsible for botulism, a serious form of food poisoning. A pressure canner is designed to create an environment where these foods can reach temperatures of 240 degrees Fahrenheit (116 degrees Celsius) or higher, which is the scientifically proven temperature required to destroy botulism spores during the canning process. This method ensures the food is safely preserved for long-term storage at room temperature.
Hot Water Bath Canning for High-Acid Foods
Conversely, high-acid foods, including most fruits, tomatoes (often acidified with lemon juice or vinegar), pickled vegetables, and jams/jellies, only require the hot water bath method. The high acidity in these foods naturally inhibits the growth of harmful bacteria. This method involves placing sterilized, filled jars onto a rack within a large pot, covering the jars with water by at least two inches, and bringing the water to a vigorous boil. The jars are then processed for a specific duration, during which the heat creates a vacuum seal, preserving the contents. It’s a simpler, more accessible method for beginners and perfect for seasonal fruit harvests.
Of course, successful canning involves more nuanced details. Our class covered critical aspects like determining the appropriate “headspace” – the empty space between the food and the lid – which varies depending on the type of food being canned. We also discussed adjustments for altitude differences, as boiling points change with elevation, affecting processing times. Furthermore, we learned about the differences between “hot-packing” (filling jars with hot food) and “cold-packing” (filling jars with raw, cold food), and how these choices impact the final product and processing requirements.
A Delicious Array: What We Canned in Class
During the hands-on session, we had the fantastic opportunity to can and preserve a wide variety of ingredients, pushing the boundaries of what I thought was possible with home preservation. The sheer diversity of items was impressive:
- Rosemary Marinated Pork Loin: This was a real eye-opener! I never imagined canning meat, but the flavor profile was surprisingly delicious and the texture perfectly preserved.
- Granny Smith Apple & Pepper Jelly: A delightful balance of sweet and spicy, perfect for cheese boards or as a glaze.
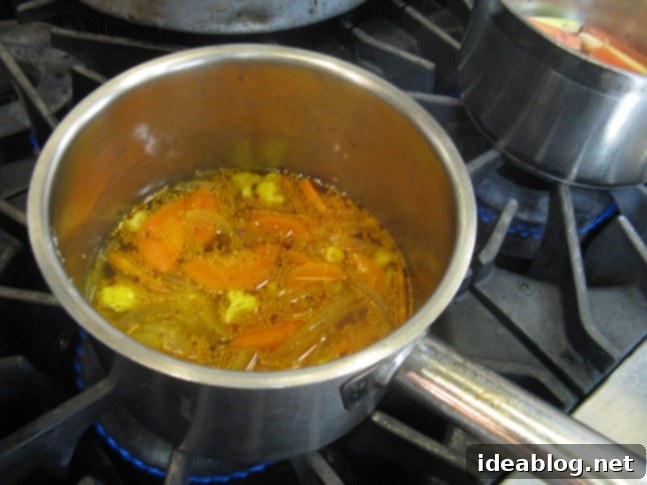
- Mediterranean Pickled Cauliflower & Carrots: A vibrant and tangy addition to any meal, bursting with Mediterranean flavors.
- Fennel: Preserving fennel was a unique experience, offering a versatile ingredient for future culinary creations.
- Blueberry Star Anise Jam: A sophisticated twist on a classic jam, with the fragrant notes of star anise complementing the blueberries beautifully.
- Clover Honey Orange Marmalade: A sweet and citrusy spread, elevated by the delicate flavor of clover honey.
- Pickled Lavender Scented Watermelon Rind: This was perhaps the most unexpected and intriguing item, offering a delicate floral aroma and a wonderful crunch.
- Bruschetta: Canning bruschetta ingredients means having fresh, flavorful toppings ready for any occasion.
The entire experience was not only educational but also incredibly fun and deeply rewarding. It showcased how canning can be an invaluable kitchen skill, particularly for preserving the abundance of summer fruits and vegetables to enjoy throughout the year. For a long time, I’ve harbored a desire to learn how to properly can my homemade tomato sauce, which I prepare regularly. The thought of simply opening a jar of my own delicious sauce whenever inspiration strikes is incredibly appealing, and now, I feel confident that I’ll be tackling this at home very soon.
Embracing the Journey of Home Preservation
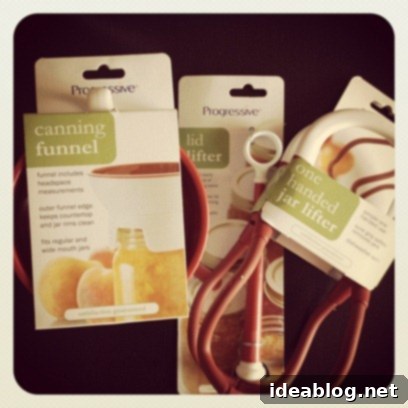
Inspired by the class, I wasted no time in acquiring a few essential canning supplies, including a budget-friendly canning pot from Amazon. While not all supplies are strictly necessary to begin, having the right tools certainly makes the process smoother and more enjoyable. This experience has ignited a new passion within me, and I’m eager to explore canning further in my home kitchen, experimenting with various ingredients and recipes. I envision creating unique jams, pickles, and even prepared meals that can be stored and enjoyed for months. I plan to dedicate some time over the coming weeks to truly delve into this creative new skill. As I embark on this exciting canning journey, I’ll be sure to share my progress, discoveries, and perhaps even a few successful recipes with you all!
