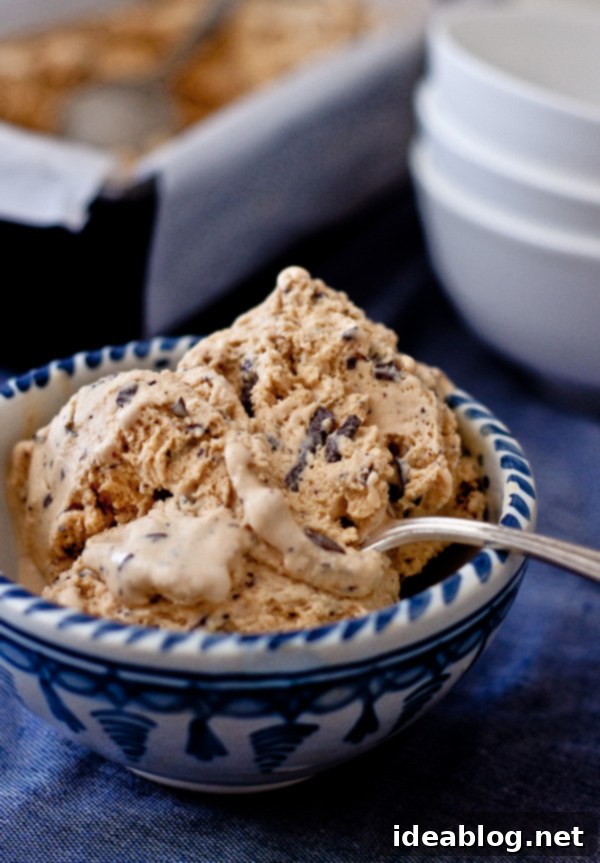
Decadent Burnt Sugar Ice Cream with Dark Chocolate Chunks: A Vintage Recipe Reimagined
Prepare to indulge in an extraordinary frozen dessert experience. This incredibly creamy and decadent burnt sugar ice cream is a true masterpiece, boasting a rich, complex flavor profile that is beautifully complemented by generous pieces of dark chocolate. Far from being just another caramel ice cream, this recipe elevates the classic with a depth of flavor that is both intriguing and utterly irresistible.
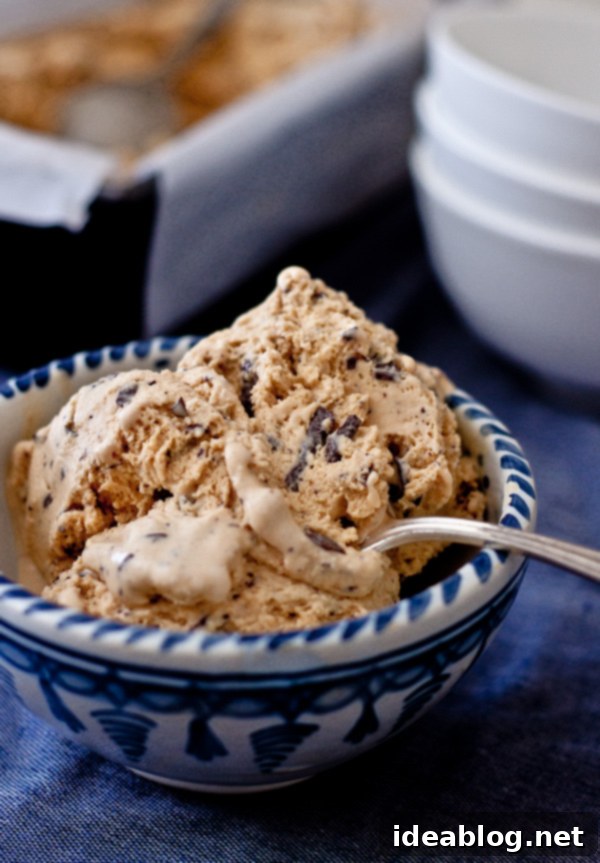
There’s a special joy in revisiting culinary treasures from the past. Through ongoing recipe exploration, I often find myself drawn to timeless recipes that offer a unique twist on familiar flavors. This particular creation for burnt sugar ice cream with chocolate bits immediately captivated my attention and soared to the top of my must-make list. Its name alone promised something more sophisticated and memorable than a standard caramel dessert.
The Allure of “Burnt Sugar” vs. Caramel
The term “burnt sugar” is, in essence, a clever rebranding of caramel, yet it manages to evoke a sense of excitement and exoticism that “caramel ice cream” often doesn’t. While both refer to sugar cooked until it changes color and flavor, “burnt sugar” suggests a deeper, more profound transformation – a caramel pushed to the brink of bitterness, unlocking a whole new spectrum of aromatic notes. This subtle shift in nomenclature truly does justice to the nuanced flavor profile of this magnificent ice cream. It’s a testament to how a simple phrase can dramatically alter our perception of a dish, making it sound much more enticing and artisanal.
Imagine the subtle hints of roasted coffee or deep molasses that emerge when sugar is caramelized to a dark amber. This is precisely the kind of distinctive flavor we aim for with “burnt sugar,” differentiating it from the lighter, sweeter notes of a typical caramel. This intense, slightly bitter base provides the perfect foundation for a truly gourmet ice cream, offering a sophisticated contrast to the sweetness.
Crafting the Perfect Base: The Dry-Sugar Caramel Method
The journey to this delectable ice cream begins with the “dry-sugar” caramel method, a technique that allows for precise control over the caramelization process. This method involves simply pouring granulated sugar into a clean, dry skillet and heating it gently. As the sugar gradually melts and transforms into a shimmering liquid, continuous stirring with a fork is crucial to ensure even caramelization and prevent burning in localized spots. The magic happens quite quickly once the sugar liquefies, demanding your full attention to achieve the desired hue and flavor intensity.
The beauty of this method lies in its versatility. You can customize the depth of your caramel, ranging from a light, golden amber for a sweeter taste to a deep, medium-dark amber for a more pronounced, slightly bitter, and distinctively “caramelized” flavor. For this burnt sugar ice cream, I opted for the latter, seeking to unlock those complex, almost toasted notes that make the dessert so special. Achieving this deeper color enhances the richness and ensures a bold, unforgettable base for the ice cream.
Building a Velvety Custard: Tempering and Boiling for Perfection
Once your ideal caramel is achieved, the next step is to carefully incorporate whole milk. This process requires a steady hand, as the temperature difference will cause the caramel to seize and harden instantly. Do not despair; this is a completely normal reaction! Return the mixture to low heat and whisk diligently. The warmth will slowly coax the hardened caramel back into a liquid state, dissolving completely into the milk to create a fragrant, caramel-infused base.
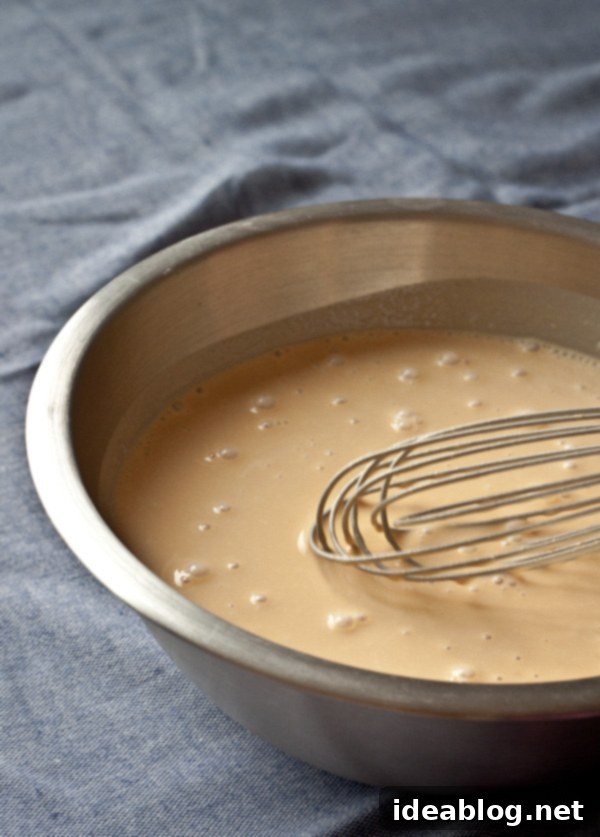
In a separate bowl, whisk together the egg yolks and cornstarch. This mixture will become the backbone of our creamy custard. The next critical step is tempering: slowly drizzling the hot caramel milk into the egg yolk mixture while continuously whisking. This gradual introduction of heat prevents the eggs from scrambling, ensuring a smooth, cohesive custard base. The entire mixture is then transferred to a saucepan and brought to a low boil for two minutes, stirring constantly with a wooden spoon. Initially, the idea of boiling an egg-based custard might seem unusual or even concerning, but this “boil-method” serves a vital purpose. It not only ensures the complete cooking of the eggs, eliminating any worries about salmonella, but also activates the cornstarch, leading to a perfectly thickened, pudding-like consistency that is the hallmark of an exceptionally creamy ice cream. This thickening process is essential for achieving the luxurious mouthfeel we desire.
The Chill, Churn, and Chocolate Infusion
Once the base reaches its ideal consistency, immediately strain it through a fine-meshed sieve into a large, heat-proof bowl. This step is crucial for removing any small bits of cooked egg or undissolved caramel, resulting in an impeccably smooth ice cream. To rapidly cool the base, place the bowl into an ice bath, stirring occasionally until it has completely chilled. This rapid cooling halts the cooking process and is vital for the texture of the finished ice cream. For best results, cover the surface with plastic wrap to prevent a skin from forming and refrigerate the base for at least one hour, or ideally, overnight. A thoroughly chilled base is key to achieving optimal texture during churning.
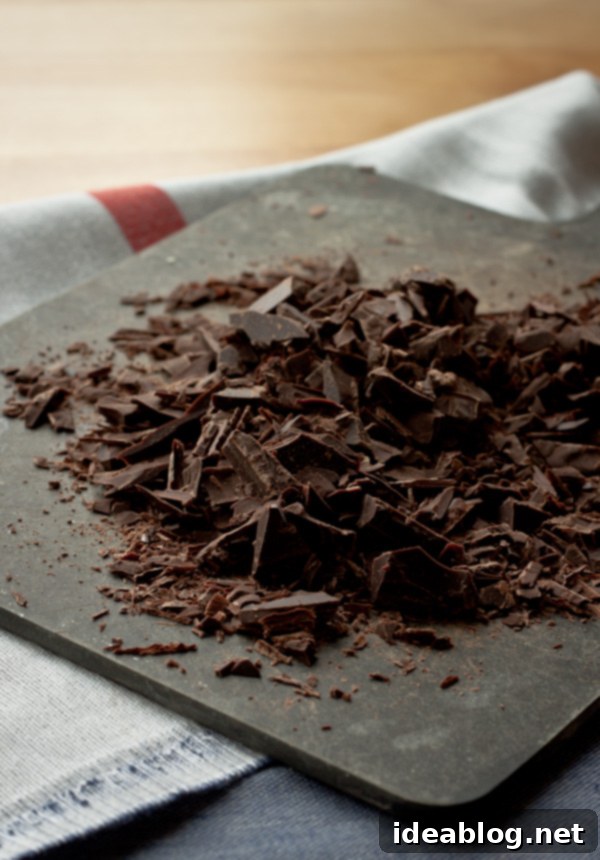
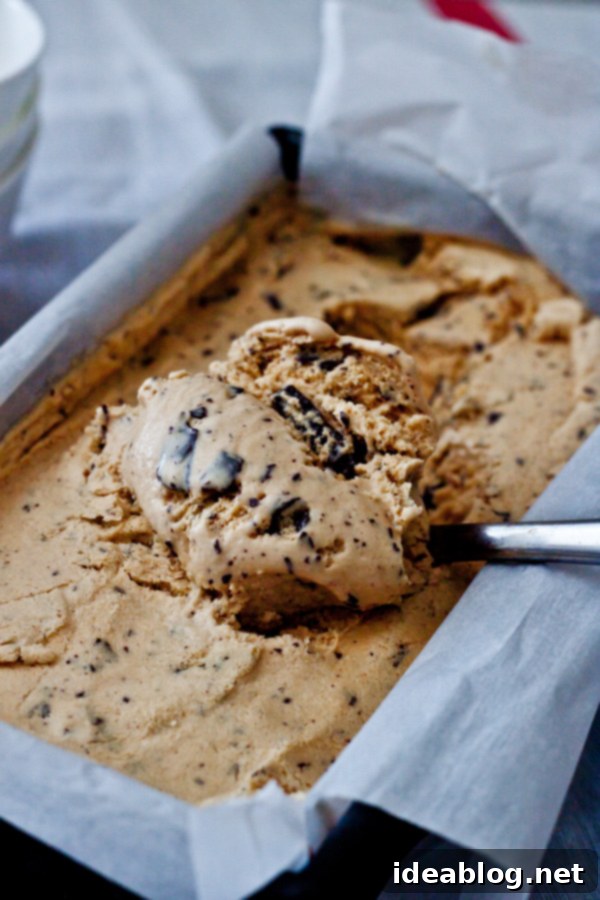
Once the base is perfectly chilled, whisk in the cold heavy cream and a generous amount of pure vanilla extract. These additions contribute to the ice cream’s luxurious texture and enhance its overall flavor profile. Now, it’s time to churn! Follow your ice cream maker’s instructions, and in the last five minutes of churning, add the finely chopped bittersweet chocolate. The chocolate bits, with their slight bitterness, provide a wonderful textural contrast and a delightful counterpoint to the burnt sugar flavor. Transfer the churned ice cream to an airtight container, lightly cover its surface with parchment paper or plastic wrap to prevent ice crystals from forming, and freeze for an additional 4 to 6 hours until firm enough to scoop and enjoy. This final freezing time allows the flavors to meld and the ice cream to set properly, ensuring a perfect scoop every time.
Why This Burnt Sugar Ice Cream Stands Out
There are those rare recipes where, even before the first taste, you instinctively know you’ve created something exceptional. This burnt sugar ice cream is undoubtedly one of them. The unique flavor imparted by the “burnt sugar” isn’t merely sweet; it introduces an entirely new dimension of flavor—a profound, almost smoky richness reminiscent of roasted coffee or deep molasses. This complexity sets it apart from any ordinary caramel ice cream you might have tasted.
The addition of finely chopped dark chocolate further elevates this dessert. The bittersweet notes of the chocolate cut through the richness of the burnt sugar, creating a perfect balance. Its texture adds a delightful contrast to the incredibly smooth and creamy ice cream base, making each spoonful an adventure. This ice cream is incredibly creamy, dangerously good, and truly a sophisticated treat that will impress even the most discerning palates. Its deep, caramelized notes and the textural interplay of the chocolate bits make it an unforgettable dessert, perfect for any occasion or simply as a luxurious indulgence.
Burnt Sugar Ice Cream with Chocolate Bits
Pin
Review
SaveSaved!
Equipment
-
KitchenAid 5 Qt. Artisan Stand Mixer
-
KitchenAid Ice Cream Maker Attachment
Ingredients
- ¾ cup (150 g) granulated sugar
- 2 cups (480 mL) whole milk
- 3 large egg yolks
- 1 tablespoon cornstarch
- 1 cup (240 mL) cold heavy cream
- 1½ teaspoons pure vanilla extract
- 3½ ounces bittersweet chocolate (72% cocoa) finely chopped
Instructions
-
Place the sugar in a medium skillet and place over moderate heat. Heat, stirring constantly with a fork, until the sugar begins to melt and turn a deep caramel color. Be careful, once the sugar turns to liquid form, this will happen quickly.
-
Immediately remove the caramel from heat and very slowly pour the milk into the caramel, be careful it may sputter. The caramel will immediately seize and harden – do not worry. Return the mixture to low-medium heat, stirring frequently until all the caramel has dissolved.
-
In a separate bowl, whisk together the egg yolks and cornstarch. Temper the egg yolk mixture with the hot caramel milk, pouring slowly, while whisking constantly with your other hand. Transfer the mixture to a medium saucepan and cook over medum heat, stirring constantly with a wooden spoon. Allow the mixture to come to a low boil, stirring constantly, for 2 minutes. As the cornstarch is brought to heat, the mixture will begin to thicken until it is the texture of pudding. Remove from the heat.
-
Strain the mixture through a fine-meshed sieve into a large heat-proof bowl. Set the bowl in an ice bath, stirring every 10 minutes or so, until the base has cooled. Place ice cream base in an airtight container and set in the refrigerator until it has completely chilled. Once the mixture has cooled, cover surface with plastic wrap and place in fridge for at least one hour or overnight.
-
Once cooled, whisk in the cold cream and vanilla extract. Churn the ice cream in an ice cream maker according to the manufacturer’s instructions. In the last five minutes of churning, add the finely chopped chocolate. Transfer the ice cream to an airtight container, cover the surface of the ice cream lightly with parchment paper or plastic wrap. Freeze for an additional 4 to 6 hours before serving.
