Fluffy Everything Dinner Rolls: Your Ultimate Make-Ahead Holiday Recipe
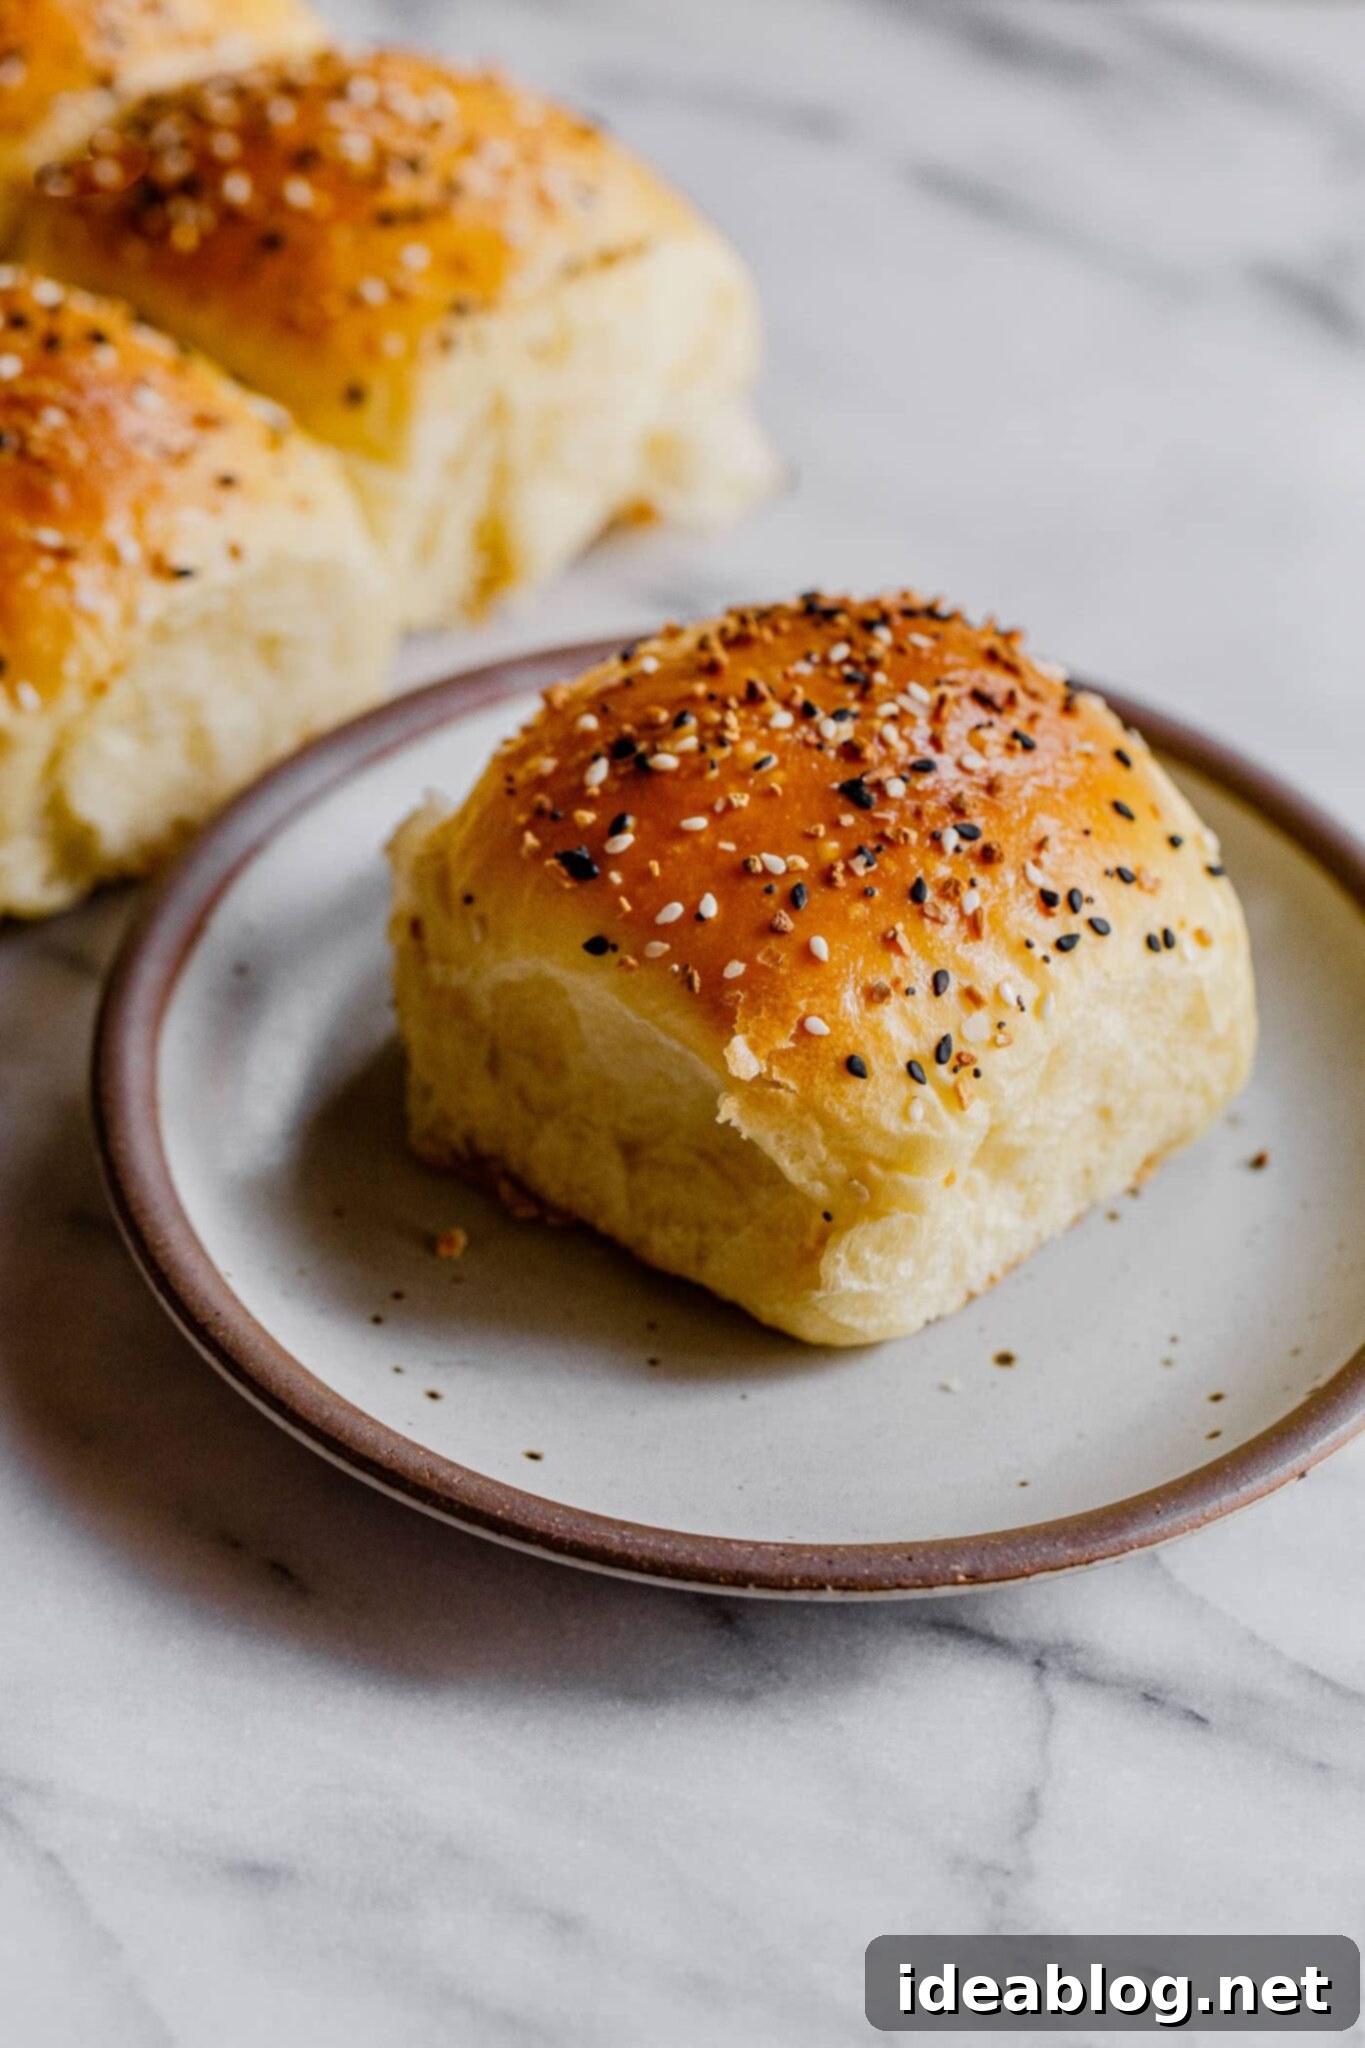
There’s nothing quite as comforting and satisfying as biting into a warm, freshly baked dinner roll. These classic, unbelievably soft, and fluffy dinner rolls are destined to become the star of your holiday table this season, or simply a delightful accompaniment to any meal. Their tender texture and subtle chew make them an instant favorite.
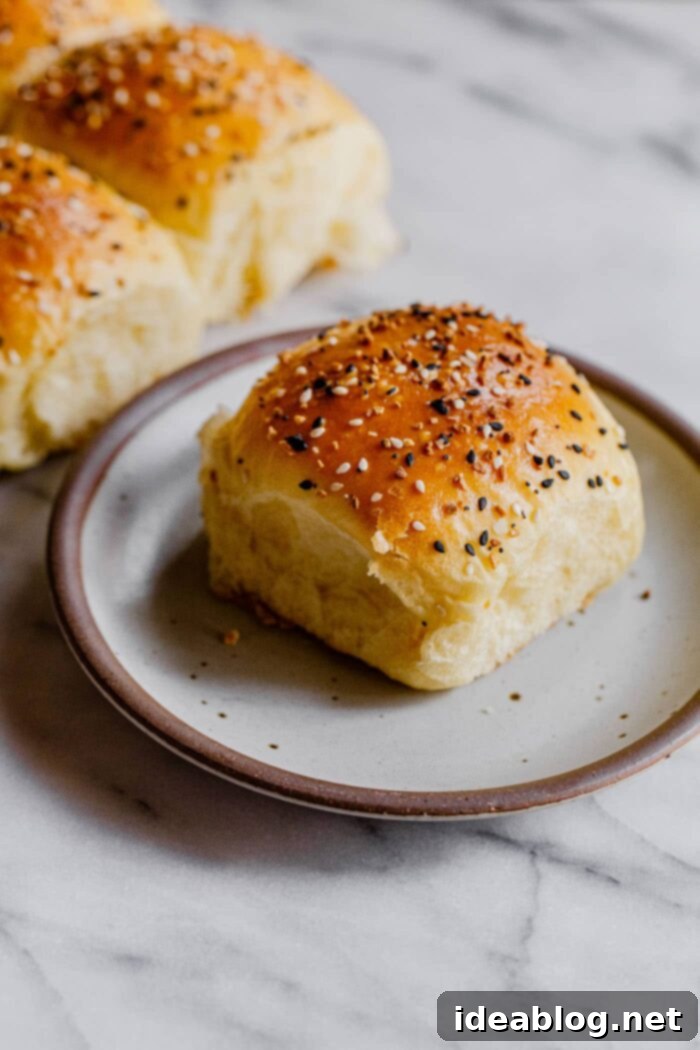
What truly sets these dinner rolls apart is their unique flavor profile. The dough itself is subtly infused with garlic powder, adding a foundational layer of savory goodness. Just before baking, each shaped roll is brushed with a rich egg wash and generously sprinkled with the ever-popular Everything Seasoning. This magical blend, featuring salt, dried minced garlic and onion, along with crunchy sesame and poppy seeds, delivers an irresistible combination of texture and savory-umami flavor in every single bite. The result is a dinner roll that tastes as incredible as it sounds!
Beyond their amazing taste, these Everything Dinner Rolls offer unparalleled convenience. The dough is incredibly versatile and can be prepared ahead of time, shaped, and then refrigerated overnight. This makes them an absolute lifesaver for holiday entertaining or busy weeknights, allowing you to enjoy fresh-baked rolls with minimal effort on the day of serving. For even greater flexibility, you can bake them, freeze them, and then thaw and rewarm them whenever you desire. Whether served piping hot from the oven with a generous smear of butter or as a side to your favorite soup, these rolls are sure to impress.
The Inspiration: Baker Bettie’s Better Baking Book
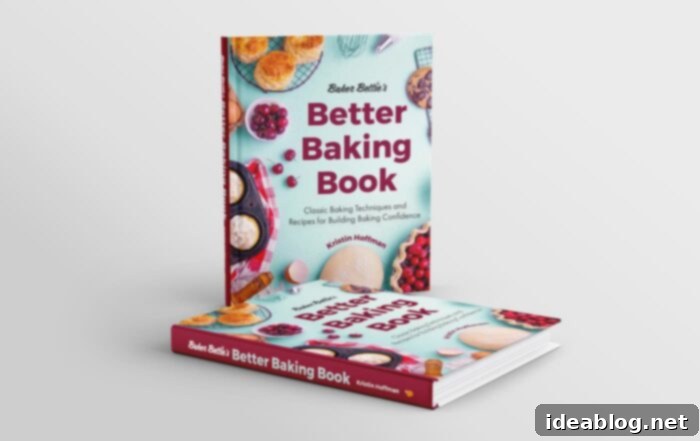
This exceptional yeasted dinner roll recipe is lovingly adapted from my dear friend Kristin Hoffman’s incredible cookbook, Baker Bettie’s Better Baking Book. Kristin, widely known as ‘Baker Bettie,’ is a professionally trained chef and the brilliant baking instructor behind the highly popular Baker Bettie website. Her cookbook is a truly one-of-a-kind resource, designed for anyone eager to delve into the science and fundamental principles that underpin successful baking.
What makes Kristin’s approach so revolutionary is her ability to demystify baking. Her cookbook provides a comprehensive overview of fundamental baking techniques, paired with master recipes and formulas. This foundational knowledge empowers home bakers to understand *why* certain steps are taken and *how* ingredients interact, offering an incredible framework for endless baking creativity. Whether you’re a novice baker or a seasoned pro, her approachable teaching and writing style make this book an invaluable resource. If you truly love to bake or aspire to gain more confidence in the kitchen, this cookbook will quickly become your go-to guide and an instant classic in your culinary library.
These soft and fluffy dinner rolls are specifically based on the cookbook’s “Enriched Dough” master recipe. This particular dough formulation is renowned for producing a rich, incredibly soft, and tender bread with a delightful texture – perfect for rolls, buns, and sweet breads.
What is Enriched Dough?
As Kristin meticulously explains in her insightful ‘Yeast Breads’ chapter, yeasted doughs generally fall into two primary categories: lean dough and enriched dough. Understanding the distinction is key to mastering various bread types.
Lean doughs, such as those used for sourdough bread or classic pizza crusts, are characterized by their minimal fat content, often containing just flour, water, yeast, and salt. This produces a chewier texture and a crisp crust.
In stark contrast, enriched doughs boast a high ratio of enriching ingredients like milk, butter, sugar, and often eggs. These additions play a crucial role in the dough’s final characteristics. Milk contributes to a softer crumb and richness, butter adds tenderness and flavor, sugar not only feeds the yeast but also contributes to browning and moisture, and eggs enrich the dough further, making it more pliable and soft. The result is an extra tender and rich dough with a fluffy, soft, and almost cake-like texture that is simply divine.
This specific enriched dough recipe is incredibly versatile. It forms the perfect base for not just these delectable dinner rolls, but also a wide variety of other beloved bread creations. Think decadent sticky buns, classic cinnamon rolls, or any other sweet, filled breads that benefit from a rich, tender crumb. Mastering this one dough opens up a world of baking possibilities!
How to Make Everything Dinner Rolls: A Step-by-Step Guide
Creating these heavenly dinner rolls from scratch is a rewarding process. Below, you’ll find a detailed, step-by-step guide to ensure your baking success. For the complete recipe, including precise measurements, equipment recommendations, and comprehensive make-ahead and freezing instructions, please refer to the recipe card at the very bottom of this post.
-

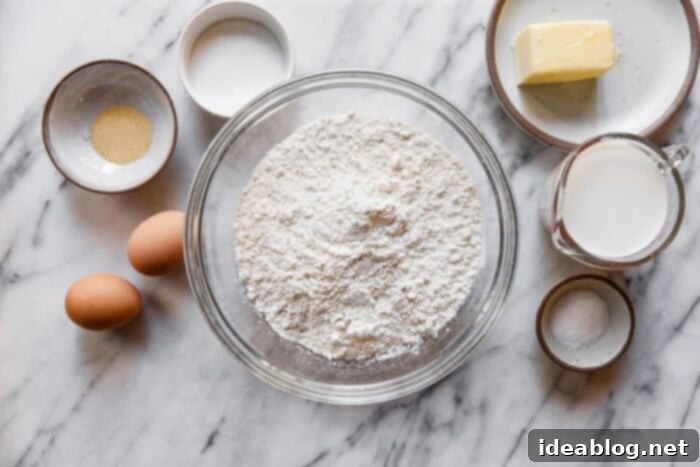
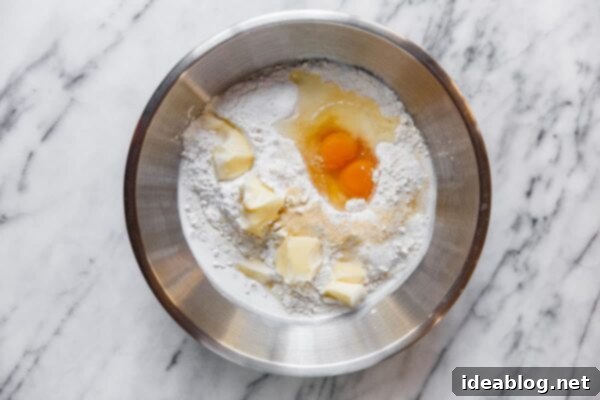
Gathering all ingredients before starting the dinner roll recipe. -

Accurate measurement is key for consistent baking results.
Step 1: Activate the Yeast. Begin by gently warming the milk to a temperature between 110°-115°F (43°-46°C). This temperature range is crucial for activating the yeast without killing it. In a large mixing bowl, combine the warm milk with the yeast and just ½ teaspoon of the granulated sugar. Stir these ingredients together until well combined. Allow the mixture to sit undisturbed for 5-10 minutes. You’ll know the yeast is active and healthy when you observe a noticeable bubbling and foaming on the surface – this indicates the yeast is alive and ready to work its magic!
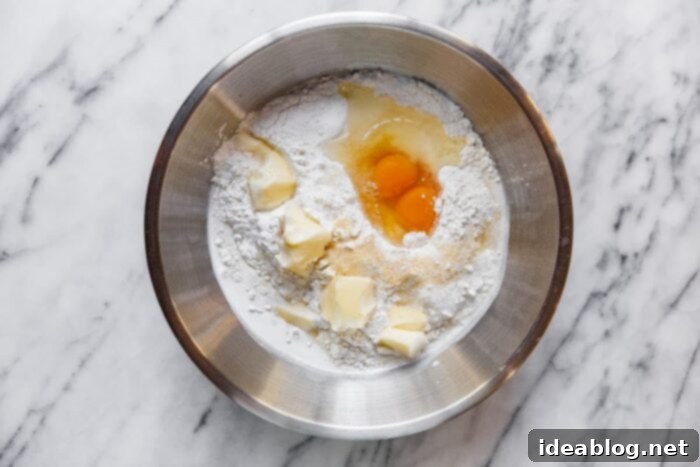
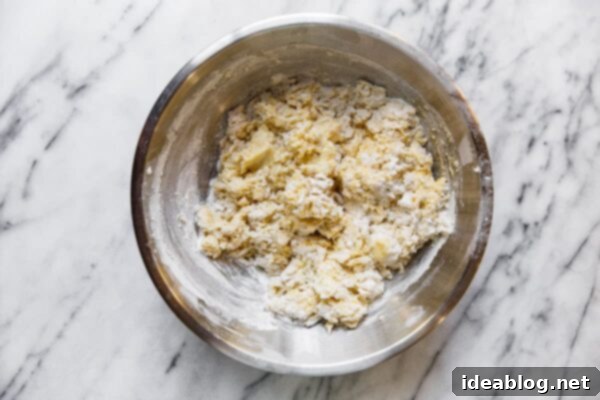
Step 2: Combine Wet and Dry Ingredients. To the yeast mixture in the large mixing bowl, add the remaining flour (480 grams or 4 cups), the rest of the granulated sugar, garlic powder (if you’re including this optional but highly recommended flavor boost), kosher salt, the very soft unsalted butter, and the room temperature eggs. Using clean hands, mix all these ingredients together until they form a sticky, shaggy dough. Don’t worry if it looks a bit messy at this stage; it’s perfectly normal.
-

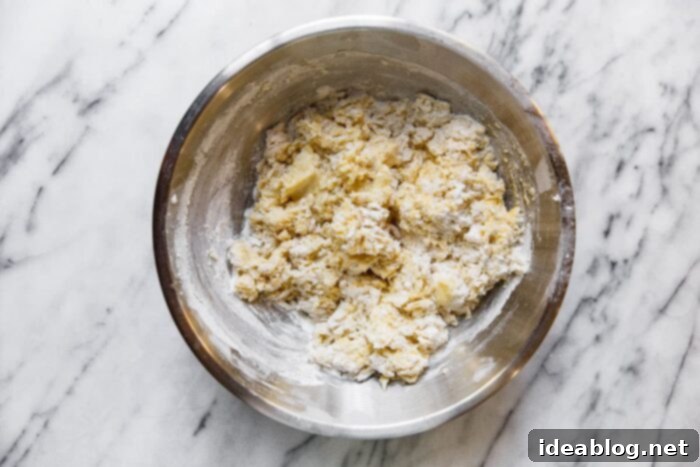
The initial sticky dough mixture before kneading. -

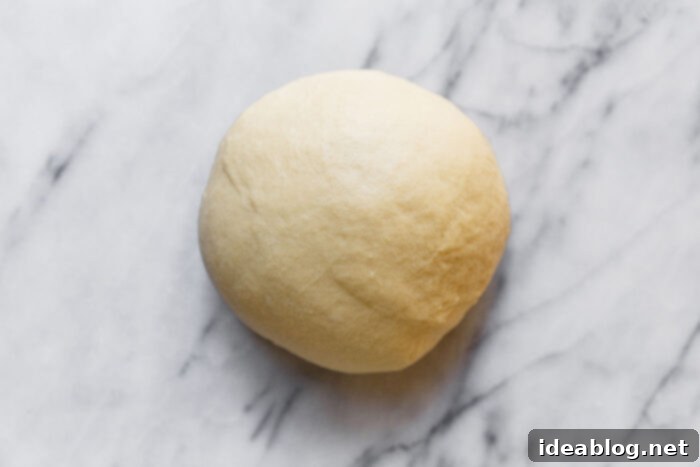
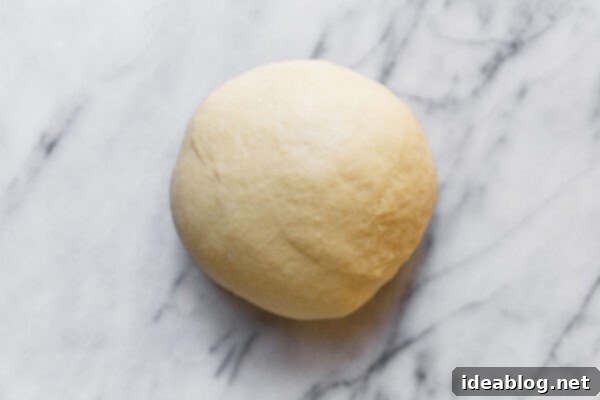
The dough after proper kneading, showing its smooth texture.
Step 3: Knead the Dough. This step is vital for developing the gluten structure, which gives the rolls their signature chewiness and elasticity.
- If kneading by hand: Turn the sticky dough out onto a lightly floured countertop. Dust a little extra flour over the top of the dough to prevent excessive stickiness. Knead the dough by hand for approximately 8-10 minutes. Use a push-and-fold motion, turning the dough as you go. Continue until the dough transforms from sticky to smooth, elastic, and less sticky to the touch.
- If kneading with a stand mixer: Attach the dough hook to your stand mixer. Knead the dough at a medium speed for about 6-8 minutes. Keep an eye on the dough and add a little more flour, a tablespoon at a time, if the dough is sticking too much to the sides of the bowl.
Regardless of the method, the finished kneaded dough should feel slightly sticky but smooth and elastic. When gently rounded into a ball, it should hold its shape and appear somewhat tall.
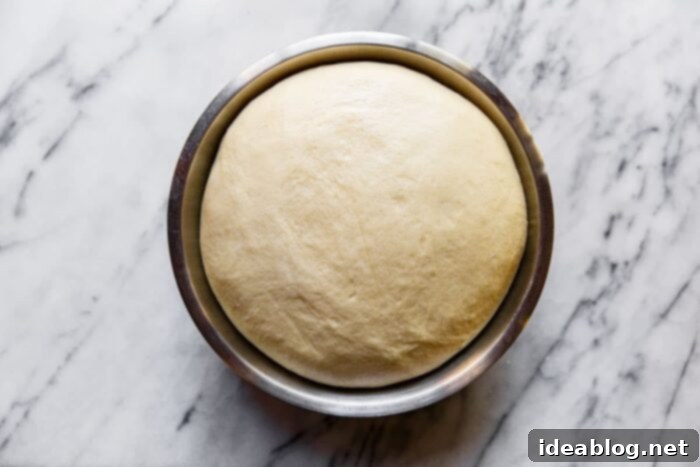
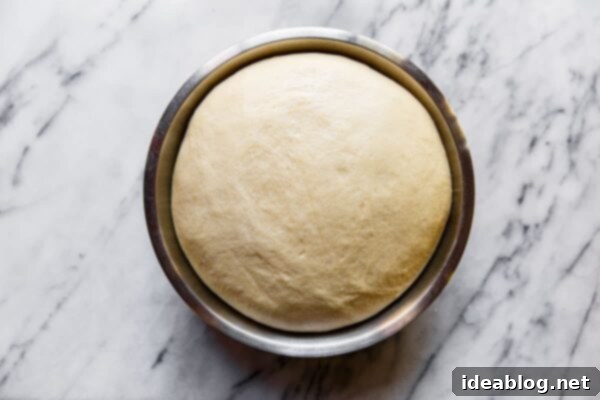
Step 4: Bulk Fermentation (First Rise). Lightly oil a clean bowl. Transfer the kneaded dough to this bowl, turning it once to ensure it’s lightly coated with oil – this prevents it from sticking and drying out. Cover the bowl tightly with a piece of plastic wrap, a damp cloth, or even a clean shower cap. Allow the dough to bulk ferment (its first rise) in a warm, draft-free spot until it has visibly doubled in size. This typically takes about 1 hour for rapid dry yeast and around 2 hours for active dry yeast. The exact timing can vary depending on the ambient temperature of your kitchen.
-

The dough after its first rise, showing successful fermentation. -

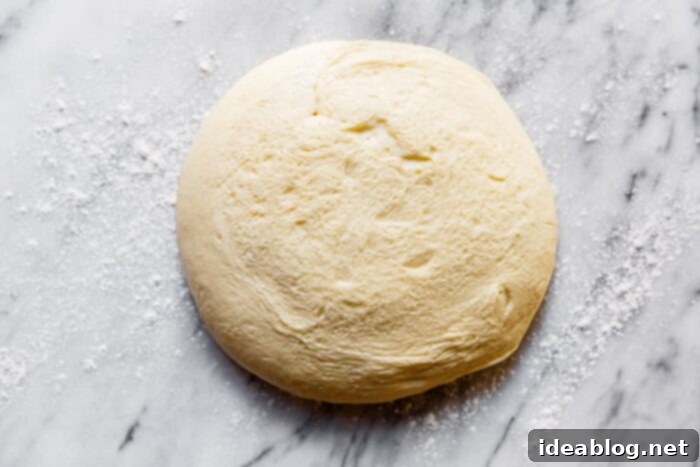
Ensuring uniform roll size by carefully dividing the dough.
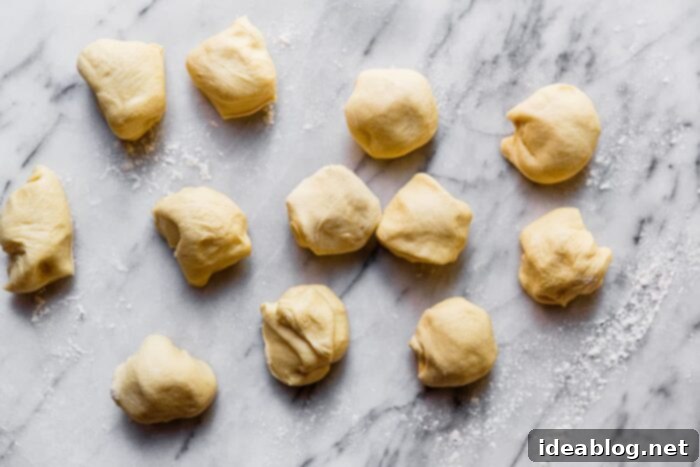
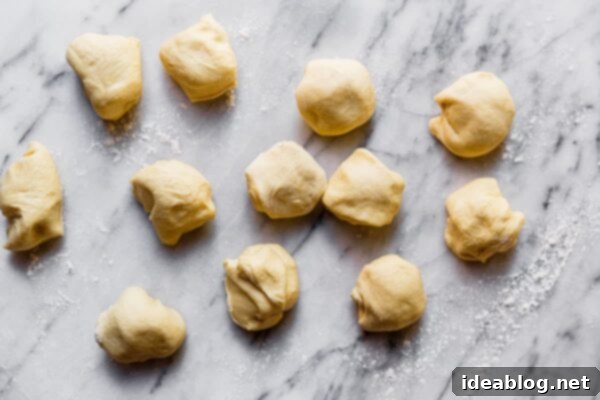
Step 5: Divide the Dough. Once the dough has doubled in size, gently turn it out onto a lightly floured countertop. Using a bench knife or a sharp kitchen knife, divide the dough into 12 equal-sized pieces. For precise and uniform rolls, using a kitchen scale to weigh each piece (approximately 80-85 grams each) is highly recommended.
Step 6: Shape the Rolls. Achieving a tight, smooth ball is key for beautiful, evenly baked rolls. To shape each piece, gently pull down on the sides of the dough, tucking them underneath to create a taut top surface and a seam at the bottom. This technique builds surface tension, which helps the rolls rise beautifully.
-

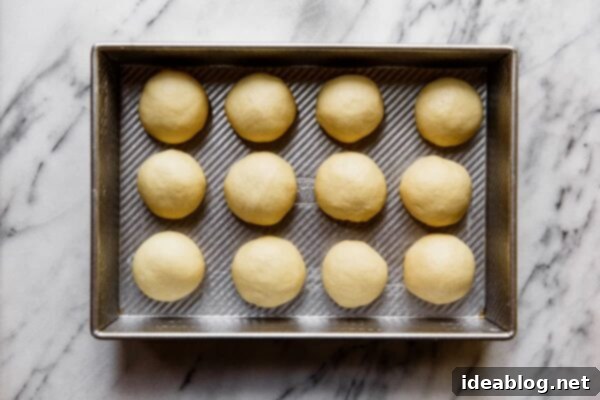
Portioned dough ready for shaping into rolls. -

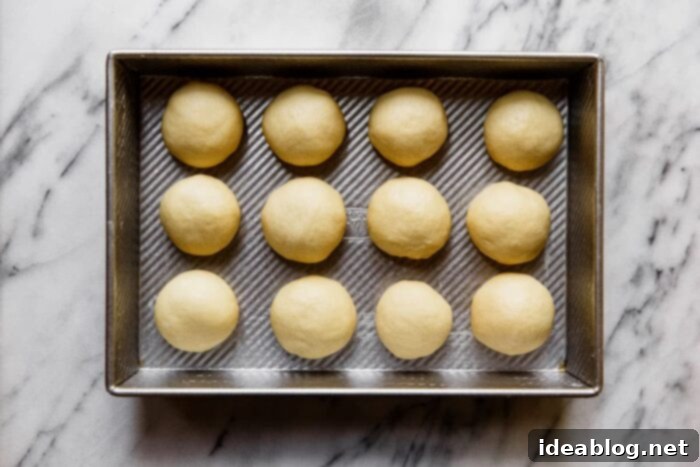
Uniformly shaped rolls placed in the baking dish.
Step 7: Final Shaping and Arranging. Place each piece of dough seam-side down on a clean, un-floured section of your countertop. Cup your hand over the dough ball and gently roll it under your palm in a circular motion. Apply slight pressure to create a smooth, tight, and uniform ball. Arrange the shaped rolls in a 9 x 13-inch (23 x 33 cm) baking dish that has been lightly greased, or on a parchment-lined sheet pan. Ensure they are spaced evenly, as they will expand during the final proof. Cover the baking dish or rolls tightly with plastic wrap to prevent them from drying out.
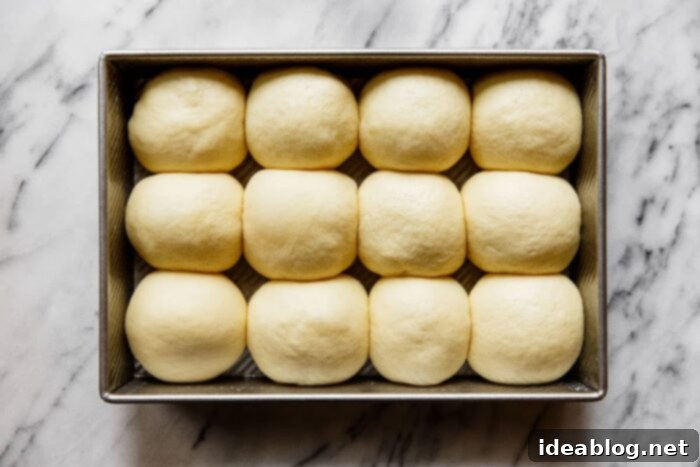
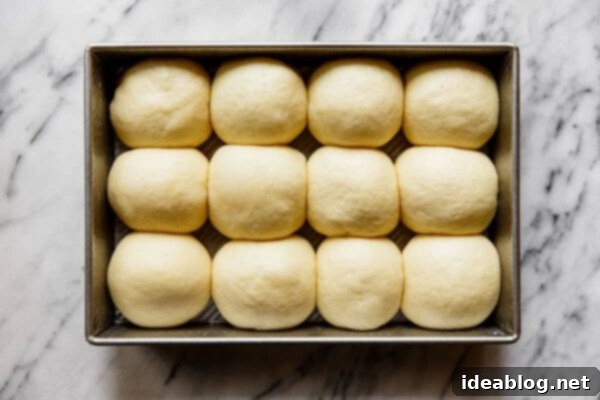
Step 8: Second Proof (Final Rise). Allow the shaped rolls to proof again in a warm spot. If you’re using quick rise yeast, this will take approximately 45 minutes. If you’re using active dry yeast, expect it to take about 1 hour and 15 minutes. The rolls are ready when they look visibly puffy and are just touching each other, nearly doubled in size. A good test is to gently poke a roll with a floured finger; if the indentation slowly springs back, it’s ready. If it springs back quickly, it needs more time. If it doesn’t spring back at all, it’s over-proofed.
-

The rolls after their second rise, expanded and soft. -

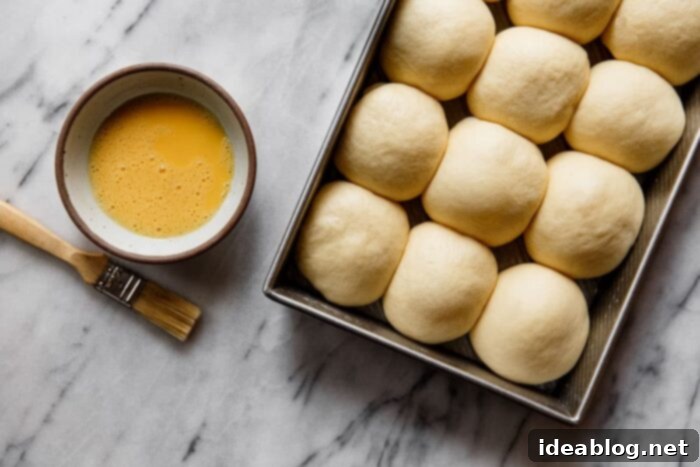
Applying egg wash to create a golden crust and help seasoning stick.
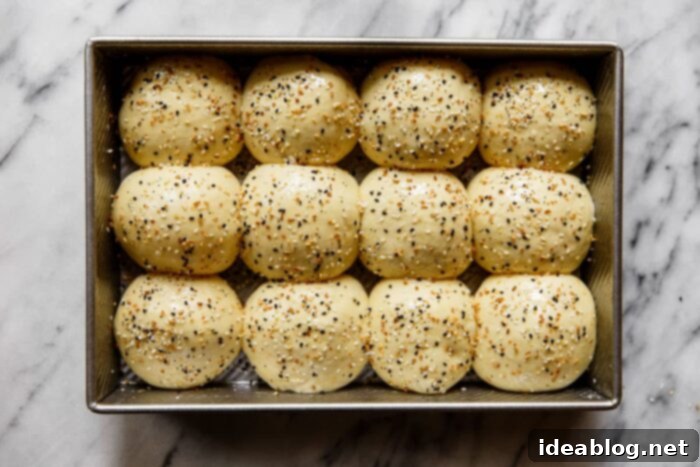
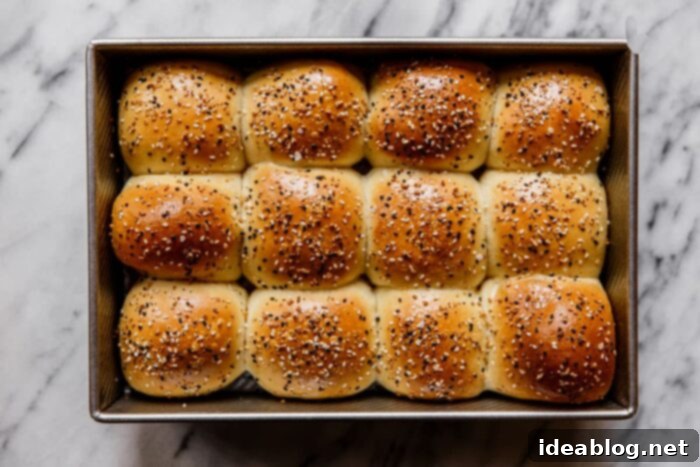
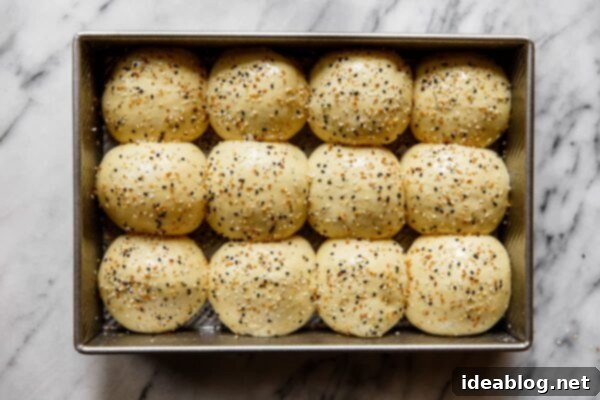
Step 9: Prepare for Baking. Preheat your oven to 375°F (190°C) and position an oven rack to the center. While the oven heats, prepare the egg wash: whisk one large egg with 1 tablespoon of water until thoroughly combined. This egg wash is essential for two reasons: it gives the rolls a beautiful, glossy golden-brown crust, and it acts as a binder for the Everything Bagel seasoning. Brush the tops and any exposed sides of the proofed rolls liberally with the egg wash. Then, generously sprinkle them with Everything Bagel seasoning (or flaky sea salt, like Maldon, if preferred). Don’t be shy with the seasoning; it’s a key flavor component!
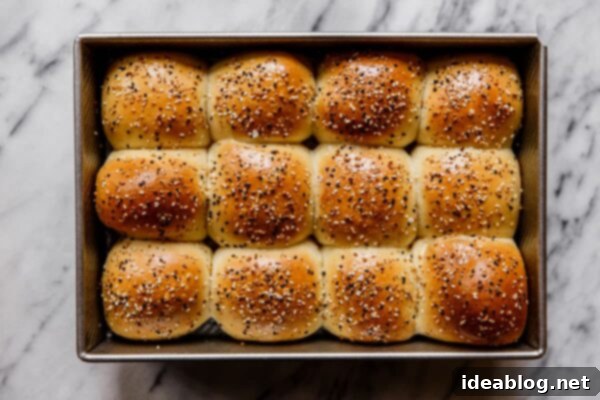
Step 10: Bake until Golden. Place the baking dish or sheet pan in the preheated oven. Bake for 15-20 minutes, or until the rolls are beautifully golden brown on top and cooked through. To ensure even baking, rotate the pan halfway through the baking time. Once baked, remove from the oven and serve these irresistible rolls warm, ideally slathered with a generous pat of butter. Enjoy the incredible aroma that fills your kitchen!
-

Rolls with egg wash and seasoning, ready for the oven. -

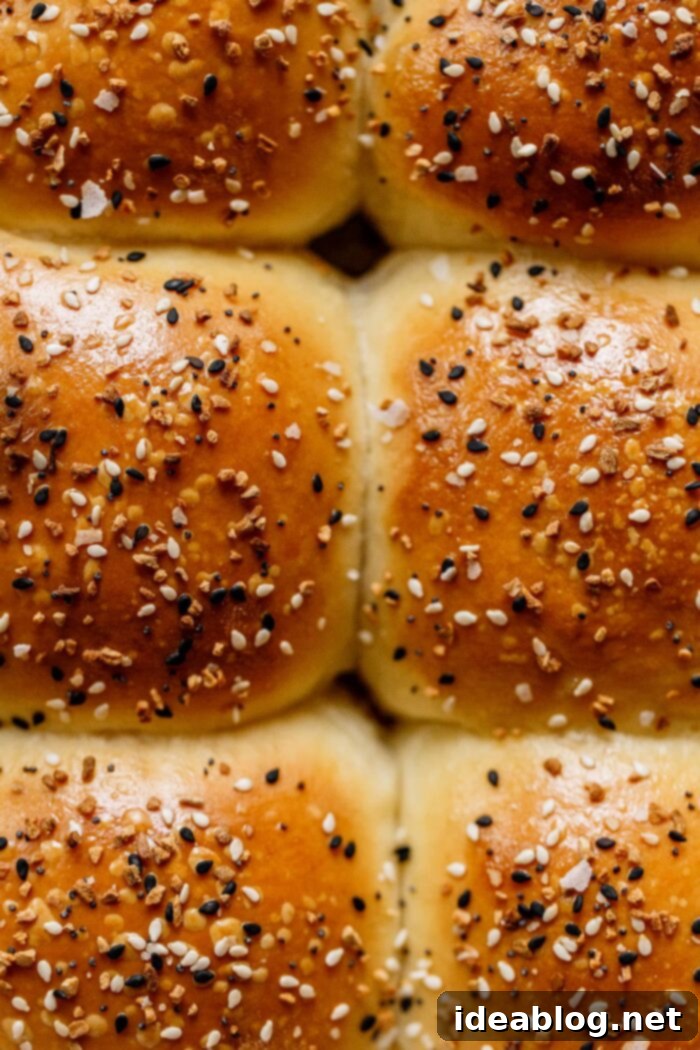
The final, perfectly baked Everything Dinner Rolls.
Make-Ahead Magic: Overnight Dinner Rolls
One of the best features of this recipe is its adaptability, especially for busy hosts! Preparing these rolls overnight dramatically reduces stress on the day of your event, allowing you to serve fresh, warm rolls with minimal fuss. Here’s how to do it:
Prepare the dough and proceed through the shaping step (Step 7). Once the rolls are shaped and arranged in your greased baking dish, cover the pan very tightly with plastic wrap. Ensure no air can get in, as this will dry out the dough. Transfer the covered baking dish to the refrigerator and let it chill overnight, or for up to 16 hours. The cold temperature will significantly slow down the yeast activity, allowing the dough to slowly develop flavor without over-proofing.
On serving day: Approximately 3 hours before you plan to serve the baked rolls, remove the baking dish from the refrigerator. Keep the plastic wrap on and allow the rolls to rise in a warm spot in your kitchen. This “cold proof” will allow the yeast to reactivate and the dough to warm up and expand. The rolls are ready for baking when they have nearly doubled in size and are just touching each other in the pan (similar to the indicator in Step 8). Total rise time will vary depending on the ambient temperature of your kitchen; warmer temperatures will naturally speed up yeast activity, while colder temperatures will require a longer rise. Once sufficiently proofed, preheat your oven as directed in the recipe and then proceed directly with the egg wash and baking (Step 9 onwards). See the full recipe card below for more specific details.
-

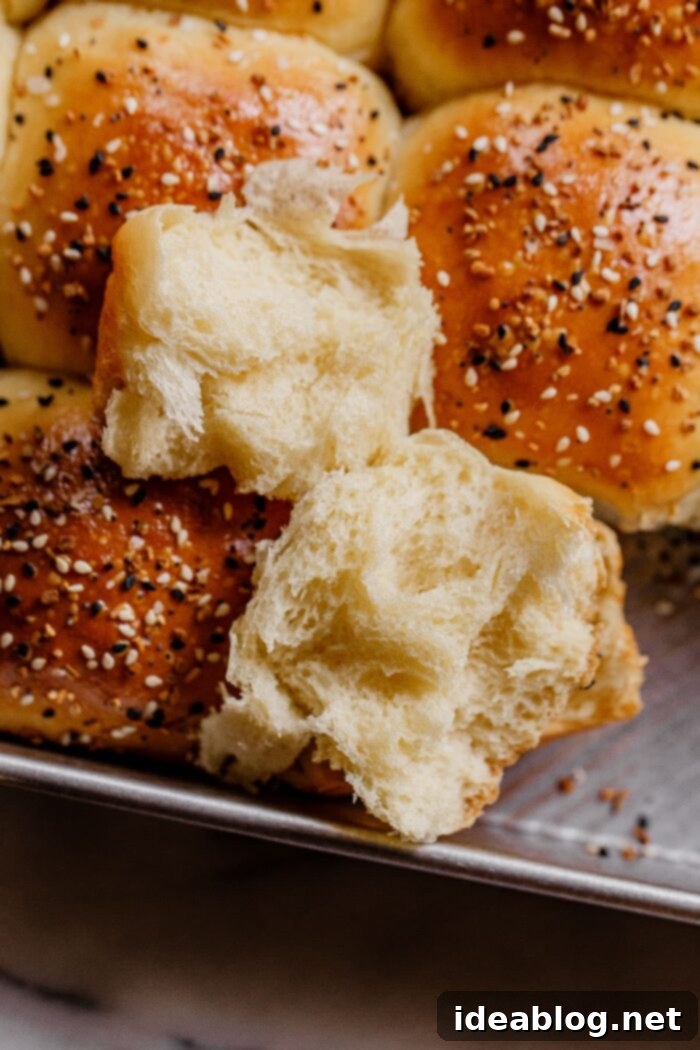
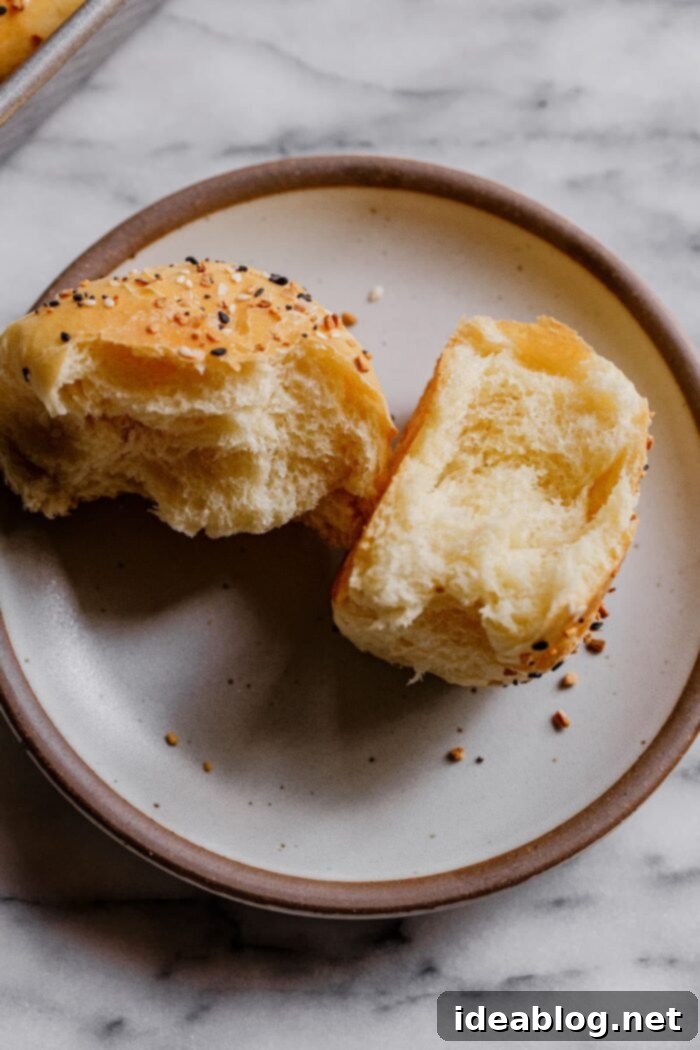
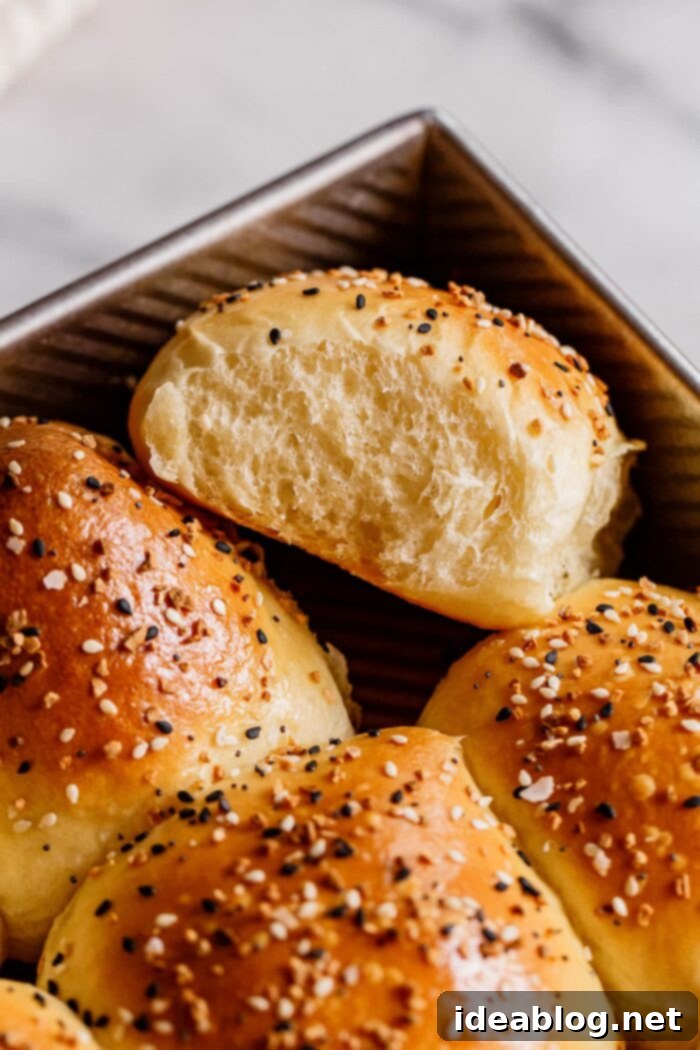
Close-up of the delicate, airy interior of a baked roll. -

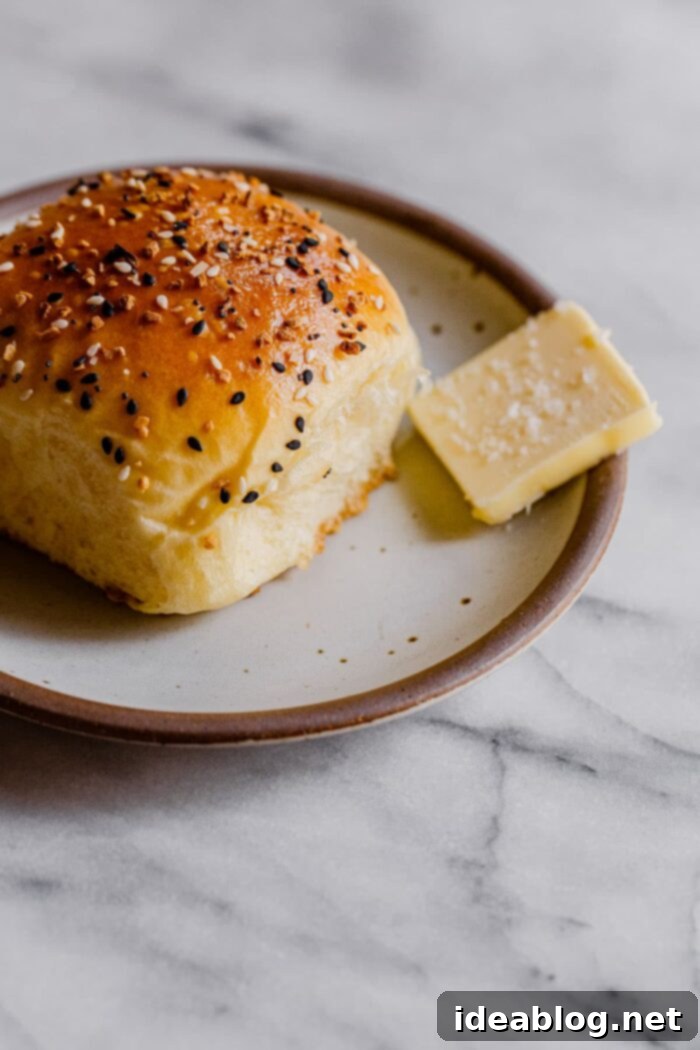
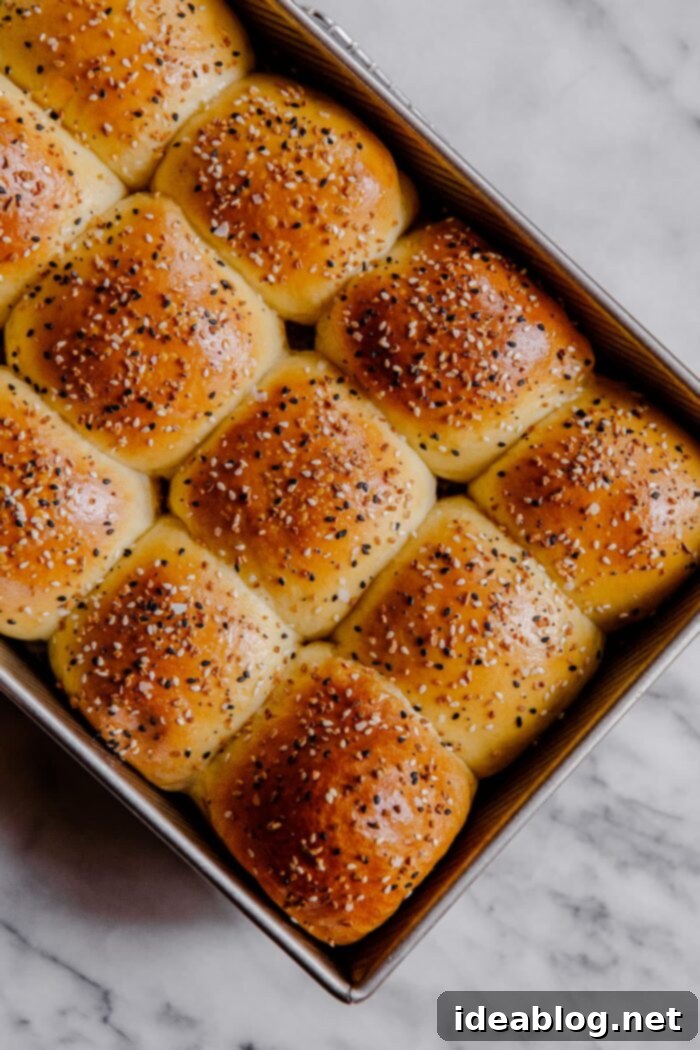
Perfectly golden rolls, ready to be served and savored with butter.
Freezing Instructions for Long-Term Enjoyment
For ultimate convenience, these Everything Dinner Rolls are also fantastic for freezing! This means you can bake a large batch and enjoy homemade rolls whenever the craving strikes, without having to start from scratch. Here’s how to properly freeze and reheat them:
Allow your freshly baked rolls to cool completely to room temperature on a wire rack. This is crucial to prevent condensation and ice crystals from forming, which can lead to soggy rolls upon thawing. Once cooled, wrap the rolls tightly in heavy-duty aluminum foil. For an extra layer of protection against freezer burn, transfer the foil-wrapped rolls to a freezer-safe Ziploc bag or an airtight container. They can be frozen for up to 3 months.
When you’re ready to enjoy them, simply remove the desired number of rolls from the freezer. Thaw them completely on your countertop at room temperature for a few hours, or overnight in the refrigerator. To reheat, you have a couple of options: a toaster oven works wonderfully for individual rolls, or you can place them in a 300°F (150°C) oven for 10-15 minutes, or until they are thoroughly warmed through and soft again. If you’re concerned about them browning too much or drying out during reheating, you can wrap them loosely in foil before placing them in the oven. This helps retain moisture and prevents excessive crusting, ensuring they emerge as soft and fluffy as when they were first baked.
Flour Substitution Notes: Enhancing Your Rolls
The type of flour you choose can subtly influence the texture of your final dinner rolls. Here are some notes to help you make the best choice for your preference:
- Bread Flour vs. Unbleached All-Purpose Flour: These dinner rolls can be successfully prepared using either bread flour or unbleached all-purpose flour. The choice often comes down to personal preference and what you have readily available in your pantry. Bread flour has a higher protein content (typically 12-14%) compared to all-purpose flour (10-12%). This higher protein level in bread flour leads to greater gluten development, which results in a stronger dough structure and a more classic, chewier dinner roll. All-purpose flour will still yield wonderfully soft rolls, but they might be slightly less chewy. Both options work beautifully and can be substituted 1:1 by weight. If you are not using a baking scale (which is highly recommended for accuracy), please refer to my guide on how to measure flour properly to avoid adding too much.
- Adding Whole Wheat Flour: For those looking to add a touch of nutty flavor and increased nutritional value, you can replace up to ½ of the total flour (approximately 240 grams or 2 cups) with whole wheat flour. It’s important to note that whole wheat flour contains more bran and germ, which can interfere with gluten development, resulting in a slightly less light and fluffy dinner roll compared to those made with 100% white flour. However, this substitution offers a delicious depth of flavor and a boost in fiber, making it a healthy and flavorful alternative for your homemade rolls.
Everything Dinner Rolls
Pin
Review
SaveSaved!
Equipment
-
KitchenAid 5 Qt. Artisan Stand Mixer (Optional)
-
Baking Scale
-
USA Pan 9 x 13 Inch Baking Pan
-
OXO Silicone Pastry Brush
Ingredients
- 7 grams (1 package, 2¼ teaspoons) active dry or quick rise yeast
- 227 grams (1 cup, 240 mL) whole milk lower fat or non-dairy can be substituted
- 25 grams (2 tablespoons) granulated sugar
- 480 grams (4 cups) bread or unbleached all-purpose flour plus more for dusting and kneading *see notes
- 7 grams (1½ teaspoons) kosher salt or fine sea salt
- 3 grams (1 teaspoon) garlic powder optional
- 85 grams (6 tablespoons) unsalted butter very soft
- 2 large eggs room temperature
- 1-2 tablespoons Everything Bagel seasoning (with salt) I used Trader Joe’s brand
Egg Wash:
- 1 large egg
- 1 tablespoon (15 mL) water
Instructions
-
These dinner rolls can be easily prepped a day ahead, refrigerated overnight, and baked fresh the next day. For overnight and freezing instructions, please refer to the note section and proceed as instructed.
-
Warm the milk to about 110°-115°F (43°-46°C). In a large mixing bowl add the warm milk, the yeast, and ½ teaspoon of the granulated sugar and stir to combine. Let sit for 5-10 minutes until you see some bubbles and foaming.
-
Add 480 grams (4 cups) of flour, the rest of the sugar, garlic power (if using), salt, butter, and eggs to the mixing bowl.

-
Use clean hands to mix together until a sticky dough forms.

-
If kneading by hand, turn the dough out onto a floured countertop. Dust flour over the top of the dough and knead the dough by hand for about 8-10 minutes until smooth and elastic. If kneading with a stand mixer, fit the mixer with a dough hook and knead at medium speed for 6-8 minutes. Add more flour as needed while kneading the dough. When the dough is finishing being kneaded it will be slightly sticky to the touch, but feels smooth and elastic and should stand tall when rounded into a ball.

-
Move the kneaded dough to a lightly oiled bowl, turn to coat, and cover with a piece of plastic wrap, a damp cloth, or a clean shower cap to bulk ferment until doubled in size, about 1 hour for rapid dry yeast and 2 hours for active dry yeast.

-
Turn the dough out onto a lightly floured and using a bench knife, divide it into 12 equal pieces.

-
To shape the rolls, pull down on the sides of the dough creating a seam at the bottom.
-
Place the piece of dough seam side down on an un-floured part of the countertop. Cup your hand over the dough and roll it under your palm to form a smooth piece of dough. Place the shaped rolls in a 9 x 13-inch (23 x 33 cm) baking dish that has been lightly greased or on a parchment lined sheet pan. Cover the baking dish (or rolls) tightly with plastic wrap.

-
Proof the rolls for about 45 minutes if using quick rise yeast and about 1 hour and 15 minutes if using active dry yeast.

-
Position an oven rack to the center position. Preheat the oven to 375°F/190°C. Prepare the egg wash by whisking together the egg and water until well combined. Brush the tops and exposed sides of the rolls with egg wash and sprinkle liberally with Everything Bagel seasoning (or flaky salt, such as Maldon).

-
Bake for 15-20 minutes, rotating the pan halfway, or until golden brown. Serve warm. See recipe notes for freezing instructions.

Overnight Instructions
- Prepare the recipe through step 9 (shaping the dough). Refrigerate overnight or for up to 16 hours. Roughly 3 hours before you wish to serve the baked rolls, remove the rolls from the refrigerator and allow the rolls to rise for 1-2 hours, or until the rolls are just touching and have nearly doubled in size. Total rise time will vary depending on the ambient temperature of your kitchen, a warm spot in your kitchen will speed this process up. Meanwhile, preheat the oven as directed and continue with step 11 (egg wash and baking).
Freezing Instructions
- Allow the baked rolls to cool completely. Wrap tightly in foil, transfer to a Ziplock bag. and freeze for up to 3 months. Thaw completely on a countertop or in the fridge. Reheat as desired in a toaster oven or 300°F/150°C oven for 10-15 minutes or until warm.
Bread Flour vs. All-Purpose Flour
- These dinner rolls can be prepared with bread flour or unbleached all-purpose flour, depending on your personal preference or what you have on hand. Bread flour has higher protein content, which will result in stronger dough and slightly more classic, chewier dinner roll. Either option will work well and can be substituted 1:1.
- If you wish, you can replace up to ½ of the total flour with whole wheat flour. This will produce a less light and fluffy dinner roll, but has the added bonus of adding flavor and more nutrition.
Reprinted with permission and slightly adapted from Kristin Hoffman’s Baker Bettie Better Baking Book (Fall 2021, Mango)
