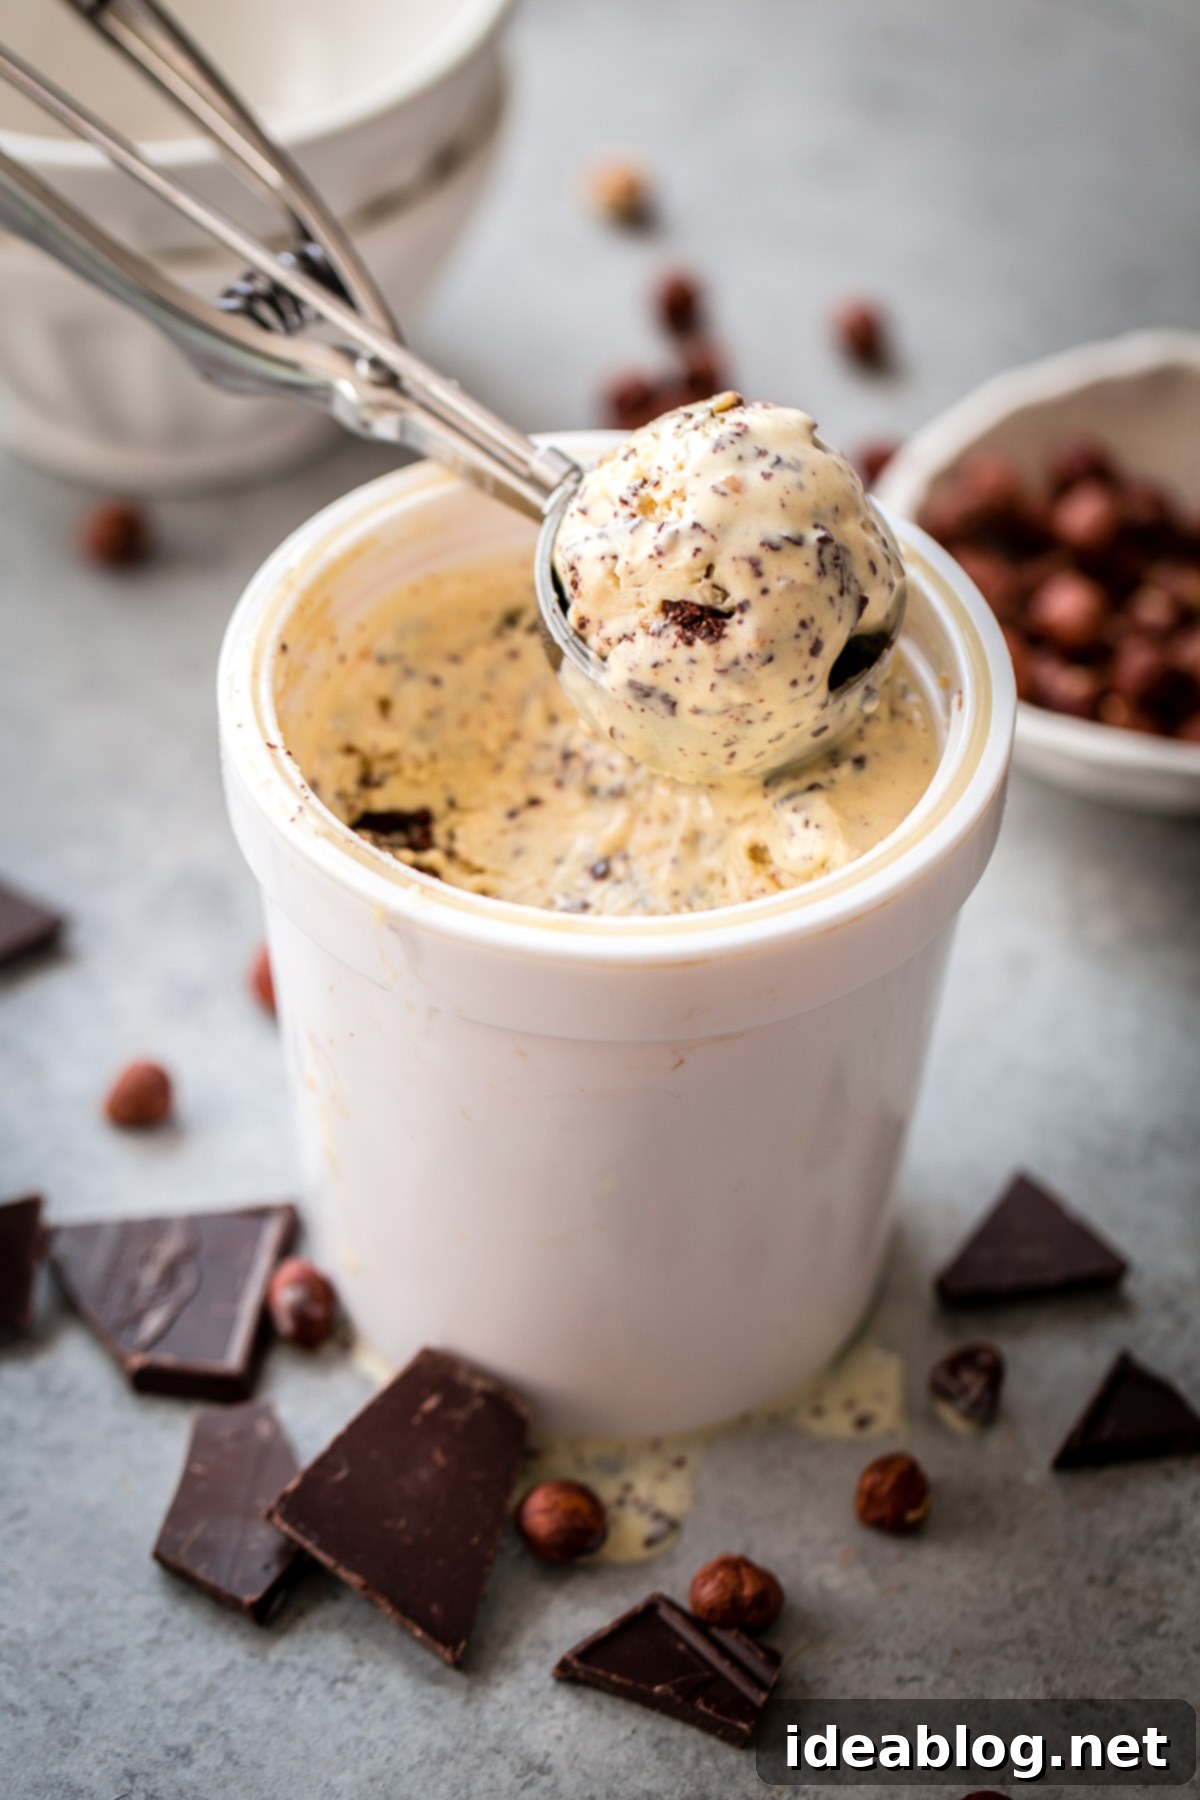
Indulge in Decadent Homemade Chocolate Hazelnut Ice Cream: A Rich, Creamy Delight
This luxurious chocolate hazelnut ice cream is a true masterpiece, crafted with rich homemade hazelnut butter and generously studded with dark chocolate flecks for an unparalleled frozen treat. Prepare to elevate your dessert experience!
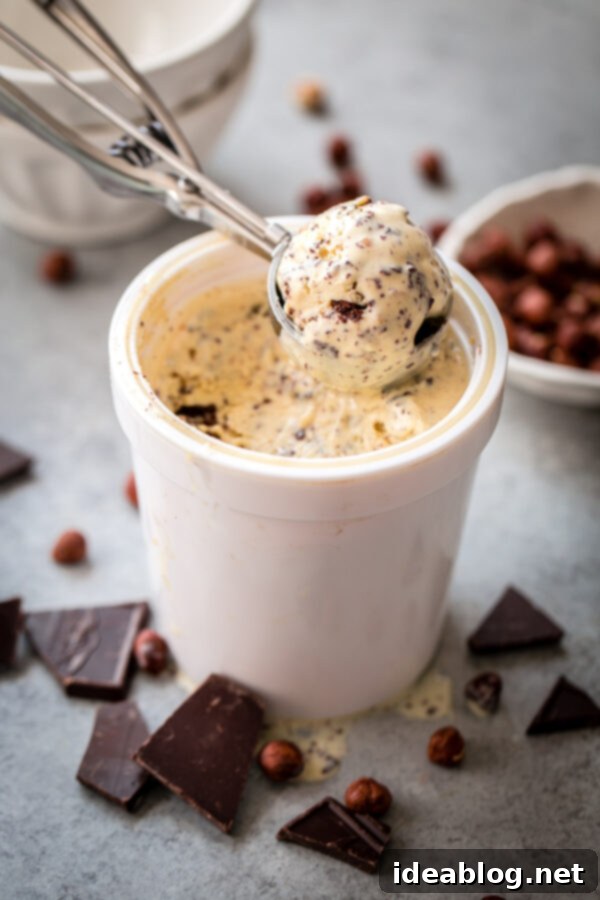
This post is proudly brought to you by Safest Choice eggs.
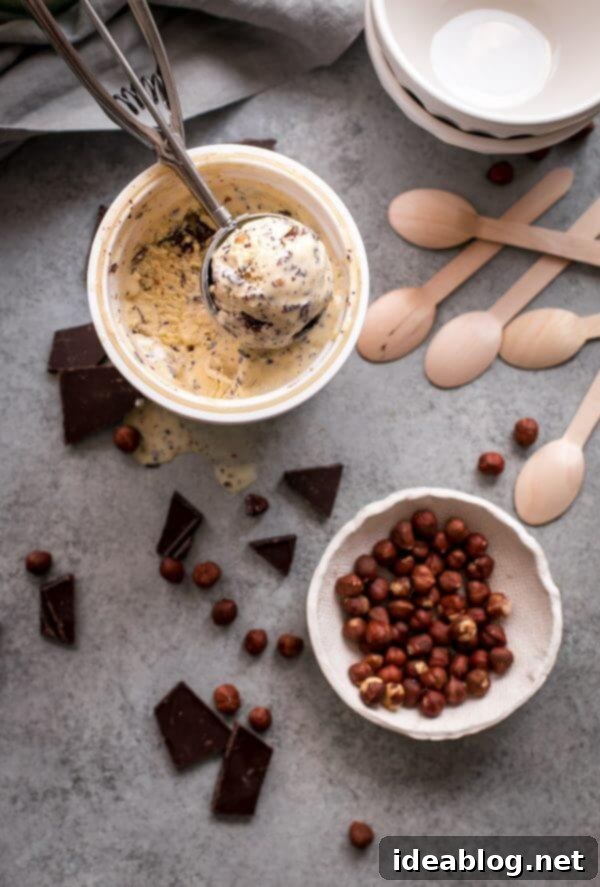
As the seasons transition and cooler days approach, there’s always a perfect excuse for a scoop (or two!) of truly exceptional ice cream. Today, I’m thrilled to share a brand new, incredibly special ice cream recipe: a rich and intensely flavorful chocolate hazelnut ice cream. This isn’t just any frozen dessert; it’s a celebration of deep, roasted hazelnut notes harmoniously blended with delightful shards of dark chocolate, creating a symphony of textures and tastes that will enchant your palate.
What truly sets this chocolate hazelnut ice cream apart is its uncompromising dedication to authentic hazelnut flavor. We don’t merely sprinkle a few chopped nuts into a vanilla base and call it “hazelnut ice cream.” That approach, frankly, can be quite disappointing. Instead, this recipe ensures that every spoonful is bursting with the distinctive, nutty essence of hazelnuts. Our secret weapon? A generous amount of homemade hazelnut butter, swirled directly into the creamiest, most luxurious ice cream custard base you can imagine.
This philosophy of “go big or go home” has always been my mantra when it comes to crafting frozen desserts, as you might recall from these homemade ice cream drumsticks. For this chocolate hazelnut dream, it means going the extra mile to create a truly unforgettable flavor profile. The effort invested in making your own hazelnut butter pays dividends in the final product, delivering a richness and depth that simply can’t be achieved with store-bought alternatives.
The Heart of the Flavor: Crafting Homemade Hazelnut Butter
Yes, we’re diving into the delightful process of making our very own hazelnut butter! Trust me, this homemade concoction is pure liquid gold, and it might just become the most satisfying creation to ever emerge from your food processor. While this step adds a touch of “high-maintenance” to the recipe, the profound difference it makes in flavor and texture is absolutely worth every moment of effort. Sometimes, the most extraordinary culinary experiences come from embracing a little extra care in the kitchen. And in this case, the rewards are deliciously apparent.
Let’s talk about hazelnuts. They are typically sold whole, with their skins still intact. This is actually a positive sign, indicating fresh, high-quality nuts with superior flavor potential. However, those thin skins, while protecting the nut, carry a slightly bitter taste that can detract from the creamy sweetness we want in our ice cream. Therefore, removing as much of the skin as possible is crucial for achieving that pure, delightful hazelnut essence. I won’t sugarcoat it – this particular task can be a bit tedious. I’ve discussed this in detail before, especially when making hazelnut cookies.
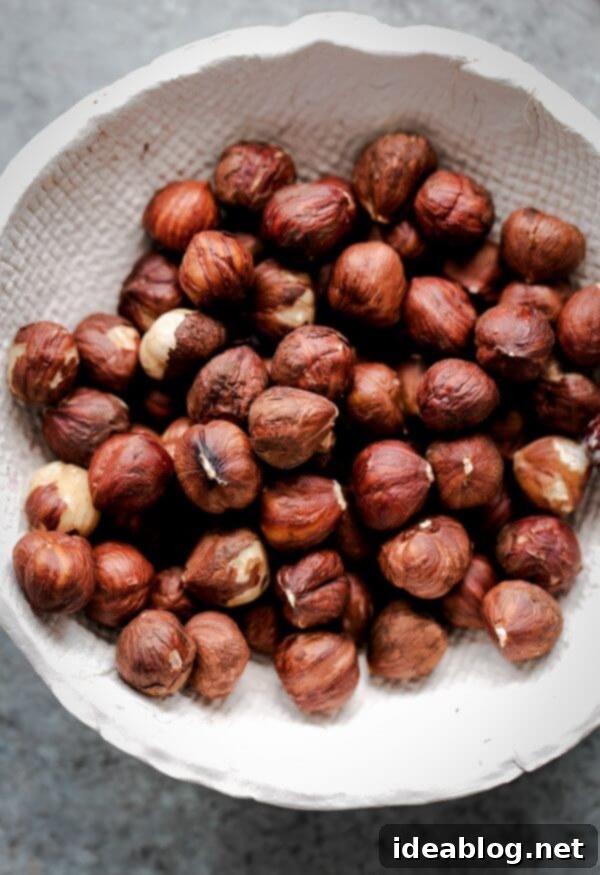
Our hazelnut ice cream recipe employs the time-honored, old-fashioned method for skinning. You’ll begin by toasting the whole, skin-on hazelnuts in the oven. This step not only enhances their natural flavor but also helps loosen those stubborn skins. Once toasted and slightly cooled, the warm hazelnuts are placed between clean kitchen towels. Then comes the manual part: using your hands to roll and rub the nuts vigorously within the towel. This friction effectively rubs off the skins. It requires a bit of time, some arm muscle, and a good deal of patience. You might find yourself muttering a few choice words halfway through, but I promise you, the rich, clean hazelnut flavor you achieve will make it unequivocally worth the effort!
For those seeking an alternative, Rosy Levanbaum’s method of blanching hazelnuts (detailed in the recipe notes for these hazelnut cookies) can also be used. However, my experience has shown that blanching can slightly alter the texture of the hazelnuts, sometimes resulting in a less optimal, less creamy hazelnut butter for this specific ice cream application. The traditional toasting and rubbing method truly yields the best results for a luxurious, smooth hazelnut butter that forms the backbone of this decadent ice cream.
Creating the Velvety Ice Cream Base and Signature Chocolate Flecks
Here’s the great news: once your homemade hazelnut butter is prepared and waiting, the remaining steps to assemble this incredible ice cream come together surprisingly quickly and effortlessly! We’re talking about a seamless transition from rich custard to creamy frozen delight. The finishing touch, a luscious drizzle of melted chocolate, is incorporated into the ice cream just as it finishes churning, creating those irresistible, melt-in-your-mouth flecks of semi-sweet chocolate throughout every single spoonful. This technique ensures a perfect distribution of chocolate shards, offering a delightful contrast to the smooth, nutty ice cream.
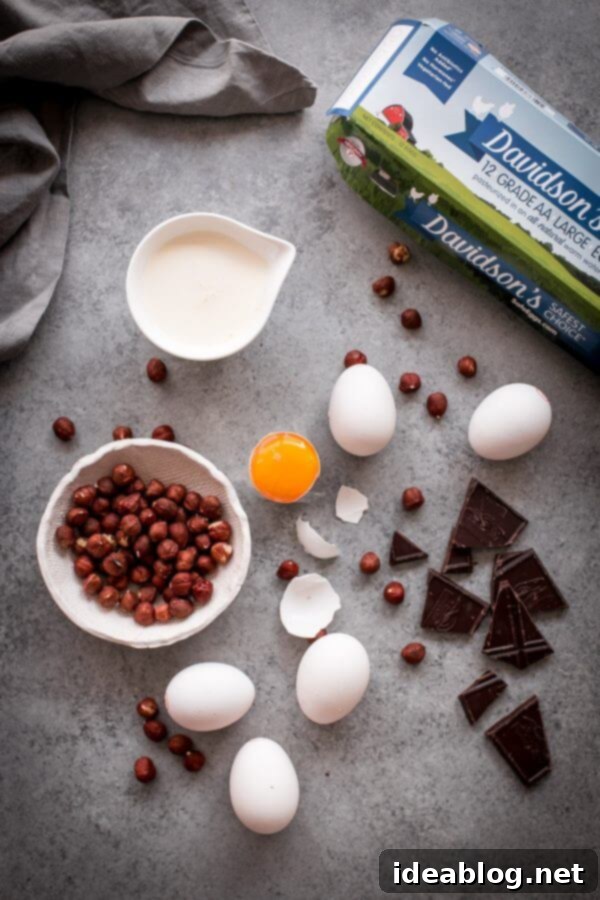
My absolute favorite ice cream custard bases are always made with eggs. They are the secret to achieving that unparalleled richness, velvety texture, and incredible creaminess that simply cannot be replicated otherwise. This particular base, ingeniously inspired by Serious Eats, simplifies the process by requiring no tempering or additional fuss. When I’m working with recipes that involve raw egg applications, I consistently rely on my trusted Davidson’s Safest Choice pasteurized eggs.
Using pasteurized eggs provides complete peace of mind, allowing me to taste and adjust the flavors as much as I desire during the cooking process – even while the ice cream base is uncooked. As a recipe tester, this freedom is invaluable, but it’s even more beneficial for you, the home cook! It empowers you to make minor tweaks to raw egg recipes, easily adjusting flavors to perfectly suit your preferences without any safety concerns. Beyond their safety benefits, Davidson’s Safest Choice pasteurized eggs are hormone and antibiotic-free and have earned the prestigious Seal of Approval from the American Culinary Federation. They undergo an all-natural egg pasteurization process that effectively eliminates the risk of salmonella before these high-quality eggs even arrive in your kitchen, making them an ideal choice for any recipe requiring eggs, especially when some tasting is involved prior to cooking.
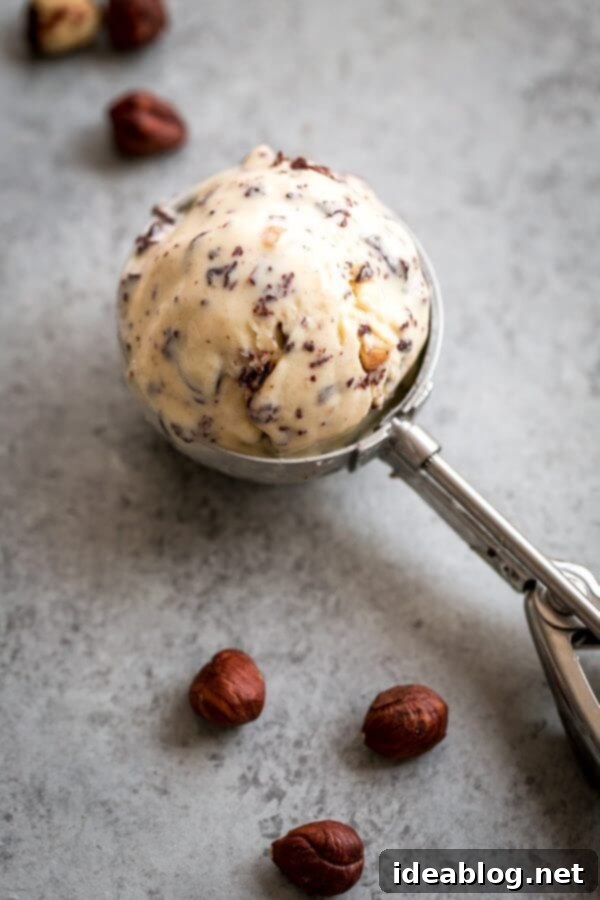
While this chocolate hazelnut ice cream is undeniably perfect for savoring during the lingering warm days of summer, its rich, comforting flavors make it an absolutely ideal treat any day of the year. Picture yourself curled up on a chilly evening, enjoying a scoop of this nutty, chocolatey goodness – it’s pure bliss. So, whether you’re celebrating a special occasion or simply craving a moment of luxurious indulgence, this homemade chocolate hazelnut ice cream is guaranteed to deliver an unforgettable dessert experience. It truly transcends seasons, offering comfort and delight whenever you need it most, even during those dreaded winter months.
Chocolate Hazelnut Ice Cream
Pin Recipe
Leave a Review
Save RecipeSaved!
Equipment
-
KitchenAid 5 Qt. Artisan Stand Mixer
-
KitchenAid Ice Cream Maker Attachment
-
Magimix Food Processor
Ingredients
For the Homemade Hazelnut Butter
- 1 cup (roughly 5¼ oz / 150g) raw hazelnuts, skin-on
For the Ice Cream Base
- 6 Safest Choice pasteurized egg yolks
- ¾ cup (150 g) granulated sugar
- 1½ cups (360 mL) whole milk
- 1½ cups (360 mL) heavy cream
- ½ teaspoon pure vanilla extract
- small pinch of kosher salt
- batch of homemade hazelnut butter (prepared above)
- 2 ounces (approx. 56g) semi-sweet chocolate (broken into small pieces)
- 1 tablespoon (15 g) unsalted butter
Instructions
-
1. Prepare the Homemade Hazelnut Butter: Preheat your oven to 350°F (176°C). Line a sheet pan with parchment paper or a silicone baking mat. Evenly spread the raw hazelnuts on the pan and toast for 10 to 15 minutes, or until they become wonderfully fragrant and their skins begin to show visible cracks.
-
2. Skin the Hazelnuts: Carefully transfer the hot hazelnuts to the center of a clean, large kitchen towel. Gather the ends of the towel to create a pouch and allow the hazelnuts to cool for 5 to 10 minutes. This slight cooling period is essential. Now, using your hands, vigorously roll and rub the hazelnuts within the towel to remove their skins. For any particularly stubborn hazelnuts, you can toast them in the oven for an additional 3 to 5 minutes to help loosen their skins further. Aim to remove as much skin as possible for the best flavor.
-
3. Make the Hazelnut Butter: Transfer the skinned hazelnuts to the bowl of a large food processor. Process for 3 to 5 minutes, pausing every minute or so to scrape down the sides of the bowl with a spatula. Initially, the hazelnuts will appear dry, thick, and crumbly. Continue processing; as the natural oils from the hazelnuts are released, they will transform into a gloriously creamy and smooth nut butter. Once achieved, set this homemade hazelnut butter aside as you prepare the ice cream base.
-
4. Prepare the Ice Cream Base: In a medium mixing bowl, whisk together the egg yolks and granulated sugar until the mixture becomes thick and pale yellow. Gradually whisk in the whole milk and heavy cream until well combined. Transfer this mixture to a medium saucepan. Place the saucepan over medium-low heat, stirring frequently with a wooden spoon and adjusting the heat as necessary to prevent scorching. Continue cooking until the mixture has thickened considerably. It is ready when it coats the back of your spoon and leaves a clear path when a finger is swiped across it. Immediately transfer the cooked ice cream mixture to a large mixing bowl. Stir in the vanilla extract, a small pinch of kosher salt, and your freshly made hazelnut butter until everything is thoroughly combined. Allow the mixture to cool completely to room temperature. For an extra smooth base, strain the mixture through a fine-meshed sieve into a large, refrigerator-safe container. Cover tightly and refrigerate until very chilled, ideally for 12 hours or overnight. This chilling period is crucial for optimal churning and texture.
-
5. Churn and Add Chocolate: Churn the thoroughly chilled ice cream mixture in your ice cream maker according to the manufacturer’s instructions. While the ice cream is churning, combine the semi-sweet chocolate pieces and unsalted butter in a small microwave-safe bowl. Microwave in 15-second increments, stirring well after each interval, until the chocolate and butter have completely melted and the mixture is smooth and glossy. Scrape the melted chocolate into a small plastic bag and seal it, pressing out any excess air. The chocolate should remain warm throughout this process; if needed, place the sealed bag in a bowl of warm water while the ice cream finishes churning.
-
6. Final Steps and Freeze: During the last few minutes of churning, snip a very small hole from the bottom corner of the plastic bag containing the melted chocolate. Slowly and steadily drizzle the warm chocolate in a thin stream into the ice cream as it continues to churn. This creates beautiful, delicate chocolate flecks throughout. Once churning is complete, transfer the ice cream to an airtight container. To prevent ice crystals, press a piece of parchment paper or plastic wrap directly onto the surface of the ice cream before covering the container. Freeze the ice cream for a minimum of 4 to 6 hours, or until it reaches a firm, scoopable consistency. Enjoy this homemade, decadent chocolate hazelnut ice cream!
Tips for Success:
- Add Extra Texture: For those who love an extra textural element in every bite, feel free to reserve a few whole, skinned hazelnuts. Finely chop them and add them to the ice cream during the last few minutes of churning. This will provide a delightful crunch amidst the creamy goodness.
- Ensure Proper Chilling: Do not skip the 12-hour chilling time for the ice cream base. A properly chilled base is crucial for achieving the best texture and preventing ice crystals.
- Warm Chocolate for Flecks: Keeping the drizzled chocolate warm is key. If it cools too much, it will harden immediately and won’t create those lovely, thin flecks.
- Storage: Always press parchment paper or plastic wrap directly onto the surface of your homemade ice cream before covering and freezing. This helps prevent freezer burn and keeps your ice cream fresh and creamy for longer.
This post was created in partnership with Safest Choice eggs. I am a proud member of Safest Choice Eggs’ Darling Dozen. Thank you for your continued support and for helping me bring delicious, safe recipes to your kitchen!
