Easy Homemade Chocolate Peppermint Syrup: Your Essential Guide to a Deliciously Simple Dessert Topping
There are very few kitchen creations that deliver as much pure delight for so little effort as this homemade chocolate peppermint syrup. It’s an absolute staple, not just because it’s incredibly delicious, but because it truly ranks among the simplest recipes I’ve ever whipped up.

Like many of my favorite culinary discoveries, this recipe was born out of a late-night craving. One evening, a powerful urge for a decadent chocolate sauce to drizzle over some forgotten vanilla ice cream in the depths of my freezer struck. With only a small amount of bittersweet chocolate chips on hand, I turned to my trusty digital assistant—Google—to find a “simple chocolate sauce recipe.” I was hoping for a quick fix, something that would satisfy my immediate desire without requiring a trip to the grocery store or a complex cooking process.
My search quickly led me to David Lebovitz’s acclaimed recipe for what he boldly calls “the best chocolate sauce ever.” While my initial goal was merely “easy,” the prospect of also creating “the best” was certainly an appealing bonus. A quick scan of the ingredient list—chocolate, water, corn syrup, cocoa powder, and sugar—revealed that I had everything I needed. The only slight uncertainty was whether my chocolate chips would perform as well as chopped bittersweet chocolate. But as a true advocate for convenience, I decided to forge ahead.

The Unexpected Twist: Adding a Hint of Peppermint
As the chocolate base began to come together, a spark of inspiration hit. What if I could elevate this already promising chocolate sauce into something even more exciting? My mind instantly went to my favorite mint chocolate chip ice cream, which I sadly didn’t have on hand. The solution? A splash of pure peppermint extract. This simple addition transformed a standard chocolate syrup into a refreshing, invigorating, and utterly irresistible chocolate peppermint concoction. It was my “lazy girl’s” way of getting that beloved mint chocolate flavor without any extra fuss. In the end, I subtly adjusted Lebovitz’s original recipe, halving the quantities and tweaking a few ingredient amounts to achieve the absolute perfect thick, luscious consistency that coats a spoon beautifully.
Chocolate Chips vs. Bar Chocolate: A Win for Convenience
One of the most satisfying aspects of this recipe is that those bittersweet chocolate chips worked perfectly! This is truly wonderful news for home cooks everywhere. Trust me when I say that chopping bar chocolate can be one of the messiest and most annoying tasks in the kitchen. During my time working at a bakery, I spent countless hours chopping pounds upon pounds of chocolate for various desserts. The sticky residue, the uneven pieces, the potential for chocolate flying across the counter—it’s a chore. While bar chocolate and chocolate chips aren’t always interchangeable (especially in baking where precise melting characteristics matter), for a simple syrup like this, you can absolutely grab the easy stuff and skip the messy chopping. The chips melt smoothly and integrate seamlessly, making your life infinitely easier.
Why Homemade Syrup is a Game Changer
Making your own chocolate peppermint syrup isn’t just about avoiding a store run; it’s about unlocking a superior flavor experience. Store-bought syrups, while convenient, often contain artificial flavors, high-fructose corn syrup, and preservatives that detract from the true taste of chocolate and peppermint. When you make it yourself, you control every ingredient, ensuring a rich, authentic chocolate flavor perfectly balanced with the bright, cool notes of peppermint. The aroma alone as it simmers on the stove is enough to convince you!
Beyond the taste, homemade syrup offers incredible versatility. Knowing exactly what goes into it provides peace of mind, especially if you’re mindful of additives or specific dietary needs. It’s a small effort that yields a huge reward in terms of quality and enjoyment, elevating everyday treats into something truly special.

Serving Suggestions: Endless Possibilities for Your Peppermint Delight
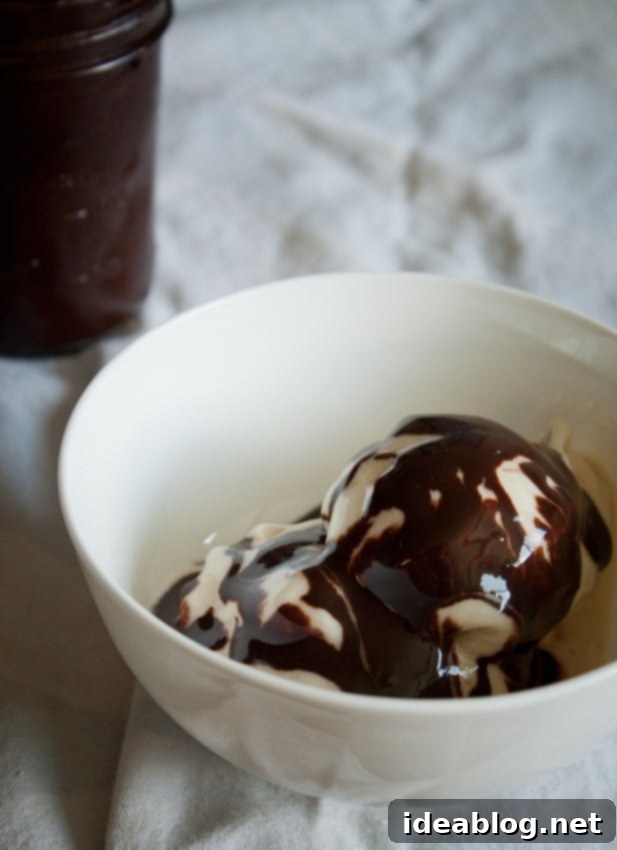
The moment I first tasted this warm chocolate peppermint syrup on vanilla ice cream, I knew I had a winner. But its versatility extends far beyond a simple ice cream topping. Imagine it:
- Homemade Ice Cream Shakes: Blend it into vanilla or chocolate ice cream for an epic chocolate mint milkshake. Add a touch of milk, blend until smooth, and top with whipped cream and a sprinkle of crushed peppermint candy for a festive touch.
- Mint Chocolate Milk: Stir a spoonful or two into a glass of cold milk for an instant, refreshing chocolate mint drink that’s far superior to any store-bought version.
- Drizzled on Warm Baked Goods: It’s absolutely divine drizzled over warm, gooey brownies, chocolate lava cakes, or even a simple pound cake. The warm syrup melts slightly into the dessert, creating an irresistible combination of textures and flavors.
- Coffee and Hot Chocolate Enhancer: Transform your morning coffee or evening hot chocolate into a luxurious peppermint mocha or hot chocolate. A swirl of this syrup is all you need for an instant upgrade.
- Pancakes, Waffles, and French Toast: Forget maple syrup for a moment and try this decadent chocolate peppermint syrup. It’s a perfect treat for a holiday breakfast or a special weekend brunch.
- Fruit Dip: Serve it alongside fresh fruit like strawberries, banana slices, or apple wedges for an elevated snack or light dessert.
- Cocktail Ingredient: For the adventurous, a dash of this syrup could add a unique twist to certain cocktails or mocktails, especially those featuring coffee or chocolate liqueurs.
The Perfect Edible Holiday Gift
Beyond its delicious applications in your own kitchen, this chocolate peppermint syrup also makes an absolutely lovely edible gift, especially during the holiday season. Homemade gifts carry a special charm and thoughtfulness that store-bought items simply can’t match. Here’s how to make it presentation-ready:
- Packaging: Allow the syrup to cool completely before carefully transferring it to small, clean mason jars. These jars are not only functional for storage but also charming for gifting.
- Decoration: Add a festive touch by topping each jar with a beautiful ribbon or a small bow. You can use holiday-themed colors like red, green, silver, or gold.
- Personalized Tags: Attach a small, handwritten tag that says “Homemade Chocolate Peppermint Syrup” and perhaps includes a short message or a few serving suggestions. This adds a personal touch and helps the recipient know what they’ve received and how to enjoy it.
- Gift Occasions: This syrup is perfect for gifting to friends, family, neighbors, teachers, or colleagues. It makes a thoughtful hostess gift, a delightful stocking stuffer, or a welcome addition to a holiday gift basket.
Imagine the joy of your loved ones discovering this delightful, handcrafted treat. It’s a gift that keeps on giving, allowing them to enjoy delicious chocolate peppermint moments long after the holidays are over.

Chocolate Peppermint Syrup
Pin
Review
SaveSaved!
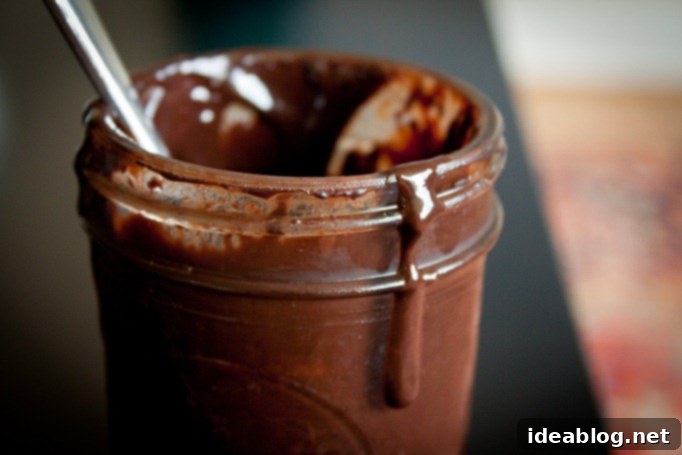
Once slightly cooled, transfer this delightful syrup to a small mason jar. For an effortless yet elegant edible gift during the holiday season, simply top the jar with a festive ribbon or bow. It’s a thoughtful present that tastes as good as it looks.
Ingredients
- ½ cup (120 mL) water
- ¼ cup (50g) granulated sugar
- ¼ cup (60 mL) light corn syrup
- ⅓ cup unsweetened cocoa powder
- ¼ + ⅛ teaspoon pure peppermint extract
- 2 ounces bittersweet chocolate chips
Instructions
-
Combine the water, granulated sugar, corn syrup, and cocoa powder in a small saucepan. Whisk thoroughly until the mixture is smooth and lump-free. Place the saucepan over medium heat and bring the mixture to a low boil, stirring occasionally to prevent scorching.
-
Immediately remove the saucepan from the heat once it reaches a low boil. Stir in the pure peppermint extract and the bittersweet chocolate chips. Continue stirring gently until all the chocolate chips have completely melted and are fully incorporated into the syrup, creating a glossy, uniform sauce.
-
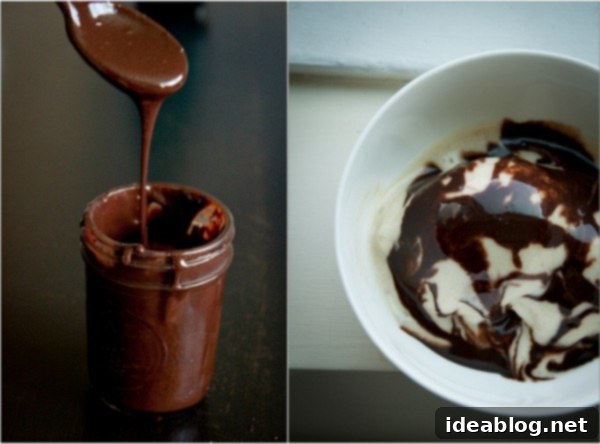
Set the syrup aside to cool completely. At this stage, the sauce will appear quite thin, but rest assured, it will thicken significantly as it cools. For best results and optimal thickness, allow it to cool for at least 2 hours, or ideally, chill in the refrigerator until thoroughly cooled. Serve warm (by gently reheating if necessary) or chilled over ice cream, or effortlessly incorporate it into your favorite milkshake recipes for an added burst of flavor. Store any leftover syrup in an airtight jar in the refrigerator for up to 10 days.
